
Your Facebook ads were crushing it last month. Conversions were flowing, your ROAS looked healthy, and Meta's algorithm seemed to finally understand your audience. Then something changed. Your conversion numbers dropped by half overnight, but your sales didn't. Or maybe you're seeing the opposite: your pixel is reporting twice as many purchases as actually happened, and now you're optimizing toward phantom conversions.
When your Facebook Pixel breaks, it doesn't just mess up your reporting. It actively sabotages your campaigns. Meta's algorithm relies entirely on the conversion data your pixel sends to optimize ad delivery, audience targeting, and bid strategies. Feed it bad data, and it will confidently spend your budget on the wrong people.
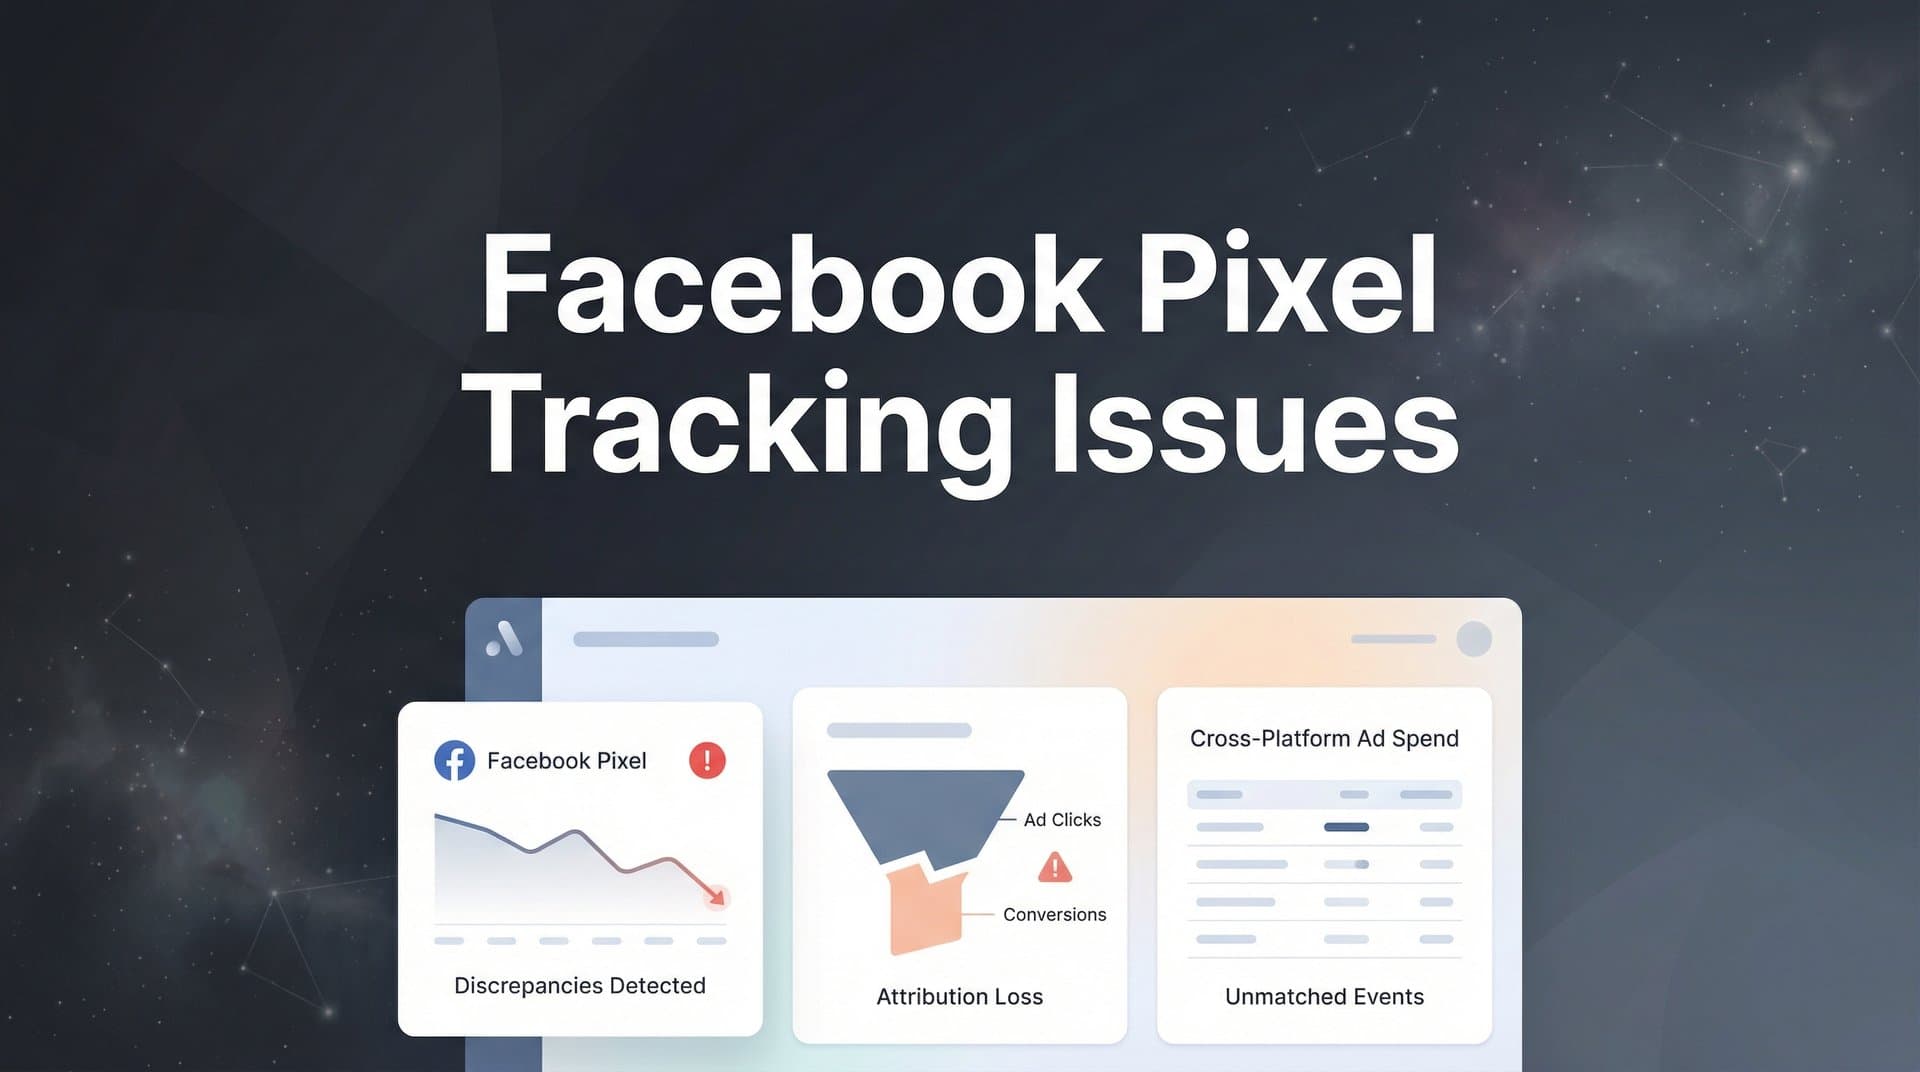
The frustrating part? Pixel issues rarely announce themselves clearly. You might notice conversions dropping off, events firing multiple times, or your Event Match Quality score tanking without obvious cause. Sometimes the pixel looks fine in Events Manager while silently missing half your actual conversions.
This guide walks you through a systematic troubleshooting process that addresses the most common Facebook Pixel problems marketers face in 2026. You'll learn how to diagnose issues using Meta's diagnostic tools, fix configuration errors that create data gaps, and implement solutions that restore accurate tracking. Whether you're dealing with iOS attribution problems, Conversions API integration errors, or mysterious event discrepancies, you'll have a clear path to resolution.
Step 1: Verify Your Pixel Installation Status
Before diving into complex diagnostics, confirm your pixel is actually installed and firing correctly. This sounds basic, but installation errors account for a surprising number of tracking problems, especially after website updates or platform migrations.
Start in Facebook Events Manager. Navigate to your pixel and check the status indicator at the top of the page. A green dot with "Active" status means Meta has received events from your pixel recently. A gray dot with "Not Receiving Events" means your pixel hasn't sent data in the past 24 hours, indicating an installation problem.
Next, install the Meta Pixel Helper Chrome extension. This free tool from Meta detects Facebook pixels on any webpage you visit and identifies configuration issues in real time. Navigate to a page on your website where the pixel should fire, then click the Pixel Helper icon in your browser toolbar.
The Pixel Helper displays detailed information about every pixel it finds. Look for a green checkmark next to your pixel ID, which confirms correct installation. If you see a red exclamation mark or yellow warning icon, click it to view the specific error. Common issues include: pixel code appearing multiple times on the same page, incorrect pixel ID in the code snippet, or the pixel firing before required parameters load.
Pay attention to which events the Pixel Helper detects. You should see a PageView event fire automatically when the page loads. If you're on a conversion page like checkout confirmation, you should also see the corresponding standard event like Purchase or Lead. Understanding what a tracking pixel is and how it works helps you interpret these signals correctly.
For a deeper technical check, open your browser's developer tools and navigate to the Network tab. Refresh your page and filter for requests containing "facebook.com/tr". Each request represents a pixel event firing. Click on a request to view the payload and verify it includes the correct parameters like event name, pixel ID, and any custom data you're passing.
If your pixel isn't appearing in the Pixel Helper at all, the base code likely isn't installed or is placed incorrectly. The pixel code must appear in the head section of your HTML, before the closing head tag. If you're using a tag manager like Google Tag Manager, verify the pixel tag is published and set to fire on all pages.
Success indicator: The Meta Pixel Helper shows a green checkmark with your correct pixel ID, and you can see the PageView event firing in your browser's Network tab within seconds of the page loading.
Step 2: Diagnose Event Configuration Problems
Once you've confirmed your pixel is installed, the next step is verifying your events are configured correctly. Event configuration errors are subtle but destructive. They cause your pixel to fire without sending the data Meta needs for optimization.
In Events Manager, click on your pixel and review the Events tab. This shows every event your pixel has fired recently. Look at the volume for each event type. If you're running an e-commerce site but seeing zero Purchase events while AddToCart events are firing normally, something is broken in your checkout flow.
Click into individual events to examine their parameters. Standard events like Purchase require specific parameters to be useful: value (the purchase amount), currency (like USD or EUR), and content_ids (the product SKUs purchased). If these parameters are missing or formatted incorrectly, Meta can't use the conversion data effectively for optimization. This is a common cause of Facebook Pixel not tracking accurately.
Event deduplication is a common culprit behind inflated or missing conversion counts. If you're sending the same event from both your browser pixel and Conversions API without proper deduplication, Meta counts it twice. Check the Deduplication section in Events Manager to see if you're sending duplicate events. Each event needs a unique event_id parameter that matches between browser and server events.
Custom events create their own problems. While standard events like Purchase and Lead are optimized for Meta's algorithm, custom events require manual configuration and don't benefit from Meta's built-in optimization. If you're tracking conversions with custom events instead of standard events, you're limiting your campaign performance. Review your custom events and map them to standard events wherever possible.
The Test Events tool in Events Manager lets you verify events in real time. Navigate to Test Events, enter your website URL or select server events, then trigger the conversion action on your site. Within seconds, you should see the event appear in the Test Events interface with all its parameters visible.
This is your chance to catch parameter errors before they corrupt your campaign data. Check that the value parameter contains a number without currency symbols, that content_ids match your product catalog format, and that the event_name exactly matches Meta's standard event names (case-sensitive).
If events aren't appearing in Test Events, but your pixel is installed correctly, the issue is likely in your event trigger logic. For e-commerce platforms, verify your conversion tracking code fires on the order confirmation page, not the payment page. For lead generation, ensure the event fires after form submission completes, not when the submit button is clicked. These conversion tracking pixel issues are among the most common problems marketers face.
Success indicator: All your key conversion events appear in Test Events within seconds of triggering, with complete parameter data including value, currency, and content information.
Step 3: Resolve Domain Verification and Aggregated Event Measurement Issues
Domain verification isn't optional anymore. Since iOS 14 and the introduction of Aggregated Event Measurement, unverified domains face severe tracking limitations. If your domain isn't verified, your iOS conversions are likely undercounted or missing entirely.
Navigate to Business Settings in Facebook Business Manager, then select Brand Safety and Domains. Click Add to add your domain if it's not already listed. Meta offers three verification methods: uploading an HTML file to your web server, adding a meta tag to your homepage HTML, or adding a DNS TXT record to your domain's DNS settings.
The DNS method is most reliable for ongoing verification. It doesn't break if you redesign your website or change hosting providers. Copy the TXT record Meta provides, then log into your domain registrar (GoDaddy, Namecheap, Cloudflare, etc.) and add it to your DNS settings. DNS changes can take up to 72 hours to propagate, though they often complete within a few hours.
If domain verification fails repeatedly, check these common issues: the meta tag or HTML file was removed during a site update, DNS changes haven't propagated yet, you're verifying the wrong domain (www.yourdomain.com vs yourdomain.com are different), or you don't have admin access to the Business Manager that owns the pixel.
After verification succeeds, configure Aggregated Event Measurement. This protocol limits iOS conversions to eight events per domain, ranked by priority. Click Configure Web Events in your domain settings to access the event prioritization interface. Understanding iOS tracking limitations for Facebook Ads helps you make smarter prioritization decisions.
Prioritize events strategically. Your top priority event should be your primary conversion goal, typically Purchase for e-commerce or Lead for lead generation. Lower priority events might include AddToCart, InitiateCheckout, or ViewContent. If you track more than eight events, iOS users will only trigger the top eight, and the rest won't fire at all.
Many marketers make the mistake of prioritizing micro-conversions like ViewContent or PageView above macro-conversions like Purchase. This causes Meta's algorithm to optimize for page views instead of sales when targeting iOS users. Always prioritize revenue-generating events at the top.
After configuring your event priority, you'll need to wait for Meta's review process, which typically takes 24-48 hours. During this time, avoid making changes to your event configuration, as each change resets the review timer.
Success indicator: Your domain shows Verified status in Business Settings, and your Aggregated Event Measurement configuration displays your eight prioritized events with your primary conversion goal in the first position.
Step 4: Fix Conversions API Integration Problems
The Conversions API has become essential for accurate Facebook tracking, but it introduces new complexity. Server-side tracking bypasses browser limitations, but only if configured correctly. Poor implementation creates more problems than it solves. Understanding the differences between Facebook CAPI vs pixel tracking is crucial for proper implementation.
Your first diagnostic is Event Match Quality, found in Events Manager under the Conversions API tab. This score measures how well Meta can match your server events to Facebook users. Scores range from 0 to 10, with Meta recommending a minimum of 6.0 for effective optimization.
Low Event Match Quality means Meta can't connect your conversion data to specific users, which prevents the algorithm from learning who converts and optimizing accordingly. Click into your Event Match Quality score to see which customer information parameters you're missing.
The most valuable parameters for matching are: email (hashed), phone number (hashed), first name, last name, city, state, zip code, and country. The more parameters you include, the better Meta can match events to users. Even if you don't collect all this information, sending email alone significantly improves match rates.
Critical: Customer information must be hashed using SHA-256 before sending to Meta. Sending unhashed personal information violates privacy policies and Meta's terms of service. Most Conversions API integrations handle hashing automatically, but verify this in your implementation.
Check your server event payload using the Test Events tool. Send a test conversion from your server, then examine the customer information parameters in the Test Events interface. If parameters appear blank or show error messages, your integration isn't passing data correctly.
Connection errors are another common issue. If your server can't reach Meta's API endpoint, events fail silently without appearing in Events Manager. Check your server logs for HTTP error codes. A 400 error means malformed data in your request. A 401 error indicates an invalid access token. A 500 error suggests a problem on Meta's side, though these are rare.
Event deduplication between browser pixel and Conversions API requires careful coordination. Each event needs an event_id parameter that's identical in both the browser and server event. When Meta receives events with matching event_ids within 48 hours, it counts them as one conversion instead of two. Learn more about duplicate conversion tracking issues to avoid inflated metrics.
Generate event_ids on your server or in your browser before the conversion happens, then pass the same ID to both tracking methods. A common pattern is generating a unique ID when a user starts checkout, storing it in a session variable, then including it in both the browser pixel event and the server API call after purchase completion.
Without proper deduplication, you'll see inflated conversion counts that don't match your actual sales. This corrupts your ROAS calculations and causes Meta to over-optimize, thinking certain audiences convert better than they actually do.
Success indicator: Event Match Quality score consistently above 6.0, with matched events showing in Events Manager and deduplication working correctly so browser and server events combine into single conversion records.
Step 5: Address Browser and Ad Blocker Interference
Even perfectly configured pixels face an unavoidable challenge: browser privacy features and ad blockers actively prevent tracking. Understanding these limitations helps you set realistic expectations and implement compensating strategies.
Safari's Intelligent Tracking Prevention has been blocking third-party cookies and limiting first-party cookie lifespans since 2017, with restrictions tightening each year. As of 2026, Safari limits client-side tracking cookies to seven days, meaning any conversion happening more than a week after an ad click may not be attributed correctly. These pixel tracking issues on iOS devices affect a significant portion of your audience.
Firefox Enhanced Tracking Protection blocks known tracking domains by default, which can prevent your Facebook Pixel from loading entirely for Firefox users. Chrome has implemented similar privacy features, though less aggressively than Safari. Together, these browser protections create tracking gaps that affect 30-40% of your website visitors.
Ad blockers take an even harder line. Popular extensions like uBlock Origin and AdBlock Plus prevent Facebook Pixel scripts from loading at all. Users who install these tools are invisible to browser-based tracking, creating complete blind spots in your conversion data.
You can't fix browser privacy features or ad blockers, but you can adapt your measurement strategy. First, recognize that your pixel data will always undercount conversions. If your pixel reports 100 conversions but your CRM shows 150 actual sales, the 50-conversion gap likely comes from tracking prevention.
Server-side tracking through Conversions API helps significantly because it bypasses browser limitations entirely. When a user completes a purchase, your server sends the conversion directly to Meta's API without relying on browser cookies or JavaScript. This captures conversions that browser pixels miss. Understanding server-side tracking vs pixel tracking helps you implement the right solution.
First-party data collection becomes critical. Instead of relying solely on cookies, collect email addresses early in the customer journey through newsletter signups, account creation, or lead magnets. When users provide emails voluntarily, you can track their behavior more reliably and pass better match data to Conversions API.
Modeled conversions are Meta's solution to iOS tracking limitations. When Meta can't track a conversion directly, it uses machine learning to estimate conversions based on similar users who can be tracked. These modeled conversions appear in your reporting with a small "M" indicator. They're estimates, not actual tracked events, but they help fill data gaps.
Success indicator: You understand that 100% tracking accuracy is impossible in 2026, you've implemented server-side tracking to capture what browser pixels miss, and you're collecting first-party data to improve match rates and attribution accuracy.
Step 6: Validate and Monitor Ongoing Pixel Health
Pixel tracking isn't a set-it-and-forget-it task. Configuration drift happens gradually as you update your website, launch new products, or modify conversion flows. Regular monitoring catches problems before they corrupt weeks of campaign data.
Set up automated alerts in Events Manager to notify you when tracking breaks. Navigate to your pixel settings and configure alerts for: no events received in 24 hours, significant drops in event volume, and changes to domain verification status. These alerts email you immediately when something goes wrong, instead of discovering problems days later when reviewing campaign performance.
Create a monthly audit schedule. On the first of each month, verify: pixel installation on key pages, event parameters contain correct data, domain verification remains active, Event Match Quality stays above 6.0, and conversion counts roughly match your CRM or analytics platform. Maintaining Facebook Pixel data accuracy requires consistent attention.
That last point is critical. Your Facebook Pixel should never be your single source of truth for conversion data. Compare pixel conversions against your actual sales records or CRM conversions weekly. Small discrepancies are normal due to attribution windows and tracking limitations, but if your pixel reports 200 conversions while you only closed 100 deals, something is seriously broken.
Document your pixel configuration thoroughly. Create a simple document that lists: your pixel ID, which standard events you track and where they fire, your Aggregated Event Measurement priority order, how you're implementing Conversions API, and your event_id deduplication logic. When team members change or you need to troubleshoot issues six months from now, this documentation saves hours of detective work.
Test after every website change. Before launching a site redesign, new checkout flow, or updated product pages, use the Test Events tool to verify your pixel still fires correctly. Developers often accidentally remove tracking code or break event triggers during updates. Catching these issues in staging prevents data loss in production.
Monitor your Event Match Quality trend over time. If your score gradually declines from 8.0 to 5.0 over several months, you're losing customer information parameters somewhere in your data flow. Investigate whether form fields were removed, API integrations broke, or data hashing stopped working.
Success indicator: You have automated alerts configured, you audit pixel health monthly, conversion discrepancies between pixel and actual sales stay under 10%, and you have documentation that any team member can reference when troubleshooting issues.
Putting It All Together
Accurate Facebook Pixel tracking requires ongoing attention, but the payoff is worth it: reliable data that powers better optimization and clearer ROI measurement. When your pixel works correctly, Meta's algorithm learns from real conversions and optimizes your campaigns toward actual business results instead of phantom data.
Use this checklist to maintain pixel health: verify pixel installation monthly using Meta Pixel Helper, test events after any website changes using the Test Events tool, monitor Event Match Quality weekly to catch API integration issues early, keep domain verification current and review your Aggregated Event Measurement configuration quarterly, and compare pixel conversions against your CRM data regularly to spot discrepancies before they compound.
Remember that perfect tracking is impossible in 2026. Browser privacy features, ad blockers, and iOS limitations create unavoidable gaps in your data. The goal isn't perfection but consistency. When you understand your tracking limitations and maintain your pixel configuration diligently, you can trust your data enough to make confident scaling decisions.
For marketers managing multiple ad platforms, the complexity multiplies. You're not just maintaining a Facebook Pixel but also Google Ads conversion tracking, TikTok pixels, and whatever new platform launches next quarter. Each has its own quirks, limitations, and maintenance requirements.
This is where unified attribution solutions become valuable. While your Facebook Pixel tracks Meta campaigns, a platform like Cometly provides server-side tracking that captures conversions across all your marketing channels, even when browser-based tracking fails. When you feed better data back to Meta's algorithm through improved Conversions API integration, your campaigns optimize more effectively. You're not just fixing tracking problems but building a foundation for confident, data-driven growth.
The marketers who win in 2026 aren't the ones with perfect tracking. They're the ones who understand their data limitations, maintain their tracking infrastructure consistently, and use multiple data sources to validate their results. Start with the steps in this guide, implement a regular monitoring schedule, and build the tracking foundation your campaigns deserve.
Ready to elevate your marketing game with precision and confidence? Discover how Cometly's AI-driven recommendations can transform your ad strategy. Get your free demo today and start capturing every touchpoint to maximize your conversions.


