
Online course creators face a unique challenge: students discover courses through multiple touchpoints before enrolling. A potential student might see a Facebook ad, read a blog post, watch a YouTube video, receive an email sequence, and then finally purchase through a Google search. Without proper multi-channel tracking, you're flying blind, unable to identify which channels actually drive enrollments versus which ones just generate clicks.
The stakes are higher than ever. Course creators invest thousands in paid advertising across Meta, Google, YouTube, and other platforms, yet many can't confidently answer which channels actually convert browsers into students. iOS privacy changes have made browser-based tracking increasingly unreliable, and the typical course funnel spans days or weeks from first touch to enrollment, making accurate attribution essential.
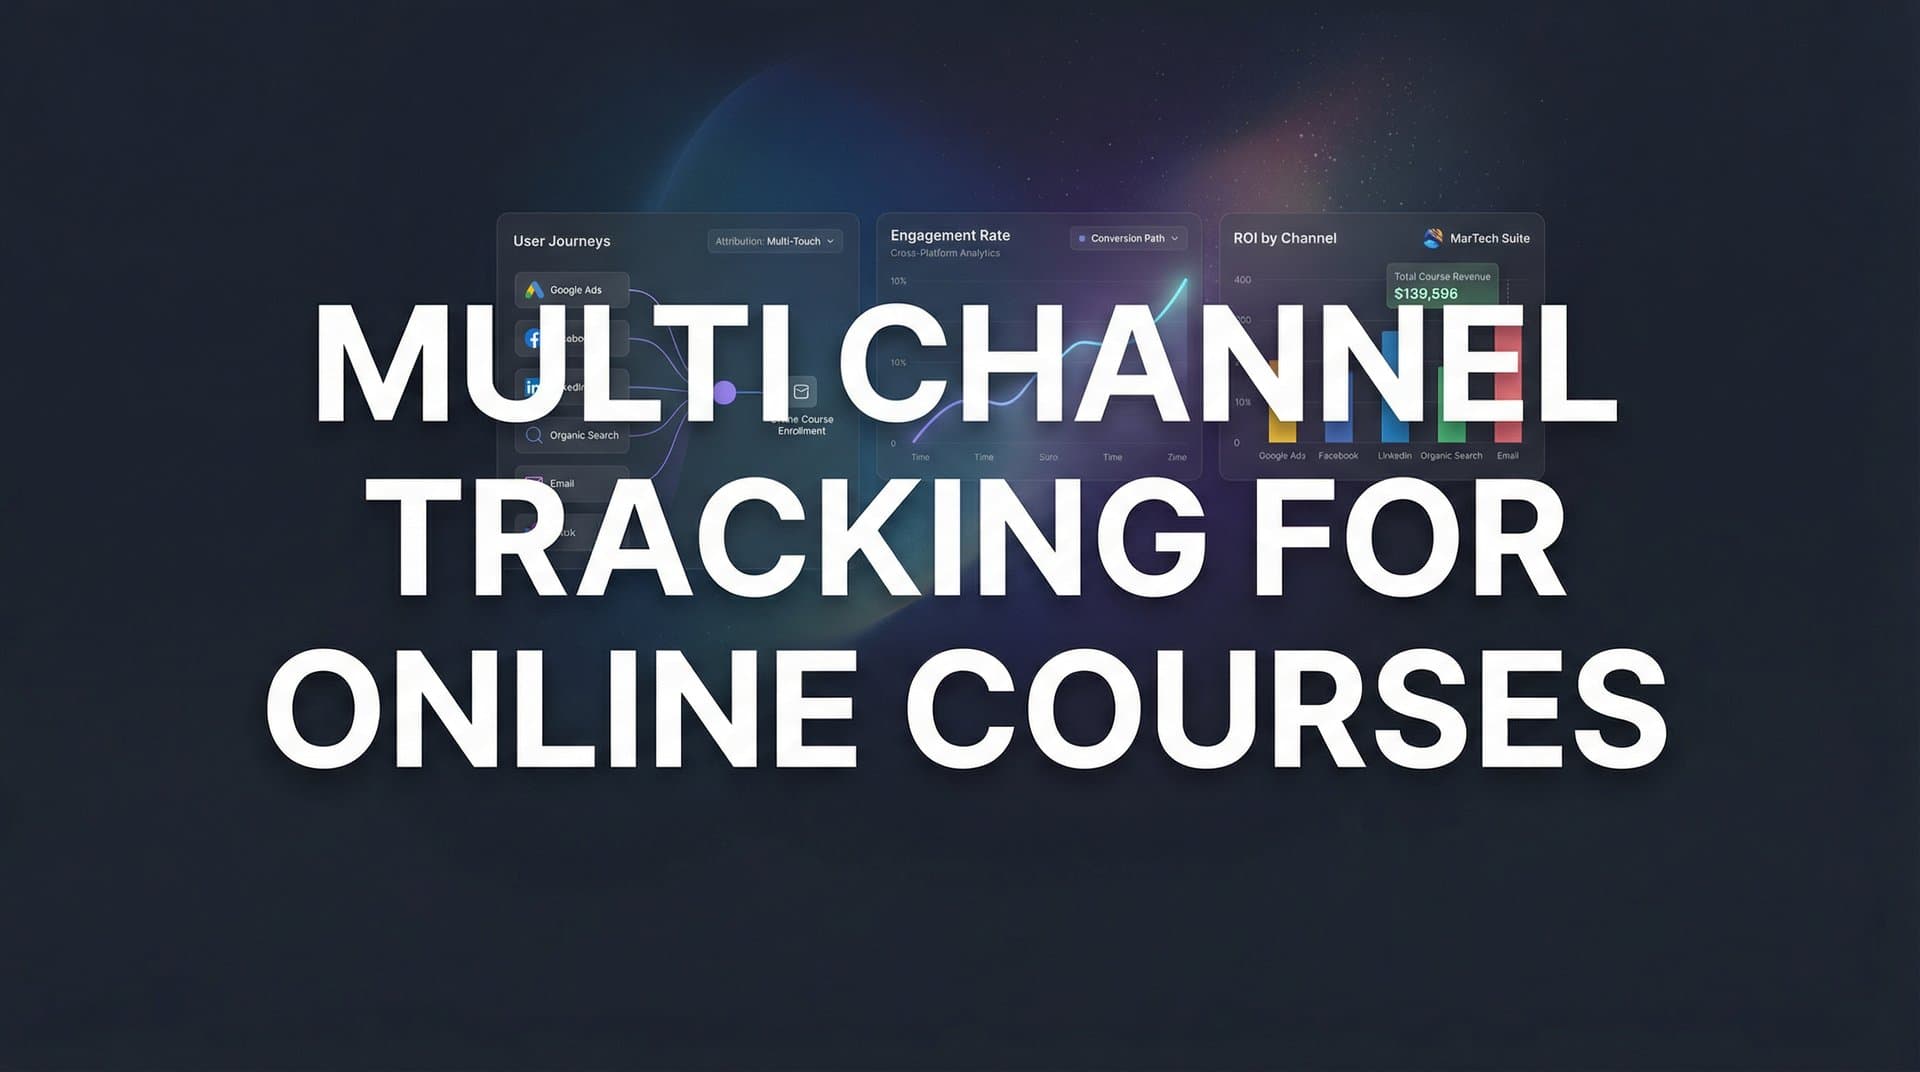
This guide walks you through seven actionable strategies to implement comprehensive tracking across every marketing channel, giving you the clarity needed to scale your course business with confidence. You'll learn how to build tracking infrastructure that works despite browser limitations, connect your marketing data to actual revenue, and make informed decisions about where to invest your advertising budget.
1. Build a Unified Tracking Foundation with Server-Side Implementation
The Challenge It Solves
Browser-based tracking pixels face significant limitations in 2026. Ad blockers strip out tracking scripts, iOS privacy features restrict cookie duration, and browser updates continuously reduce data accuracy. For course creators running campaigns across multiple platforms, this means missing critical touchpoint data right when you need it most. When a student enrolls after interacting with five different channels, traditional browser tracking might only capture two of those interactions.
The Strategy Explained
Server-side tracking moves data collection from the browser to your server, creating a reliable foundation that captures every touchpoint regardless of browser restrictions. Instead of relying on cookies and pixels that users can block, server-side implementation sends conversion data directly from your server to ad platforms and analytics tools. This approach ensures you capture the complete student journey from first click through enrollment and beyond.
The key difference is control. With browser-based tracking, you're at the mercy of user privacy settings and browser limitations. With first-party data tracking, you own the data pipeline and can ensure accuracy across every channel where you advertise your courses.
Implementation Steps
1. Choose a server-side tracking platform that integrates with your course platform (Teachable, Kajabi, Thinkific, or Podia) and connects to your ad accounts on Meta, Google, and other channels you use.
2. Set up conversion events that matter for your course business: page views, lead magnet downloads, webinar registrations, checkout initiations, and completed enrollments. Configure these events to fire from your server rather than the browser.
3. Implement the tracking code on your course website and landing pages, ensuring it captures user interactions and sends them to your server for processing and distribution to ad platforms.
4. Test your implementation by completing a test enrollment yourself, then verify that the conversion data appears correctly in your ad platforms and analytics dashboards within minutes.
Pro Tips
Start with your highest-value conversion event (course enrollments) before adding micro-conversions. This ensures your most important data flows accurately from day one. Also, maintain browser-based tracking alongside server-side implementation during the transition period so you can compare data accuracy and catch any discrepancies early.
2. Implement UTM Parameters Consistently Across All Channels
The Challenge It Solves
Without standardized campaign tagging, your analytics tools can't differentiate between traffic from your Facebook ads versus your email newsletter versus your YouTube videos. You might see 1,000 visitors in Google Analytics, but have no idea which specific campaign, ad set, or creative drove those clicks. This lack of clarity makes it impossible to identify which marketing efforts actually generate enrollments versus which ones just burn budget.
The Strategy Explained
UTM parameters are tags you add to your marketing URLs that tell analytics tools exactly where traffic originated. When implemented consistently, they create a clear trail from every marketing touchpoint to enrollment. Think of UTM parameters as digital fingerprints that identify the source, medium, campaign, and specific content that brought each visitor to your course.
The power comes from standardization. When every team member uses the same naming conventions across all channels, you can aggregate data accurately and compare performance across campaigns, platforms, and time periods. This consistency is essential for effective multi-channel marketing tracking.
Implementation Steps
1. Create a UTM naming convention document that defines exactly how you'll tag campaigns across all channels. Specify formats for utm_source (facebook, google, youtube, email), utm_medium (cpc, social, email, video), utm_campaign (course-launch-spring-2026), and utm_content (ad-variant-a, thumbnail-1).
2. Build a shared spreadsheet or use a UTM builder tool where your team can generate tagged URLs following your naming convention. This prevents inconsistencies like using "Facebook" in one campaign and "facebook" in another, which analytics tools treat as separate sources.
3. Apply UTM parameters to every external link in your marketing: social media posts, paid ads, email campaigns, YouTube descriptions, podcast show notes, and guest blog posts. Even organic social posts should be tagged so you can track their performance.
4. Set up custom reports in your analytics platform that group traffic and conversions by source, medium, and campaign, making it easy to see which efforts drive the most enrollments.
Pro Tips
Use lowercase for all UTM values to avoid duplicate entries in your reports. Also, create short, descriptive campaign names that will still make sense six months from now when you're analyzing historical performance. Avoid vague names like "campaign1" or "test" that won't provide context later.
3. Connect Your CRM to Track the Full Student Journey
The Challenge It Solves
Most course creators track marketing touchpoints separately from enrollment data and student outcomes. Your ad platforms show clicks and initial conversions, but they don't know which students completed your course, purchased additional courses, or became long-term customers. This disconnect means you're optimizing for enrollments without understanding which channels bring students who actually succeed and buy more.
The Strategy Explained
Connecting your CRM to your marketing tracking creates a closed-loop system that follows students from first click through enrollment, course completion, and future purchases. When your CRM data flows into your attribution platform, you can analyze which marketing channels attract students with the highest lifetime value, not just the most enrollments. This reveals whether your Facebook ads bring students who complete courses and buy again, or students who enroll but never engage.
The insight transforms how you allocate budget. Instead of spending more on channels that generate cheap enrollments, you can invest in channels that bring valuable, engaged students who stick around. Understanding marketing attribution for revenue tracking helps you connect ad spend directly to student lifetime value.
Implementation Steps
1. Identify the CRM or course platform you use (such as HubSpot, ActiveCampaign, or your course platform's built-in CRM) and determine what student data it captures: enrollment dates, course completion rates, additional purchases, engagement metrics, and refund requests.
2. Set up an integration or webhook that sends CRM events to your attribution platform whenever important student actions occur. Key events include course enrollment, module completion, course finish, additional course purchases, and subscription renewals.
3. Map your CRM data to the original marketing touchpoints by matching student email addresses or user IDs across systems. This connection shows which Facebook ad or email campaign brought each student who later completed your course and purchased your advanced program.
4. Create segments in your attribution platform that compare channel performance based on student lifetime value, not just enrollment count. Identify which channels bring students who complete courses, engage with content, and make repeat purchases.
Pro Tips
Start by tracking one post-enrollment metric that matters most to your business, whether that's course completion rate or repeat purchase rate. Once that data flows reliably, add additional metrics. Also, set up automated alerts when high-value students from specific channels reach milestones, helping you identify patterns in real time.
4. Choose the Right Attribution Model for Course Sales
The Challenge It Solves
Default attribution models often misrepresent which channels actually drive course enrollments. Last-click attribution gives all credit to the final touchpoint before purchase, ignoring the Facebook ad that introduced the student to your course or the YouTube video that built trust. First-click attribution does the opposite, crediting only the initial discovery channel while ignoring the retargeting campaign that closed the sale. For course creators with multi-week funnels involving webinars, email sequences, and retargeting, these simplified models hide the truth.
The Strategy Explained
Different attribution models distribute conversion credit across touchpoints in different ways, and the right model depends on your actual course funnel. Linear attribution splits credit equally across all touchpoints, recognizing that awareness, consideration, and conversion channels all contribute. Time-decay attribution gives more credit to touchpoints closer to enrollment, acknowledging that bottom-funnel interactions often have more influence on the final decision. Position-based attribution credits both the first and last touchpoints heavily while distributing remaining credit to middle interactions.
The goal is choosing a model that reflects how students actually discover and decide to enroll in your courses. Mastering attribution modeling for multi-channel campaigns helps you credit channels appropriately based on their actual contribution to enrollments.
Implementation Steps
1. Map your typical student journey by analyzing how enrolled students discovered your course and what touchpoints they encountered before purchasing. Look for patterns: Do most students enroll immediately after seeing an ad, or do they interact with multiple channels over several weeks?
2. Compare how different attribution models would credit the same conversion. Use your attribution platform to view the same enrollments through last-click, first-click, linear, time-decay, and position-based lenses. Notice which channels get more or less credit under each model.
3. Select the attribution model that best reflects your funnel reality. If your courses typically involve long consideration periods with multiple touchpoints, linear or time-decay attribution provides more accurate insights than last-click. If students usually enroll quickly after discovery, first-click or last-click might suffice.
4. Review your chosen attribution model quarterly to ensure it still matches your evolving funnel. As you add new marketing channels or change your sales process, your ideal attribution model might shift.
Pro Tips
Don't rely on a single attribution model exclusively. Compare results across multiple models to understand the full picture. If a channel looks strong in last-click attribution but weak in first-click attribution, it's effective at closing sales but not at generating initial awareness. Use these insights to assign channels appropriate roles in your funnel.
5. Sync Conversion Data Back to Ad Platforms
The Challenge It Solves
Ad platforms like Meta and Google use conversion data to optimize their algorithms, showing your ads to people most likely to enroll in your course. When browser-based tracking misses conversions due to iOS limitations or ad blockers, these platforms receive incomplete data and optimize toward the wrong audience. You might be driving enrollments that Meta doesn't see, causing its algorithm to target similar profiles to people who clicked but didn't convert, rather than people who actually enrolled.
The Strategy Explained
Conversion sync sends accurate enrollment data from your server directly back to ad platforms, giving their algorithms complete information about who actually converted. This is called the Conversions API for Meta and Enhanced Conversions for Google Ads. When ad platforms receive this enriched data, they can identify patterns in students who enroll and find more people matching those characteristics, improving targeting accuracy and reducing cost per enrollment.
The improvement compounds over time. As platforms receive better conversion data, their algorithms get smarter about who to target, which creatives to show, and how much to bid. Implementing proper conversion tracking for online courses creates a positive feedback loop where better data leads to better targeting, which leads to more enrollments.
Implementation Steps
1. Set up the Conversions API for Meta and Enhanced Conversions for Google Ads through your attribution platform or directly through each platform's business tools. This requires connecting your ad accounts and configuring which conversion events to send.
2. Map your course enrollment events to the appropriate conversion events in each ad platform. When a student enrolls, your server should send that conversion data to Meta and Google with details like purchase value, course name, and student identifier.
3. Test the integration by completing a test enrollment and verifying that the conversion appears in your ad platform's events manager within minutes. Check that the conversion value, timestamp, and other details match what actually occurred.
4. Monitor your event match quality scores in Meta's Events Manager and Google's conversion tracking reports. High match quality (above 7.0 for Meta) indicates that platforms can successfully match conversions to ad interactions, enabling better optimization.
Pro Tips
Send as many customer data parameters as possible (email, phone, name, city) to improve match rates, but ensure you're complying with privacy regulations and your own privacy policy. Also, sync not just enrollments but also micro-conversions like webinar registrations and checkout initiations, giving ad platforms multiple signals to optimize toward throughout your funnel.
6. Track Micro-Conversions Along the Course Funnel
The Challenge It Solves
Focusing exclusively on enrollment conversions hides where students drop off in your funnel. You might be driving thousands of clicks to your landing page but have no visibility into how many people watch your sales video, how many start the checkout process, or how many abandon their cart. Without tracking these intermediate steps, you can't identify whether your traffic quality is poor, your sales page is weak, or your checkout process is broken.
The Strategy Explained
Micro-conversions are the meaningful actions students take before enrolling: landing page views, sales video plays, webinar registrations, webinar attendance, lead magnet downloads, email list signups, checkout page views, and payment information entries. Tracking these events creates a funnel analysis that shows exactly where students progress and where they abandon the journey. When you can see that 50% of visitors watch your sales video but only 10% start checkout, you know the video is engaging but something between video completion and checkout needs improvement.
This granular visibility allows you to optimize each funnel stage independently. You might discover that your Facebook ads drive high-quality traffic that watches videos and registers for webinars, while your Google ads drive cheaper clicks that bounce immediately. Effective tracking conversions across multiple channels reveals these insights so you can refine targeting and improve underperforming funnel elements.
Implementation Steps
1. Map your complete course funnel from first click to enrollment, identifying every meaningful step a student takes. Common micro-conversions include landing page view, video play, video 50% completion, webinar registration, webinar attendance, checkout initiation, and payment information entry.
2. Implement tracking for each micro-conversion using your attribution platform or analytics tool. Set up events that fire when students complete each action, ensuring you capture the timestamp and any relevant details like which video they watched or which webinar they registered for.
3. Build funnel reports that show progression rates between each step. Calculate what percentage of landing page visitors watch your video, what percentage of video viewers register for webinars, and what percentage of webinar attendees enroll in your course.
4. Analyze funnel performance by traffic source to identify which channels bring students who progress furthest. Compare drop-off rates across channels to determine whether specific sources consistently underperform at certain funnel stages.
Pro Tips
Set up automated alerts when funnel conversion rates drop below normal thresholds. If your typical checkout-to-enrollment rate is 40% but suddenly drops to 20%, you want to know immediately so you can investigate technical issues or external factors. Also, segment funnel performance by device type (mobile versus desktop) to identify platform-specific optimization opportunities.
7. Analyze Cross-Channel Performance with Unified Dashboards
The Challenge It Solves
When your Facebook data lives in Ads Manager, your Google data lives in Google Ads, your email data lives in your ESP, and your website data lives in Google Analytics, comparing channel performance requires manually pulling reports from four different platforms and building spreadsheets. This fragmented view makes it nearly impossible to answer simple questions like "Which channel drove the most enrollments this month?" or "What's my actual return on ad spend across all platforms?"
The Strategy Explained
Unified dashboards consolidate data from all your marketing channels into a single view where you can compare true revenue performance, cost efficiency, and enrollment quality across platforms. Instead of logging into five different tools to understand your marketing performance, you access one dashboard that shows Facebook, Google, YouTube, email, and organic search performance side by side, using consistent metrics and attribution methodology.
The real power emerges when you can compare channels using the same attribution model and conversion definitions. When every channel reports enrollments using your chosen multi-touch attribution model and tracks the same micro-conversions, you can make accurate comparisons and confident budget allocation decisions. Exploring the best multi-channel tracking platforms helps you find solutions that unify all your data sources.
Implementation Steps
1. Choose a platform that integrates with all your marketing channels and course platform. Look for solutions that connect to Meta, Google, YouTube, email providers, and course platforms like Teachable or Kajabi, pulling data automatically without manual exports.
2. Configure your dashboard to display the metrics that matter most for course marketing: enrollments by channel, cost per enrollment, return on ad spend, student lifetime value by source, and funnel conversion rates. Organize these metrics in a layout that makes channel comparison intuitive.
3. Set up automated reporting that delivers weekly or monthly summaries to your inbox, highlighting top-performing channels, budget efficiency changes, and any significant performance shifts that require attention.
4. Create custom views for different analysis needs: one dashboard for daily performance monitoring, another for monthly strategic review, and another for funnel optimization. Each view should answer specific questions relevant to that use case.
Pro Tips
Build comparison reports that show performance changes over time, not just current numbers. Seeing that your Facebook cost per enrollment increased 30% this month compared to last month is more actionable than just seeing this month's number in isolation. Also, share dashboard access with team members responsible for each channel so they can monitor their own performance and make optimization decisions based on unified data.
Putting Your Multi-Channel Tracking Into Action
Start with your tracking foundation by implementing server-side tracking and consistent UTM parameters. These two strategies ensure you capture accurate data regardless of browser limitations and can identify exactly where traffic originates. Without this foundation, the other strategies won't deliver reliable insights.
Next, connect your CRM to capture the full student journey from first click to course completion and beyond. Choose an attribution model that reflects your actual sales cycle, whether that's a quick enrollment funnel or a multi-week journey involving webinars and email sequences. The right attribution model ensures you credit channels appropriately for their actual contribution to enrollments.
Once your foundation is solid, sync conversion data back to your ad platforms for better optimization. Meta and Google's algorithms need accurate enrollment data to find more students like the ones who actually convert. Feed them this data through Conversions API and Enhanced Conversions to improve targeting and reduce acquisition costs.
Track micro-conversions throughout your funnel to identify exactly where students drop off and where they progress smoothly. This granular visibility allows you to optimize each funnel stage independently and understand which channels bring students who engage deeply versus students who bounce quickly.
Finally, consolidate everything into unified dashboards where you can compare true revenue performance across channels using consistent metrics and attribution. With all your data in one place, you can confidently answer which channels deserve more budget and which need optimization or elimination.
With these seven strategies in place, you'll have the visibility needed to double down on what works and cut what doesn't. You'll know which Facebook campaigns bring students who complete courses and buy again, which Google keywords drive enrollments at profitable costs, and which email sequences convert browsers into enrolled students. This clarity transforms marketing from guesswork into a data-driven growth engine.
Ready to elevate your marketing game with precision and confidence? Discover how Cometly's AI-driven recommendations can transform your ad strategy. Get your free demo today and start capturing every touchpoint to maximize your conversions.


