
Every marketer has experienced the frustration of not knowing which campaigns actually drive revenue. You launch ads across Meta, Google, LinkedIn, and email, but when leads convert, you're left guessing which touchpoint deserves credit. Was it the Facebook ad they clicked last week? The email they opened yesterday? Or the Google search that brought them back today?
UTM tracking and attribution solve this problem by giving you visibility into the entire customer journey. UTM parameters are simple tags you add to your URLs that tell analytics tools exactly where traffic originates. Attribution takes this further by connecting those touchpoints to actual conversions and revenue.
Together, they transform your marketing from guesswork into a data-driven operation. Instead of wondering which campaigns work, you'll know precisely which ads, emails, and channels contribute to your bottom line.
This guide walks you through setting up UTM tracking and attribution from scratch. You'll learn how to create consistent UTM parameters, implement them across all your channels, connect them to your analytics and CRM systems, and finally use attribution models to understand which campaigns truly perform. By the end, you'll have a complete system that tracks every click and connects it to revenue.
Step 1: Define Your UTM Naming Convention and Parameters
Before you tag a single URL, you need a standardized naming convention. Without one, your data becomes fragmented and useless. Think of it like filing documents: if some team members use "Q1_Report" and others use "q1 report" or "Q1-Report," you'll never find what you need.
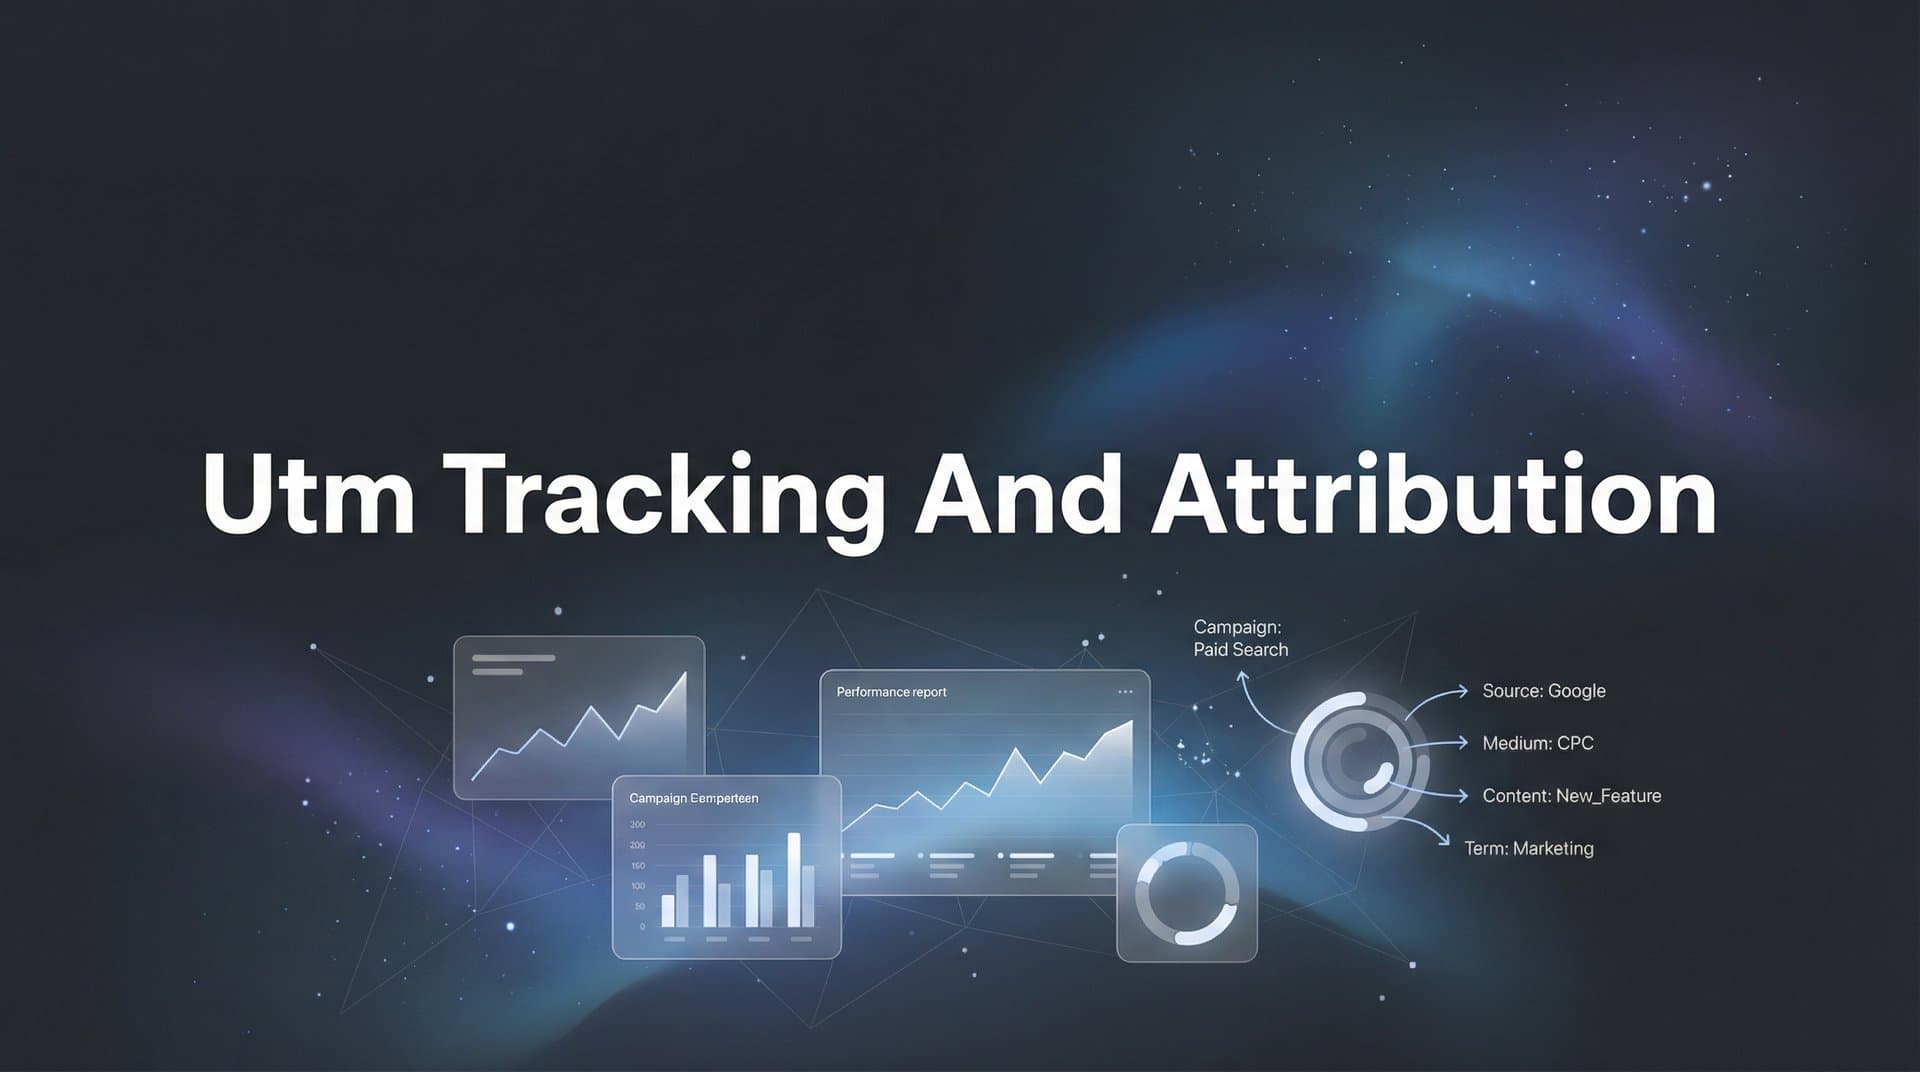
UTM parameters consist of five standard tags that you append to your URLs. Each serves a specific purpose in tracking your traffic sources.
utm_source: Identifies where the traffic originates. Examples include facebook, google, newsletter, or linkedin. This tells you which platform sent the visitor.
utm_medium: Describes the marketing channel type. Common values include paid_social, organic_social, email, cpc (cost-per-click), or referral. This categorizes how the traffic arrived.
utm_campaign: Names your specific marketing initiative. Examples include spring_sale_2026, product_launch_march, or webinar_registration. This groups related marketing efforts together.
utm_term: Primarily used for paid search to identify keywords. If you're running Google Ads on "marketing attribution software," that becomes your utm_term value.
utm_content: Differentiates similar content or links within the same campaign. Use this to test ad variations: video_ad vs image_ad, or cta_button_red vs cta_button_blue.
Your naming convention should follow these rules for consistency. Always use lowercase letters to avoid creating duplicate entries where "Facebook" and "facebook" appear as separate sources. Replace spaces with underscores: spring_sale instead of "spring sale." Avoid special characters except underscores and hyphens. Keep names descriptive but concise: q1_webinar_series works better than q1_2026_webinar_series_marketing_attribution.
Create a shared documentation template that your entire team can reference. This should include approved values for each parameter, examples of properly formatted URLs, and guidelines for naming new campaigns. Store this in a place everyone can access, whether that's a Google Doc, Notion page, or your project management tool.
Common mistakes will sabotage your tracking if you're not careful. Inconsistent capitalization creates separate data streams: Facebook, facebook, and FACEBOOK all appear as different sources. Vague campaign names like "test" or "campaign1" become meaningless when you're reviewing reports six months later. Missing parameters leave gaps in your data, making it impossible to fully understand traffic patterns.
The time you invest in this foundation pays dividends every time you analyze campaign performance. With a solid naming convention, your reports become instantly readable and your data remains clean as your team scales.
Step 2: Build Your UTM Links for Each Marketing Channel
Now that you have your naming convention documented, it's time to build the actual tagged URLs. The Google Campaign URL Builder is the most straightforward tool for this task. Simply enter your destination URL and fill in the UTM parameters according to your convention.
Let's walk through channel-specific examples to see how this works in practice.
For paid social campaigns on Facebook or Instagram, your parameters might look like this: source=facebook, medium=paid_social, campaign=spring_sale_2026, content=carousel_ad_v1. The resulting URL becomes: yoursite.com/landing-page?utm_source=facebook&utm_medium=paid_social&utm_campaign=spring_sale_2026&utm_content=carousel_ad_v1
Email campaigns require a different approach. Your source should identify the specific email platform or list: source=newsletter, medium=email, campaign=weekly_digest_march. If you're testing subject lines or send times, use utm_content to differentiate: content=subject_line_a or content=morning_send. For deeper insights into this channel, explore email marketing attribution tracking strategies.
Google Ads presents a unique situation because the platform offers auto-tagging through Google Click Identifier (GCLID). This automatically passes campaign data to Google Analytics. However, if you're using other analytics platforms or want more granular control, you can add manual UTMs alongside auto-tagging. Just ensure you enable "Allow manual tagging" in your Google Ads settings to prevent conflicts.
For LinkedIn campaigns, structure your parameters as: source=linkedin, medium=paid_social, campaign=lead_gen_march, content=sponsored_content_v2. LinkedIn's Campaign Manager allows you to add these parameters directly in your ad settings.
Once you start generating multiple URLs, organization becomes critical. Create a master spreadsheet with columns for: Campaign Name, Channel, Full Tagged URL, Short URL (if using a link shortener), Launch Date, and Status. This becomes your single source of truth for all marketing links.
Before deploying any tagged URL, test it thoroughly. Click the link and check your analytics tool's real-time reports to verify the parameters appear correctly. Open the URL in your browser and examine the address bar to ensure all parameters are present and properly formatted. This simple step catches errors before they contaminate your data.
Some marketers use URL shorteners like Bitly for cleaner-looking links, especially in social media posts. If you go this route, shorten the URL after adding UTM parameters, not before. The shortener preserves the parameters while making the link more presentable.
As your marketing scales, consider using a dedicated UTM management tool that integrates with your workflow. These platforms can enforce your naming convention, prevent duplicates, and automatically organize your links. The investment becomes worthwhile when you're managing hundreds of campaigns across multiple channels.
Step 3: Implement UTM Tracking Across Your Ad Platforms
With your tagged URLs ready, it's time to deploy them across your advertising channels. Each platform has specific methods for implementing UTM parameters, and understanding these nuances ensures accurate tracking.
Meta Ads Manager (Facebook and Instagram) supports dynamic UTM parameters that automatically populate with campaign details. Instead of manually creating unique URLs for every ad, you can use variables that Meta fills in automatically. In your ad's URL parameters field, add: utm_source=facebook&utm_medium=paid_social&utm_campaign={{campaign.name}}&utm_content={{ad.name}}
These double-curly-bracket variables pull information directly from your campaign structure. When someone clicks your ad, Meta replaces {{campaign.name}} with your actual campaign name and {{ad.name}} with the specific ad creative name. This automation maintains consistency while saving hours of manual URL building.
Google Ads operates differently with its auto-tagging system. When enabled, Google automatically appends a GCLID parameter to your URLs, which passes campaign data to Google Analytics. However, if you're using attribution platforms beyond Google Analytics, you should add manual UTMs alongside auto-tagging. Learn more about Google Ads attribution tracking to maximize your paid search performance.
In your Google Ads account settings, navigate to Account Settings and enable "Allow manual tagging (UTM values) to override auto-tagging (GCLID values)." Then add your UTM parameters at the campaign or ad group level using Google's ValueTrack parameters: utm_source=google&utm_medium=cpc&utm_campaign={campaignid}&utm_term={keyword}&utm_content={creative}
LinkedIn Campaign Manager allows you to add URL parameters directly in the ad creation process. Click "Add URL Parameters" in your ad settings and input your UTM values. LinkedIn also offers dynamic parameters similar to Meta: {{campaign.id}} and {{creative.id}} automatically populate with relevant identifiers.
For TikTok Ads, add UTM parameters in the "Tracking" section when creating your ad. TikTok supports dynamic macros like __CAMPAIGN_ID__ and __AID__ that automatically insert campaign and ad identifiers. Combine these with your standard UTMs: utm_source=tiktok&utm_medium=paid_social&utm_campaign=brand_awareness_march&utm_content=__AID__
After implementing tracking across all platforms, verification is essential. Launch a small test campaign on each platform with your UTM parameters configured. Click through your own ads and immediately check your analytics tool's real-time reports. You should see the traffic appear with all UTM parameters intact.
If parameters aren't showing up correctly, common culprits include: URL encoding issues where special characters break the link, conflicting tracking parameters from multiple systems, or platform-specific restrictions on URL length. Address these issues before scaling your campaigns to avoid corrupted data.
Keep a testing checklist for each new platform or campaign type you launch. This systematic approach catches tracking problems early, when they're easy to fix rather than after you've spent thousands on untracked ads.
Step 4: Connect UTM Data to Your CRM and Analytics Platform
UTM parameters become truly powerful when you connect them to your CRM and analytics systems. This integration transforms anonymous clicks into attributed leads and customers, giving you the complete picture of which campaigns drive actual revenue.
The foundation of this connection is capturing UTM parameters on form submissions. When someone clicks your tagged URL and lands on your website, those UTM values are present in the page URL. Your job is to grab them and pass them along when that visitor becomes a lead.
Implement hidden fields in your forms that automatically capture UTM parameters. Most form builders, including HubSpot Forms, Marketo, and Unbounce, support this functionality. Create five hidden fields named exactly as your UTM parameters: utm_source, utm_medium, utm_campaign, utm_term, and utm_content. Configure these fields to auto-populate from URL parameters.
When someone fills out your form, these hidden fields capture the UTM values and submit them along with the visible form data. This means every lead in your CRM now has attribution data attached, showing exactly which campaign brought them in. This approach is essential for effective attribution tracking for lead generation.
Your CRM integration depends on which platform you're using. In HubSpot, UTM parameters automatically create contact properties when captured through HubSpot forms. For Salesforce, you'll need to create custom fields on your Lead and Contact objects, then map your form fields to these custom fields. Marketo requires similar custom field creation and form field mapping.
Here's where modern tracking gets more sophisticated. Browser restrictions and iOS privacy updates have made cookie-based tracking increasingly unreliable. Users who browse on mobile Safari, use content blockers, or clear their cookies regularly will lose their UTM attribution data before they convert.
Server-side tracking solves this problem by capturing and storing attribution data on your server rather than relying on browser cookies. When someone clicks your tagged URL, your server immediately logs those UTM parameters and associates them with a unique identifier. Even if the user switches devices or clears cookies, that attribution data persists. Understanding cross-device attribution tracking becomes critical in this privacy-first landscape.
Implementing server-side tracking requires technical setup, but the accuracy gains are substantial. You'll need to configure your server to capture UTM parameters from incoming requests, store them in a database or data layer, and retrieve them when conversion events occur. Many modern marketing platforms handle this automatically.
Attribution platforms like Cometly take this integration to the next level. Rather than manually configuring hidden fields and server-side tracking, Cometly automatically captures UTM parameters along with all other touchpoint data across the entire customer journey. From the first ad click through email opens, website visits, and CRM events, everything is tracked and connected.
This comprehensive tracking means you're not just seeing which ad someone clicked last. You're seeing every touchpoint that influenced their decision, with full UTM attribution data for each interaction. When a lead converts to a customer, you can trace their entire path and understand which campaigns contributed at each stage.
The enriched data doesn't just help you understand performance. It also feeds back into your ad platforms to improve their optimization algorithms, which we'll explore in later steps. For now, ensure your UTM data flows seamlessly from clicks through forms into your CRM and analytics systems.
Step 5: Choose and Configure Your Attribution Model
Now that you're capturing complete UTM data across all touchpoints, you need to decide how to assign credit for conversions. This is where attribution models come in. Different models distribute credit differently across the customer journey, and choosing the right one depends on your business model and sales cycle.
Understanding your attribution model options helps you make an informed choice. For a comprehensive comparison, review the difference between single source attribution and multi-touch attribution models.
First-touch attribution gives 100% credit to the first interaction a customer has with your brand. If someone discovers you through a Facebook ad, then later clicks an email and a Google ad before converting, Facebook gets all the credit. This model works well for measuring top-of-funnel awareness campaigns and understanding which channels introduce new prospects.
Last-touch attribution does the opposite, crediting the final touchpoint before conversion. In the same scenario, the Google ad gets 100% credit. This model favors bottom-of-funnel tactics and shows which channels close deals, but it ignores the nurturing that happened earlier in the journey.
Linear attribution distributes credit equally across all touchpoints. If a customer interacted with five campaigns before converting, each receives 20% credit. This model acknowledges that multiple channels work together, though it doesn't account for the varying importance of different touchpoints.
Time-decay attribution gives more credit to touchpoints closer to conversion. The final interaction might receive 40% credit, the previous one 30%, and earlier touchpoints decreasing percentages. This model recognizes that recent interactions often have more influence on the final decision.
Data-driven attribution uses machine learning to analyze your actual conversion patterns and assign credit based on which touchpoints statistically correlate with conversions. This is the most sophisticated approach but requires substantial data volume to produce reliable results.
Match your attribution model to your sales cycle and marketing goals. If you run a short sales cycle where customers typically convert on their first or second visit, last-touch attribution might suffice. For longer B2B sales cycles with multiple touchpoints over weeks or months, multi-touch models provide more accurate insights.
Consider your marketing strategy as well. If you're heavily investing in awareness campaigns, first-touch attribution shows which channels effectively introduce new prospects. If you're focused on conversion optimization, last-touch or time-decay models highlight which tactics close deals.
Configuring multi-touch attribution reveals how campaigns work together throughout the funnel. You might discover that LinkedIn ads rarely drive direct conversions but consistently introduce high-value prospects who later convert through search or email. Without multi-touch attribution, you'd undervalue LinkedIn and potentially cut a channel that plays a crucial role in your funnel.
Most analytics platforms allow you to compare multiple attribution models side by side. Use this feature to understand how different models change your perspective on campaign performance. A channel that looks mediocre in last-touch attribution might emerge as a star performer in first-touch or linear models.
The key insight from attribution modeling is understanding which sources actually convert, not just which ones get clicks. A channel might drive massive traffic but contribute little to revenue. Another might send fewer visitors but consistently introduce prospects who become customers. Attribution data separates vanity metrics from business impact.
Start with a model that matches your current understanding, then refine as you gather more data. Many businesses begin with last-touch attribution because it's simple and familiar, then graduate to multi-touch models as they recognize the complexity of their customer journeys. The important thing is choosing a model and sticking with it long enough to gather meaningful insights.
Step 6: Analyze Reports and Optimize Campaign Performance
With tracking and attribution configured, you're ready to extract insights and optimize your campaigns. This is where all your setup work pays off, transforming raw data into actionable decisions that improve your marketing ROI.
Start by reviewing attribution reports to identify top-performing campaigns, ad sets, and creatives. Look beyond surface-level metrics like clicks and impressions. Focus on which campaigns drive conversions and revenue. You might find that your highest-traffic campaign generates few conversions, while a smaller campaign consistently brings in qualified leads.
Compare platform-reported conversions against attributed revenue to find discrepancies. Facebook might claim 100 conversions from your campaign, but when you trace those conversions through your attribution system, you discover only 60 actually closed as customers. This gap reveals important truths about campaign quality versus quantity. Explore revenue attribution tracking tools to bridge this gap effectively.
These discrepancies often arise from attribution window differences, conversion definitions, or tracking limitations. Platforms typically use shorter attribution windows and credit themselves for conversions that other channels influenced. Your attribution system provides the complete picture, showing all touchpoints that contributed to each conversion.
Use these insights to reallocate budget toward channels with the highest return. If your attribution data shows that LinkedIn consistently introduces prospects who convert at high rates, even if conversions happen through other channels, increase your LinkedIn investment. Conversely, if a channel drives clicks but those visitors rarely progress through your funnel, reduce spending there.
The optimization cycle should be continuous. Review your attribution reports weekly or bi-weekly, depending on your campaign volume and budget. Look for trends rather than reacting to daily fluctuations. A campaign might have an off day, but consistent underperformance over two weeks signals a real problem.
Beyond budget allocation, use attribution insights to improve creative and messaging. If ads featuring customer testimonials consistently outperform product-focused ads across your attribution data, create more testimonial content. If certain value propositions resonate with prospects who ultimately convert, emphasize those messages in future campaigns.
Here's where the connection between attribution and ad platform optimization becomes powerful. Feed enriched conversion data back to your ad platforms to improve their algorithms. When you send detailed conversion events with accurate attribution to Meta or Google, their systems learn which audiences and placements actually drive results.
This creates a virtuous cycle: better data leads to better optimization, which leads to better results, which generates more data. Platforms like Cometly automatically sync enriched conversion events back to your ad accounts, ensuring algorithms have the most accurate information to optimize campaigns.
Pay attention to multi-touch insights that reveal channel synergies. You might discover that prospects who see both Facebook ads and receive your email newsletter convert at twice the rate of those who interact with only one channel. This insight suggests increasing investment in both channels simultaneously rather than choosing between them. For managing complex campaigns, learn about attribution tracking for multiple campaigns.
Document your optimization decisions and their outcomes. When you shift budget based on attribution data, note the change and track results over the following weeks. This creates an optimization history that helps you understand what works for your specific business, building institutional knowledge that improves decision-making over time.
Your Complete UTM Tracking and Attribution System
You now have a complete UTM tracking and attribution system in place. Let's recap what you've built: You established a consistent naming convention that keeps your data clean and organized. You generated tagged URLs for every marketing channel using standardized parameters. You implemented tracking across all your ad platforms using dynamic variables and platform-specific features. You connected UTM data to your CRM through form capture and server-side tracking. You configured attribution models that match your sales cycle and business goals. And you learned how to analyze reports and optimize campaigns based on attributed revenue rather than vanity metrics.
Here's your quick implementation checklist to ensure nothing falls through the cracks. Document your UTM naming convention and share it with your entire team so everyone follows the same standards. Generate and test UTM links before launching campaigns to catch errors early. Set up hidden form fields to capture UTM data on every lead. Connect your analytics to your CRM for lead-level attribution that tracks prospects through to revenue. Choose an attribution model that matches your sales cycle and stick with it long enough to gather meaningful insights. Review attribution reports weekly and adjust budgets based on what actually drives conversions, not just clicks.
With this system running, you'll finally know exactly which ads and channels drive your revenue. No more guessing which campaigns deserve credit. No more wasting budget on channels that look good in platform dashboards but fail to convert. No more frustration trying to explain marketing ROI to leadership.
Start implementing today, and within weeks you'll have the data clarity to scale your campaigns with confidence. Every dollar you spend will be tracked, every conversion attributed, and every optimization decision backed by real data showing what works for your business.
Ready to elevate your marketing game with precision and confidence? Discover how Cometly's AI-driven recommendations can transform your ad strategy. Get your free demo today and start capturing every touchpoint to maximize your conversions.


