
Enhanced conversions in Google Ads are a powerful way to sharpen the accuracy of your conversion data. The feature works by taking first-party data you already collect—like an email address—and securely sending a "hashed" (encrypted) version to Google. This helps match customer actions back to ad clicks, even when traditional cookies drop the ball.
The result? You get a much clearer picture of what's driving sales and leads, which helps fuel smarter bidding and better campaign outcomes.
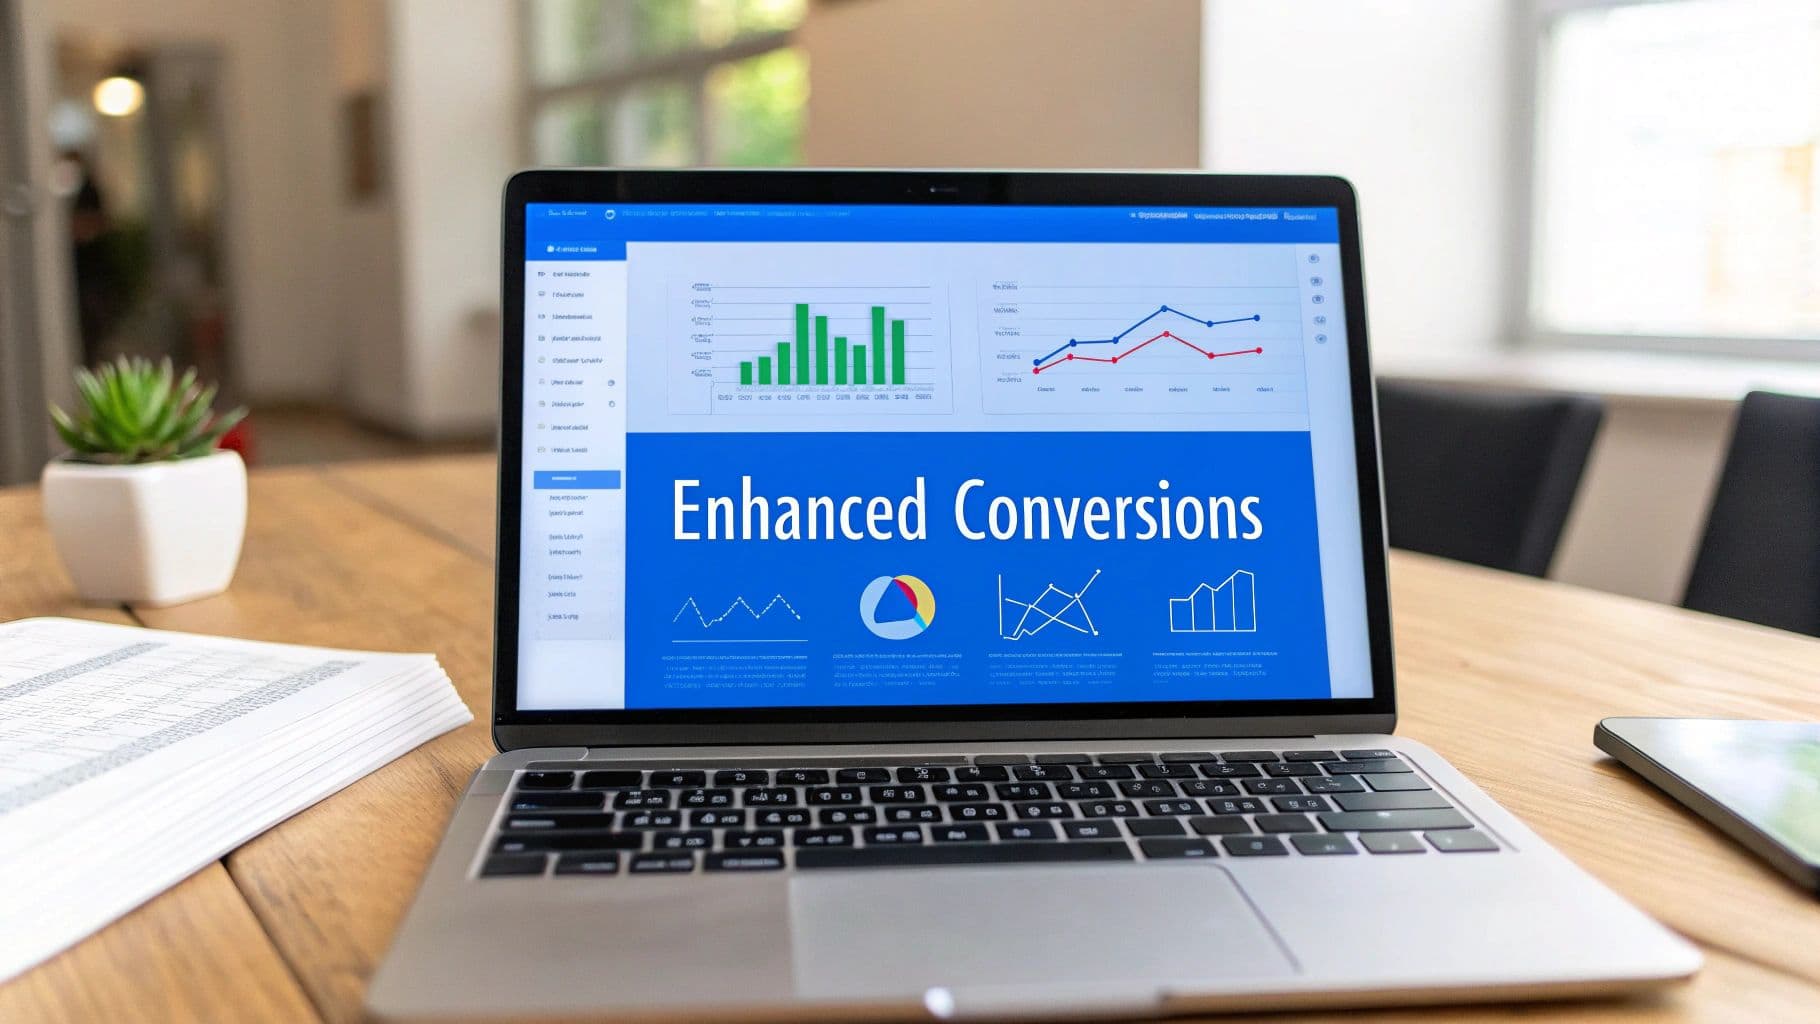
Why Enhanced Conversions Matter for Your Campaigns
In a world where user privacy and the slow death of third-party cookies are changing the game, getting an honest look at campaign performance is tougher than ever. Standard conversion tracking, which has always leaned on cookies, often misses huge chunks of the customer journey. This is where enhanced conversions google ads becomes less of a "nice-to-have" and more of a necessity for accurate measurement.
Think about a totally normal customer journey: someone clicks your ad on their work laptop, browses your site, but then buys the product later that night on their personal tablet. Old-school tracking would almost certainly lose that connection and fail to attribute the sale to your campaign. This leaves a massive data gap, making your ads look way less effective than they actually are.
Bridging the Data Gap with First-Party Information
Enhanced conversions neatly solve this problem by using the first-party data you're already collecting, like an email or phone number entered at checkout.
Before this information ever leaves your site, it’s "hashed"—a one-way encryption that scrambles sensitive data into an unreadable string of characters. User privacy stays protected.
Google then takes this hashed data and tries to match it against its own database of signed-in Google accounts. When it finds a match, it can confidently link the conversion back to the original ad click, no matter what device was used.
The diagram below breaks down how this user-provided data securely connects the dots.
 Mastering Enhanced Conversions Google Ads
This gives you a far more resilient and accurate way to measure the true impact of your advertising without breaking user trust.
The Real-World Impact on Your ROI
The benefits here go way beyond just better attribution. When you feed Google's automated bidding strategies—like Target CPA or Target ROAS—a more complete dataset, they can make much smarter decisions. The algorithms get higher-quality signals, letting them optimize for users who are actually likely to convert.
The results can be pretty dramatic. One agency reported that after implementing Enhanced Conversions, they saw an average increase of +16% in tracked conversions, with some clients seeing lifts as high as 33%.
Ultimately, the goal is to help businesses significantly improve ecommerce conversion rates by arming them with more accurate data for optimization.
Key Takeaway: Enhanced conversions don't just count more conversions; they provide a truer, more reliable measurement of your campaign's performance, leading directly to better budget allocation and improved return on ad spend.
Traditional Tracking vs Enhanced Conversions
To really understand the shift, it helps to see a side-by-side comparison. Traditional pixel tracking has served us well, but it's showing its age in a cookieless world.
Feature | Traditional Pixel Tracking | Enhanced Conversions |
|---|---|---|
Primary Identifier | Third party cookies | Hashed first party data such as email or phone |
Cross Device Tracking | Unreliable and frequently breaks | Highly accurate using signed in Google data |
Resilience to Privacy Changes | Vulnerable to cookie blocking and deletion | More durable and not dependent on cookies |
Data Accuracy | Prone to gaps and under reporting | Provides a more complete view of conversions |
Bidding Signal Quality | Lower quality signals due to missing data | Higher quality signals that improve bidding and optimization |
Privacy Focus | Relies on browser level tracking mechanisms | Protects user privacy through one way hashing |
As you can see, Enhanced Conversions are built for the modern advertising landscape, offering a more robust and privacy-conscious solution.
This shift is crucial for any advertiser looking to stay ahead. By finally understanding the complete customer journey, you can fine-tune your strategies and put your marketing dollars where they’ll make the biggest impact. For a deeper dive into the fundamentals, check out our comprehensive guide on https://www.cometly.com/post/conversion-tracking.
Choosing Your Implementation Path: GTM vs. API
Before you get into the weeds of setting up enhanced conversions google ads, you’ve got to make a foundational choice: How are you going to send this valuable first-party data to Google? You have two main routes—Google Tag Manager (GTM) or the Google Ads API—and your decision will shape the entire process.
This isn’t a minor detail. The path you pick determines the complexity, flexibility, and resources you’ll need to pull this off. Getting it right from the start will save you a ton of time and prevent major headaches down the road.
The Go-To Method: Google Tag Manager
For the vast majority of businesses, especially in e-commerce or lead generation with standard website forms, Google Tag Manager is the way to go. It’s the most accessible and recommended path. GTM acts as a middle layer, letting you grab user-provided data from your website’s front end and pass it to Google without needing to be a coding wizard.
Think of GTM as the user-friendly control panel for all your website’s tracking tags. It’s perfect for marketers who are comfortable in a visual interface and prefer a more guided setup.
Expert Insight: We recommend GTM for over 90% of enhanced conversion setups. It's robust enough for most situations, way faster to deploy, and you won’t need to call a developer for every little tweak.
If your key conversions happen through online forms—like checkouts, lead magnet downloads, or contact forms—GTM gives you a direct and efficient solution. You can use its built-in tools to pinpoint and pull the necessary data (like an email field) and set up your tags to handle the hashing and sending process securely.
The Power User Path: The Google Ads API
The Google Ads API, on the other hand, is a server-side solution built for more complex setups. This method sends conversion data directly from your server, bypassing the user's browser entirely. This makes it a far more durable and customizable integration.
This is the right choice if your business deals with:
- Offline Conversions: Tracking sales that happen in a CRM, over the phone, or in person long after the initial online interaction.
- Complex Systems: Integrating with custom-built CRMs or backend systems where conversion data is stored separately from your website.
- Delayed Conversions: Attributing sales that occur long after the initial click, which is common in subscription models or businesses with long sales cycles.
This approach absolutely requires developer resources. It involves capturing the Google Click ID (GCLID) on your website, storing it alongside the customer's lead info, and then sending the conversion data directly from your server to Google's API when the sale finally happens.
Understanding how different data systems talk to each other is critical here. For a bigger picture on this, checking out resources on mastering marketing automation integrations can give you some valuable context.
FeatureGoogle Tag Manager (GTM)Google Ads APIImplementationClient-Side (Browser)Server-SideTechnical SkillMarketing/Technical MarketerDeveloper RequiredUse CaseOnline form submissions, e-commerce checkoutsOffline sales, CRM conversions, delayed actionsComplexityLowerHigherFlexibilityGoodExcellent
Ultimately, the API gives you unparalleled control and is a cornerstone of any advanced attribution setup. To get a better handle on how server-side tracking works in general, you can learn more about what a conversion API is and its role in a modern marketing stack.
The best path for you depends entirely on where your conversion data lives and the technical firepower you have on hand.
Your Guide to GTM Enhanced Conversions Setup
For most marketers, Google Tag Manager (GTM) is the go-to for setting up enhanced conversions google ads. It hits that sweet spot between powerful control and a user-friendly interface, letting you capture first-party data without needing to be a developer.
Let's walk through how to get this done, from enabling the feature in Google Ads to getting everything configured and firing correctly in GTM.
First things first, you have to let Google Ads know you're planning to send it this richer data. Head into your Google Ads account and navigate to Goals > Conversions > Settings. You’ll see an option for Enhanced conversions—go ahead and turn that on. When it asks for your implementation method, choose "Google Tag Manager." This tells your account to start listening for the hashed data.
Now, the real work happens over in GTM. The concept is pretty simple: when a conversion occurs (like a successful purchase or a lead form submission), you need your GTM tags to grab the user-provided data (like their email address), hash it for privacy, and send it along with the standard conversion pixel.
This flow chart gives you a quick visual breakdown of the GTM route versus the more developer-heavy API approach.
 Mastering Enhanced Conversions Google Ads
As you can see, the GTM path keeps you within a visual interface of tags and variables, which is why it's the preferred method for most of us.
Capturing User Data with Variables
The core of this whole setup is creating GTM variables that can read and store the user data you need. Your website has to make this information available on the page at the moment of conversion. You've got two main ways to grab it:
- Data Layer Variables: This is the gold standard. It involves having your developer push user details like
emailorphone_numberinto the data layer after a successful form submission or purchase. You then just create a "Data Layer Variable" in GTM to pull that info. It's clean and reliable. - DOM Element Variables: If a data layer implementation isn't in the cards, you can fall back on a "DOM Element Variable." This method essentially "scrapes" the data directly from the HTML of the page using a CSS Selector to pinpoint a specific field, like an email input box.
For example, if you wanted to grab the email from a form field with the ID #email-input, your DOM Element variable would use the "CSS Selector" method with #email-input as the selector. It works, but be warned—it's brittle. If a developer ever changes that ID or the page structure, your tracking will break without warning.
Configuring the User-Provided Data Variable
Okay, so you have variables capturing the raw user info. The next step is to package that data up in a way Google Ads can understand. GTM has a special variable type just for this, called the "User-Provided Data" variable.
In GTM, go to Variables > New, and select User-Provided Data from the list. You'll get a clean form with fields for Email, Phone, First Name, Last Name, and Address. This is where you map the variables you created earlier. For the "Email" field, you’d select your {{Data Layer - userEmail}} or {{DOM - Email Field}} variable.
Think of this as a container that neatly organizes all the user data before it gets attached to your conversion tag.
Updating Your Conversion Tag
The final piece of the puzzle is telling your main Google Ads Conversion Tracking tag to include this new data container.
Find the specific Google Ads tag in GTM that fires for your key conversion event. Open it up, and look for a checkbox labeled "Include user-provided data from your website." Check that box. A new field will pop up, prompting you to select your user-provided data variable. Just pick the container variable you created in the last step.
Save the tag, and you're almost done.
Pro Tip: Don't skip testing. Use GTM's Preview mode to run a test conversion. After you submit your test form, click on the conversion tag fire in the Preview console and switch to the "Variables" tab. You should see your User-Provided Data variable populated with the hashed versions of the test info you entered. If it's there, you're good to go.
Common GTM Setup Mistakes to Avoid
This process is fairly straightforward, but I've seen a few common mistakes trip people up time and time again. Watch out for these:
- Triggering Too Early: A classic error is firing your conversion tag on the button click of a form submission instead of on the actual thank-you page load or a custom success event pushed to the data layer. If the tag fires before the data is confirmed and available, you'll just be sending empty data to Google.
- Incorrect CSS Selectors: When you're using DOM scraping, a sloppy CSS selector can cause headaches. If it's too broad, you might grab the wrong text from the page. If it's too specific and not tied to a unique ID, it could break the next time a developer tweaks the site's styling. Always go for a unique element ID if you can.
- Data Formatting Issues: Make sure the data you capture is clean. For phone numbers, including the country code (e.g., +1) is best practice. While Google is pretty good at normalizing some of this data on its end, giving it clean, well-formatted information from the start will always yield better match rates.
Getting your GTM container set up correctly is a foundational skill for any performance marketer. If you're running an e-commerce site, you can take these principles even further by checking out our guide to setting up Google Tag Manager for WooCommerce. With carefully configured tags and variables, you’ll build a reliable data pipeline that helps make your Google Ads campaigns smarter and more effective.
Server-Side Implementation with the Google Ads API
While Google Tag Manager is great for most client-side setups, the Google Ads API offers a much more powerful, server-side path for enhanced conversions google ads. This is the go-to solution for businesses tracking conversions that happen offline—think sales closed in a CRM or deals finalized long after the first website visit.
This method gives you maximum control and accuracy by sending conversion data straight from your server to Google's.
By going server-to-server, you completely bypass the user's browser. That means your tracking is immune to ad blockers, browser privacy settings, and cookie limitations. It's the most durable way to ensure your conversion data is complete and reliable. Instead of hoping a tag fires in a browser, you’re creating a direct, secure line of communication between your business systems and Google Ads.
The Architectural Blueprint for API Integration
Let's be clear: implementing enhanced conversions via the API isn't a quick tag setup. It's a developer-led project that requires a solid architectural plan. The whole process hinges on capturing a unique identifier on your website and then pairing it with customer data on your backend.
Here’s how the workflow typically plays out from start to finish:
- Capture the GCLID: A user clicks your Google Ad and lands on your site with a Google Click ID (GCLID) attached to the URL. Your website code needs to grab this GCLID and store it, usually in a cookie or local storage.
- Store Data on Submission: When the user fills out a form or completes another action, you have to pass this GCLID along with their first-party data (like email or phone number) to your server or CRM.
- Associate Data with the Lead: Your backend system now has a record of the user's information tied directly to the specific ad click that brought them to you. This connection is the secret sauce for accurate attribution.
- Send Data upon Conversion: When the real conversion event happens—maybe a deal is marked "closed-won" in your CRM a week later—your server sends the conversion data, including the original GCLID and the hashed user data, straight to the Google Ads API.
This server-to-server connection ensures you can attribute sales that take days or even weeks to finalize back to the exact campaign that generated the lead.
Key Data Requirements and Hashing
For the API to do its job, you have to format and secure the data correctly. Google requires first-party data to be normalized—think lowercase, no extra spaces—and then hashed using the SHA-256 algorithm. This one-way encryption is non-negotiable and is critical for protecting user privacy. You'll hash fields like email, phone number, and mailing address on your server before sending them.
Crucial Tip: Your match rate—how often Google successfully connects your hashed data to a signed-in Google account—depends heavily on the quality and quantity of the data you provide. Including multiple identifiers (e.g., email and phone number) significantly improves the chances of a successful match.
The API payload will include the GCLID, conversion time, and a user_identifiers object containing all that hashed data. Your development team will need to dig into the official Google Ads API documentation to structure these requests correctly, handle authentication, and manage any errors. This is a technical task that definitely requires backend programming skills.
For marketers who want to get a better handle on the mechanics behind server-side tracking, our guide on the Google Conversion API is a great read. It provides valuable context on the broader principles involved and helps demystify how platforms like Google and Meta process data sent directly from a server.
The API approach is undoubtedly more complex, but for businesses with sophisticated sales funnels or offline conversion points, it's the only way to get a truly complete picture of ad performance. It transforms your attribution from an educated guess into a precise science.
How to Validate and Measure Your Setup
 Mastering Enhanced Conversions Google Ads
Activating enhanced conversions is a huge win, but your work isn’t done just yet. Flipping the switch is one thing; making sure the data is flowing correctly and actually improving your campaigns is another.
If you skip the validation step, you're essentially flying blind. You won't know if your new setup is a performance-booster or just creating noise in your account. This final phase is all about moving from technical setup to real-world performance analysis.
Let's walk through how to use Google's own tools to verify everything is working, then dive into the metrics that prove your efforts are paying off.
Verifying Your Setup with Diagnostic Tools
Your first stop is Google's diagnostic toolkit. These tools are built to give you direct, unambiguous feedback on your enhanced conversions setup.
- Google Tag Assistant: This is your real-time debugger. Before you publish your GTM container, fire up Preview mode and run through a test conversion. Once the tag fires, click on it inside Tag Assistant. You should see that your user-provided data variable was correctly populated and that the hashed information was sent along with the conversion hit. If it’s empty, something’s off with your variables or triggers.
- Google Ads Diagnostics Tab: Inside your Google Ads account, head over to Goals > Conversions > Summary and click into your primary conversion action. The "Diagnostics" tab is your setup's health monitor. It can take a few days for data to start showing up, but it will eventually display a status.
Decoding these status messages is key. They tell you exactly what’s happening behind the scenes.
Expert Insight: Don't panic if your status says "Processing" or "Recording (processing enhanced conversions)" for a few days. Google needs both time and a decent volume of conversion data to validate the setup and start matching it. The end goal is to see that beautiful green "Active" status, which confirms everything is working perfectly.
Understanding Diagnostic Status Messages
The messages in the Diagnostics tab might seem a bit cryptic at first, but they give you clear action items. Here's a quick guide to what they mean and what you should do next.
Google Ads Diagnostic Status Meanings
This table breaks down each status message, what it means for your setup, and the next steps you should take.
Status Message | What It Means | Recommended Action |
|---|---|---|
Inactive | Google has not detected any recent conversions for this action | Trigger a live ad click followed by a test conversion and verify that all tags are firing correctly |
No Recent Conversions | Conversions were recorded previously but not within the last seven days | This may be normal for low volume accounts. If unexpected, review recent site or tracking changes |
Recording (Processing Enhanced Conversions) | Hashed conversion data is being received and validated by Google | No action needed. This is a normal learning phase. Monitor status over the next few days |
Active | Google is successfully receiving and matching enhanced conversion data | Setup is complete. Shift focus to monitoring performance and optimization metrics |
Tag Inactive | The primary Google tag is not firing on your site | Check your GTM container and ensure the Google Tag fires on all pages using an Initialization trigger |
Once you see that "Active" status, you can be confident that the technical part is behind you. Now, let's talk about the fun part: measuring the impact.
Measuring the Performance Impact
With your setup confirmed as "Active," the focus shifts from technical validation to business impact. How is this more accurate data actually helping your campaigns?
First, you need to establish a baseline. Take a look at your core conversion metrics—like cost per conversion and conversion rate—from the 30 days before you enabled enhanced conversions. This gives you a benchmark to measure against.
Next, be patient. Google's bidding algorithms need a couple of weeks with the new, richer data to adjust and optimize. Don't jump to conclusions after just a few days.
One interesting effect you might notice is a shift in attribution. While enhanced conversions often increase the total number of attributed conversions, they also create a more precise model. This can sometimes lead to a temporary decrease in conversions credited directly to Google Ads as the system reallocates credit more accurately across the entire customer journey. You can explore the detailed reasons behind this effect in a full analysis of enhanced conversions attribution on blog.littledata.io.
Ultimately, a successful implementation should lead to more stable and efficient campaign performance. Your bidding strategies are now working with a much more complete picture of what actually drives results. For more strategies on this topic, check out our guide on how to measure ad effectiveness.
When you’re dealing with any kind of tracking, privacy has to be front and center. That’s non-negotiable. The good news is that Google Ads Enhanced Conversions wasn't tacked on as an afterthought; it was built from the ground up to work with privacy frameworks, not against them.
It’s not some sneaky workaround for user consent. In fact, the whole system hinges on you getting proper consent first. Enhanced Conversions is designed to respect a user's choice, ensuring you only collect and pass along data when you have explicit permission.
Respecting User Choices with Consent Mode
Think of Google Consent Mode v2 as the gatekeeper for your tags. It’s the mechanism that tells your Google tags what a user has agreed to—did they accept analytics cookies? What about advertising cookies?
If a user says "no" to ad tracking, your Enhanced Conversions setup has to honor that decision. Period. No user-provided data gets sent.
Your job is to make sure your Consent Management Platform (CMP) is configured correctly to send these signals. When a user opts in, your tags fire normally and capture the hashed data. When they opt out, the tags adapt, keeping you fully compliant.
Enhanced Conversions is built for the modern, privacy-first web. By using encrypted first-party data and aligning with standards like Consent Mode v2, it stays compliant with major regulations in the US, EU, and other markets where user privacy is actively enforced. For a deeper dive into the compliance side, check out this 2025 guide from Conversios.io.
This alignment is everything. It gives you a clear, compliant way to get more accurate conversion data without crossing privacy lines, which is essential for building and keeping customer trust.
The Role of SHA-256 Hashing
So, how does it all stay private? The secret sauce is SHA-256 hashing.
This is a one-way encryption process that scrambles personally identifiable information (PII) like an email or phone number into an irreversible string of characters. This happens before the data ever leaves the user's browser.
For instance, jane.doe@example.com might become something like 9c8d1b78061ff5c5e2a7cd540d4c0012.
This is a critical technical safeguard. It means raw, sensitive customer data is never sent to Google’s servers. Google only gets the hashed string, which it then tries to match against the already-hashed data from its own signed-in user accounts. It's a foundational piece of what makes this feature compliant.
Don't Forget to Update Your Privacy Policy
Transparency is key. When you implement Enhanced Conversions, you're changing how you handle user data, and your privacy policy needs to reflect that. You have to clearly explain to your users what’s happening in simple terms.
Your policy should cover:
- What data you collect: Be specific. Mention that you collect first-party data like email addresses or phone numbers when they convert.
- How you use it: Explain that this information is securely hashed and shared with Google to help measure the effectiveness of your advertising.
- Why you do it: Frame it as a benefit to them. It helps you understand which ads are actually useful, leading to a better experience.
Skipping this update isn't just bad form; it can land you in hot water with data privacy laws. It's a critical step for a trustworthy and compliant setup. By combining clear user consent, strong technical protections, and transparent communication, you can get the powerful attribution data you need while fully respecting your customers' privacy.
Unlock a new level of clarity in your marketing attribution with Cometly. Our platform helps you see the complete customer journey, ensuring every dollar of your ad spend is accounted for and optimized for maximum ROI. Start tracking smarter today at Cometly.com.


