
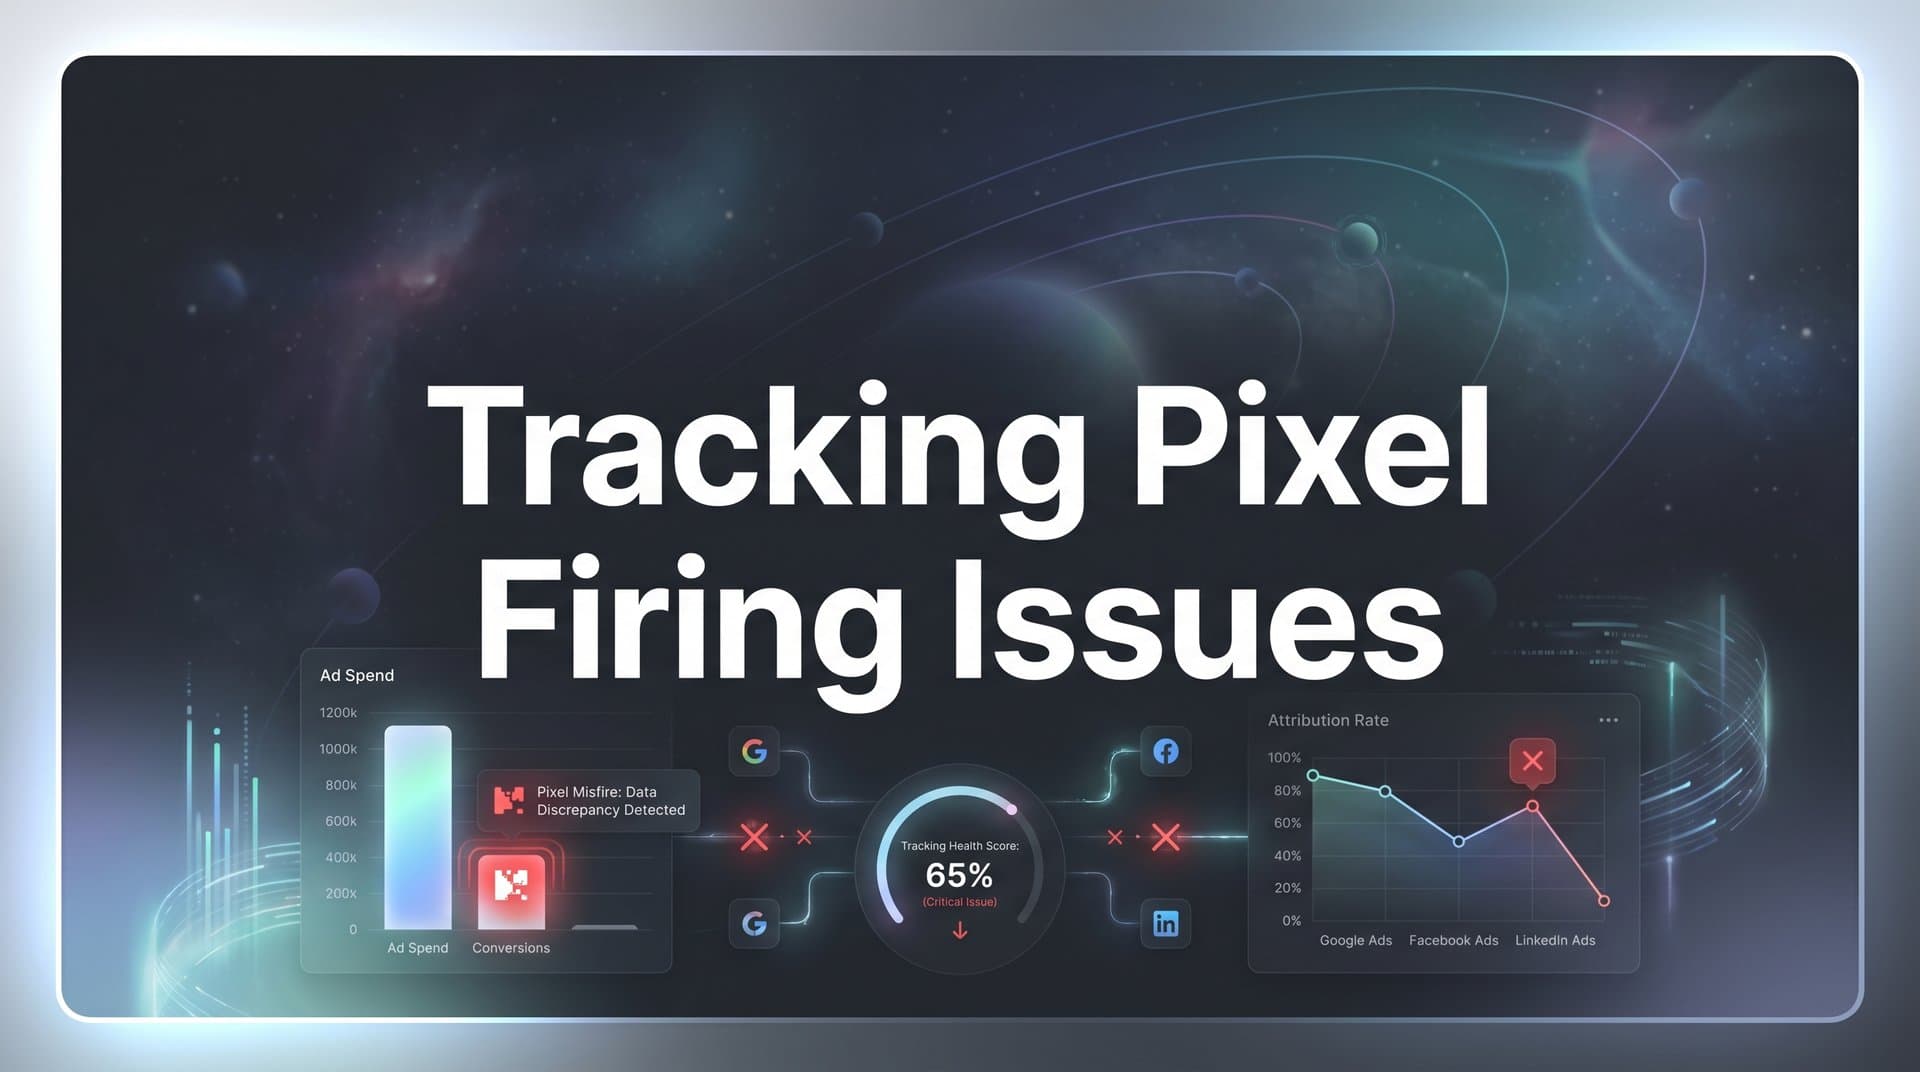
Your ad campaign was performing beautifully yesterday. Today, your conversion tracking shows zero events. Your ad spend continues, but you have no idea what's working. You refresh the dashboard hoping it's just a delay, but the data never arrives. This scenario plays out daily for marketers who rely on tracking pixels to measure campaign performance.
When tracking pixels fail to fire correctly, the consequences extend far beyond missing numbers in a report. Your ad platform algorithms lose the conversion signals they need to optimize delivery. Your attribution becomes unreliable. Your budget decisions rely on incomplete information. And worst of all, you might be scaling campaigns that don't actually drive results while pausing the ones that do.
Tracking pixel firing issues come in several frustrating varieties. Sometimes pixels never fire at all. Other times they fire multiple times for a single conversion, inflating your numbers. They might work perfectly on desktop but fail on mobile. Or they fire inconsistently, working for some users while mysteriously failing for others.
The root causes range from simple installation mistakes to complex technical challenges involving browser privacy features, tag manager configurations, and cross-domain tracking breaks. Without a systematic troubleshooting approach, you can waste hours checking random settings while the real problem remains hidden.
This guide provides a structured framework for diagnosing and fixing tracking pixel issues. We'll walk through six essential troubleshooting steps that move from basic verification to advanced diagnostics. By following this process methodically, you'll identify exactly where your tracking breaks down and implement the right fix rather than guessing at solutions.
Whether you manage campaigns on Meta, Google, TikTok, or multiple platforms simultaneously, this troubleshooting methodology applies universally. You'll learn to use browser developer tools effectively, test event triggers properly, diagnose tag manager problems, account for privacy interference, fix cross-domain tracking, and validate that data flows correctly into your ad platforms.
Step 1: Verify Pixel Installation Using Browser Developer Tools
Before investigating complex technical issues, confirm that your pixels are actually installed and attempting to fire. Browser developer tools provide direct visibility into every network request your site makes, including pixel fires to ad platforms.
Open Google Chrome and navigate to the page where tracking should occur. Right-click anywhere on the page and select "Inspect" to open Chrome DevTools. Click the "Network" tab at the top of the DevTools panel. This shows every request your browser makes as you interact with the page.
The Network tab displays dozens or hundreds of requests. To focus on tracking pixels, use the filter box at the top. Type "facebook" to see Meta pixel requests, "google-analytics" for GA4, "ads/conversion" for Google Ads, or "analytics.tiktok" for TikTok pixels. Each platform uses specific domain patterns you can filter for.
Now trigger the conversion action you're testing. If you're troubleshooting purchase tracking, complete a test purchase. For form submissions, fill out and submit the form. Watch the Network tab as you complete the action. You should see new requests appear with the pixel domain you filtered for.
Click on each pixel request to examine the details. The most important indicator is the status code shown on the right side. A status code of 200 means the pixel fired successfully and the platform's server received it. Status codes in the 400 range indicate client-side errors, while 500 codes suggest server-side problems.
Pay attention to the timing column. Pixels should fire immediately after the triggering action. If you see a long delay or if the request appears before the action completes, you have a timing configuration issue. Understanding what a tracking pixel is and how it works helps you interpret these timing patterns correctly.
Check the request payload by scrolling down in the request details. For Meta pixels, you should see event parameters like "event=Purchase" and data such as value and currency. For Google Ads, look for conversion labels and values. Missing or incorrect parameters indicate configuration problems rather than installation issues.
Common installation errors become obvious in the Network tab. If you see no pixel requests at all when filtering for the platform, the pixel code isn't installed on that page. If requests appear but immediately fail with error codes, the pixel ID or configuration contains mistakes. If you see the same pixel fire multiple times in rapid succession, you have duplicate installations.
Switch to the Console tab in DevTools to check for JavaScript errors. Errors appear in red text and often prevent pixels from executing. Look for messages mentioning your tag manager, pixel code, or tracking scripts. A single JavaScript error earlier in the page load can block all subsequent scripts from running, including your tracking pixels.
Document your findings systematically. Create a simple spreadsheet listing each page you tested, which pixels should fire, whether they actually fired, the status codes received, and any errors observed. This documentation becomes invaluable when you need to explain issues to developers or support teams.
Test in an incognito or private browsing window to eliminate interference from browser extensions, cached scripts, or previous sessions. Many tracking issues only appear in clean browser sessions that match how real users experience your site.
Step 2: Test Event Triggers and Conversion Actions
Pixel installation verification confirms the code exists on your pages. Now test whether pixels fire at the right moments in response to the correct user actions. Many tracking issues stem from misconfigured triggers rather than installation problems.
Walk through the complete user journey exactly as a customer would experience it. Don't just load the thank-you page directly. Start from an ad click or landing page, navigate through your site, add products to cart if applicable, and complete the entire conversion process. Pixels often fire correctly when you access pages directly but fail during real user flows.
Install platform-specific testing tools to see exactly what data your pixels send. For Meta pixels, add the Meta Pixel Helper extension to Chrome. This tool shows a small popup icon that turns green when it detects pixel fires. Click the icon to see which events fired, what parameters were included, and whether any errors occurred.
The Meta Pixel Helper displays each event with a timestamp and the data sent. For a Purchase event, verify that the value matches the actual order total, the currency is correct, and content IDs match the products purchased. Mismatched data often indicates that your pixel fires before checkout completes and captures preliminary data rather than final order information.
Google Tag Assistant serves a similar purpose for Google Analytics and Google Ads tracking. Install the extension, enable it, and refresh your page. The assistant shows which tags fired, in what order, and flags configuration issues. Pay special attention to the tag firing sequence. Conversion tags should fire after page load completes, not before critical page elements load.
For TikTok campaigns, use the TikTok Pixel Helper extension. This tool validates pixel installation and shows event parameters. TikTok pixels are particularly sensitive to timing issues, so verify that events fire after the conversion action completes rather than when the page begins loading.
Test button clicks and form submissions specifically. Many pixels are configured to fire on page load rather than on the actual conversion action. If your conversion is a form submission, the pixel should fire when the form submits successfully, not when the form page loads. This distinction matters enormously for accurate conversion counting and helps avoid conversion tracking pixel issues.
Check event parameters carefully. A pixel might fire at the right time but send incorrect data. Common parameter issues include empty values, hardcoded test data that never updates, currency mismatches, and missing content IDs. Use the testing tools to inspect the exact parameter values sent with each event.
Identify timing problems by watching exactly when pixels fire relative to user actions. If you click a "Complete Purchase" button and the pixel fires before the page redirects to a confirmation page, you might be tracking button clicks rather than completed purchases. This creates inflated conversion counts because users who click but don't complete the purchase still trigger the pixel.
Test across different devices and browsers. A pixel that works perfectly on desktop Chrome might fail on mobile Safari due to different JavaScript execution timing or privacy settings. Complete test conversions on both iOS and Android devices using the browsers your actual customers use.
Create test conversions with known values to verify accuracy. If you test a $100 purchase, your ad platform should show a $100 conversion. If it shows $0, your value parameter isn't passing correctly. If it shows a different amount, investigate where the value calculation occurs and what data source it uses.
Step 3: Diagnose Tag Manager Configuration Problems
Tag management systems like Google Tag Manager add a layer of complexity that introduces new potential failure points. A perfectly installed pixel can still fail to fire if tag manager triggers are misconfigured.
Log into your Google Tag Manager account and navigate to the container used on your site. Click on "Tags" in the left sidebar to see all configured tags. Find the tag for the pixel you're troubleshooting. Click on it to review the configuration.
Every tag has two critical components: the tag configuration itself and the triggers that determine when it fires. Review the triggering section carefully. A tag configured to fire on "All Pages" will fire on every page load, which is correct for base pixels but wrong for conversion events. Conversion tags should use specific triggers like form submissions, button clicks, or thank-you page views.
Click into the trigger configuration to examine the conditions. Triggers use rules like "Page URL contains 'thank-you'" or "Click URL equals 'checkout.example.com/complete'". A single character error in these conditions prevents the trigger from activating. Verify that the URL patterns, CSS selectors, or other conditions match your actual site structure.
Check for conflicting triggers that prevent tags from firing. If you have multiple triggers on the same tag with "All" conditions selected, every trigger must match for the tag to fire. This often creates situations where tags never fire because the conditions are impossible to satisfy simultaneously. Review the trigger logic carefully.
Verify that the GTM container snippet is installed correctly on all pages. View the page source and search for "googletagmanager.com/gtm.js". You should find the container code in the head section and a noscript fallback in the body. If the container snippet is missing or appears only on some pages, tags won't fire on those pages regardless of configuration.
Use Google Tag Manager's Preview mode to debug tag firing in real time. Click the "Preview" button in the top right corner of the GTM interface. This opens a new tab where you can enter your website URL. Navigate through your site with Preview mode active to see exactly which tags fire on each page and user action.
The Preview mode interface shows a timeline of events on the left side. Each page load, click, and form submission appears as a separate event. Click on any event to see which tags fired, which tags didn't fire, and why. This visibility eliminates guesswork about trigger behavior and helps you fix pixel tracking issues more efficiently.
Look for tags that show "Not Fired" status. Click on these tags to see the trigger conditions that weren't met. Common issues include triggers waiting for variables that never populate, CSS selectors that don't match any page elements, or URL patterns that don't match the actual URLs users visit.
Review your tag manager variables, especially custom variables used in triggers or tag configurations. Click "Variables" in the left sidebar and examine each variable configuration. Test that variables populate with expected values by checking them in Preview mode. A variable configured to pull the purchase total from the wrong data layer element will always return empty or incorrect values.
Check for variable naming inconsistencies. If your trigger looks for a variable called "purchaseValue" but your data layer pushes "purchase_value", the trigger never activates. Variable names are case-sensitive and must match exactly.
Identify race conditions where tags attempt to fire before required data is available. This commonly happens with single-page applications where the page URL changes but the page doesn't reload. Configure triggers to wait for specific data layer events rather than relying solely on page load or URL changes.
Step 4: Address Browser Privacy and Ad Blocker Interference
Even perfectly installed and configured pixels face increasing interference from browser privacy features and ad blocking tools. Understanding these limitations helps you implement appropriate solutions rather than endlessly troubleshooting working code.
Safari's Intelligent Tracking Prevention (ITP) represents the most significant challenge for client-side tracking pixels. ITP limits cookie lifetimes for cross-site tracking, blocks third-party cookies entirely in some cases, and strips tracking parameters from URLs. Pixels that work flawlessly in Chrome might fail completely in Safari due to these restrictions.
Test your tracking specifically in Safari on both Mac and iOS devices. Many marketers develop and test exclusively in Chrome, then wonder why significant portions of their traffic show no conversions. Safari's private browsing mode applies even stricter limitations, blocking most tracking attempts entirely. These pixel tracking issues on iOS devices affect a substantial portion of your audience.
Firefox Enhanced Tracking Protection (ETP) blocks known tracking domains by default. If your pixel fires from a domain on Firefox's tracking protection list, it gets blocked automatically. Users never see an option to allow it. Test your site in Firefox with standard settings to see what percentage of your tracking fails for Firefox users.
iOS App Tracking Transparency (ATT) affects mobile app tracking but also influences mobile web tracking behavior. Users who opt out of tracking in iOS settings experience degraded tracking across mobile Safari. This isn't a problem you can fix with code changes. It's a privacy feature working as intended.
Ad blockers present a different challenge. Install popular ad blocking extensions like uBlock Origin or AdBlock Plus, then test your conversion tracking. Many ad blockers specifically target known tracking pixels and analytics scripts. If your pixels fire from standard ad platform domains, they likely get blocked for users with ad blockers enabled.
Check your browser's network tab with an ad blocker active. Blocked requests appear in red or with a "blocked" status. Count how many of your critical tracking pixels get blocked. For some sites, ad blockers eliminate 30-50% of tracking fires, creating massive blind spots in your data.
Recognize that client-side tracking limitations are not bugs to fix but features of the modern privacy landscape. Browsers increasingly prioritize user privacy over advertiser tracking needs. Fighting against these privacy features creates an endless cycle of workarounds that break with each browser update. Understanding pixel tracking cookie limitations helps you adapt your strategy accordingly.
Evaluate server-side tracking as a more reliable alternative. Server-side tracking sends conversion data directly from your web server to ad platforms rather than relying on browser-based pixels. This approach bypasses browser privacy restrictions, ad blockers, and JavaScript errors because the tracking happens on the server where users can't interfere.
Server-side implementations capture more complete data because they don't depend on client-side conditions. When a conversion occurs, your server sends the event data directly to the ad platform's conversion API. This method works regardless of browser type, privacy settings, or ad blocker status.
Implement fallback tracking methods for privacy-conscious browsers. Use server-side tracking for critical conversion events while maintaining client-side pixels for additional data enrichment. This hybrid approach ensures you capture essential conversion data even when client-side tracking fails.
Consider first-party cookie implementations that store tracking data on your own domain rather than third-party domains. First-party cookies face fewer restrictions than third-party cookies, though they're not immune to privacy features. This approach extends cookie lifetime in Safari and reduces blocking by privacy tools.
Step 5: Fix Cross-Domain and Redirect Tracking Breaks
Tracking breaks frequently occur when users move between domains during the conversion process. Payment processors, separate checkout domains, and redirect chains strip tracking parameters and break attribution continuity.
Map your complete conversion funnel to identify domain transitions. Start from the ad click and document every URL the user visits until conversion completes. Many funnels include unexpected domain changes. A user might click an ad on "example.com", add products on "shop.example.com", then complete checkout on "checkout.example.com" or even a third-party payment processor domain.
Each domain transition risks losing tracking context. Click IDs, UTM parameters, and session data don't automatically transfer across domains. Unless you explicitly configure cross-domain tracking, each domain treats the visitor as a new session with no connection to previous touchpoints. This creates significant cross-device tracking issues that fragment your attribution data.
Configure cross-domain tracking in Google Analytics by adding all domains to your cross-domain tracking list. In GA4, navigate to Admin, then Data Streams, select your web stream, and configure cross-domain measurement. Add every domain users visit during the conversion process, including payment processor domains if applicable.
For Meta pixel cross-domain tracking, ensure the pixel fires on all domains in your funnel. The pixel automatically passes fbclid parameters across domains, but this only works if the pixel exists on both the source and destination domains. If users jump to a payment processor without your pixel installed, tracking breaks.
Test parameter persistence through your entire funnel. Start with a URL containing UTM parameters and click IDs, then navigate through each step of the conversion process. Check the URL bar at each step to verify parameters remain intact. Use browser DevTools to inspect cookie values if parameters are stored in cookies rather than URLs.
Identify redirect chains that strip parameters. Some redirect services, URL shorteners, or server configurations remove query parameters during redirects. A redirect from "example.com/offer?utm_source=facebook" to "example.com/checkout" loses the utm_source parameter unless the redirect explicitly preserves it.
Fix parameter stripping by updating redirect rules to preserve query strings. In server configurations, ensure redirects append existing query parameters to destination URLs. Test this by manually adding parameters to URLs and following the redirect to confirm they survive.
Verify that tracking parameters persist through multi-step forms. Users might start a form on one page, continue on another, and complete on a third. Each page transition must carry forward the original tracking context. Store tracking parameters in hidden form fields or session storage to maintain continuity across form steps.
Check for JavaScript-based redirects that don't preserve parameters. A redirect implemented with "window.location = 'new-url'" loses parameters unless you explicitly construct the new URL with parameters appended. Review your site's JavaScript for redirect logic and update it to preserve tracking data.
Test cross-domain tracking with actual conversions, not just page views. Load a page with tracking parameters, complete a conversion that crosses domains, then verify the conversion appears in your ad platform with correct attribution. Source attribution in the ad platform confirms that tracking context survived the domain transition.
Step 6: Validate Data Flow in Your Ad Platform Dashboards
Successful pixel fires in your browser don't guarantee that conversion data reaches your ad platforms correctly. The final troubleshooting step validates that events flow through the entire pipeline from pixel fire to platform reporting.
Compare pixel fire counts from browser testing against events received in ad platform dashboards. If DevTools shows 10 pixel fires but your Meta Events Manager shows only 6 events, you have a data processing or deduplication issue. This discrepancy indicates problems beyond pixel installation and points to pixel tracking accuracy issues.
Account for processing delays in ad platforms. Events don't appear instantly in dashboards. Meta typically processes events within a few minutes, but delays of 30-60 minutes occasionally occur. Google Ads conversion reporting can lag by several hours. Wait an appropriate time before concluding that events aren't being received.
Check Meta Events Manager to review event quality and match rates. Navigate to Events Manager, select your pixel, and click on any event to see the Event Match Quality score. This score indicates how well your event data matches Facebook users. Low scores suggest you're not passing enough customer information parameters with your events.
Review the specific customer information parameters you're sending. Meta uses email, phone, first name, last name, city, state, zip code, and country to match events to user profiles. Sending more parameters improves match rates and attribution accuracy. If you're only sending basic event data without customer information, your match quality suffers.
Identify deduplication issues that cause undercounting. Ad platforms deduplicate events to prevent counting the same conversion multiple times. If your pixel fires twice for a single purchase due to page reloads or duplicate tags, the platform should count it only once. However, aggressive deduplication sometimes removes legitimate events. Check platform documentation for deduplication windows and logic to avoid duplicate conversion tracking issues.
Set up test conversions with known, unique values to verify end-to-end accuracy. Create a test purchase with an unusual amount like $137.42, then search your ad platform reporting for that exact value. This confirms that the specific event you created appears in reporting with correct attribution and value data.
Use conversion naming conventions that make test events easy to identify. Add "TEST" to customer names or use specific test email addresses. This allows you to filter reporting for your test conversions and verify they appear correctly without confusion with real customer data.
Review attribution windows and conversion counting settings. A conversion might be tracked correctly but not attributed to any campaign if it falls outside your attribution window. Check that your attribution windows match your actual customer journey length. If customers typically convert 14 days after first click, a 7-day attribution window misses many conversions.
Examine conversion paths in your analytics to understand the complete journey from ad click to conversion. Multi-touch attribution reveals when tracking breaks occur mid-funnel. If you see ad clicks but no downstream events, tracking likely breaks between the initial click and conversion completion.
Validate that conversion values match across systems. The purchase total in your ad platform should match the order total in your e-commerce system. Discrepancies indicate that your pixel captures values at the wrong point in the checkout process or uses incorrect data sources for value calculation.
Moving Forward With Reliable Tracking
Tracking pixel issues rarely have a single cause. Successful troubleshooting requires systematically working through potential failure points, from basic installation verification through complex cross-domain scenarios. Use this checklist as your troubleshooting framework: verify installation in DevTools, test events with platform helpers, review tag manager triggers, account for privacy tools, fix cross-domain breaks, and validate data in your dashboards.
Start with the simplest explanations before investigating complex scenarios. Many tracking issues stem from basic installation mistakes or trigger misconfigurations rather than sophisticated technical problems. Verify the fundamentals first, then progress to advanced diagnostics only when basic checks pass.
Document your findings as you troubleshoot. Create a record of which tests you performed, what results you observed, and what fixes you implemented. This documentation helps when issues recur or when you need to explain problems to team members or support teams.
Recognize the limitations of client-side tracking in the current privacy landscape. Browser privacy features and ad blockers will continue restricting client-side pixels. These restrictions aren't temporary bugs but permanent shifts in how browsers handle tracking. Plan your measurement strategy accordingly rather than fighting against privacy features.
For marketers managing campaigns across multiple platforms, maintaining accurate tracking becomes increasingly complex. Each platform has unique pixel implementations, debugging tools, and reporting quirks. Troubleshooting issues across Meta, Google, TikTok, and other platforms multiplies the technical challenges.
Consider how a unified attribution solution simplifies tracking complexity. Server-side tracking bypasses many client-side pixel challenges by sending conversion data directly from your server to ad platforms. This approach captures more complete data because it doesn't depend on browser cooperation, avoids ad blocker interference, and maintains tracking continuity across domain transitions.
Modern attribution platforms provide additional benefits beyond solving pixel firing issues. They capture every touchpoint across the customer journey, connect conversion data to specific ads and campaigns, and feed enriched conversion signals back to ad platform algorithms. This comprehensive approach improves both measurement accuracy and campaign optimization.
Ready to elevate your marketing game with precision and confidence? Discover how Cometly's AI-driven recommendations can transform your ad strategy. Get your free demo today and start capturing every touchpoint to maximize your conversions.


