
Google Ads conversion tracking is the bridge between a user's action on your website—like a purchase or a form fill—and the specific ad they clicked to get there. Without it, you’re basically flying blind. You can see you're spending money, but you have no real idea which ads are bringing in customers and which are just burning through your budget.
Setting it up correctly is the only way you'll ever know the true return on investment (ROI) from your campaigns.
Why Your Ad Spend Is Wasted Without Proper Tracking
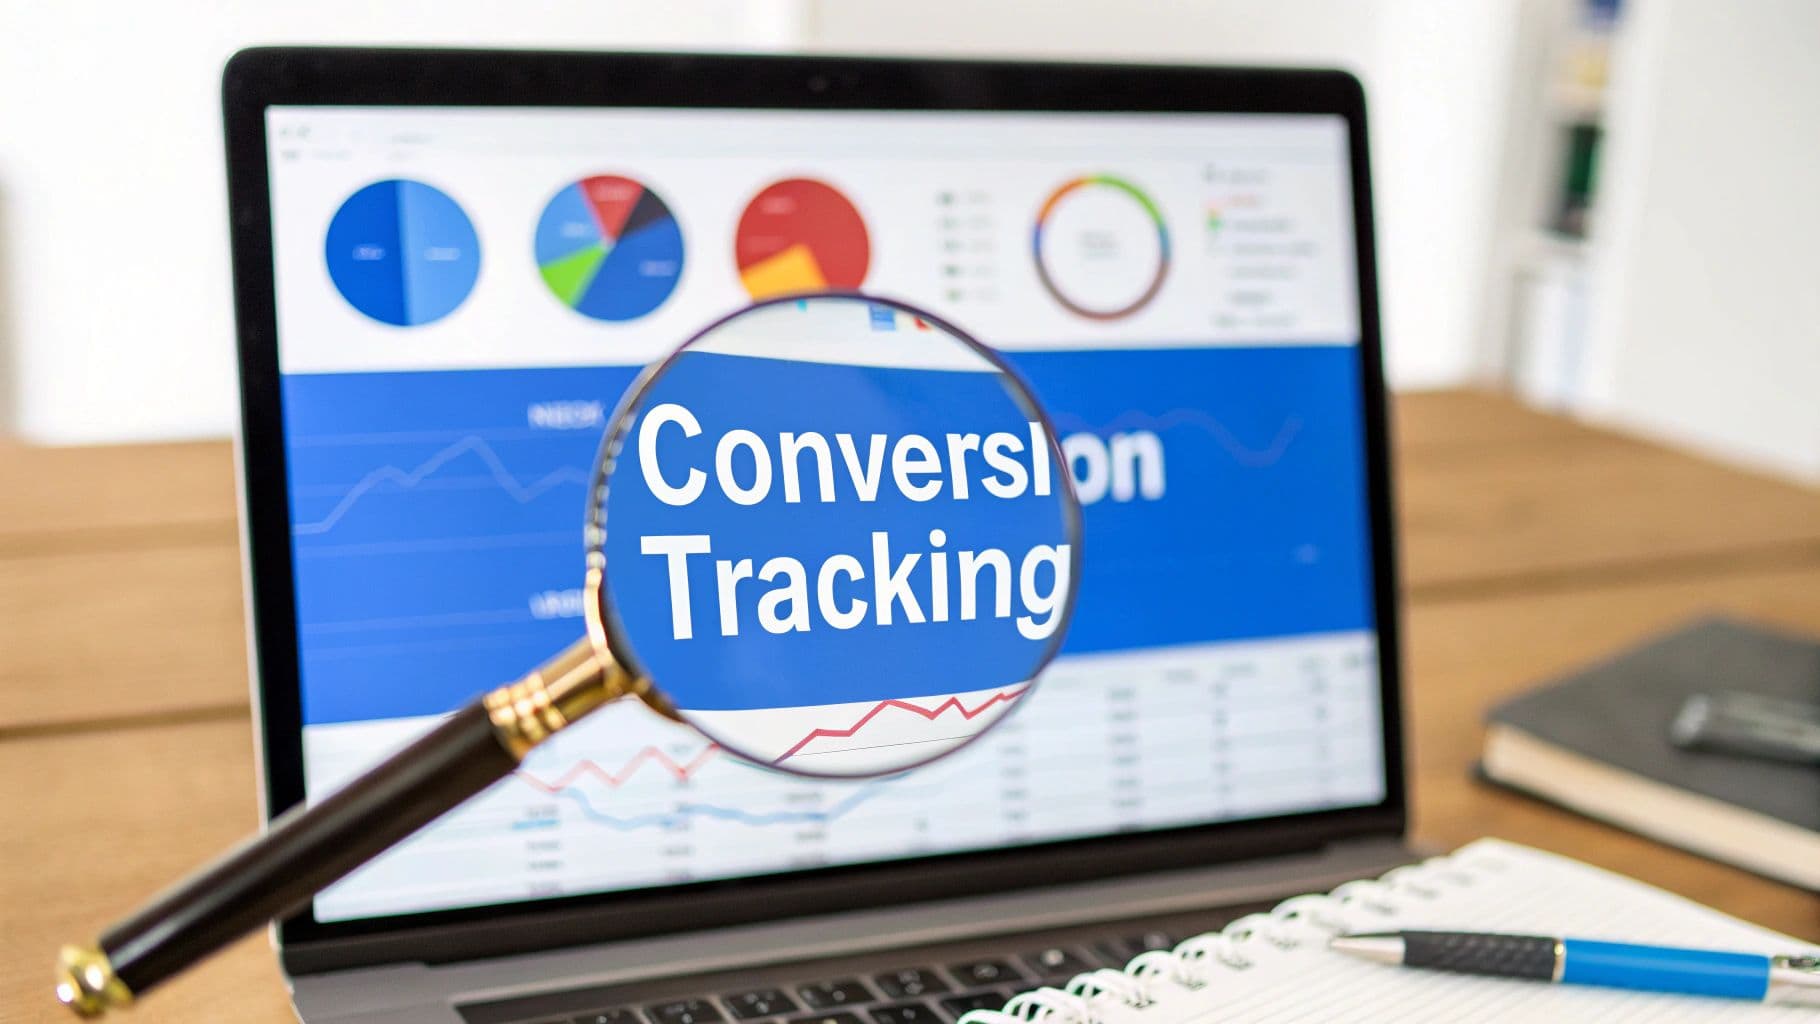
 Master Google Ads Conversion Tracking
Running a Google Ads campaign without solid conversion tracking is like driving a race car with the windshield blacked out. You can hear the engine roaring and feel the speed, but you have no clue if you're on the track or about to hit a wall. All those clicks, impressions, and click-through rates are just vanity metrics; they prove people are seeing your ads, but they don't tell you if a single one is actually making you money.
This is where tracking changes the game. It turns your ad account from a cost center into a predictable revenue driver. By tying specific keywords, ads, and campaigns to real business outcomes, you can finally get answers to the questions that actually matter.
Pinpointing What Truly Works
Picture this: you're running two ads for the same product. Ad A gets 100 clicks, and Ad B gets 50. At a glance, Ad A seems like the clear winner, right? But with conversion tracking in place, you see a completely different story. Ad A led to zero sales, while Ad B, with half the clicks, brought in five new customers.
Without that data, you’d keep pouring money into the underperforming ad. With it, you can instantly pause Ad A and funnel that budget into scaling Ad B—doubling down on what's actually working. This kind of optimization is flat-out impossible without accurate data. To get a better handle on this, you can dig into how ad tracking tools help scale ads with accurate data.
The real point of conversion tracking isn't just to see results; it's to make smarter decisions. It feeds Google's machine learning the data it needs to find more people who are likely to convert, which is what fuels automated bidding strategies like Target CPA and Maximize Conversions.
Looking at industry averages, the conversion rate for Google Search Ads is around 3.75%, while Display Ads hover at just 0.77%. This massive difference shows you just how much higher the intent is on Search, and it’s exactly why precise tracking is so critical—it helps you put your money where it will have the biggest impact. You can find more of these advertising benchmarks on WordStream.
Before you can even think about setting up conversion tracking, you have to make one of the most important decisions in the whole process: how you're going to implement it.
This isn't just a technical detail—it shapes your entire workflow, dictates how flexible you can be, and ultimately affects how accurate your data is. Let's break down the three main ways to get Google Ads tracking on your site so you can pick the right one for your setup.
Direct Tag Implementation
The most basic approach is what's called a Direct Tag, or just using the Google Tag (gtag.js). This means you take the JavaScript code snippet from Google and paste it directly into the code of your website.
It's the simplest path, for sure. If all you need to do is track a single form submission on a "Thank You" page, a direct tag will get the job done. But that simplicity comes at a cost. Every time you want to add another tracking tag—for Meta, LinkedIn, or any other tool—you have to go back and edit your site's code. This gets messy fast and usually means waiting on a developer for every little marketing update.
Google Tag Manager: The Flexible Standard
For the vast majority of advertisers—I'm talking around 95% of businesses—Google Tag Manager (GTM) is the way to go. Think of GTM as a toolbox for all your tracking codes. Instead of adding dozens of code snippets to your site, you just install the GTM container once.
From that point on, you can add, edit, and launch all your tags from GTM's interface without ever touching your website's code again.
This screenshot gives you a glimpse of the clean GTM dashboard, where you can manage every tracking tag in one central hub. It's powerful because it separates marketing tasks from web development, letting you move at the speed of your campaigns.
GTM gives you incredible flexibility. Want to track clicks on a specific button? PDF downloads? How much of a video someone watched? You can set up triggers in GTM to fire your Google Ads tag based on almost any user action, giving you a much richer understanding of what's happening on your site.
Key Takeaway: While the direct tag works for the simplest scenarios, Google Tag Manager is the industry standard for a reason. It scales with you, empowers marketers to manage their own tracking, and keeps your website code clean.
To help you decide, here’s a quick breakdown of how these methods stack up.
Comparison of Google Ads Tracking Setup Methods
Method | Best For | Technical Skill Required | Key Advantage |
|---|---|---|---|
Direct Tag | Beginners or sites with a single conversion goal. | Low | Quick and easy setup for simple needs. |
Google Tag Manager | Most businesses; provides flexibility and scalability. | Medium | Manage all tags from one place without editing site code. |
Server-Side Tagging | Large enterprises or those needing maximum data accuracy and security. | High | Bypasses ad blockers and improves page speed and data privacy. |
Each method has its place, but as you can see, GTM offers the best balance of power and ease of use for most advertisers.
Server-Side Tagging: The Advanced Option
Last up is server-side tagging, the most advanced and robust method available. This is typically for larger companies or anyone who is serious about data accuracy and privacy in a world of ad blockers and tracking restrictions.
Instead of sending tracking data from a user's browser straight to Google, the data first goes to a secure server that you control. That server then forwards the necessary information on to Google Ads and your other marketing platforms.
This approach comes with some major wins:
- Improved Accuracy: It helps you capture data that would otherwise be lost to ad blockers and browser privacy features like Apple's ITP (Intelligent Tracking Prevention).
- Enhanced Security: You decide exactly what data gets shared with third-party platforms, which is great for protecting sensitive user info.
- Faster Page Loads: By running less JavaScript on the user's browser, you can give your site's performance a nice boost.
The trade-off? Complexity and cost. Setting up server-side tagging demands more technical know-how and involves running a cloud server, which comes with a monthly fee. But for businesses running large-scale automated bidding strategies that depend on precise conversion data, the investment is a no-brainer.
You can learn more about how this works by exploring what a conversion API is and its role in modern tracking. This advanced setup is really the future of accurate and reliable attribution.
Alright, you’ve picked your tracking method. Now it’s time to get our hands dirty inside the Google Ads interface and build the actual goal that Google will use to measure success.
We'll walk through creating one of the most common and essential conversions out there: a 'Contact Us' form submission.
Setting Up Your First Conversion Action in Google Ads
First thing's first, you need to get to the right spot. In your Google Ads account, find Goals in the main navigation menu, then select Conversions from the dropdown. This is your command center for all things tracking.
From here, you’ll click the big blue + New conversion action button to get started.
Defining the Conversion Source and Goal
Google needs to know where your conversions actually happen. You’ll see a few options like Website, App, Phone calls, and Import. Since we're tracking a form submission on our website, we’ll choose Website.
Google will then ask for your website domain so it can run a quick scan.
After the scan, you'll get a prompt to create the conversion action. While Google might offer to set one up automatically based on events it finds, we're going to select Add a conversion action manually. This approach gives you full command over every single setting, which is exactly what you want for accurate tracking.
Next up, you'll configure the details, starting with Goal and action optimization. This tells Google what kind of action you’re tracking. For a 'Contact Us' form, the best fit is Submit lead form. Choosing the right category is more than just a label; it helps Google's algorithms understand your business objectives, which is critical if you ever plan on using automated bidding strategies.
Now for the Conversion name. This seems minor, but getting it right from day one will save you a ton of headaches later. Be specific and consistent. Instead of a generic name like "Form Submit," use something descriptive like "Contact Form Submission - Main Site." Trust me, that clarity is invaluable when you're juggling multiple conversion actions down the road.
Assigning Value and Count Settings
One of the most important settings you'll configure is Value. How much is a new lead actually worth to your business?
If you don't have a precise number, it's far better to assign an estimated value than to leave it blank. Even a conservative guess of $10 or $20 per lead gives Google’s bidding algorithms much richer data to work with. Select Use the same value for each conversion and pop in your estimate.
Of course, if you were tracking e-commerce sales, you’d choose Use different values for each conversion to dynamically pass the unique order total. But for a standard lead form, a static value works perfectly.
The next decision is Count. This setting tells Google how to count conversions that happen after a single ad click.
- Every: This counts every single conversion that happens after a click. It’s perfect for purchases, where each transaction is valuable.
- One: This only counts the very first conversion after a click. This is the right choice for lead generation—after all, one person filling out the same form five times is still just one lead.
For our contact form, we'll choose One.
Pro Tip: Never skip assigning a value to your lead-based conversions. Even if it's just an estimate, it unlocks the ability to use powerful, value-based bidding strategies like Target ROAS (Return on Ad Spend) later on. These can be far more effective than just optimizing for the raw number of conversions.
Finalizing Attribution and Windows
The last few settings are all about fine-tuning how and when Google gives credit for a conversion.
The Click-through conversion window is the time you give Google to record a conversion after someone clicks your ad. The default is usually 30 days, which is a solid starting point for most businesses. You'll also see settings for Engaged-view and View-through windows, which apply to video and display ads. For now, you can just leave those at their default values.
Finally, you have to choose an Attribution model. This determines how credit for a conversion gets distributed across the different ad clicks in a user's journey. While Last click was the old standard for years, Google now defaults to and recommends Data-driven attribution.
Unless you have a very specific reason not to, stick with Data-driven. It uses machine learning to analyze the entire click path and assign credit more accurately. This gives you a much clearer, more honest picture of which ads are truly influencing your customers. A key part of this process is the Google Click ID, and you can learn more about what GCLID is and its role in attribution.
Once you click Save and continue, Google will show you the tag setup instructions. You’ll see a Conversion ID and a Conversion Label. Keep this tab open—you're going to need these two specific pieces of information in the next section when we actually implement the tag.
And that's it! You've officially created a tangible conversion goal, defined and ready to be connected to your website.
How to Implement Tracking with Google Tag Manager
Alright, you've got your conversion action set up inside Google Ads. Now it's time for the real work: connecting it to your website. For this, we're going to use Google Tag Manager (GTM). If you're not using it, you should be. It's the industry-standard tool that lets you manage all your marketing tags from one central hub, without having to bug a developer every time you need to add or change something.
This part of the guide is a hands-on walkthrough. I'll show you exactly how to deploy your Google Ads conversion tracking tag using GTM, making sure every piece is in the right place. We'll build the essential tags, set up the trigger that brings it all to life, and, most importantly, verify that it's all working before you go live.
The Foundation: Your Google Tag
Before you can track a specific conversion, you need the main Google Tag (what used to be called the global site tag) installed on your website through GTM. Think of this tag as the engine; it needs to be running on every single page of your site for anything else to work. It’s the core library that allows other, more specific tags—like our conversion tag—to function correctly.
If you haven't done this yet, you'll need to create a Google Tag in GTM, plug in your Google Ads ID (it starts with "AW-"), and set it to fire on the "Initialization - All Pages" trigger. This simple step lays the groundwork for accurate tracking across your entire site.
A quick note on the Conversion Linker tag. A few years ago, you had to create this as a separate, mandatory tag. That’s no longer the case. Its functionality is now built directly into the main Google Tag. So, as long as that Google Tag is firing on all pages, you’re covered. No separate Conversion Linker needed.
Creating the Google Ads Conversion Tracking Tag
With the foundation in place, it’s time to create the specific tag that will send a conversion signal back to Google Ads. This tag is designed to fire only when a specific action happens, like when someone submits a form and lands on your "thank you" page.
Head over to the Tags section in your GTM container and create a new one. When it asks for the tag type, choose Google Ads Conversion Tracking.
This is where you'll need those two critical pieces of information from the conversion action you just created in Google Ads:
- Conversion ID: This is your unique account identifier. It's the same for all conversions in your Google Ads account.
- Conversion Label: This is the unique code for this specific conversion action (e.g., "Contact Form Submission").
Paste both of these values into their respective fields in the GTM tag configuration. It's absolutely critical to get these right—this is how Google Ads knows which specific goal to credit when the tag fires.
The whole process really boils down to three stages: defining your goals, configuring the settings, and implementing the tracking code.
 Master Google Ads Conversion Tracking
This visual just reinforces the workflow. Clear goals lead to precise configuration, which is then brought to life with proper implementation—a process GTM makes so much more manageable.
Building the Trigger: A Page View on Your Thank You Page
A tag on its own does nothing. It needs a trigger to tell it when to fire. For a form submission, the most reliable trigger is a page view of the confirmation or "thank you" page. This is the moment you know for sure that the action was completed.
To build this, go to the Triggers section in GTM and create a new one.
- For the trigger type, choose Page View.
- Set it to fire on Some Page Views.
- Now, configure the condition to fire when the Page URL contains
/thank-you(or whatever the unique part of your confirmation page's URL is).
This setup is clean and simple. It ensures the tag only fires when a user successfully lands on that specific page, sending an accurate signal to Google Ads that a conversion just happened.
Modern Google Ads conversion tracking can capture incredibly detailed metrics. You can track total conversion value, the number of conversions, and even cross-device conversions, which follow users who start on one device and finish on another. This is the kind of detail that lets you optimize bidding strategies with real confidence. For e-commerce businesses, especially those on platforms like WooCommerce, a similar process is used, and you can learn more by checking out our guide on setting up Google Tag Manager for WooCommerce.
Verifying Your Setup with GTM Preview Mode
Before you hit that publish button, you absolutely must test your work. GTM's Preview mode is your best friend here. It’s a powerful tool that lets you see exactly which tags are firing on your site in real-time, all without affecting your live data.
To use it, click the Preview button in the top right of your GTM workspace. Enter your website's URL, and a new tab will open with the Tag Assistant debug panel connected at the bottom.
Now, go through the motions. Navigate your site and complete the conversion action yourself—fill out the contact form and hit submit. When you land on the "thank you" page, look at the Tag Assistant panel. You should see your new "Google Ads Conversion Tracking" tag listed under Tags Fired. This is your proof that both the tag and the trigger are configured correctly and working together perfectly.
If the tag doesn't fire, it's almost always a problem with the trigger condition. Go back and double-check that the URL rule in your trigger exactly matches the URL of your confirmation page. A single typo can break it. Once you've confirmed everything works, you can exit Preview mode, go back to GTM, and publish your container. Your conversion tracking is now live
How to Verify and Troubleshoot Your Tracking Setup
 Master Google Ads Conversion Tracking
So you've put in the work to get your tags set up. Then you log into Google Ads and see that dreaded "Unverified" or "Inactive" status. It's easy to feel like you've done something wrong, but don't sweat it—this is a totally normal part of the process.
Think of it this way: Google is just telling you it hasn't seen any data come through yet. It's not an error, it's a prompt. The system is waiting for you to send it a signal.
The fix is usually pretty simple: you need to generate a real conversion. The most direct method is to click one of your own live ads and then complete the action on your website. Fill out that lead form, make a test purchase—whatever it is you're tracking.
Once you’ve done that, the status should update from "Inactive" to "Recording conversions" within about 24 hours. As long as your setup is correct, this one action is often all it takes to bring your tracking online.
Using Google Tag Assistant for Real-Time Checks
Waiting up to 24 hours can feel like an eternity when you just want to know if things are working. For a more immediate gut check, your best friend is the free Google Tag Assistant Chrome extension. It's a must-have tool that shows you exactly which tags are firing on your site in real time.
Install the extension, enable it on your website, and run through your conversion action one more time. Tag Assistant will give you an instant report card.
- A green tag means you're good to go. Everything is firing as expected.
- A blue tag is a heads-up that there are some minor, non-critical suggestions for your setup.
- A red tag signals a critical error. Something is broken and preventing the tag from firing correctly.
This tool is your first line of defense. If you see red, you know right away that the problem is with the tag itself or how its trigger is configured, and you can start investigating there.
Your conversion data tells a story about your customer's journey, but it's important to know how Google reads that story. Data is primarily reported based on the ad click time, not the conversion time. If a user clicks an ad on Tuesday but only makes a purchase on Friday, Google Ads attributes that valuable conversion back to Tuesday's performance data. As you can discover in these insights on conversion data reporting from Google, this method ensures your cost-per-conversion and ROAS metrics are calculated accurately against the click that initiated the action.
Diving Deeper with Browser Developer Tools
But what happens if Tag Assistant shows a green tag, yet 24 hours later, Google Ads still isn't recording conversions? This usually points to a more subtle issue, and it’s time to pop the hood using your browser's developer tools.
In Chrome, you can open them by right-clicking anywhere on your page, selecting "Inspect," and then clicking the "Console" tab.
The console is where your browser logs all the behind-the-scenes JavaScript activity, including errors. Check for any red error messages that pop up when you hit your conversion confirmation page. Sometimes, a conflicting script from another plugin or a theme issue can prevent the conversion data from being sent, even if the tag itself is technically firing.
For an even more granular look, switch to the "Network" tab. After you complete a conversion, type "google" into the filter bar. You should see a successful request firing off to googleadservices.com. Clicking this lets you inspect the payload—the actual data being sent—so you can confirm your Conversion ID and Label are correct.
If you're hitting a wall with specific user actions like sign-ups, you might find some useful strategies in our guide on how to troubleshoot failed user registrations in Google Analytics.
Common Questions About Google Ads Conversion Tracking
Even with a flawless setup, questions always pop up. The world of Google Ads conversion tracking has its own rhythm and quirks that can be confusing at first. This section cuts through the noise and tackles the most common questions I hear from clients, giving you clear answers to handle those final hurdles with confidence.
Think of this as your go-to reference for those nagging "why" and "what if" scenarios. Getting these details right is what separates a good setup from a great one.
How Long Does It Take for Conversions to Show in Google Ads
This is easily the most frequent question I get, and the answer isn’t a simple one. Typically, you'll see conversion data appear in your Google Ads account within 3 to 24 hours after the action happens. It's not instant, so don't panic if you don't see it right away.
But there's a crucial detail to remember: Google Ads reports conversions based on the time of the ad click, not the time of the conversion.
Let’s say someone clicks your ad on Monday but doesn't actually buy until Wednesday. That conversion will be attributed back to Monday's data. This is a good thing—it ensures your metrics like cost per conversion are tied to the ad that actually did the work.
After your very first tracked conversion, it can take up to 24 hours for the status in your "Goals" summary to switch from 'Unverified' to 'Recording conversions'. Be patient during this initial period.
What Is the Difference Between Primary and Secondary Conversions
Understanding the split between Primary and Secondary conversions is absolutely critical for optimizing your campaigns, especially if you’re using Smart Bidding.
- Primary Conversions: These are your main business goals—the actions you really care about, like purchases or high-quality lead forms. These are the conversions that get counted in the main 'Conversions' column and, most importantly, are used by automated bidding strategies to find more customers.
- Secondary Conversions: These are still valuable actions, but they're more for observation. Think newsletter signups or PDF downloads. They show up in the 'All conv.' column but do not influence your Smart Bidding algorithms.
This separation is incredibly powerful. For example, you can mark a "Purchase" as a Primary action and a "Newsletter Signup" as a Secondary one. This setup lets you track important micro-conversions without diluting the data your bidding AI uses to hunt down paying customers.
Can I Track Offline Conversions Like Phone Calls or Store Sales
Absolutely, and you should. This is how you measure the full, real-world impact of your digital ads. Google Ads has specific tools built just for this.
For phone calls made directly from your ads, you can set up call reporting pretty easily. For other offline events—like a customer making an in-store purchase or signing a contract after clicking an ad—you'll want to use Offline Conversion Imports.
The process involves capturing the Google Click ID (GCLID) for every ad click that might lead to an offline sale. Later, you upload a file with these GCLIDs and their corresponding conversion details (like sale value) back into Google Ads. This effectively connects the dots between your online click and your offline revenue.
Why Does My Data Differ Between Google Ads and Analytics
Seeing different numbers in Google Ads versus Google Analytics is extremely common and doesn't automatically mean something is broken. The main culprit is almost always attribution.
By default, Google Ads uses a data-driven model that gives credit to the Google Ads clicks in a user's journey. Google Analytics, on the other hand, typically gives all the credit to the last non-direct click across every channel (like organic search, social media, or email). They're just measuring things differently.
The timing is also a factor. As we covered, Ads records the conversion at the time of the click, while Analytics records it the moment the conversion actually happens. Grasping these fundamental differences is the key to correctly interpreting your data from both platforms without pulling your hair out.
At Cometly, we help you bridge these data gaps. Our platform provides a unified view of your entire customer journey, ensuring you get accurate, real-time attribution across all your marketing channels so you can make decisions with complete confidence. Learn how Cometly can perfect your marketing attribution.


