
You're spending thousands on Meta ads, Google campaigns, and LinkedIn sponsorships. Your dashboards show clicks, impressions, and conversions. But when your CEO asks which channels actually generate revenue, you hesitate. Meta claims credit for 40% of conversions. Google says it drove 35%. Your analytics platform shows completely different numbers. Meanwhile, you're making budget decisions based on conflicting data from platforms that naturally inflate their own performance.
This isn't just frustrating—it's expensive. Without accurate attribution modeling, you're likely overinvesting in channels that look good on paper but underdeliver on revenue, while starving the touchpoints that actually move prospects through your funnel.
Attribution modeling solves this by connecting every marketing touchpoint—from that first Instagram ad impression to the final email that triggered the purchase—to actual conversions and revenue. Instead of relying on each platform's self-serving reports, you get a unified view of how your channels work together to drive results.
In this guide, you'll learn exactly how to set up attribution modeling from scratch. We'll walk through defining conversion events, auditing your tracking infrastructure, connecting your marketing stack, selecting the right attribution model for your business, configuring attribution windows, and validating your setup. By the end, you'll have a working attribution system that shows you precisely where your marketing dollars generate returns—and where they don't.
Step 1: Define Your Conversion Events and Revenue Goals
Before you can attribute value to marketing touchpoints, you need to define exactly what "value" means for your business. This starts with identifying your conversion events—the specific actions that matter to your bottom line.
Start by distinguishing between primary conversions and micro-conversions. Primary conversions directly generate revenue or qualified leads: e-commerce purchases, demo bookings, trial sign-ups, or consultation requests. Micro-conversions indicate progress toward a sale but don't immediately generate revenue: email list sign-ups, content downloads, product page views, or add-to-cart actions.
For each primary conversion, assign an actual revenue value. E-commerce businesses have it easiest—a $150 purchase is worth $150. For lead-based businesses, calculate the average value of a converted lead by multiplying your average deal size by your lead-to-customer close rate. If your average customer is worth $5,000 and 20% of qualified leads close, each qualified lead is worth $1,000 in expected revenue.
Don't skip micro-conversions entirely. While they don't directly generate revenue, they help you understand which channels excel at different funnel stages. Assign estimated values based on conversion rates. If 10% of email subscribers eventually become customers worth $100, each subscription is worth approximately $10 in expected lifetime value. Understanding customer attribution modeling helps you track these value assignments across the entire journey.
Next, document your typical sales cycle length. This is critical for setting attribution windows later. B2B companies with long consideration phases might see 60-90 days between first touch and conversion. E-commerce impulse purchases might convert within hours. Review your CRM or analytics data to calculate the median time from first interaction to purchase across recent conversions.
Create a simple document listing each conversion event, its assigned value, and any relevant context about typical conversion timing. This becomes your attribution modeling blueprint.
Success indicator: You have a documented list of 3-5 trackable conversion events with assigned revenue values and a clear understanding of your typical sales cycle length. This foundation ensures your attribution model measures what actually matters to your business.
Step 2: Audit Your Current Tracking Infrastructure
Most businesses already have some tracking in place—pixels, tags, analytics scripts scattered across their website and campaigns. Before adding attribution modeling on top, you need to know exactly what you're working with and where the gaps are.
Start by mapping every active marketing channel and platform. List your paid channels: Meta ads, Google Ads, TikTok, LinkedIn, display networks. Add your organic channels: SEO, email marketing, social media, referral traffic, direct visits. Don't forget offline channels if they're part of your mix: events, direct mail, phone calls, in-person sales.
Now audit your existing tracking implementations. Check which platforms have pixels installed on your website. Log into your Google Tag Manager or similar tool and review all active tags. Look for redundancies—many businesses accidentally install multiple versions of the same pixel, causing duplicate conversion counting. Also check for outdated tags from campaigns or platforms you no longer use.
Identify your tracking blind spots. iOS App Tracking Transparency restrictions mean many iPhone users now block Meta and other ad platform pixels by default. Cross-device journeys—where someone clicks an ad on mobile but converts on desktop—often go untracked by single-platform pixels. Offline conversions that happen in your CRM or over the phone typically aren't captured by website tracking alone. Our guide on attribution tracking setup covers these common gaps in detail.
Evaluate whether client-side tracking (pixels and scripts that run in the user's browser) is sufficient for your needs. Browser privacy features, ad blockers, and iOS restrictions increasingly limit client-side tracking accuracy. Server-side tracking—where conversion data flows directly from your server to ad platforms—bypasses these limitations and provides more reliable data, especially for retargeting and conversion optimization.
Document everything you find: which platforms are tracked, which tracking methods are used, where data flows, and what's currently invisible to your measurement. This audit reveals whether you need to add new tracking, consolidate redundant implementations, or upgrade to server-side tracking for better accuracy.
Success indicator: You have a complete inventory of all tracking assets currently deployed, identified gaps where conversions aren't being captured, and a clear understanding of whether your current tracking infrastructure can support accurate attribution or needs upgrades.
Step 3: Connect Your Data Sources and Marketing Stack
Attribution modeling only works when all your marketing touchpoints flow into a single system that can connect them to conversions. This step is about building those data connections so you can see the complete customer journey.
Start by integrating your ad platforms with your attribution system. Connect Meta Ads, Google Ads, TikTok Ads, LinkedIn Campaign Manager, and any other paid channels you're running. Most attribution platforms offer native integrations that automatically pull campaign performance data, ad spend, and platform-reported conversions. This gives you a unified view of paid performance without logging into multiple dashboards.
Next, connect your CRM. This is especially critical for B2B businesses where the actual revenue event happens offline, often weeks or months after the initial website visit. CRM integration lets you track which marketing touchpoints generated each lead, then follow that lead through your sales pipeline to closed revenue. When a $10,000 deal closes, your attribution system can trace it back to the LinkedIn ad, email campaign, and webinar that influenced that prospect.
Set up comprehensive website tracking to capture on-site behavior. This typically involves installing a tracking script that monitors page views, form submissions, button clicks, and other conversion events. The goal is to capture every meaningful interaction a prospect has with your website, from their first landing page visit to the final purchase confirmation. For businesses storing large volumes of customer data, learning how to setup a datalake for marketing attribution can significantly improve your data management.
Establish consistent UTM parameter conventions across all campaigns. UTM parameters are the tags you add to campaign URLs to track traffic sources: utm_source, utm_medium, utm_campaign, utm_content, and utm_term. Create a naming convention document that your entire team follows. For example, always use "meta" (not "facebook" or "fb") for utm_source on Meta campaigns, and use consistent campaign naming formats like "q1-2026-product-launch" instead of random variations.
Consistency matters because attribution systems group performance by these parameters. If one campaign manager uses "utm_source=facebook" and another uses "utm_source=meta," your attribution reports will split what should be unified Meta performance into two separate sources.
Test each integration by triggering a conversion and verifying it appears correctly in your attribution dashboard with the right source information. Click a test ad, complete a form submission, and check that your attribution system captured the full journey from ad click to conversion.
Success indicator: All major marketing touchpoints—paid platforms, CRM, website interactions—are flowing into a single attribution dashboard, and test conversions appear with accurate source attribution. You can now see unified customer journey data instead of fragmented platform reports.
Step 4: Select the Right Attribution Model for Your Business
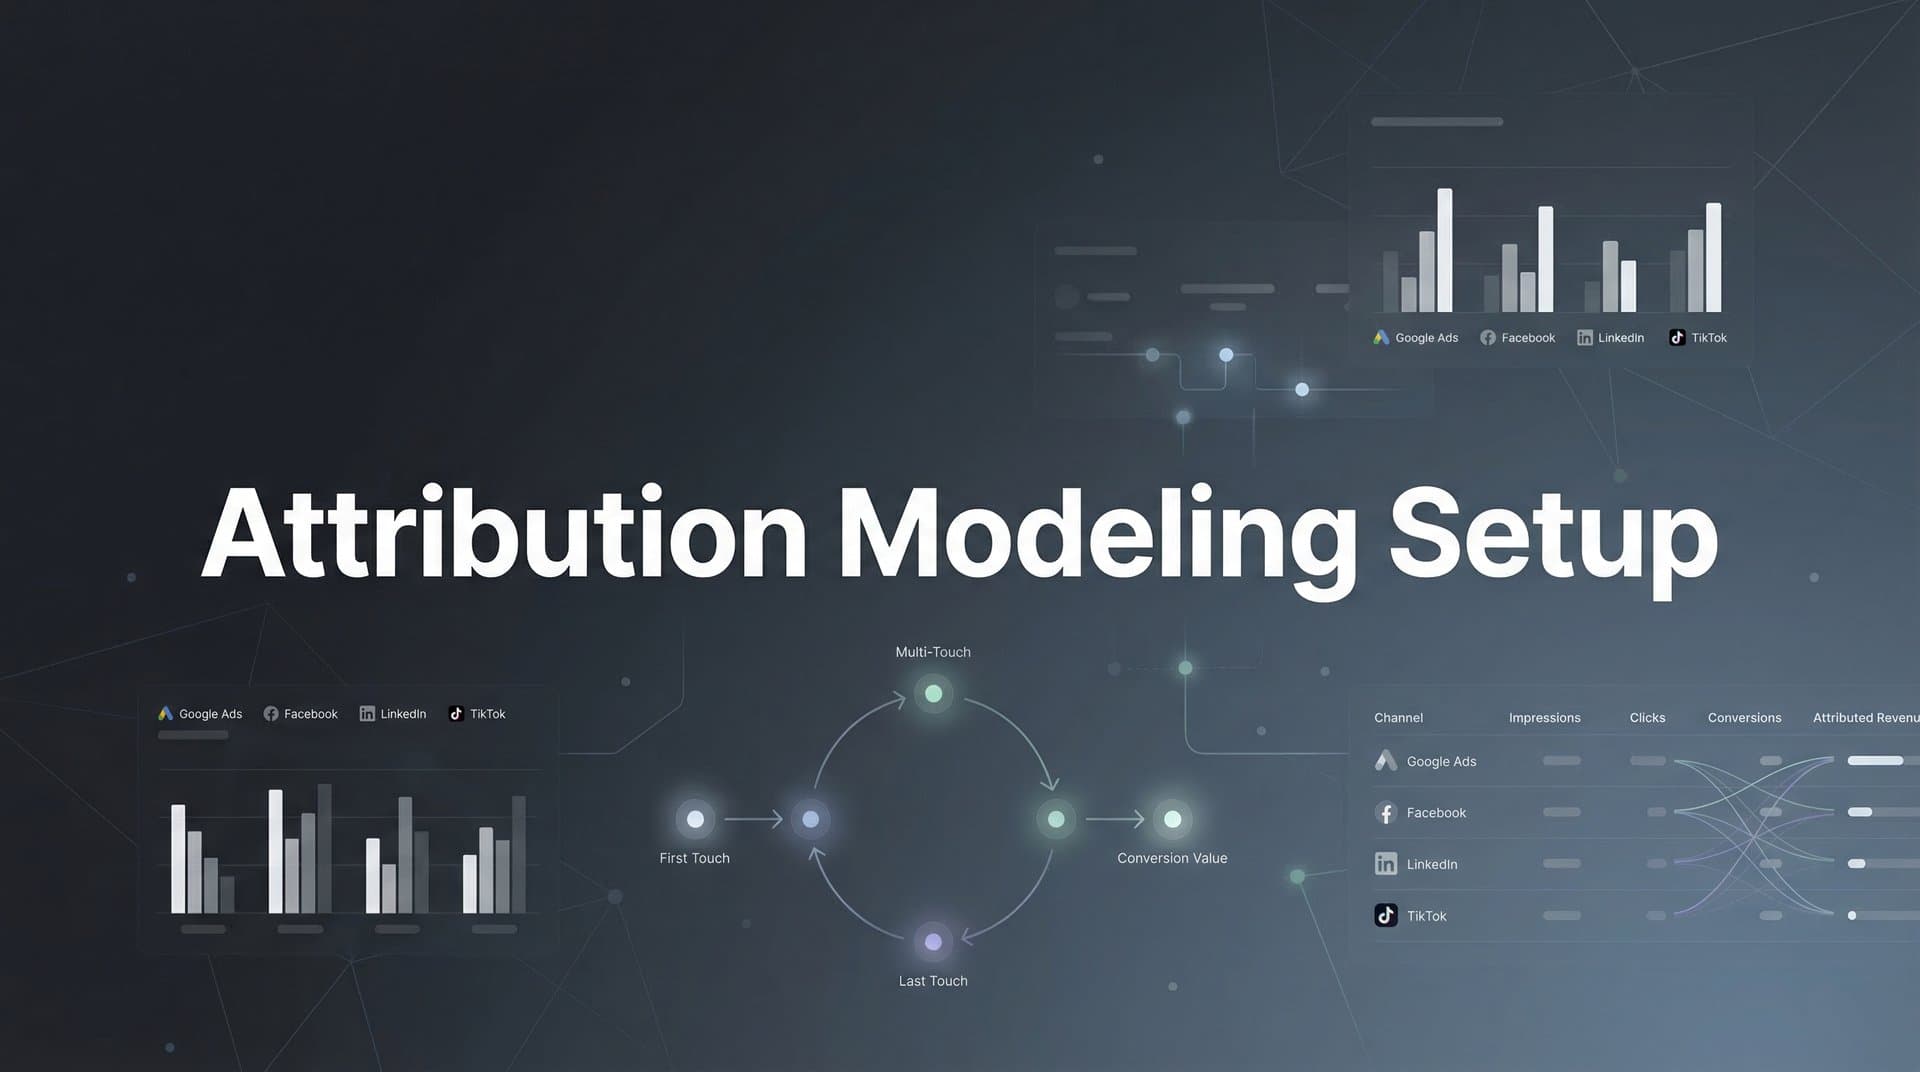
An attribution model is the rule set that determines how credit for conversions gets distributed across the touchpoints in a customer journey. Choose the wrong model and you'll optimize for the wrong channels. Choose the right one and you'll finally understand what's actually driving revenue.
Here are the main attribution model types you'll encounter:
First-touch attribution: Gives 100% credit to the first touchpoint in the customer journey. Useful for understanding which channels excel at generating awareness and bringing new prospects into your funnel. However, it completely ignores everything that happened between first touch and conversion.
Last-touch attribution: Gives 100% credit to the final touchpoint before conversion. This is what most ad platforms use by default because it makes their performance look better. It's useful for identifying closing channels but ignores the awareness and consideration touchpoints that made the conversion possible. Understanding the difference between single source attribution and multi-touch attribution models helps clarify when each approach makes sense.
Linear attribution: Distributes credit equally across all touchpoints in the journey. If someone saw three ads and two emails before converting, each touchpoint gets 20% credit. This acknowledges that multiple channels contribute, but it treats a critical demo call the same as a random banner impression.
Time-decay attribution: Gives more credit to touchpoints closer to the conversion. The logic is that recent interactions matter more than distant ones. This works well for businesses where the final touchpoints genuinely drive the decision, but it can undervalue important early-stage awareness channels.
Position-based attribution: Assigns 40% credit to the first touch, 40% to the last touch, and distributes the remaining 20% among middle touchpoints. This acknowledges that both awareness and closing matter while still recognizing mid-funnel nurturing.
Data-driven attribution: Uses machine learning to analyze your actual conversion data and assign credit based on which touchpoints statistically increase conversion probability. This is the most sophisticated approach but requires substantial conversion volume to generate reliable insights. For advanced implementations, explore algorithmic attribution modeling techniques.
Match your model choice to your sales cycle and business model. E-commerce businesses with short consideration phases and impulse purchases might find last-touch attribution reasonably accurate. B2B companies with 60-90 day sales cycles involving multiple touchpoints across awareness, consideration, and decision stages benefit from multi-touch models like position-based or data-driven attribution.
Consider running multiple attribution models simultaneously. Comparing first-touch and last-touch reports side-by-side reveals which channels excel at generating awareness versus closing deals. This multi-model approach often surfaces insights that a single model misses—like discovering that LinkedIn drives high-quality leads but email closes them.
Success indicator: You've selected one primary attribution model that matches your sales cycle and business model, with clear documentation of why you chose it. If possible, you're also running secondary models for comparison to gain deeper insights into channel performance across different funnel stages.
Step 5: Configure Attribution Windows and Lookback Periods
An attribution window defines how far back in time your system looks when connecting touchpoints to conversions. Set it too short and you miss important early-stage interactions. Set it too long and you over-attribute credit to distant touchpoints that barely influenced the decision.
You'll typically configure two types of attribution windows: click-through and view-through. Click-through windows track how long after someone clicks an ad you'll attribute conversions to that click. View-through windows track how long after someone simply sees an ad impression (without clicking) you'll give that impression partial credit if they later convert.
Start with your sales cycle data from Step 1. If your median time from first touch to conversion is 30 days, your click-through attribution window should be at least 30 days, possibly 45-60 days to capture the full journey including outliers. For businesses with very short sales cycles—impulse e-commerce purchases that typically happen within hours—a 7-day click window might be sufficient. Our marketing attribution setup guide provides detailed window configuration recommendations by industry.
View-through windows should generally be shorter than click-through windows because passive ad views indicate less intent than active clicks. A common configuration is a 30-day click window with a 7-day view window, meaning clicks get attribution credit for a month while impressions only count for a week.
Consider setting different attribution windows for different conversion types. High-value B2B conversions like demo bookings might warrant longer windows (60-90 days) because the consideration phase is extended. Lower-value micro-conversions like email sign-ups might use shorter windows (14-30 days) since they happen earlier in the funnel with less deliberation.
Test your window configurations against historical conversion data if possible. Pull reports showing the time lag between first touch and conversion for your past customers. If 80% of conversions happen within 45 days of first touch, a 45-60 day attribution window captures most journeys without over-attributing to ancient touchpoints.
Success indicator: Your attribution windows are configured to match your typical customer journey length, with click-through windows aligned to your sales cycle data and view-through windows set appropriately shorter. Test conversions appear with proper attribution across the full window period.
Step 6: Validate Your Setup and Establish Baseline Metrics
Before you start making budget decisions based on your new attribution data, you need to validate that everything is working correctly and establish baseline performance metrics for comparison.
Run controlled test conversions through each major channel. Create a small test campaign on Meta, click your own ad, and complete a conversion on your website. Then check your attribution dashboard to verify that the conversion appears with proper source attribution showing it came from Meta. Repeat this process for Google Ads, email campaigns, and any other significant channels. This hands-on testing catches configuration errors before they corrupt your data.
Compare your attribution system's reported conversions against what each ad platform reports. Some discrepancy is normal and expected—platforms use different attribution windows and models, plus privacy restrictions mean platforms miss conversions that your server-side tracking captures. However, massive discrepancies (like your attribution system showing 50% fewer conversions than the platform reports) indicate a tracking problem that needs investigation. Learn how to fix attribution discrepancies in data when numbers don't align.
Document baseline performance metrics for each channel before making any optimization changes. Record current spend levels, conversion volumes, cost per acquisition, and return on ad spend for each platform. This baseline lets you measure the impact of attribution-informed optimizations later. You want to know whether reallocating budget based on attribution insights actually improved overall performance.
Set up alerts for tracking anomalies or data gaps. Most attribution platforms can notify you when conversion volumes drop suddenly, when a major traffic source stops sending data, or when tracking scripts fail to load. These alerts help you catch and fix problems quickly before they corrupt your data for extended periods.
Review your attribution reports daily for the first week, then weekly for the first month. Look for patterns that make sense based on your marketing activities. If you launched a major Meta campaign last week, you should see increased attributed conversions from Meta. If patterns seem disconnected from reality—like a channel you paused still showing new attributed conversions—investigate the cause.
Success indicator: Test conversions flow correctly through your attribution system with accurate source data, reported conversions align reasonably with platform reports (accounting for expected discrepancies), baseline metrics are documented for all major channels, and monitoring alerts are configured to catch future tracking issues.
Putting It All Together
You now have a complete attribution modeling setup that shows which channels and campaigns actually drive revenue—not just surface-level metrics like clicks or impressions. This visibility transforms how you make marketing decisions.
Use your attribution data to reallocate budget toward high-performing sources. If your attribution system reveals that LinkedIn drives twice the revenue per dollar spent compared to display ads, shift budget accordingly. Identify undervalued touchpoints in your funnel—channels that don't get last-click credit but consistently appear in converting customer journeys deserve more investment.
Feed your attribution insights back to ad platforms through conversion sync. When you send enriched conversion data that includes the full customer journey back to Meta or Google, their algorithms can better optimize for the prospects most likely to convert. This creates a virtuous cycle where better attribution leads to better ad targeting, which drives better results.
Here's your implementation checklist: conversion events defined with revenue values, tracking infrastructure audited and gaps identified, all data sources connected to a unified attribution dashboard, attribution model selected based on your sales cycle, windows configured to match customer journey length, and baseline metrics documented for comparison.
Review your attribution data weekly for the first month as you learn how to interpret the reports and spot patterns. Then settle into a regular cadence of monthly deep dives combined with weekly check-ins on key metrics. Adjust your attribution model or windows as you gather more insights about your actual customer journey patterns—attribution modeling isn't set-it-and-forget-it, it's an evolving system that improves as you learn.
The most common mistake at this stage is over-correcting based on limited data. If you only have 50 conversions in your attribution system, don't make dramatic budget shifts yet. Wait until you have at least a few hundred conversions across a full sales cycle before making major optimization decisions. Early patterns might not hold as your data set grows.
Remember that attribution modeling shows correlation, not always causation. Just because a channel appears frequently in converting customer journeys doesn't automatically mean increasing spend there will drive proportional results. Use attribution insights as directional guidance combined with incrementality testing—running controlled experiments where you increase or pause spend to measure true causal impact.
Ready to elevate your marketing game with precision and confidence? Discover how Cometly's AI-driven recommendations can transform your ad strategy—Get your free demo today and start capturing every touchpoint to maximize your conversions.


