You're spending thousands on ads across Meta, Google, TikTok, and LinkedIn—but which campaigns actually drive revenue? Without proper marketing attribution setup, you're essentially flying blind, making budget decisions based on incomplete data and platform-reported metrics that often overclaim conversions.
Here's the problem: Facebook says it drove 100 conversions. Google Ads claims 85. LinkedIn reports 30. Add those up and you've got 215 conversions—but your CRM only shows 120 actual customers. What's happening?
Each platform takes credit for the same conversions, leaving you with inflated numbers and zero clarity on what's actually working. You're left guessing which channels deserve more budget and which are just expensive vanity metrics.
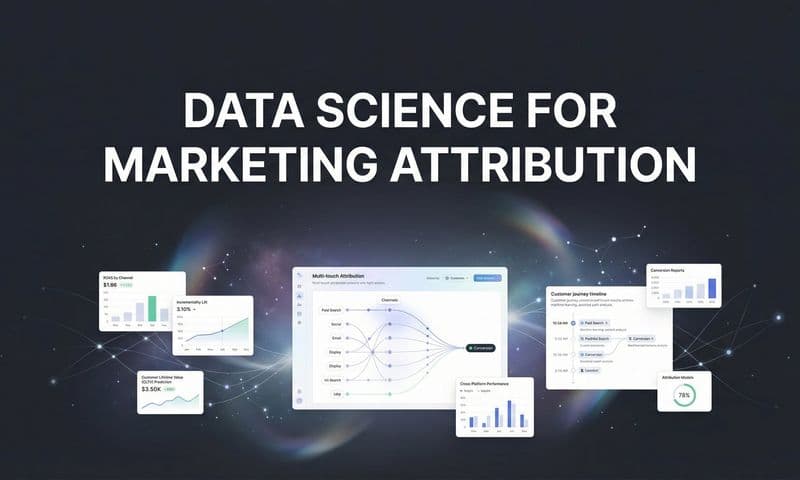
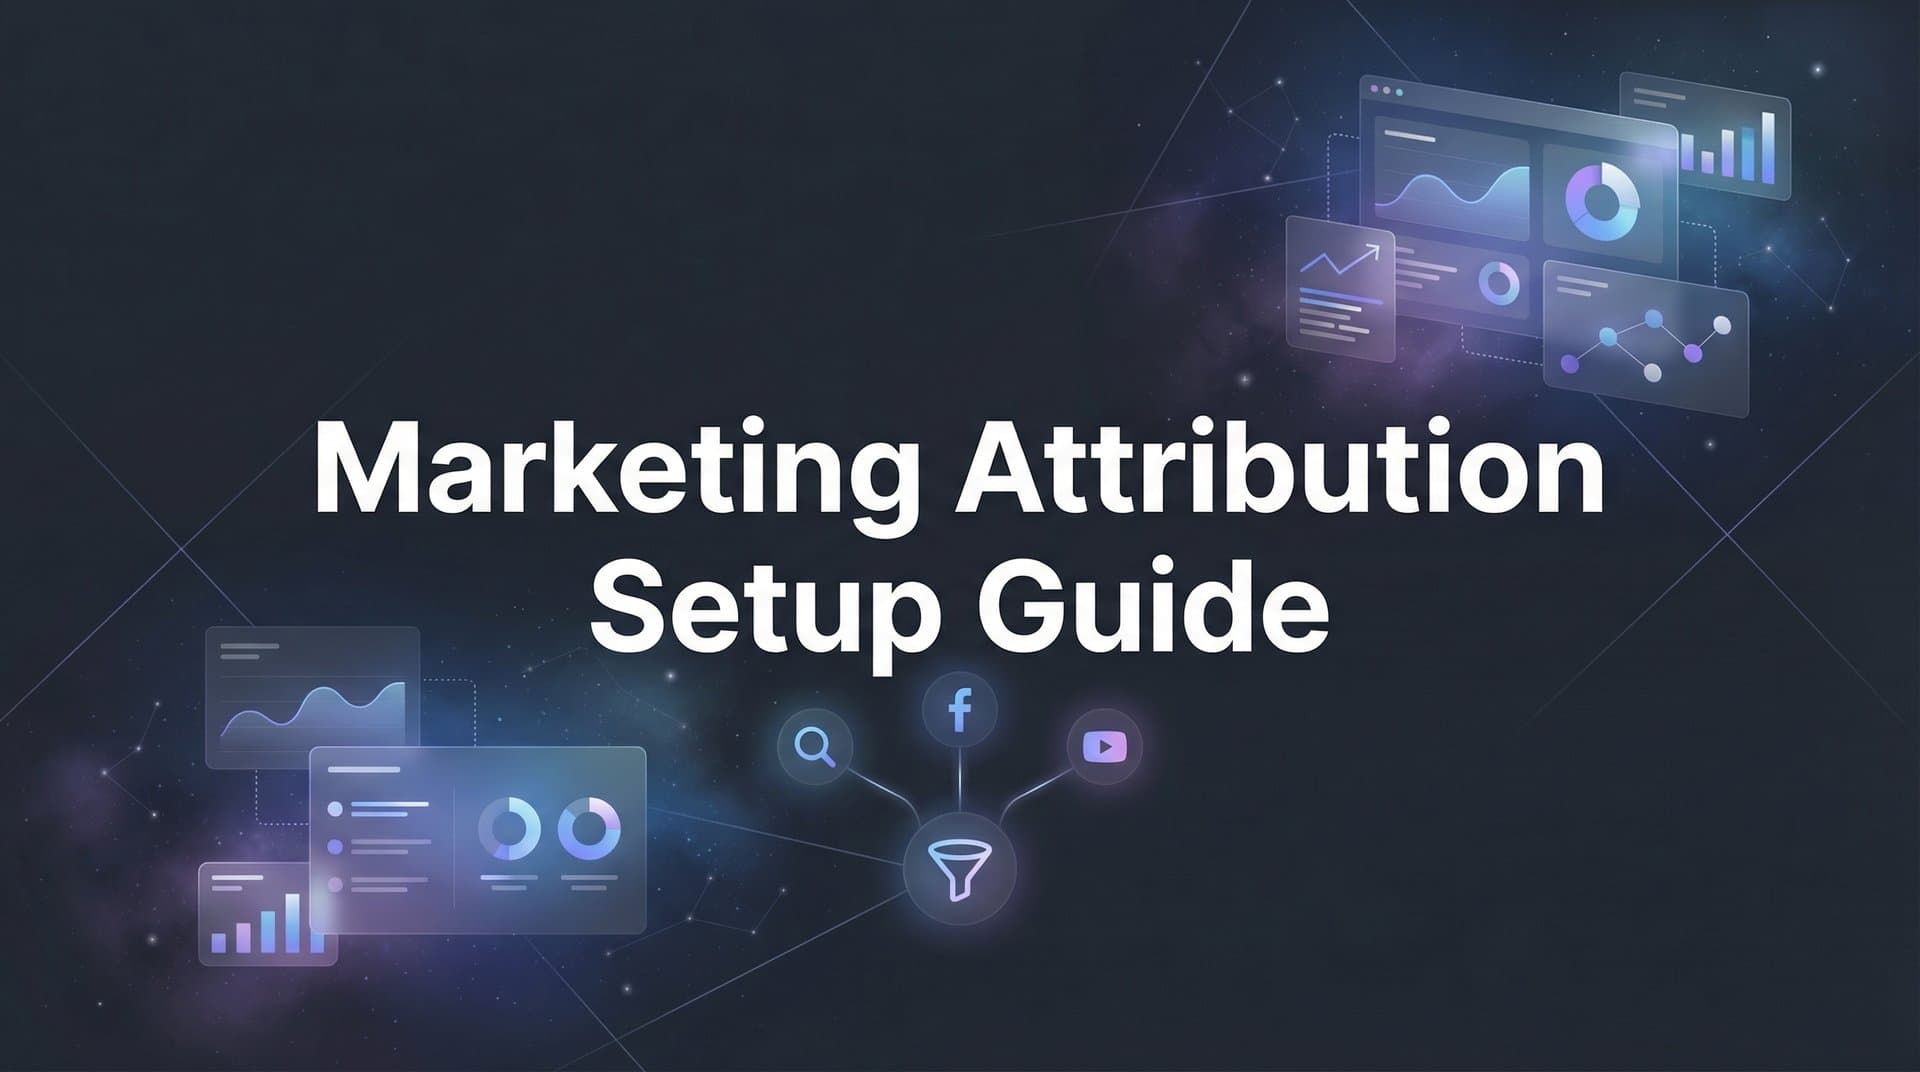
This guide walks you through setting up marketing attribution from scratch, whether you're starting fresh or fixing a broken tracking system. By the end, you'll have a working attribution system that connects every ad click to actual revenue, giving you the clarity to scale what works and cut what doesn't.
We'll cover everything from defining your conversion events to connecting your tech stack and choosing the right attribution model for your business. Let's turn your marketing data from confusing to crystal clear.
Step 1: Define Your Conversion Events and Customer Journey Stages
Before you install a single tracking pixel, you need to know exactly what you're tracking. This isn't about capturing every button click—it's about identifying the actions that actually matter to your business.
Start by listing all meaningful conversion actions that represent real business value. For B2B companies, this might include lead form submissions, demo bookings, free trial signups, and closed deals. For ecommerce, think purchases, add-to-carts, and email signups. For SaaS, consider trial starts, upgrade conversions, and subscription renewals.
The key word here is "meaningful." A page view isn't a conversion. Someone downloading a generic PDF probably isn't either. Focus on actions that indicate genuine purchase intent or move prospects closer to revenue.
Next, map your typical customer journey from first touch to closed deal. Does someone usually see your ad, visit your website, download a resource, book a demo, then buy? Or do they click an ad and purchase immediately? Understanding this path determines what touchpoints you need to track.
Most businesses have multiple paths to conversion. Someone might see your LinkedIn ad, ignore it, then Google your brand name three weeks later and convert. Another person might click your Facebook ad and buy within an hour. Both journeys matter—your attribution system needs to capture them all.
Now prioritize your conversions into primary and secondary events. Primary events drive revenue attribution—these are the conversions you'll use to calculate ROAS and make budget decisions. For most businesses, this means actual purchases, closed deals, or qualified leads that enter your sales pipeline.
Secondary events help you understand the path but don't directly measure success. These might include email signups, resource downloads, or demo requests that don't always convert to customers. Track them, but don't weight them equally in your attribution logic.
Finally, document where each conversion happens in your tech stack. Does the lead form live on your website? Does the purchase happen in Shopify? Do deals close in Salesforce? Knowing this now saves hours of troubleshooting later when you're connecting everything together.
Create a simple spreadsheet with three columns: Conversion Event, Where It Happens, and Priority Level. This becomes your tracking blueprint for the next steps.
Step 2: Implement Server-Side Tracking on Your Website
Client-side tracking—the old method of dropping JavaScript pixels on your website—is dying. Browser restrictions, ad blockers, and iOS privacy changes have made it unreliable. You need server-side tracking.
Here's why this matters: when someone clicks your ad and lands on your website, their browser can block tracking scripts, delete cookies, or strip away the click ID that connects them to your campaign. Server-side tracking captures this data before the browser has a chance to interfere.
Think of it like this: client-side tracking asks the visitor's browser to report what happened. Server-side tracking records what happened on your server, where nothing can block or delete it. The difference in data accuracy can be 30-40% more conversions captured.
Start by installing your attribution platform's tracking script across all pages where customer interactions occur. This includes landing pages, product pages, checkout flows, and thank you pages. The script needs to fire on every page to capture the complete journey.
Most modern attribution platforms provide a single script that you install once in your website header. If you're using Google Tag Manager, you can deploy it through a container tag. If you're on WordPress, many platforms offer plugins. For custom sites, your developer adds the script directly to your site template.
The critical piece is first-party data collection. Your tracking system needs to capture UTM parameters, click IDs (like gclid from Google or fbclid from Facebook), and user identifiers before they're lost to browser limitations. This data gets stored on your server, not in the visitor's browser, making it much more reliable.
Configure your tracking to capture these specific data points: traffic source, campaign name, ad group, ad creative, keyword (for search), click ID, landing page URL, and timestamp. This creates the foundation for accurate attribution marketing tracking.
Once installed, verify everything fires correctly. Open your website in Chrome, right-click, select "Inspect," and go to the Network tab. Reload the page and look for your tracking script loading. You should see network requests going to your attribution platform's domain.
Better yet, use your attribution platform's real-time event viewer. Most platforms show live events as they happen—click around your website and watch events appear in real-time. If you see events firing, you're good. If not, check that the script is installed correctly and not being blocked by ad blockers or privacy extensions.
Test the full conversion path: click a test ad (or simulate one with UTM parameters), navigate through your website, and complete a conversion. Within minutes, you should see this journey appear in your attribution dashboard with all touchpoints connected.
Step 3: Connect Your Ad Platforms to Your Attribution System
Your attribution system now tracks website activity, but it doesn't know how much you spent on each campaign or which specific ads drove clicks. That's where ad platform integrations come in.
Start with your biggest spend platforms—typically Meta (Facebook/Instagram) and Google Ads. Most attribution platforms offer one-click API integrations that pull in cost data, impressions, clicks, and campaign details automatically.
Navigate to your attribution platform's integrations section and connect each ad account. You'll authenticate with your ad platform credentials, select which accounts to sync, and configure what data to import. At minimum, import campaign names, ad group names, ad creative IDs, spend, clicks, and impressions.
Enable auto-tagging wherever available. Google Ads has auto-tagging that appends gclid parameters to your URLs automatically. Meta doesn't auto-tag, so you'll need to manually add UTM parameters to your campaigns. Use a consistent naming convention across all platforms—this makes reporting infinitely easier.
Here's a UTM structure that works: utm_source for the platform (facebook, google, tiktok), utm_medium for the traffic type (cpc, social, display), utm_campaign for the campaign name, utm_content for the ad variation, and utm_term for keywords if applicable.
The critical piece is mapping platform-specific click IDs to your attribution system. When someone clicks your Google ad, Google appends a gclid parameter to your URL. When they click your Facebook ad, Facebook appends an fbclid. Your attribution system needs to capture and store these IDs to match clicks to conversions accurately.
Most attribution platforms handle this automatically once you've installed their tracking script, but verify it's working. Check your attribution dashboard and look for click ID fields populated with long strings of characters—that's the gclid or fbclid being captured correctly.
For platforms like TikTok and LinkedIn, the process is similar: authenticate the API connection, configure data import, and ensure UTM parameters are consistent. Smaller platforms without API integrations can still work—you'll just rely on UTM tracking instead of automated data syncing.
Test each integration individually. Run a small campaign on one platform, let it generate some clicks, and confirm those clicks appear in your attribution dashboard with correct cost data attached. If clicks show up but cost data is missing, your API connection isn't working. If neither appear, your UTM parameters or click ID tracking has issues.
Step 4: Integrate Your CRM and Revenue Data Sources
Website tracking and ad platform connections tell you who clicked and what they did on your site. But they don't tell you who actually became a customer or how much revenue they generated. That's where CRM integration becomes essential.
Connect your CRM—whether that's HubSpot, Salesforce, Pipedrive, or another system—to your attribution platform. This connection tracks leads through your entire sales pipeline, from initial contact to closed deal, and attributes revenue back to the marketing touchpoints that generated it.
Most modern attribution platforms offer native integrations with major CRMs. Navigate to your integrations page, select your CRM, and authenticate. You'll typically need admin access to your CRM to grant the necessary permissions.
Configure bi-directional sync if your attribution platform supports it. This means attribution data flows into your CRM (so your sales team can see which campaigns generated each lead), and deal outcomes flow back to your attribution system (so you can calculate revenue-based metrics like customer acquisition cost and ROAS).
Here's what bi-directional sync looks like in practice: someone clicks your Facebook ad, fills out a lead form, and enters your CRM as a new contact. Your attribution system writes data to that CRM contact record showing they came from Facebook Campaign X. Three weeks later, your sales team closes the deal for $5,000. Your CRM sends that closed-won event and revenue value back to your attribution system, which credits Facebook Campaign X with $5,000 in revenue.
For ecommerce businesses, connect your payment processor or shopping platform instead. Shopify, WooCommerce, Stripe, and similar platforms can integrate with attribution systems to send transaction data automatically. Every purchase gets matched to the customer's journey, showing which ads drove actual sales. If you're running a Shopify store, explore dedicated Shopify marketing attribution tools for seamless integration.
The key is ensuring your attribution system can match CRM contacts or ecommerce customers to their original website sessions. This typically happens through email address matching—when someone fills out a form or makes a purchase, their email becomes the identifier that connects their entire journey.
Set up the matching logic carefully. If someone clicks an ad on their phone, then converts on their laptop using a different browser, email matching is what connects those sessions. Without it, you'll see two separate journeys instead of one complete path.
Verify the connection by creating a test lead or purchase. Use a unique email address, click through from a campaign (or simulate one with UTM parameters), complete a conversion, and watch it flow into your CRM. Then check your attribution dashboard—you should see that conversion with full journey data attached, showing every touchpoint from first click to conversion.
If revenue data isn't flowing back correctly, check your CRM field mapping. Your attribution platform needs to know which CRM field contains deal value or purchase amount. Most platforms auto-detect standard fields, but custom CRM setups may require manual mapping.
Step 5: Choose and Configure Your Attribution Model
Now comes the strategic decision that changes how you interpret your data: choosing your attribution model. This determines how credit gets distributed across the touchpoints in a customer's journey.
Start by understanding your options. First-touch attribution gives 100% credit to the first touchpoint—the initial ad click or website visit that started the journey. This model answers "What's driving awareness?" and works well for top-of-funnel campaigns focused on reaching new audiences.
Last-touch attribution does the opposite, giving 100% credit to the final touchpoint before conversion. This model answers "What's closing deals?" and works well for bottom-of-funnel campaigns focused on converting ready-to-buy prospects.
The problem with both single-touch models? They ignore everything in between. If someone sees your LinkedIn ad, clicks your Google search ad three weeks later, then converts through an email campaign, single-touch models give credit to just one of those touchpoints. That's not the full story.
Multi-touch attribution models distribute credit across multiple touchpoints. Linear attribution gives equal credit to every touchpoint—if there were five interactions, each gets 20%. This model values every step equally but doesn't account for the fact that some touchpoints matter more than others.
Time-decay attribution weights recent touches more heavily than earlier ones. The logic: interactions closer to conversion probably had more influence on the decision. This works well for considered purchases where the final touchpoints push prospects over the edge.
Position-based attribution (also called U-shaped) emphasizes first and last touches while giving some credit to middle interactions. Typically, it assigns 40% to first touch, 40% to last touch, and splits the remaining 20% among middle touchpoints. This balances awareness and conversion while acknowledging the full journey.
So which model should you choose? Match it to your sales cycle and business goals. Short ecommerce cycles where people buy quickly might work fine with last-touch—there often aren't many touchpoints to distribute credit across anyway. For a deeper dive into selecting the right approach, review our guide on what is marketing attribution model.
Longer B2B sales cycles with multiple stakeholders and touchpoints benefit from multi-touch models. When someone interacts with your brand 10-15 times over three months before converting, you need to understand which touchpoints actually influenced the decision. Learn more about what is multi-touch attribution in marketing to master this approach.
Here's the good news: you don't have to choose just one. Most attribution platforms let you compare models side-by-side. You can view the same data through first-touch, last-touch, and multi-touch lenses simultaneously. Use this to see how different models value your channels.
You might discover that Facebook looks amazing in first-touch attribution but weak in last-touch—meaning it's great for awareness but not closing deals. Or you might find that Google Search dominates last-touch but barely appears in first-touch—meaning it captures existing demand but doesn't create new awareness.
These insights change how you allocate budget. Instead of asking "Which channel is best?" you can ask "Which channel is best for awareness?" and "Which channel is best for conversions?" and fund them accordingly.
Step 6: Set Up Conversion Sync to Feed Better Data Back to Ad Platforms
Your attribution system now tracks conversions accurately, but there's one more powerful step: sending that conversion data back to your ad platforms. This is called conversion sync, and it dramatically improves campaign performance.
Here's why it matters: ad platforms like Meta and Google use machine learning to optimize your campaigns. They need conversion data to learn which audiences and creatives work best. The problem? Their pixel-based tracking misses conversions due to browser restrictions and iOS privacy changes.
When you sync conversions from your attribution system back to ad platforms via their Conversion APIs, you're feeding them more complete data. This helps their algorithms optimize better, find similar audiences, and ultimately drive more conversions at lower costs.
Start with Meta's Conversions API (CAPI). In your attribution platform, navigate to the Meta integration settings and enable conversion sync. You'll select which conversion events to send back—typically your primary conversions like purchases or qualified leads.
Configure the sync to include conversion value data when possible. If someone makes a $100 purchase versus a $1,000 purchase, Meta's algorithm optimizes better when it knows the difference. This helps it find more high-value customers instead of just more customers.
Google's equivalent is Enhanced Conversions. Enable it through your attribution platform's Google Ads integration. This sends hashed customer data (like email addresses) back to Google, allowing it to match conversions more accurately even when cookies are blocked.
The technical setup varies by attribution platform, but the concept is the same: your server sends conversion events directly to the ad platform's API, bypassing browser limitations entirely. This creates a more reliable feedback loop for campaign optimization.
Monitor your match rates and event quality scores in each platform. Meta shows this in Events Manager—you want match rates above 70% for good optimization. Google shows similar metrics in the conversions section. Low match rates indicate data quality issues that need fixing.
Common issues include: sending conversions without email addresses (which reduces matching), sending duplicate events (which inflates numbers), or sending conversions too late (ad platforms optimize best with real-time data). Most attribution platforms handle these automatically, but verify your setup is working correctly.
The result? Your ad platforms get more accurate conversion data, their algorithms optimize better, and your campaigns perform more efficiently. Many businesses see 20-30% improvement in ROAS after implementing proper conversion sync.
Step 7: Validate Your Setup and Establish Baseline Metrics
You've built the system—now it's time to verify everything works before you start making budget decisions based on this data.
Run end-to-end tests for each major conversion path. Click an ad (or simulate one with UTM parameters), navigate through your website, complete a conversion, and verify the entire journey appears correctly in your attribution dashboard. Check that all touchpoints are captured, conversion values are accurate, and the attribution model assigns credit as expected.
Test multiple scenarios: a direct conversion with one touchpoint, a multi-touch journey with several interactions, a mobile-to-desktop conversion, and a conversion that goes through your CRM. Each should appear correctly in your dashboard with complete data.
Compare attributed conversions against your source-of-truth systems. Pull conversion numbers from your CRM, payment processor, and ad platforms. Your attribution system's total conversions should align closely with your CRM's new customers or your ecommerce platform's orders.
Small discrepancies are normal—attribution systems might capture conversions a few hours later than they occur, or exclude test conversions that your CRM includes. But major gaps indicate tracking problems that need investigation. Understanding common attribution challenges in marketing analytics helps you troubleshoot these issues faster.
Look for these specific issues: conversions appearing in your CRM but not in your attribution system (tracking not firing), conversions in your attribution system but not in your CRM (test data or bots), or conversion values that don't match (field mapping errors).
Document your baseline metrics before making any optimization decisions. Record your current cost per acquisition, ROAS by channel, conversion rates, and average order value. These benchmarks help you measure improvement over time and prove the value of accurate attribution.
Set up alerts for tracking anomalies. Most attribution platforms can notify you when conversion volume drops suddenly, which often indicates broken tracking. Configure alerts for 30%+ drops in daily conversions, missing click IDs, or integration failures.
Create a simple monitoring routine: check your attribution dashboard weekly, verify conversion volumes match expectations, and scan for any channels showing zero conversions (which usually means tracking issues, not zero performance).
Finally, document your setup for future reference. Write down which attribution model you chose and why, how your UTM parameters are structured, which conversion events are primary versus secondary, and any custom configurations you made. Six months from now when you're troubleshooting an issue, you'll thank yourself for this documentation.
Putting It All Together
You now have a complete marketing attribution system that tracks every touchpoint from ad click to revenue. The real power comes from using this data: review your attribution reports weekly, identify which campaigns actually drive profitable conversions, and reallocate budget accordingly.
Start by analyzing your multi-touch attribution data. Which channels appear most often in converting journeys? Which combinations of touchpoints perform best? You might discover that LinkedIn awareness campaigns combined with Google Search retargeting drive your highest-value customers—insights you'd never see looking at platform reports individually. For advanced analysis techniques, explore digital marketing attribution measurement strategies.
Use this data to make confident budget decisions. If Facebook drives 40% of first touches but only 15% of last touches, it's an awareness channel—fund it accordingly. If Google Search dominates last touches, increase budget there to capture more ready-to-buy prospects.
Remember to revisit your attribution model as your business evolves. What works for a startup focused on rapid growth may need adjustment as you scale and prioritize profitability. A company with a three-month sales cycle might switch from last-touch to position-based as they mature and want to value the full journey.
Your setup checklist should now look like this: conversion events defined and documented, server-side tracking live on all key pages, ad platforms connected with API integrations, CRM integrated with bi-directional sync, attribution model configured and tested, conversion sync enabled to major platforms, and baseline metrics documented for future comparison.
With accurate attribution in place, you can finally make confident decisions about where to invest your marketing budget. No more guessing which campaigns work. No more relying on platform-reported metrics that overclaim credit. Just clear, accurate data showing the complete path from ad spend to revenue.
The businesses that win in modern marketing aren't the ones spending the most—they're the ones making the smartest decisions with the best data. You now have that advantage.
Ready to elevate your marketing game with precision and confidence? Discover how Cometly's AI-driven recommendations can transform your ad strategy—Get your free demo today and start capturing every touchpoint to maximize your conversions.