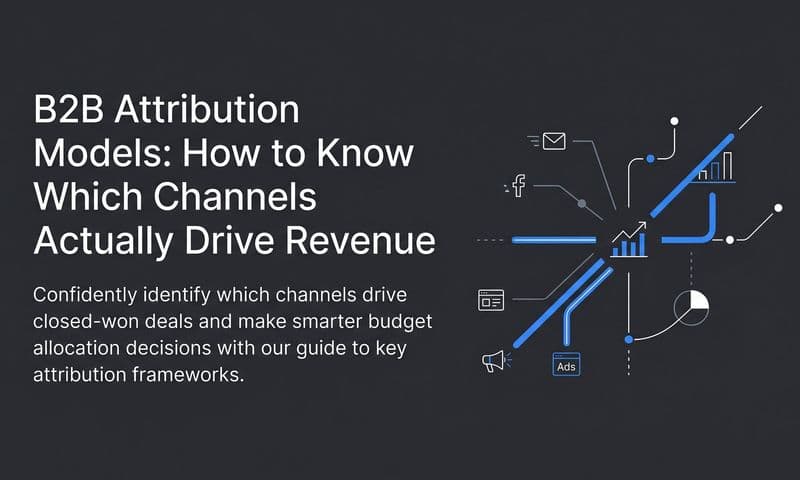
If you are running paid campaigns across Meta, Google, TikTok, and other platforms, you have probably noticed a frustrating gap between what each platform reports and what actually drives revenue. Clicks and impressions look great in dashboards, but when you try to connect those numbers to real sales or pipeline, the story falls apart.
That gap is exactly what attribution tracking implementation solves. Attribution tracking is the process of connecting every marketing touchpoint, from the first ad click to the final conversion, so you can see which campaigns, channels, and creatives actually generate results. Without it, you are making budget decisions based on incomplete or duplicated data. With it, you gain a clear, unified view of what is working and what is wasting spend.
This guide walks you through the full attribution tracking implementation process in six actionable steps. By the end, you will have a system that captures every touchpoint across your customer journey, connects ad data to real revenue in your CRM, feeds better conversion data back to ad platforms for smarter optimization, and gives you the confidence to scale what works.
Whether you are a solo marketer managing multiple ad accounts or part of a larger team looking to unify reporting, these steps will help you move from fragmented platform data to a single source of truth. Let us get into it.
Step 1: Define Your Conversion Events and Revenue Goals
Before you install a single pixel or configure a single integration, you need clarity on what you are actually trying to measure. This step sounds obvious, but it is where most attribution implementations go wrong from the start.
Start by identifying the specific actions that count as conversions for your business. These will vary depending on your model, but common examples include a demo booked, a purchase completed, a free trial started, or a lead form submitted. Write these down explicitly. If your team cannot agree on what a conversion is, your attribution data will reflect that confusion.
Next, map out your full funnel from first touch to closed revenue. Think through every stage a prospect passes through before becoming a customer. For a B2B SaaS company, that might look like: ad click, landing page visit, content download, demo request, sales call, proposal sent, deal closed. For an e-commerce brand, it might be: ad click, product page view, add to cart, checkout initiated, purchase confirmed. Documenting these stages helps you understand exactly what needs to be tracked and where in the journey each event lives. Understanding your complete marketing funnel attribution is essential before moving forward.
This is also where you distinguish between micro-conversions and macro-conversions. Micro-conversions are lower-intent actions like email signups, blog visits, or video views. Macro-conversions are the high-value outcomes that directly tie to revenue, like a purchase or a closed deal. Both have a role in understanding your funnel, but your attribution model should prioritize macro-conversions. If you weight micro-conversions too heavily, you will end up optimizing toward traffic and engagement rather than actual revenue.
Finally, document where each conversion event currently lives in your tech stack. Is the purchase confirmation tracked via a Meta pixel? Is the demo booking captured in your CRM? Is the form submission recorded in Google Analytics? Creating this inventory reveals gaps before you start building, which saves significant time during implementation.
Common pitfall to avoid: Many marketers track too many low-value events in their attribution system. When everything counts as a conversion, nothing does. Keep your attribution focused on the events that actually predict revenue, and you will get far cleaner data to act on.
Step 2: Audit Your Current Tracking Infrastructure
Once you know what you want to measure, the next step is understanding what you are currently measuring and how well it is working. Most marketing teams have accumulated tracking setups over time, adding pixels and tags as they launch new campaigns, without ever stepping back to review the full picture. This audit is your chance to do that.
Start by reviewing all existing tracking pixels and tags across every ad platform you use. Pull up Meta Events Manager, Google Ads conversion tracking, TikTok Events Manager, and LinkedIn Insight Tag settings. For each platform, confirm that the pixel is installed correctly, that it is firing on the right pages, and that the events it reports match what you expect to see.
Check for these common issues during your review:
Duplicate pixel firing: This happens when a pixel fires more than once per page load, inflating your conversion counts and sending bad signals to ad platform algorithms. It is more common than you might think, especially if multiple team members have added tracking code over time. If you run into persistent issues, our guide on attribution tracking not working covers the most frequent causes and fixes.
Broken UTM conventions: UTM parameters are the backbone of campaign-level attribution. If your team is not following a consistent naming convention, your analytics data becomes fragmented and unreliable. Look for inconsistencies like mixed capitalization, missing parameters, or campaigns that were never tagged at all. Understanding the differences between UTM tracking vs attribution software can help you decide how much to rely on each approach.
Missing tracking on key pages: Check that your pixel and analytics code is present on every important page in your funnel, particularly landing pages, thank-you pages, and checkout confirmation pages. A missing tag on a thank-you page means you are not recording conversions at all for that channel.
Client-side tracking limitations: This is the big one. If your entire tracking setup relies on browser-based pixels, you are already losing a meaningful portion of your conversion data. iOS privacy changes, ad blockers, and evolving cookie restrictions all degrade the accuracy of client-side tracking. Your audit should clearly identify how much of your current setup depends on the browser to fire correctly.
Catalog your full tech stack as part of this audit: ad platforms, your website or CMS, your CRM, and any existing analytics tools. Then note where data connections are missing or broken. This becomes your implementation roadmap for the steps that follow.
Success indicator: You have a clear, written inventory of what is tracked, what is broken, and what is missing. This document is the foundation everything else is built on.
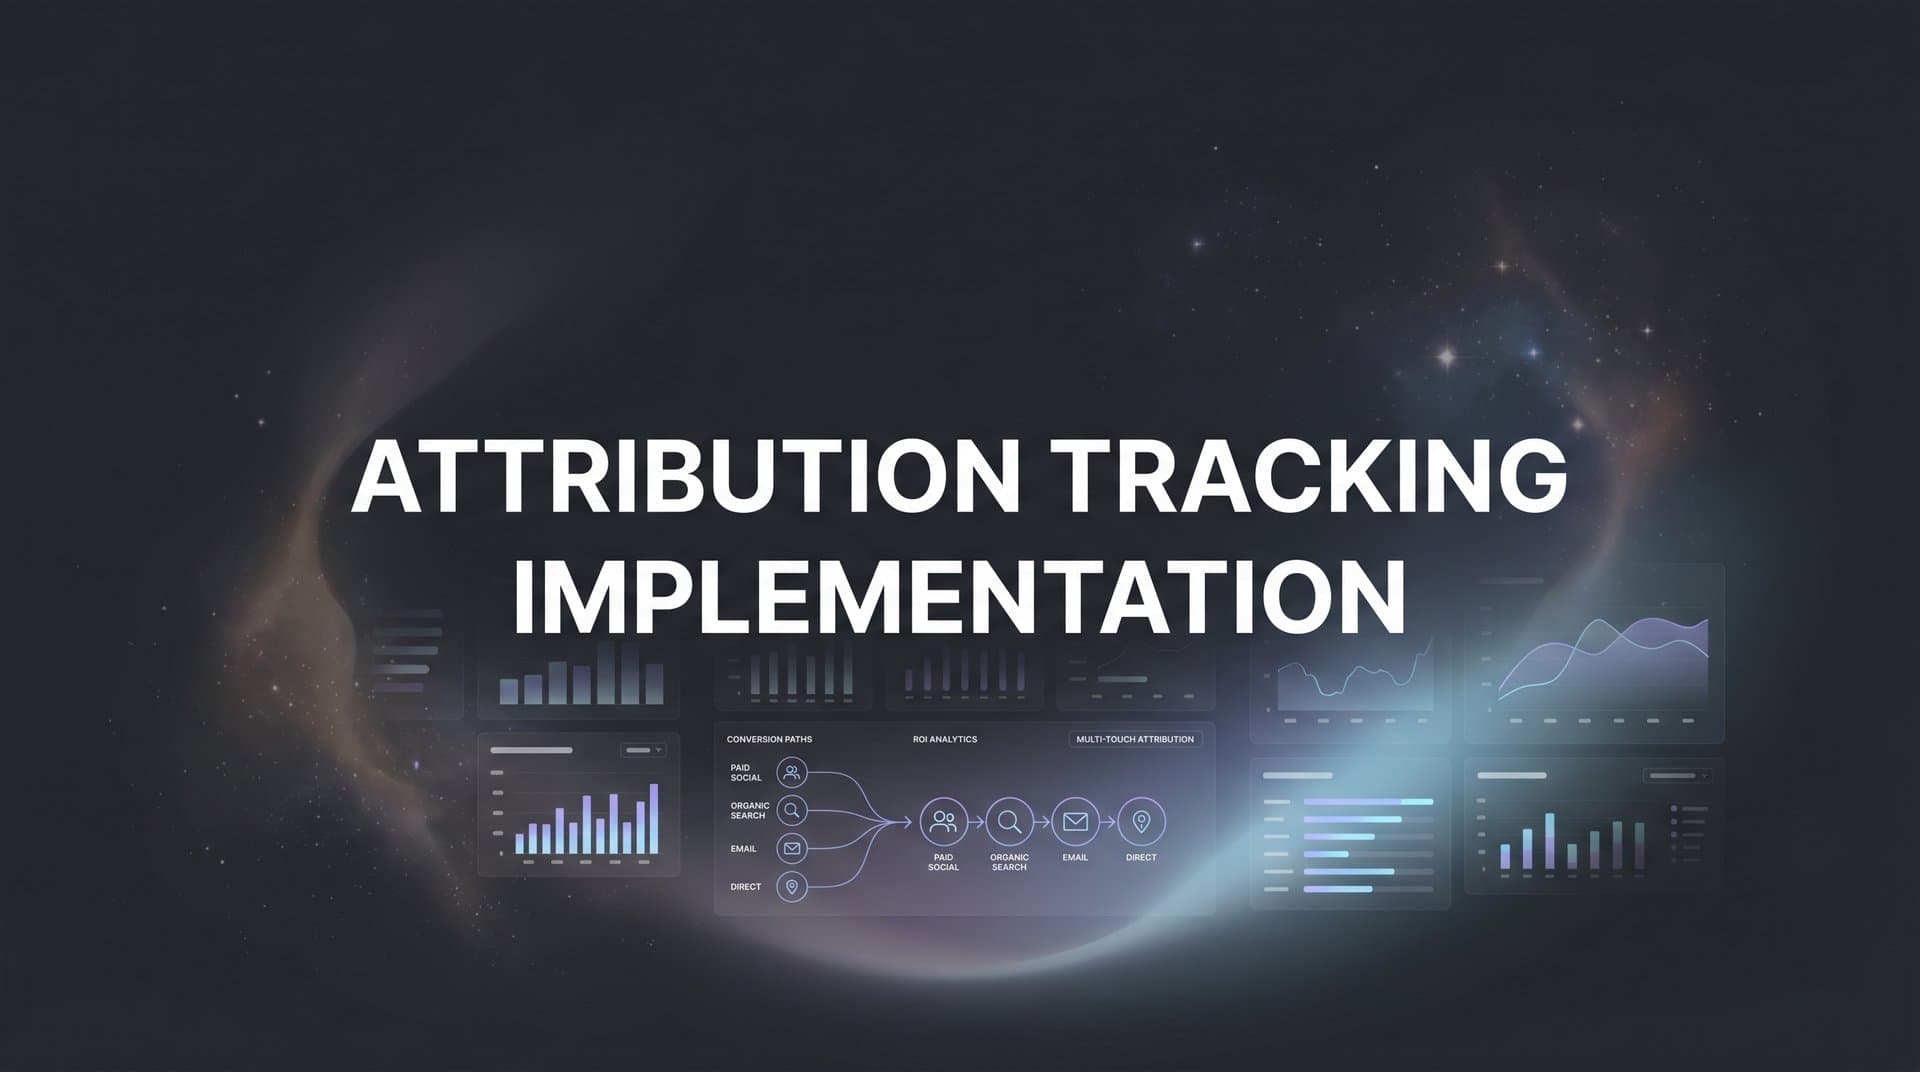
Step 3: Set Up Server-Side Tracking for Accurate Data Collection
Here is where attribution tracking implementation gets significantly more reliable. If your audit revealed that you are relying primarily on browser-based pixels, this step is non-negotiable for getting accurate data in today's privacy-first environment.
The core problem with client-side tracking is that it depends on the user's browser to execute correctly. When a visitor has an ad blocker enabled, when iOS restricts tracking permissions, or when a browser limits third-party cookies, that pixel simply does not fire. The conversion happens, but your ad platform never sees it. Over time, this creates a growing blind spot in your attribution data and degrades the performance of your ad campaigns because the algorithms are optimizing on incomplete signals.
Server-side tracking solves this by moving the data collection off the browser entirely. Instead of relying on a pixel in the user's browser to send data to Meta or Google, your server sends that conversion data directly to the ad platform via an API connection. The browser's privacy settings become irrelevant because the data never passes through it. Implementing a first-party data tracking approach is the foundation of this shift.
Here is how to set it up:
1. Install a first-party tracking script on your website. This script captures visitor behavior and stores it in a first-party context, meaning it is associated with your domain rather than a third-party ad platform. This alone improves data persistence compared to standard pixels.
2. Configure server-side event forwarding. Connect your server or attribution platform to the APIs of each ad platform you use. Meta's Conversions API and Google's Enhanced Conversions are the two most important connections to establish. These APIs accept conversion data sent directly from your server and match it to users in their systems.
3. Validate that events are firing correctly. Use the testing tools available in Meta Events Manager and Google Ads to confirm that server-side events are being received and matched properly. Look for high event match quality scores, which indicate that the customer data you are sending is successfully matching to users in the ad platform.
Cometly's server-side tracking is built to handle this entire process. It connects directly to your site, captures touchpoints that browser pixels miss, and gives you a more complete data set from day one without requiring custom engineering work.
Verification tip: After enabling server-side tracking, compare your event counts against your actual form submissions or purchase records for the same time period. If the numbers align closely, your setup is working. If there is still a significant gap, investigate whether all pages and events are properly configured before moving to the next step.
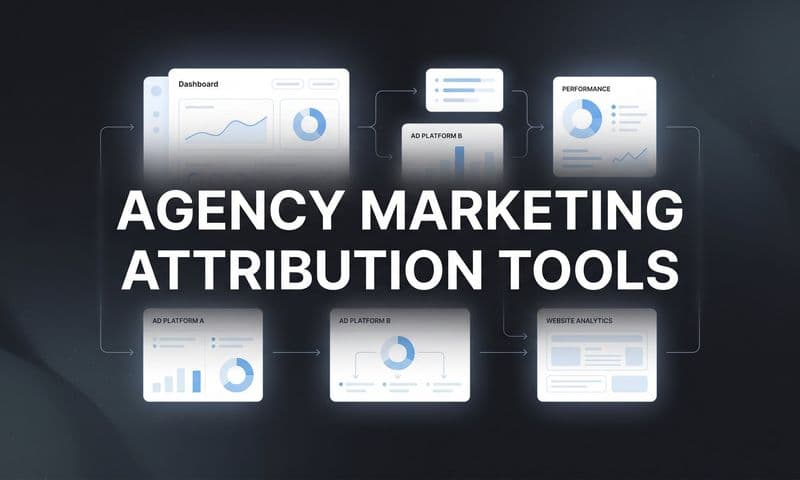
Step 4: Connect Your Ad Platforms and CRM Into One System
Server-side tracking gives you accurate event data. But to understand which ads are actually driving revenue, not just leads, you need to connect that event data to what happens after the conversion. That means integrating your ad platforms and your CRM into a single attribution system.
This is where attribution tracking becomes genuinely powerful. When your ad platforms and CRM are connected through one platform, you can trace a customer journey from the first ad impression all the way through to a closed deal or completed purchase. You stop guessing which campaigns generate revenue and start seeing it directly in your data. Achieving accurate revenue attribution depends on getting this connection right.
The integration process typically involves these connections:
Ad platforms to attribution platform: Connect your Meta Ads, Google Ads, TikTok Ads, and LinkedIn Ads accounts so that click and impression data flows into your attribution system. This gives you a complete record of every paid touchpoint a prospect encountered before converting.
CRM to attribution platform: Connect your CRM, whether that is HubSpot, Salesforce, or another system, so that deal stages, revenue values, and conversion outcomes flow back into your attribution data. This is the connection most teams skip, and it is the most important one for tying ad spend to actual revenue.
Bidirectional data flow: The goal is not just to pull data in one direction. You want ad click data flowing into your attribution system and CRM revenue data flowing back out so you can see the full picture in one place. Some teams also use this connection to trigger automated follow-up sequences or update lead scores based on ad engagement, but the attribution use case alone justifies the setup. For teams managing ads across multiple networks, cross-platform attribution tracking ensures no touchpoint gets lost between systems.
Cometly's integrations support a wide range of ad platforms and CRM systems, making it straightforward to connect your entire stack without custom engineering. Once everything is connected, you can see the complete customer journey in one dashboard rather than jumping between five different platforms trying to manually stitch the data together.
Common pitfall: Only connecting your ad platforms without CRM integration means you are still guessing about which ads drive actual revenue versus just leads. A campaign might generate a high volume of leads but produce almost no closed deals. Without CRM data connected, you would never know, and you might keep scaling a campaign that looks good on paper but is not contributing to revenue.
Step 5: Choose and Configure Your Attribution Model
With your tracking infrastructure in place and your platforms connected, you now need to decide how credit gets assigned across the touchpoints in a customer journey. That is what an attribution model does, and choosing the right one shapes how you read your data and where you direct your budget.
Here is a quick breakdown of the main models and when each makes sense:
First-touch attribution gives all credit to the first interaction a prospect had with your brand. This is useful for understanding which channels are most effective at generating awareness and bringing new prospects into your funnel. If you are trying to evaluate top-of-funnel discovery campaigns, first-touch gives you a clear signal.
Last-touch attribution gives all credit to the final interaction before conversion. This is the default model in many ad platforms and analytics tools. It works well for identifying which channels close deals, but it tends to undervalue the earlier touchpoints that built awareness and consideration along the way.
Linear attribution distributes credit equally across every touchpoint in the journey. It is a more balanced approach than single-touch models and works well when you want to understand the contribution of every channel without overweighting any single moment. Reviewing attribution tracking best practices can help you decide which model fits your business.
Time-decay attribution gives more credit to touchpoints that occurred closer to the conversion. This model reflects the reality that the interactions closest to a decision often have the most influence, while still acknowledging earlier touchpoints.
Data-driven attribution uses machine learning to assign credit based on which touchpoints actually influenced conversions in your specific data set. It is the most sophisticated model, but it requires sufficient conversion volume to generate reliable results.
For most marketers implementing attribution tracking for the first time, a multi-touch model is the right starting point. It distributes credit across the touchpoints that contributed to a conversion rather than giving all credit to one moment, which gives you a more accurate picture of how your channels work together. If you are evaluating tools to support this, our roundup of the best software for tracking marketing attribution covers the top options available today.
Cometly's attribution feature lets you compare models side by side so you can see how credit shifts between channels depending on the model you choose. This is particularly useful when you are making the case internally for reallocating budget, because you can show stakeholders exactly how different attribution approaches tell different stories about the same data.
Actionable tip: Run two or three models in parallel for two to four weeks before committing to one. Seeing how your data looks under different models helps you identify which one aligns best with your actual revenue outcomes and gives you confidence in the decisions you make based on it.
Step 6: Activate Conversion Sync to Supercharge Ad Platform Algorithms
Most marketers think of attribution tracking purely as a reporting tool. But there is a second, equally important benefit that many teams overlook: feeding accurate conversion data back to ad platforms to improve their targeting and bidding algorithms.
Here is why this matters. Every major ad platform, Meta, Google, TikTok, LinkedIn, uses machine learning to optimize your campaigns. These algorithms decide who sees your ads, when they see them, and how much you pay for each impression. The quality of those decisions depends entirely on the quality of the conversion signals the platform receives. If your pixel data is incomplete because of iOS restrictions or ad blockers, the algorithm is optimizing toward an incomplete picture of your best customers. Over time, this degrades campaign performance.
Conversion sync solves this by sending enriched, server-side conversion events back to each ad platform in real time. Instead of relying on a browser pixel to report a conversion, your attribution system sends a verified conversion event directly to Meta's Conversions API or Google's Enhanced Conversions. The platform receives more complete data, and its algorithm gets a better signal about who actually converts and what they are worth. For teams running Google campaigns specifically, pairing this with proper Google Ads attribution tracking ensures your highest-spend channel gets the cleanest data.
The practical effect is that the ad platform can find more of your best customers. When you send back revenue values alongside conversion events, the algorithm can optimize toward high-value conversions rather than just any conversion. This is the difference between generating a high volume of low-quality leads and generating a smaller number of leads that actually close.
Cometly's Conversion Sync feature automates this entire loop. It sends verified revenue events back to each connected ad platform in real time, so your campaigns are always optimizing on the most accurate and complete data available. You do not need to manually manage API connections for each platform. Cometly handles the data flow so you can focus on strategy.
Success indicator: After enabling conversion sync, monitor your cost per acquisition and return on ad spend over a two to four week window. As the ad platform algorithms absorb the improved conversion signals, you should see optimization improvements reflected in your campaign performance. The timeline varies depending on your conversion volume and how much your previous data was degraded, but the directional improvement is typically visible within the first few weeks.
Putting It All Together: Your Attribution Tracking Checklist
With these six steps complete, you have built a full attribution tracking implementation that captures every touchpoint, connects ad spend to real revenue, and feeds better data back to your ad platforms. Here is a quick checklist to confirm everything is in place before you call the implementation done.
Conversion events and revenue goals are clearly defined. Your team has agreed on which macro-conversions matter most, and every stage of your funnel is documented.
Existing tracking has been audited and gaps identified. You have a written inventory of what is working, what is broken, and what is missing across every ad platform and analytics tool.
Server-side tracking is installed and verified. Event counts from your server-side setup align closely with your actual form submissions or purchases, confirming data accuracy.
Ad platforms and CRM are connected in one unified system. You can trace a customer journey from first ad click through to closed revenue without jumping between platforms.
An attribution model is configured and running. You are comparing at least two models in parallel and have a plan for committing to one based on how the data aligns with your revenue outcomes.
Conversion sync is actively sending data back to ad platforms. Your campaigns are optimizing on verified, enriched conversion events rather than degraded pixel data.
Attribution tracking is not a set-it-and-forget-it project. Review your data weekly, test different attribution models as your campaigns evolve, and use the insights to reallocate budget toward the channels that actually drive revenue. The marketers who get the most value from attribution are the ones who treat it as a living system rather than a one-time setup.
If you want to see how Cometly can simplify this entire process with AI-powered attribution, server-side tracking, and conversion sync built into one platform, Get your free demo today and start capturing every touchpoint to maximize your conversions.