
Getting accurate marketing attribution data starts with proper account setup. Many marketers rush through this process only to discover months later that their data is incomplete, their ad platforms are not receiving conversion signals, and their budget decisions are based on flawed information.
The consequences of poor setup are costly. You might be scaling campaigns that don't actually drive revenue. Your CRM might show leads coming from "direct" or "unknown" sources when they actually came from paid ads. Your ad platforms might be optimizing for the wrong signals because they're not receiving complete conversion data.
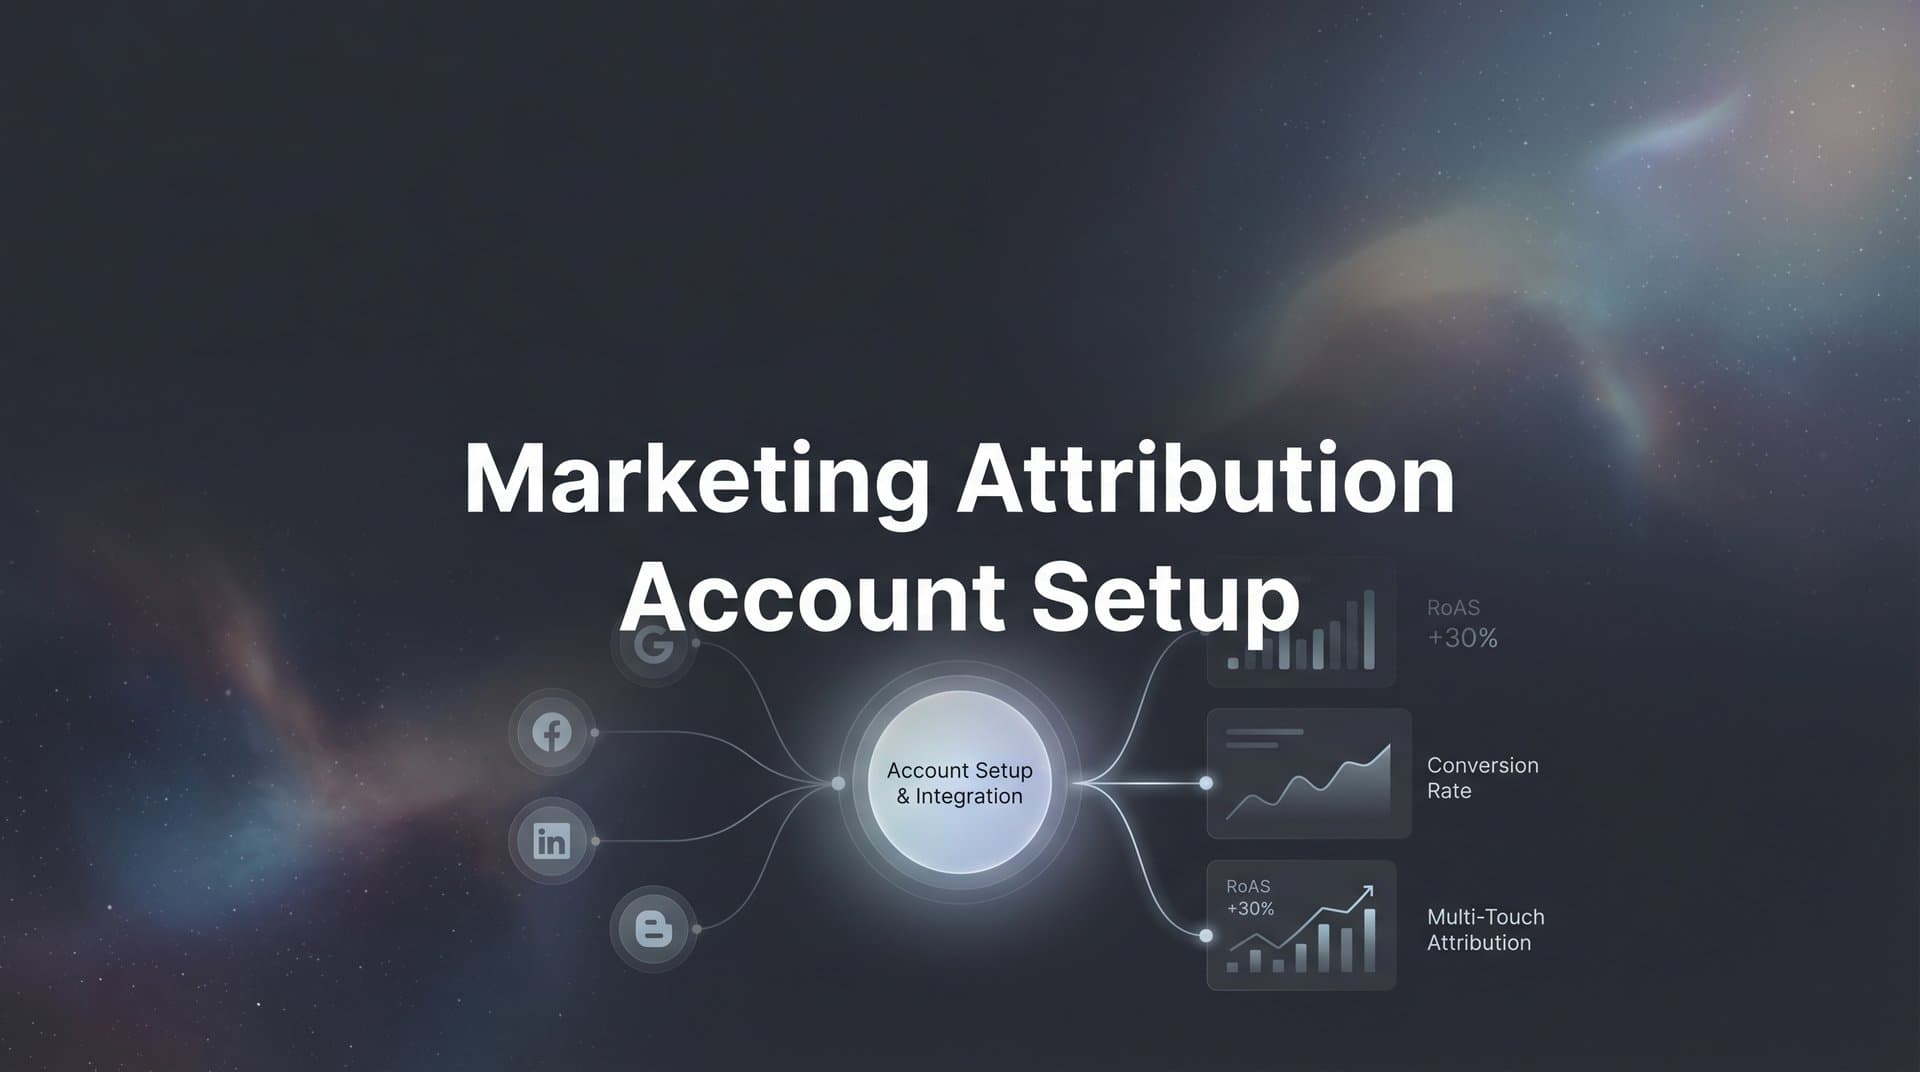
This guide walks you through the complete marketing attribution account setup process, from initial platform connections to verifying your tracking is working correctly. By the end, you'll have a fully configured attribution system that captures every touchpoint, connects to your CRM, and feeds enriched data back to your ad platforms for better optimization.
Whether you're setting up attribution for the first time or rebuilding your tracking infrastructure, these steps will help you create a foundation for data-driven marketing decisions. Each step builds on the previous one, so following this sequence matters for getting clean, actionable data from day one.
Step 1: Audit Your Current Marketing Stack and Data Sources
Before connecting anything to your attribution platform, you need a complete picture of your existing marketing infrastructure. This audit prevents gaps in your tracking and helps you understand what data you should be capturing.
Start by documenting every active ad platform where you're spending money. This includes the obvious ones like Meta and Google Ads, but don't forget TikTok, LinkedIn, Twitter, Pinterest, or any programmatic platforms you're testing. Write down the account IDs and who has admin access to each platform.
Next, list your CRM and sales tools that track conversions and revenue. Whether you're using HubSpot, Salesforce, Pipedrive, or another system, you need to know where your conversion data lives. Note which fields track lead source information and how deals are currently attributed to marketing efforts.
Identify your website platform and any existing tracking scripts already installed. Check your tag manager or website header for Google Analytics, Meta Pixel, Google Ads conversion tracking, and any other marketing pixels. Understanding what's already there helps prevent conflicts when you add attribution marketing tracking to your site.
Map out the customer journey from first click to closed deal. For ecommerce, this might be straightforward: ad click, website visit, purchase. For B2B, it's more complex: ad click, content download, email nurture, demo request, sales calls, closed deal. Understanding this journey helps you identify which conversion events matter most.
Note any current tracking gaps or data discrepancies you've noticed. Are leads showing up in your CRM with no source information? Do your ad platform conversion numbers never match your actual sales? Is there a delay between when conversions happen and when they appear in reports? These pain points guide what you need to fix during setup.
Create a simple spreadsheet with three columns: data source, current tracking status, and integration priority. This becomes your setup roadmap. High-priority integrations are platforms where you spend the most money or sources that drive the most revenue.
This audit typically takes 30-60 minutes but saves hours of troubleshooting later. You'll know exactly what needs to connect to your attribution system and can spot potential issues before they become problems.
Step 2: Connect Your Ad Platforms to Your Attribution System
With your audit complete, start by connecting your ad platforms. This establishes the foundation for matching ad clicks to downstream conversions. Most modern attribution platforms use API connections rather than requiring you to manually upload data.
Authenticate each ad account using the platform's native integration. For Meta, this means logging into your Facebook Business Manager and granting permission to read campaign data and send conversion events. For Google Ads, you'll authenticate through your Google account and select which ad accounts to connect.
Grant appropriate permissions for reading campaign data and sending conversions. The attribution platform needs read access to pull in click and impression data, but it also needs write access if you want to send conversion events back to improve ad optimization. Don't restrict permissions too tightly or you'll limit functionality.
Verify historical data is importing correctly for each platform. Most attribution systems pull in 30-90 days of historical campaign data when you first connect. Check that your recent campaigns appear in the dashboard with accurate spend, click, and impression data. If numbers look off, disconnect and reconnect the integration.
Set up naming conventions that will make cross-platform analysis easier. If you run similar campaigns across Meta and Google, use consistent naming patterns. For example, "Prospecting_Webinar_Q2" works better than random names that vary by platform. This makes it easier to compare performance and identify patterns when using marketing channel attribution software.
Test that click and impression data is flowing into your attribution dashboard. Run a small test campaign or check that your existing campaigns are showing up with real-time data. Click on a few of your own ads and verify those clicks appear in the attribution system within a few minutes.
The connection process for each platform takes about 5-10 minutes. For a typical marketing stack with Meta, Google Ads, LinkedIn, and TikTok, budget 30-45 minutes for this step. Don't rush it. Proper API connections are the difference between accurate attribution and guesswork.
If you're using multiple ad accounts within the same platform (like several Meta ad accounts for different brands), connect each one individually. The attribution system needs access to all accounts where you want to track performance.
Once connected, ad platform data typically updates every few hours. Some systems offer real-time sync for clicks and daily sync for spend data. Understanding these sync frequencies helps you know when to expect updated reports.
Step 3: Install Tracking on Your Website and Landing Pages
Now that your ad platforms are connected, you need to capture what happens when people click your ads and visit your website. This tracking layer connects ad clicks to on-site behavior and conversion events.
Add the attribution tracking script to your website header or via tag manager. Most attribution platforms provide a JavaScript snippet that you'll either paste directly into your website's header section or deploy through Google Tag Manager. Tag manager is generally preferred because it's easier to update and troubleshoot without touching website code.
Configure server-side tracking for more accurate data capture beyond browser limitations. Browser-based tracking faces increasing challenges from ad blockers, privacy settings, and cookie restrictions. Server-side tracking sends conversion data directly from your server to the attribution platform, bypassing browser limitations and capturing more complete data.
Setting up server-side tracking requires more technical work than just adding a pixel. You'll typically need to configure webhooks or API endpoints that fire when specific events happen on your website or in your backend systems. The effort is worth it for data accuracy, especially when implementing digital marketing attribution measurement.
Set up event tracking for key actions like form submissions, button clicks, and page views. Beyond just tracking that someone visited your website, you want to know what they did. Configure events for newsletter signups, demo requests, add-to-cart actions, checkout starts, and purchases. Each event becomes a data point in your attribution analysis.
Ensure tracking fires correctly across all domains and subdomains you use. If you send traffic to separate landing page domains or have a checkout process on a different subdomain, the tracking needs to follow users across those boundaries. Test cross-domain tracking by clicking through your entire conversion funnel.
Verify the tracking pixel is loading without conflicts from other scripts. Open your browser's developer console and check that the attribution tracking script loads successfully on each page. Look for JavaScript errors that might prevent tracking from firing. Test with ad blockers enabled to see how much data you might be missing from privacy-conscious visitors.
The initial installation takes 15-30 minutes for basic setup. Configuring server-side tracking and custom events can add another hour or two depending on your technical setup and how many events you want to track. Don't skip the verification step. Load your website, complete a test conversion, and confirm the event appears in your attribution dashboard.
Step 4: Integrate Your CRM and Define Conversion Events
For businesses where the final conversion happens offline or after significant sales interaction, CRM integration is where attribution becomes truly valuable. This step connects marketing touchpoints to actual revenue.
Connect your CRM via native integration or API. Platforms like HubSpot, Salesforce, and Pipedrive typically offer direct integrations with major attribution systems. Navigate to your attribution platform's integrations page, select your CRM, and authenticate using your CRM admin credentials.
The integration needs permission to read lead and deal data from your CRM. It should also be able to write attribution data back into custom fields on your CRM records. This two-way sync ensures your sales team can see which marketing touchpoints influenced each lead.
Map CRM stages to attribution conversion events. Your CRM probably has stages like Lead, Marketing Qualified Lead, Sales Qualified Lead, Opportunity, and Closed Won. Decide which of these stages should be tracked as conversion events in your attribution system. Most businesses track at least MQL and Closed Won, but tracking every stage gives you deeper funnel insights.
Set up revenue tracking to connect actual deal values to marketing touchpoints. When a deal closes in your CRM, that revenue amount should flow into your attribution system and be credited to the marketing touchpoints that influenced it. This is how you move from tracking leads to tracking actual ROI through marketing revenue attribution.
Configure lead source fields to capture attribution data within your CRM records. Create custom fields for first touch source, last touch source, and ideally all touches in the customer journey. When your sales team views a lead record, they should see which ads, content pieces, or campaigns influenced that person.
Test the data flow by creating a test lead and verifying it appears in both systems. Fill out a form on your website using a test email address. Check that the lead appears in your CRM with the correct source attribution. Then verify that lead event appears in your attribution dashboard connected to the right marketing touchpoints.
Move that test lead through your CRM stages and confirm each stage transition triggers the corresponding conversion event in your attribution system. If you set up revenue tracking, add a test deal value and verify it appears in your attribution reports.
CRM integration setup typically takes 20-40 minutes for the initial connection and field mapping. The test process adds another 15-20 minutes but is essential for catching configuration issues before real leads start flowing through. Getting this right means your attribution data will reflect actual business outcomes, not just website activity.
Step 5: Configure Conversion Sync to Feed Data Back to Ad Platforms
One of the most powerful features of modern attribution systems is the ability to send enriched conversion data back to your ad platforms. This improves their machine learning algorithms and helps them find more customers like your best converters.
Set up server-side conversion events to send enriched data to Meta, Google, and other platforms. Unlike browser pixels that can be blocked or limited, server-side events send conversion data directly from your attribution system to the ad platform via API. This provides more complete data than the ad platforms can collect on their own.
Choose which conversion events to sync back. You don't need to send every website click back to your ad platforms. Focus on high-value events like purchases, qualified leads, or demo requests. Sending too many low-value events can actually confuse ad platform algorithms and reduce performance.
For ecommerce, sync purchase events with revenue values. For B2B, sync marketing qualified leads and closed deals. The key is sending events that represent real business value, not just engagement metrics. Understanding attribution for B2B marketing campaigns helps you identify which events matter most for your business model.
Configure event matching parameters to improve ad platform signal quality. When you send a conversion event back to Meta or Google, include identifying information like email address, phone number, and IP address. This helps the ad platform match the conversion to the right user and improves attribution accuracy on their end too.
The more matching parameters you include, the higher the match rate. High match rates mean the ad platform can better understand which audiences and campaigns drive conversions. This directly improves targeting and lookalike audience quality.
Enable enhanced conversions for better audience targeting and lookalike creation. When ad platforms receive server-side conversion data with strong matching parameters, they can build more accurate custom audiences and lookalikes. This means your retargeting becomes more precise and your prospecting campaigns find better new customers.
Understand how better conversion data improves ad platform algorithm optimization. Ad platforms use conversion data to decide which ads to show to which people. When they only see browser-based conversions, they're missing data from people who use ad blockers or have strict privacy settings. Server-side conversion sync fills those gaps, giving the algorithm a more complete picture of what's working.
The setup process for conversion sync takes about 20-30 minutes per ad platform. You'll configure which events to send, set up the matching parameters, and test that conversions are flowing correctly. Most marketing attribution platforms provide a testing tool that lets you send a test conversion and verify it appears in your ad platform's events manager.
After enabling conversion sync, give the ad platforms a few days to start using the new data. You should see match rates improve and, over time, better campaign performance as the algorithms optimize using more complete conversion information.
Step 6: Select Your Attribution Model and Verify Data Accuracy
With all your integrations connected, you need to choose how to credit conversions across multiple touchpoints. This is where you select your attribution model and verify everything is working correctly.
Choose an attribution model that matches your sales cycle. First-touch attribution credits the initial interaction, which works well for short sales cycles where the first ad click often leads directly to purchase. Last-touch attribution credits the final interaction before conversion, useful when you want to focus on what closes deals.
Linear attribution spreads credit equally across all touchpoints, giving you a balanced view of the entire journey. Multi-touch or time-decay models use more sophisticated algorithms to weight touchpoints based on their position in the funnel or proximity to conversion. For a deeper understanding, explore what is a marketing attribution model and how each approach affects your analysis.
For B2B businesses with sales cycles longer than a few weeks, multi-touch attribution typically provides the most actionable insights. For direct-response ecommerce with same-day conversions, simpler models like last-touch often work fine. You can always compare multiple models side by side to see how they differ.
Run test conversions through your entire funnel to confirm tracking works end to end. Click one of your ads, visit your website, fill out a form, and complete a conversion. Then trace that journey through your attribution system. You should see the ad click, website session, form submission, and CRM lead creation all connected to the same user.
If you set up conversion sync, check that the conversion event also appeared in your ad platform's conversion tracking. The numbers won't always match perfectly due to different attribution windows and methodologies, but they should be reasonably close. Understanding marketing attribution software vs traditional analytics helps explain why these differences occur.
Compare attribution data against your ad platform reports to identify discrepancies. Pull a report from Meta or Google showing conversions from the last week. Compare those numbers to what your attribution system shows for the same time period. Some difference is normal due to attribution model differences, but large gaps suggest a tracking problem.
Check that revenue values are syncing correctly from your CRM. If you're tracking revenue attribution, verify that deal amounts from your CRM are appearing accurately in your attribution reports. Create a test deal with a specific revenue amount and confirm it shows up correctly.
Set up alerts for tracking issues or data anomalies. Most attribution platforms let you configure alerts for situations like tracking pixels not firing, conversion volume dropping significantly, or integration connections failing. These alerts help you catch problems before they corrupt weeks of data.
The verification process takes 30-45 minutes of careful testing and comparison. Don't skip this step. Making budget decisions based on incorrect attribution data is worse than having no attribution at all. Once you've verified accuracy, you can trust the insights you're seeing.
Plan to review your attribution setup quarterly. As you add new ad platforms, change your website, or update your CRM processes, you'll need to adjust your attribution configuration to maintain accuracy.
Putting It All Together
With your marketing attribution account fully configured, you now have the foundation for making confident, data-driven marketing decisions. Your setup captures every touchpoint from ad click to closed deal, connects that data to your CRM, and feeds enriched conversion signals back to your ad platforms.
Run through this quick verification checklist: all ad platforms connected and syncing data, tracking script installed and firing correctly, CRM integrated with conversion events mapped, conversion sync enabled for your key ad platforms, and attribution model selected based on your sales cycle. If you can check off each item, your setup is complete.
As you start using your attribution data, focus on identifying which campaigns and channels actually drive revenue, not just clicks or leads. This insight will help you allocate budget more effectively and scale the campaigns that truly perform. Look for patterns in your multi-touch data that reveal how different channels work together.
The real value emerges when you start making decisions based on this data. You might discover that LinkedIn drives high-quality leads even though the cost per click is higher. You might find that certain Meta campaigns assist conversions without getting last-touch credit. You might realize that your best customers interact with multiple touchpoints before converting, which changes how you think about campaign budgets.
Remember that attribution is not set-it-and-forget-it. As your marketing evolves, your attribution setup needs to evolve too. When you launch new campaigns, add new platforms, or change your conversion funnel, revisit your configuration to ensure you're still capturing complete data.
Ready to elevate your marketing game with precision and confidence? Discover how Cometly's AI-driven recommendations can transform your ad strategy. Get your free demo today and start capturing every touchpoint to maximize your conversions.


