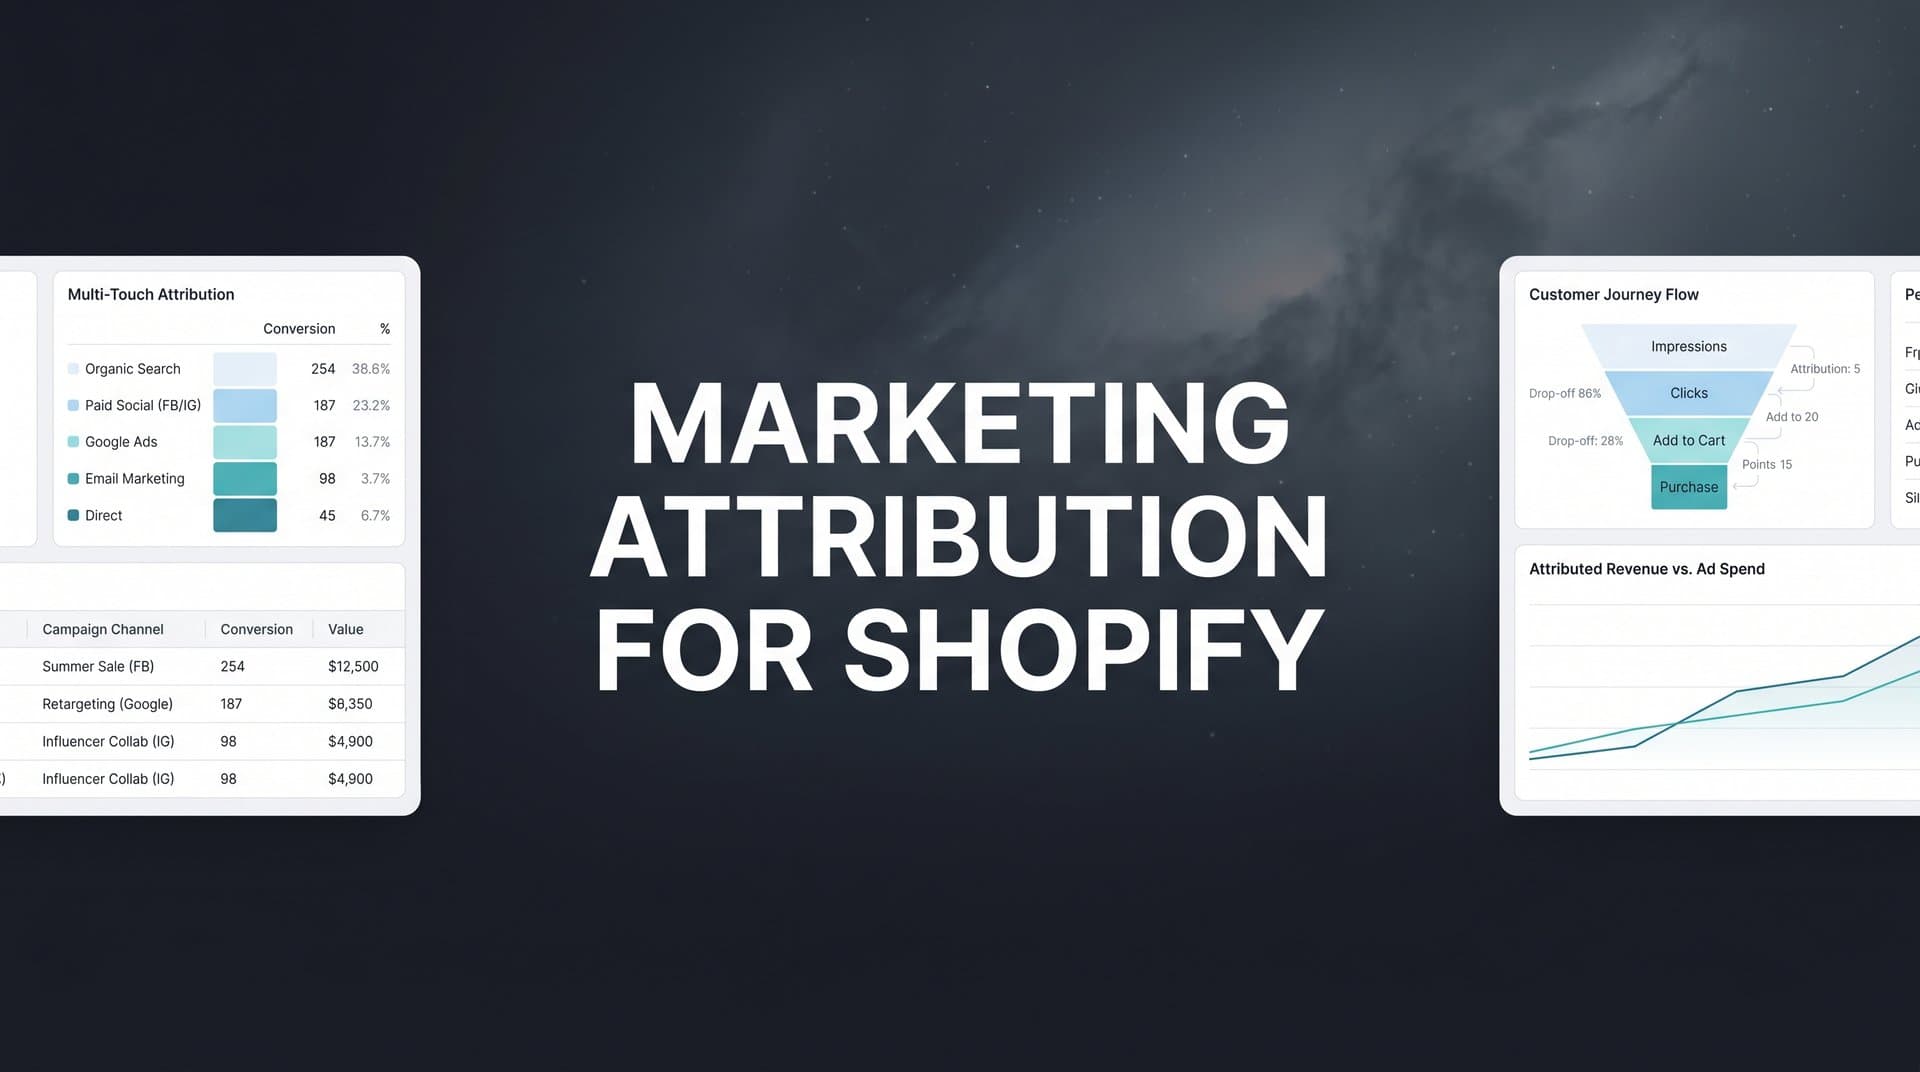
If you run a Shopify store and advertise across multiple channels, you have probably asked yourself the same question every marketer eventually faces: which ads are actually driving my sales? Shopify's built-in analytics give you a surface-level view, but they often misattribute revenue, double-count conversions, or miss touchpoints entirely.
When you are spending real money across Meta, Google, TikTok, and email campaigns, guessing which channel deserves credit is not a strategy. It is a liability. Each ad platform claims more credit than it deserves, your Shopify dashboard tells a different story, and you are left trying to reconcile numbers that never quite add up.
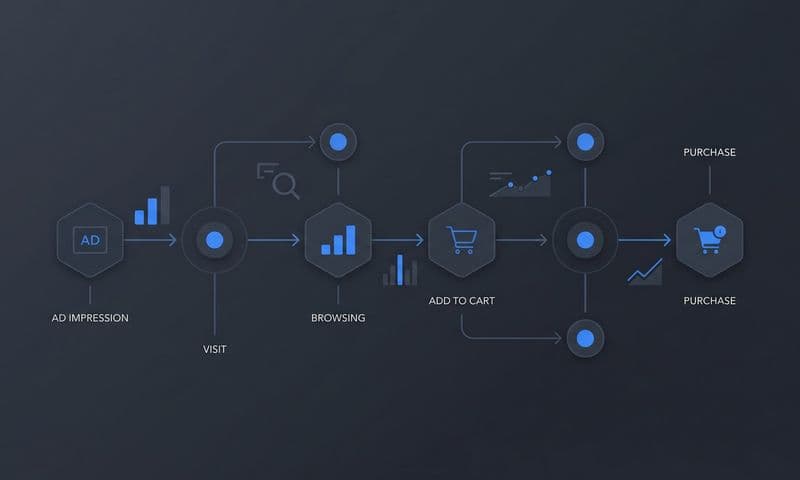
Marketing attribution for Shopify solves this by connecting every ad click, site visit, and purchase into a clear picture of what is working and what is quietly draining your budget. Instead of trusting each platform's self-reported numbers, you get a single source of truth that shows the full customer journey from first impression to completed order.
In this guide, you will walk through six concrete steps to set up accurate marketing attribution on your Shopify store. You will learn how to audit your current tracking, choose the right attribution model, install server-side tracking, connect your ad platforms, sync conversion data back to those platforms, and use all of it to make smarter budget decisions.
Whether you are a solo store owner managing campaigns yourself or part of a marketing team running multiple brands, these steps will help you stop relying on incomplete platform data and start making confident, revenue-backed decisions. By the end, you will have a working attribution system that tracks the full customer journey and feeds better data back to your ad platforms for smarter optimization.
Step 1: Audit Your Current Shopify Tracking Setup
Before you can improve your attribution, you need to know exactly what you are working with. Most Shopify stores have accumulated tracking code over time: a Meta Pixel added when you launched your first campaign, a Google Analytics tag installed from a tutorial, maybe a TikTok Pixel added more recently. The problem is that these pieces rarely form a coherent system.
Start by documenting every tracking tool currently installed on your store. Open your Shopify admin and check the Online Store settings, any installed apps, and your theme code for tracking scripts. List out every pixel, tag, or analytics tool you find. Common ones include Shopify's native analytics, Google Analytics 4, the Meta Pixel, TikTok Pixel, Pinterest Tag, and any third-party attribution or analytics apps. For a deeper look at available options, explore the top Shopify marketing attribution tools on the market.
Next, check for the most common tracking gaps that undermine attribution accuracy:
Missing or inconsistent UTM parameters: If your ad campaigns are not tagged with consistent UTM parameters (source, medium, campaign, content, term), your analytics tools cannot accurately identify which campaign drove a session. Pull a sample of your current ad URLs and verify the UTM structure is uniform across all platforms.
Broken or misfiring pixels: Use browser extensions like Meta Pixel Helper or Google Tag Assistant to verify your pixels are firing correctly on key pages, especially the order confirmation page. A pixel that fires on the homepage but not on the thank-you page will miss purchase events entirely.
Duplicate conversion events: This is more common than you might expect. If you have both a Shopify-native integration and a manually installed pixel for the same platform, you may be sending duplicate purchase events, which inflates reported conversions and makes ROAS look better than it actually is.
iOS and browser privacy impacts: Apple's App Tracking Transparency framework and increasingly strict browser cookie policies have significantly reduced the reach of client-side pixel tracking. Many conversions that happen on iOS devices or in privacy-focused browsers like Safari and Firefox are simply not being captured by standard pixel setups. This means your platform dashboards are likely underreporting actual conversions, contributing to unreliable marketing performance data across your channels.
Finally, document which channels you actively advertise on and define the conversion events that matter most to your business. For most Shopify stores, these include page views, add-to-cart actions, checkout initiated, and purchase completed. Knowing your priority events upfront will guide every subsequent step.
Success indicator: You have a clear map of your current tracking tools, identified gaps in coverage, and a list of the conversion events you need to track accurately across all channels.
Step 2: Choose the Right Attribution Model for Your Store
Attribution models determine how credit for a conversion is distributed across the touchpoints in a customer's journey. The model you choose will shape how you read your data and where you decide to invest your budget, so this decision matters more than most marketers realize.
Here is a quick breakdown of the main models relevant to Shopify stores:
Last-click attribution: Gives 100% of the credit to the final touchpoint before a purchase. This is Shopify's default model and the default for most ad platforms. It is simple but consistently undervalues the channels that introduced your brand or kept it top of mind during the consideration phase.
First-click attribution: Gives all credit to the first touchpoint. This is useful for understanding which channels are best at driving awareness and new customer acquisition, but it ignores everything that happened between discovery and purchase.
Linear attribution: Distributes credit equally across all touchpoints in the journey. It is more balanced than single-touch models but treats a quick retargeting ad the same as the first brand discovery ad, which may not reflect true impact.
Time-decay attribution: Gives more credit to touchpoints that occurred closer to the conversion. This makes intuitive sense for shorter sales cycles where recent interactions are more decisive.
Data-driven attribution: Uses machine learning to assign credit based on patterns across your actual conversion data. It is the most accurate model when you have enough volume, but it requires sufficient data to produce reliable results. For a comprehensive overview of all these approaches, read our guide on types of marketing attribution models.
The challenge with last-click attribution, which is what most Shopify merchants rely on by default, is that it systematically undervalues top-of-funnel channels. A customer might discover your product through a YouTube ad, click a Meta retargeting ad three days later, and then convert through a Google search. Last-click gives all the credit to Google. Meta and YouTube look like they contributed nothing, and you cut their budgets. This is how good campaigns get killed by bad data.
Multi-touch attribution gives a more accurate picture of the full customer journey by distributing credit across all the touchpoints that contributed to a conversion. For Shopify stores running ads across multiple platforms, this is typically the most useful starting point.
When choosing your model, consider three factors: the average length of your purchase cycle, the number of channels you advertise on, and your primary business goal. A store selling impulse-buy products with a one-day purchase cycle can get away with simpler models. A store selling higher-consideration products where customers research for weeks needs multi-touch to understand what is actually moving the needle.
Success indicator: You have selected an attribution model that matches your sales cycle and channel mix, and you understand how it will distribute credit across your campaigns.
Step 3: Install Server-Side Tracking on Your Shopify Store
This is the step that most Shopify merchants skip, and it is the one that makes the biggest difference in data accuracy. Browser-based pixels are no longer reliable enough to build a marketing attribution strategy on.
Here is why. Browser-based pixels work by loading JavaScript code in a customer's browser, which then sends conversion data to ad platforms. The problem is that ad blockers prevent this code from loading, Safari's Intelligent Tracking Prevention limits cookie lifespans, and iOS devices running Apple's privacy framework restrict cross-app tracking. The result is that a significant portion of your actual conversions are invisible to your pixel-based tracking.
Server-side tracking solves this by capturing conversion data directly from your Shopify backend, before it ever touches the customer's browser. When a purchase is completed, your server sends the event data directly to your attribution platform and ad platforms through secure server-to-server connections. Ad blockers cannot interfere. Browser privacy settings do not apply. You get a much more complete picture of what is actually happening, which is essential for accurate Shopify store attribution tracking.
To set up server-side tracking on your Shopify store, follow these steps:
1. Choose an attribution platform that supports server-side tracking with a native Shopify integration. Cometly, for example, connects directly to Shopify and captures events from the backend without relying on browser-loaded scripts. This means you are not dependent on a pixel firing correctly in every browser environment.
2. Install the integration and configure the key events you want to track. At minimum, you should capture page views, add-to-cart actions, checkout initiated, and purchase completed. If your store uses subscriptions or has a longer post-purchase journey, consider tracking those events as well.
3. Verify that events are firing correctly by cross-referencing your attribution platform's event log against actual Shopify orders. If you completed a test purchase and the event appears in your platform within a few minutes, your server-side tracking is working.
One critical pitfall to avoid: if you are running both client-side pixels and server-side tracking simultaneously, you must enable deduplication. Without it, a single purchase will generate two conversion events, one from the browser pixel and one from the server. This inflates your conversion counts and distorts your attribution data. Most server-side tracking solutions, including Cometly, handle deduplication automatically, but confirm this is configured before you go live.
The improvement in data completeness after switching to server-side tracking is often noticeable within the first week. Many Shopify merchants find that their actual conversion counts are meaningfully higher than what their platform pixels were reporting, which changes how they evaluate channel performance.
Success indicator: Server-side events are firing correctly, matching your actual Shopify order volume, and deduplication is confirmed so you are not double-counting conversions.
Step 4: Connect Your Ad Platforms and Data Sources
With server-side tracking in place, the next step is pulling all of your data into one place. This is where attribution goes from being a concept to being a working system you can actually use to make decisions.
Start by connecting every active paid channel to your attribution platform. This typically includes Meta (Facebook and Instagram), Google Ads, TikTok, Pinterest, and any other platforms where you are running paid campaigns. The goal is to have all of your ad spend data, impression data, and click data flowing into a single dashboard alongside your Shopify revenue data. A unified dashboard for marketing and sales attribution eliminates the need to jump between platforms to piece together performance.
Cometly connects directly to these ad platforms through native integrations, pulling in campaign-level data automatically. This means you can see attributed revenue alongside platform-reported spend for every campaign, without manually exporting and reconciling spreadsheets.
Next, connect your Shopify store data so that order information, revenue, and customer details flow into your attribution reporting. This is what allows your platform to match ad interactions to actual purchases and calculate true attributed ROAS rather than relying on what each ad platform claims.
If you use a CRM or email marketing platform, connect those as well. Email campaigns and automated flows are a meaningful part of many Shopify stores' revenue, and if they are not included in your attribution data, you will undervalue that channel. Capturing the full funnel from first paid ad click through email nurture to eventual purchase gives you a much more accurate view of customer acquisition costs.
UTM parameter consistency is essential at this stage. Every campaign across every platform should follow the same UTM naming convention. If your Meta campaigns use "facebook" as the source but your Google campaigns use "Google" with a capital G, your data will be fragmented. Standardize your UTM structure before connecting your platforms, and audit existing campaigns to ensure they are tagged correctly. Understanding Shopify reporting and Google Analytics for ad tracking can help you identify where naming inconsistencies are causing data fragmentation.
Once everything is connected, spend a few minutes verifying the data flow. Check that your attribution dashboard is showing live data from each connected platform, that Shopify orders are appearing with the correct revenue figures, and that the channel breakdown reflects your actual campaign activity.
Success indicator: All active ad channels appear in your attribution dashboard with live data flowing, and Shopify revenue is matching up with actual order values.
Step 5: Sync Conversion Data Back to Your Ad Platforms
Most marketers think of attribution as a one-way street: you collect data, you analyze it, you make decisions. But there is a second direction that is just as important, and most Shopify stores are not taking advantage of it.
Ad platforms like Meta and Google use machine learning algorithms to optimize your campaigns. These algorithms learn from the conversion signals you send them. The better the signals, the better the optimization. The problem is that when you rely solely on browser-based pixels, the conversion data reaching the algorithm is incomplete. iOS-blocked events, ad blocker interference, and cookie limitations all mean the algorithm is learning from a partial dataset.
Conversion sync solves this by taking the verified, server-side conversion data from your attribution platform and sending it back to your ad platforms through their server-to-server APIs. Meta calls this the Conversions API. Google has its own equivalent. The result is that the ad platform's algorithm receives a more complete and accurate set of conversion events, which improves its ability to find more customers who look like your actual buyers. This is a core component of any effective tracking software for performance marketing.
Here is why this matters in practice. When Meta's algorithm only sees a fraction of your actual conversions due to pixel limitations, it optimizes toward the types of users who happen to be trackable in that incomplete dataset. When you feed it complete, enriched conversion data through server-side sync, it optimizes toward your actual buyers. Over time, this typically leads to better targeting, lower cost per acquisition, and improved campaign performance.
To set up conversion sync with Cometly, navigate to the Conversion Sync settings within your account and connect each ad platform you want to send events to. Cometly enriches the conversion events with first-party data from your Shopify store before sending them, which improves match rates. Higher match rates mean the platform can attribute more of your conversions to specific users and optimize more effectively.
A common mistake at this stage is leaving the original pixel active without deduplication while also running conversion sync. This sends duplicate events to the platform, which confuses the algorithm and inflates your reported conversion numbers. Make sure your deduplication settings are configured correctly so each conversion is counted exactly once.
Success indicator: Your ad platforms are receiving server-side conversion events, match rates have improved in your platform event manager, and you are not seeing duplicate conversion counts.
Step 6: Analyze Attribution Data and Optimize Your Ad Spend
Now comes the part that actually moves the needle on your business. With accurate attribution data flowing in from all channels, you have something most Shopify advertisers do not: a reliable basis for making budget decisions.
Start by comparing platform-reported ROAS against attributed ROAS in your dashboard. This comparison is often eye-opening. Meta might report a 4x ROAS on a campaign, but when you look at attributed revenue in Cometly, the actual contribution to completed purchases might tell a different story. Conversely, you might find that a channel you were considering cutting is actually driving significant assisted conversions that last-click models were hiding. Learning how to identify unreliable marketing performance metrics is critical to avoiding costly misinterpretations.
Look for channels and campaigns that are systematically overvalued or undervalued by platform reporting. Retargeting campaigns often appear to have very high ROAS in platform dashboards because they target people who were already close to buying. But in a multi-touch attribution view, you may find that the prospecting campaigns that introduced those customers in the first place deserve more credit than they are getting.
Use this data to reallocate budget toward the campaigns and channels that are genuinely driving revenue. This does not always mean cutting channels that look weaker in last-click reporting. Sometimes it means recognizing that a top-of-funnel channel is playing a critical role in the journey and deserves more investment, even if it rarely gets the final click. Applying strategies for effective marketing measurement ensures your optimization decisions are grounded in accurate data.
Cometly's AI-powered recommendations help surface these insights automatically. Instead of manually digging through campaign data to find what is working, the AI identifies high-performing ads and campaigns across your channels and flags opportunities to scale. This is particularly useful when you are managing a large number of campaigns across multiple platforms and cannot review every line item manually.
Set a regular review cadence for your attribution data. Weekly reviews work well for stores with high ad spend or fast-moving campaigns. Biweekly reviews are often sufficient for smaller operations. The key is consistency. Attribution data becomes more valuable over time as you build a clearer picture of how your customers move through the funnel.
As you optimize, track changes in your cost per acquisition and overall revenue alongside your attributed ROAS. Budget decisions made with accurate attribution data should gradually improve these metrics as you shift spend toward what is actually working.
Success indicator: You are making budget decisions based on attributed revenue rather than platform-reported vanity metrics, and you have a regular review process in place to catch trends and adjust spend.
Your Attribution Checklist and Next Steps
Setting up marketing attribution for Shopify is one of the highest-leverage things you can do as a store owner or marketing manager. Here is a quick checklist of everything covered in this guide:
Step 1: Audit your tracking setup. Document all existing pixels and analytics tools, identify gaps in UTM tagging, check for broken or duplicate pixels, and account for iOS and browser privacy impacts.
Step 2: Choose your attribution model. Evaluate last-click, multi-touch, and data-driven models against your sales cycle length and channel mix. Start with multi-touch and compare it to last-click to see where your data diverges.
Step 3: Install server-side tracking. Move beyond browser-based pixels by connecting a server-side tracking solution directly to your Shopify store. Verify event accuracy and configure deduplication.
Step 4: Connect all data sources. Link every active ad platform, your Shopify store, and any CRM or email tools to your attribution platform. Standardize UTM parameters across all campaigns.
Step 5: Sync conversions back to ad platforms. Use conversion sync to send enriched, server-side events back to Meta, Google, and other platforms to improve algorithm performance and match rates.
Step 6: Analyze and optimize regularly. Compare attributed ROAS against platform-reported data, reallocate budget based on actual revenue contribution, and use AI recommendations to scale what is working.
Accurate marketing attribution for Shopify is not a one-time setup. It is an ongoing practice that gets more valuable as your data accumulates and your campaigns evolve. The most important thing is to start. Begin with a tracking audit today, and build from there.
If you want a faster path to accurate attribution, Cometly's Shopify integration handles server-side tracking, multi-touch attribution, conversion sync, and AI-powered recommendations in one platform. Better data means better ad performance, lower wasted spend, and more confident scaling decisions. Get your free demo today and start capturing every touchpoint to maximize your conversions.