
If you're running paid campaigns across multiple platforms, you've likely felt the frustration of not knowing which ads actually drive revenue. Platform-reported metrics often inflate results, iOS privacy changes have created data gaps, and your CRM tells a different story than your ad dashboards.
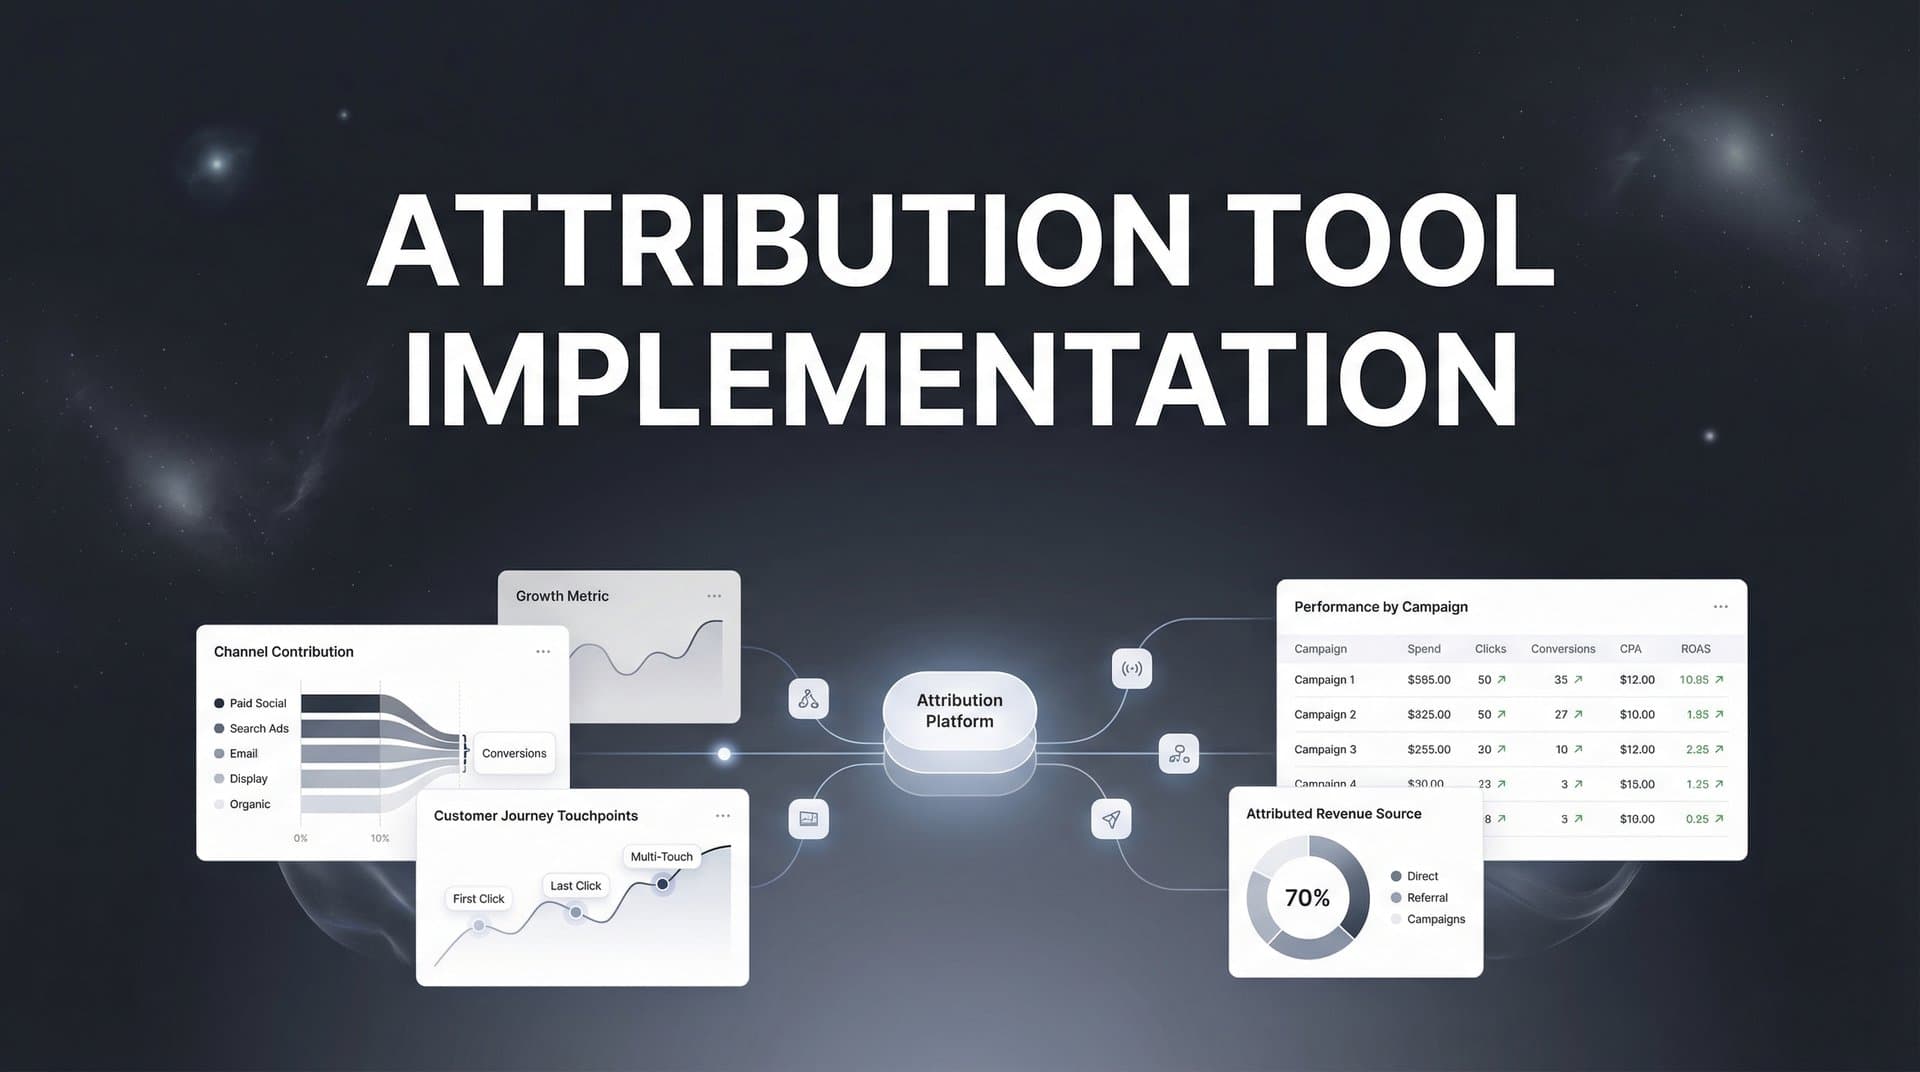
This is exactly why attribution tool implementation has become essential for data-driven marketing teams.
Implementing an attribution tool connects the dots between your ad spend and actual business outcomes—giving you clarity on what's working and what's wasting budget. But here's the thing: a poorly implemented attribution tool is almost as bad as having none at all. Bad data leads to bad decisions.
This guide walks you through the complete attribution tool implementation process, from initial setup through optimization. You'll learn how to connect your ad platforms, configure tracking across your website and CRM, validate your data accuracy, and start making confident budget decisions based on real attribution insights.
Whether you're implementing your first attribution solution or replacing a system that isn't delivering, these steps will help you build a foundation for accurate, actionable marketing data.
Step 1: Audit Your Current Tracking Infrastructure
Before you implement any new attribution tool, you need to understand exactly what tracking you already have in place. Think of this as taking inventory before remodeling a house—you need to know what's there, what's broken, and what's missing.
Start by mapping every tracking pixel currently installed across your website. Check your Meta Pixel, Google Ads conversion tracking, LinkedIn Insight Tag, TikTok Pixel, and any other platform-specific tracking codes. Document where each pixel fires and what events it captures.
Next, audit your UTM parameter structure. Pull a sample of recent traffic and examine how consistently UTM tags are being applied. Are campaign names standardized? Do all paid channels use proper source and medium values? Inconsistent UTM tagging creates attribution chaos later.
Now examine your conversion events. List every meaningful action users can take: form submissions, demo requests, purchases, account signups, or phone calls. For each conversion, document which systems currently track it and whether the data flows into your CRM.
Here's where it gets revealing: identify the gaps. Where do you lose visibility in the customer journey? Common blind spots include cross-device behavior, offline conversions that never connect to digital touchpoints, and the period between initial ad click and final purchase.
Document your complete tech stack: every ad platform you run, your CRM system, your website platform, email marketing tools, and any existing analytics solutions. Understanding how these systems currently communicate—or don't—reveals integration opportunities.
Pay special attention to data quality issues. Are you seeing duplicate conversions counted across multiple platforms? Do conversion timestamps match between your CRM and ad platforms? Are there attribution conflicts where multiple sources claim credit for the same conversion?
Create a simple spreadsheet documenting all of this: tracking codes installed, conversion events defined, data sources connected, and gaps identified. This becomes your implementation roadmap.
Success indicator: You have a complete inventory of all tracking touchpoints, a clear list of data gaps, and documented issues that need resolution. This audit typically takes a few hours but saves weeks of troubleshooting later.
Step 2: Define Your Attribution Goals and KPIs
Here's a question most teams skip: What specific business questions do you need attribution to answer?
Without clear goals, you'll implement a tool, see lots of data, and still not know what decisions to make. Start by identifying the questions that keep you up at night. Which channel delivers the lowest customer acquisition cost? What's the true ROAS of your Meta campaigns when you account for the entire journey? How many touchpoints does it take before someone converts?
Write down three to five critical questions your attribution tool must answer. Be specific. "Improve marketing performance" is too vague. "Identify which campaigns generate leads that close at 30% or higher" gives you something actionable.
Now select your attribution model. This matters more than most teams realize. If you have a short sales cycle where most people convert on first click, last-click attribution might suffice. But if your buyers research across multiple sessions and touchpoints, multi-touch attribution models like linear, time-decay, or position-based reveal the full picture.
Many businesses benefit from comparing multiple models simultaneously. What looks like a winning campaign in last-click might be just harvesting demand created by earlier touchpoints. Having multiple views prevents oversimplified conclusions.
Establish baseline metrics from your current reporting. What does your Meta dashboard currently show for ROAS? What does your CRM report for lead sources? These baselines help you measure whether your new attribution implementation actually improves decision-making.
This is also the time to align stakeholders on what "source of truth" means for your organization. Will attribution data override platform-reported metrics? How will you handle discrepancies? Getting leadership alignment now prevents conflicts later when the data challenges existing assumptions.
Document everything: your core business questions, chosen attribution models, baseline metrics, and stakeholder agreements. This document becomes your north star throughout implementation.
Success indicator: You have documented attribution requirements that answer specific business questions, with stakeholder approval on how attribution data will inform budget decisions.
Step 3: Connect Your Ad Platforms and Data Sources
Now comes the technical foundation: connecting every advertising platform and data source to your attribution tool. This step determines whether you'll have complete visibility or frustrating blind spots.
Start with your paid advertising platforms. Most attribution tools offer native integrations with major platforms like Meta, Google Ads, TikTok, LinkedIn, and others. Connect each platform using API access rather than just importing CSVs—API connections provide real-time data and automatically capture new campaigns.
For each platform integration, verify that you're granting the necessary permissions. Your attribution tool typically needs read access to campaign performance data, ad creative details, and conversion events. Some platforms require explicit permission for cost data.
Here's where server-side tracking becomes critical. Client-side pixels—those JavaScript snippets that fire in users' browsers—miss significant portions of your traffic due to ad blockers, browser restrictions, and iOS privacy features. Server-side tracking captures data on your server before it ever reaches the user's browser, dramatically improving accuracy.
Configure server-side tracking by implementing your attribution tool's server-side SDK or using a server-side tag management solution. This typically involves adding code to your backend that sends conversion events directly to your attribution platform, bypassing browser-based limitations entirely.
Next, integrate your CRM. This connection is what transforms attribution from interesting data into revenue intelligence. When your attribution tool can see which ad clicks eventually became customers and how much revenue they generated, you move from optimizing for conversions to optimizing for actual business outcomes.
CRM integration methods vary by platform. Some attribution tools connect directly via API to systems like Salesforce, HubSpot, or Pipedrive. Others use webhooks or Zapier integrations. Choose the method that provides the most complete data flow.
Before moving forward, verify that data is actually flowing from each source. Check your attribution dashboard to confirm that recent campaigns appear, that conversion events are being captured, and that CRM records are syncing. Waiting until later to discover a broken integration wastes time.
Success indicator: All advertising platforms are connected with campaign data appearing in your attribution dashboard, server-side tracking is capturing conversions, and CRM records are syncing with complete revenue data.
Step 4: Implement Website and Conversion Tracking
Your attribution tool is only as good as the conversion data it captures. This step ensures that every meaningful user action gets tracked accurately across your entire website.
Start by installing your attribution tool's tracking script on every page of your website. This typically involves adding a JavaScript snippet to your site's header or using a tag management system like Google Tag Manager. The tracking script creates a foundation for capturing user behavior across sessions.
Pay special attention to landing pages. If you're running paid campaigns to standalone landing pages built on platforms like Unbounce or Leadpages, make sure the tracking script is installed there too. Missing tracking on landing pages creates immediate blind spots.
Now configure your conversion events. These are the specific actions that indicate progress toward a sale: form submissions, demo bookings, account signups, purchases, or any other meaningful interaction. Define each conversion event with clear parameters that capture relevant details like form type, product purchased, or lead quality score.
For e-commerce sites, implement enhanced conversion tracking that captures order value, product details, and customer information. This revenue data becomes essential when calculating true ROAS across channels. If you're running a Shopify store, explore Shopify marketing attribution tools designed specifically for e-commerce tracking needs.
Set up first-party data capture to maintain tracking accuracy despite browser restrictions. First-party cookies—those set by your own domain rather than third-party scripts—are more reliable and less likely to be blocked. Configure your attribution tool to use first-party cookies whenever possible.
Test everything thoroughly. Use your attribution tool's testing mode or browser developer tools to verify that conversion events fire correctly. Submit test forms, complete test purchases, and book test demos while watching the data flow into your attribution dashboard.
Test across different scenarios: desktop and mobile devices, various browsers (Chrome, Safari, Firefox), and both logged-in and anonymous users. Each scenario can reveal tracking issues that only appear under specific conditions.
Verify that UTM parameters are being captured correctly with each conversion. When someone clicks an ad, converts, and appears in your attribution data, all the campaign details should be preserved: source, medium, campaign name, ad set, and creative.
Success indicator: All key conversion events fire correctly across devices and browsers, complete UTM data is captured with each conversion, and test conversions appear in your attribution dashboard with accurate details.
Step 5: Validate Data Accuracy and Troubleshoot Discrepancies
Implementation without validation is just hope. This step separates attribution tools that inform decisions from those that create confusion.
Start by comparing your attribution data against your CRM records. Pull a week's worth of conversions from both systems and match them up. Do the numbers align? Are the same leads appearing in both places? This comparison reveals whether your tracking is actually capturing the complete picture.
Expect some discrepancies—perfect alignment between systems is rare. But understand why gaps exist. Common causes include conversion delays (someone converts but doesn't appear in CRM until sales qualifies them), duplicate removal (your CRM might deduplicate records that your attribution tool counts separately), or timezone differences in reporting.
Next, compare attribution data against platform-reported conversions. Check Meta's reported conversions against what your attribution tool shows for Meta traffic. Do the same for Google Ads, LinkedIn, and other platforms. Platform numbers will typically be higher due to view-through attribution and different attribution windows, but the trends should align.
Run test conversions through your entire funnel to verify end-to-end tracking. Click one of your own ads, complete a conversion, and watch it flow through your attribution system into your CRM. This real-world test often reveals issues that theoretical setup misses.
Identify and resolve common tracking issues. Missing UTM parameters usually indicate problems with your campaign URL structure—audit your campaign setup and establish templates for consistent tagging. Duplicate events often stem from multiple tracking scripts firing for the same conversion—review your tag management setup to prevent double-counting.
Delayed syncing between systems can create temporary discrepancies. If conversions appear in your attribution tool hours before they show up in your CRM, that's usually normal processing delay. But if delays exceed 24 hours, investigate API connection issues or webhook configurations.
Establish acceptable variance thresholds between data sources. A 5-10% difference between your attribution tool and CRM is typically acceptable given different tracking methodologies and timing. Differences beyond 15% suggest tracking problems that need resolution.
Document everything you find. Create a troubleshooting guide that explains known discrepancies, their causes, and how to interpret data given these limitations. This documentation helps your team understand the data rather than losing trust when numbers don't perfectly match.
Success indicator: Your attribution data matches CRM records within an acceptable margin, you've identified and documented the causes of any discrepancies, and test conversions flow correctly through the entire tracking system.
Step 6: Configure Conversion Sync to Optimize Ad Platform Performance
Here's where attribution implementation goes from passive reporting to active optimization. Conversion sync feeds your attribution data back into ad platforms, helping their algorithms optimize for the outcomes that actually matter to your business.
The concept is straightforward: ad platforms like Meta and Google optimize toward the conversion data they receive. If they only see conversions from their own pixels—which miss significant data due to iOS restrictions and browser limitations—they're optimizing based on incomplete information. Feeding them more accurate conversion data from your attribution tool improves their targeting and optimization.
Start by configuring which events to send back to each platform. Most businesses sync their most valuable conversion events: purchases, qualified leads, demo bookings, or trial signups. Choose events that represent genuine business value rather than vanity metrics.
For e-commerce businesses, include revenue data with each conversion. When ad platforms know not just that a conversion happened but also its dollar value, they can optimize for revenue rather than just conversion volume. This typically increases average order value while maintaining or improving ROAS.
Configure conversion sync settings in your attribution tool. This usually involves selecting which platforms should receive conversion data, which events to sync, and what attribution window to use. Many businesses sync conversions attributed within a seven-day click window to align with standard platform attribution.
Set up the Conversions API (CAPI) for Meta and Enhanced Conversions for Google Ads. These server-side conversion tracking methods allow you to send enriched conversion data directly from your server to ad platforms, bypassing browser-based tracking limitations entirely. If you're heavily invested in Meta advertising, understanding Facebook ads attribution becomes essential for maximizing your conversion sync effectiveness.
Verify that synced conversions appear correctly in each ad platform's conversion tracking interface. Check Meta Events Manager to confirm that your attribution tool's conversions are being received. Review Google Ads conversion tracking to ensure enhanced conversions are processing.
Monitor how improved data quality affects campaign performance over time. After implementing conversion sync, ad platform algorithms need time to learn from the better data—typically one to two weeks. Watch for improvements in conversion rates, cost per acquisition, and overall campaign efficiency as the algorithms optimize with more accurate information.
Success indicator: Conversion events are syncing to ad platforms with verified accuracy, synced conversions appear in platform conversion tracking interfaces, and you're seeing improved optimization performance as algorithms learn from better data.
Step 7: Build Reports and Operationalize Your Attribution Insights
Attribution data is worthless if it sits in a dashboard nobody checks. This final step transforms your implementation into a system that actually drives better marketing decisions.
Start by creating dashboards that answer the core business questions you defined in Step 2. If you needed to know which campaigns generate leads that close at high rates, build a report showing conversion rates by campaign alongside downstream CRM close rates. If you wanted true ROAS across channels, create a view that shows ad spend against attributed revenue using your chosen attribution model.
Keep dashboards focused. Resist the temptation to display every available metric. Each dashboard should answer one or two specific questions clearly rather than overwhelming viewers with data. Create multiple focused dashboards for different purposes rather than one complex view that serves none well.
Set up automated reports for stakeholders. Your CMO doesn't need real-time dashboard access—they need a weekly summary showing what changed and why it matters. Configure automated reports that deliver the right insights to the right people on a schedule that matches decision-making cadence.
Establish a regular review cadence to act on attribution insights. Schedule weekly or biweekly sessions where your team reviews attribution data and makes campaign adjustments. Without a regular review rhythm, attribution becomes interesting information rather than actionable intelligence.
Document processes for using attribution data in budget allocation decisions. When attribution shows that LinkedIn generates higher-quality leads than Meta, what's your process for shifting budget? When a campaign shows strong first-touch influence but weak last-click performance, how do you evaluate its value? Written processes prevent attribution insights from being ignored when they challenge assumptions.
Train your team on how to interpret attribution data. Multi-touch attribution models can be counterintuitive—a campaign might show strong results in one model and weak results in another. Help your team understand what different models reveal and when to use each perspective. A thorough multi-touch attribution tool comparison can help your team grasp the nuances between different modeling approaches.
Create feedback loops between attribution insights and campaign execution. When attribution reveals that certain audiences, ad creatives, or landing pages drive better downstream outcomes, feed that learning back into campaign planning. The goal is continuous improvement based on what the data shows.
Build attribution reviews into your campaign planning process. Before launching new campaigns, review historical attribution data to inform strategy. Before cutting underperforming campaigns, check whether they play important roles earlier in the customer journey that last-click metrics miss.
Success indicator: Your team is actively using attribution data to inform campaign optimizations, stakeholders receive regular reports with actionable insights, and budget allocation decisions are based on multi-touch attribution rather than platform-reported metrics alone.
Your Attribution Foundation Is Complete
You've now completed the core attribution tool implementation process. Here's your quick-reference checklist:
✓ Tracking infrastructure audited and gaps identified
✓ Attribution goals and KPIs defined with stakeholder alignment
✓ All ad platforms and CRM connected
✓ Website tracking and conversion events configured
✓ Data accuracy validated against CRM records
✓ Conversion sync feeding data back to ad platforms
✓ Reports and dashboards operationalized
Remember that attribution implementation isn't a one-time project—it's an ongoing practice. As you add new campaigns, platforms, or conversion events, revisit these steps to maintain data accuracy. Your tech stack will evolve, tracking requirements will change, and new privacy regulations will emerge. Regular audits keep your attribution reliable.
The payoff is significant: clear visibility into what's actually driving revenue, confident budget decisions, and the ability to scale campaigns that work while cutting what doesn't. You'll stop relying on inflated platform metrics and start making decisions based on complete customer journey attribution data.
Most importantly, you'll know where every dollar goes and what it returns. That clarity transforms marketing from educated guessing into strategic investment.
Ready to elevate your marketing game with precision and confidence? Discover how Cometly's AI-driven recommendations can transform your ad strategy—Get your free demo today and start capturing every touchpoint to maximize your conversions.


