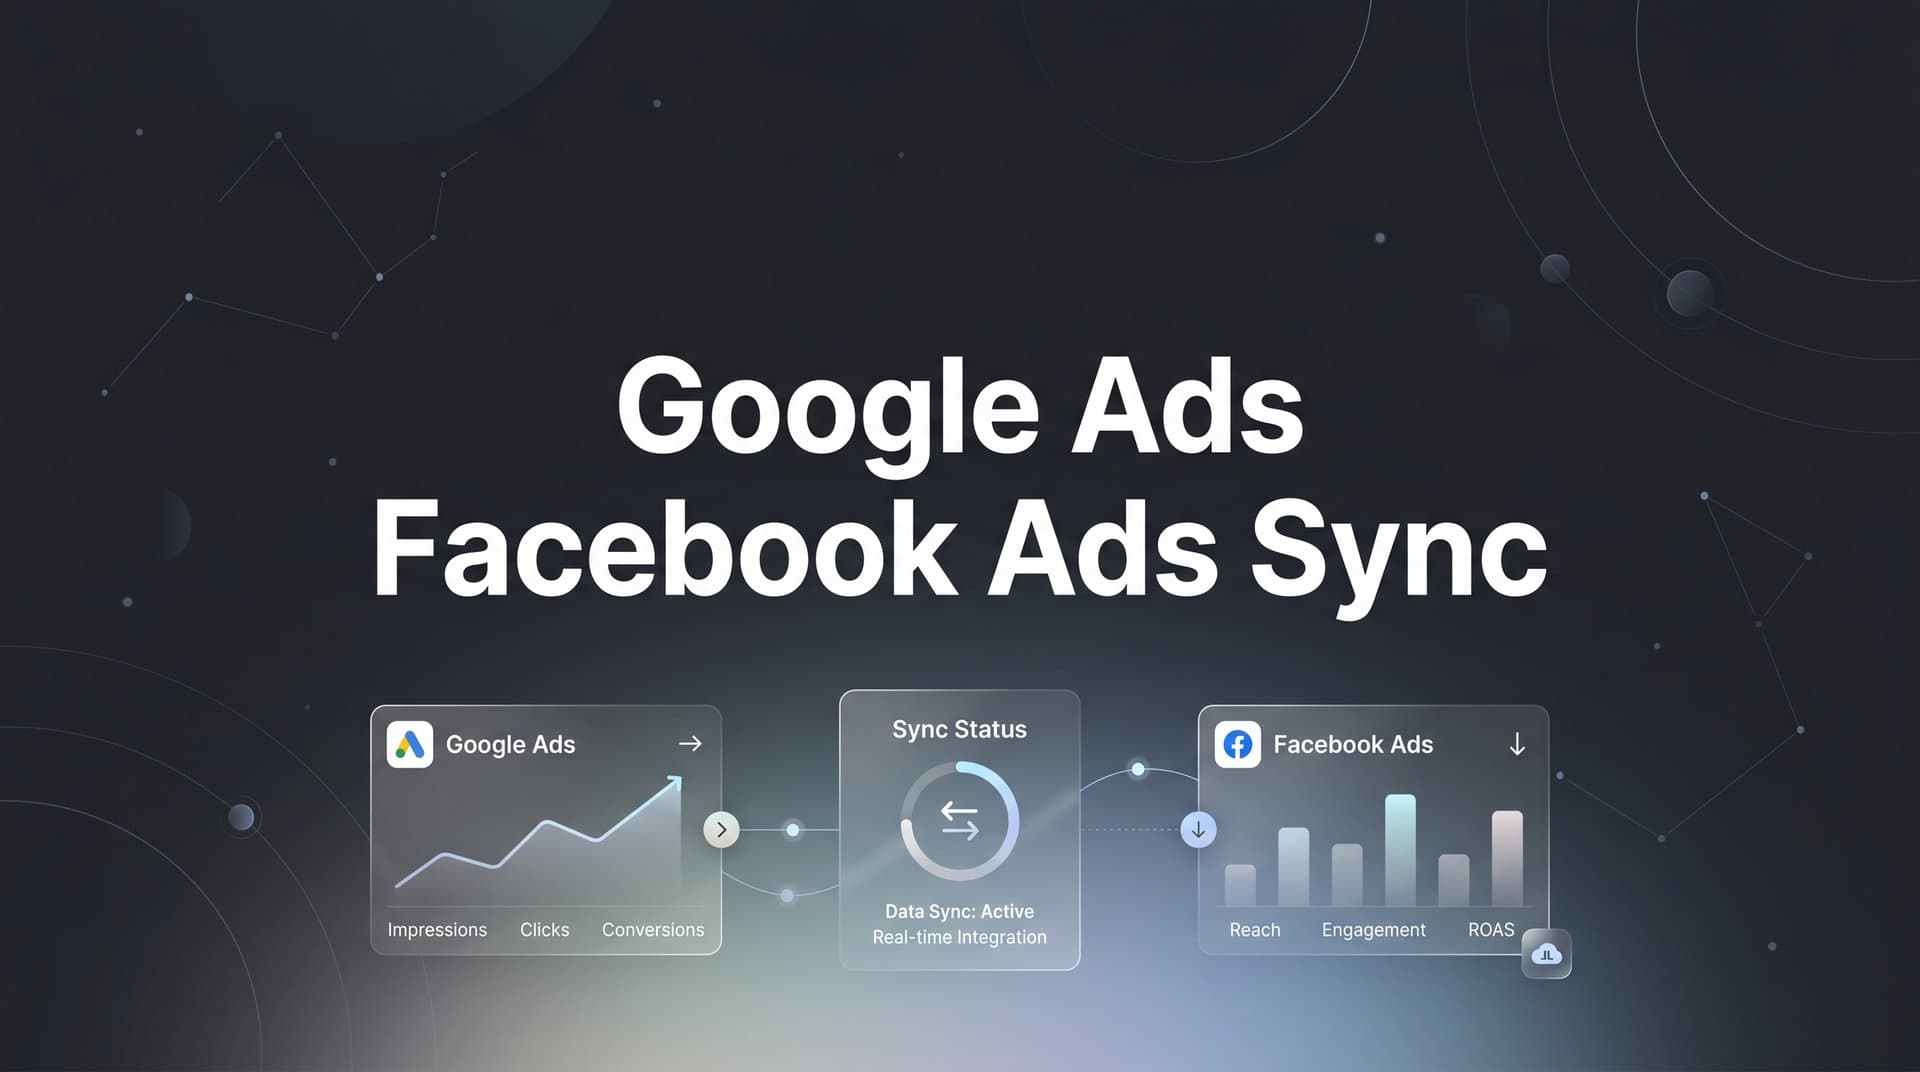
Running campaigns across Google Ads and Facebook Ads creates a common challenge: your data lives in two separate places, making it nearly impossible to understand which platform actually drives your conversions. You end up with duplicate attribution, conflicting reports, and no clear picture of your true marketing performance.
Picture this: Google Ads reports 50 conversions this month. Facebook Ads claims 45. Your actual sales? Only 60. The math doesn't add up because both platforms are taking credit for the same conversions, leaving you wondering which campaigns actually work and where to invest your budget.
This guide walks you through exactly how to sync your Google Ads and Facebook Ads data so you can track cross-platform performance, eliminate data silos, and make confident budget decisions. Whether you want to compare performance side by side, create unified reporting, or feed better conversion data back to both platforms, you'll learn the practical steps to make it happen.
By the end, you'll have a working system that connects both ad platforms and gives you the complete view of your customer journey you need to scale effectively. No more guessing which platform deserves credit. No more conflicting reports. Just clear, actionable data that shows you exactly what's driving revenue.
Step 1: Audit Your Current Tracking Setup on Both Platforms
Before you can sync anything, you need to understand what you're working with. Start by reviewing your Google Ads conversion tracking setup. Log into your Google Ads account and navigate to Tools & Settings, then Conversions. Document every conversion action you're tracking: purchases, form submissions, phone calls, whatever matters to your business.
Check whether each conversion uses Google's tag-based tracking, imports from Google Analytics, or pulls from another source. Note the conversion windows—Google defaults to 30 days for clicks and one day for views, but you may have customized these. Write down which attribution model each conversion uses, whether it's last click, data-driven, or something else.
Now switch to Facebook. Open your Events Manager and review your pixel implementation. Check the Diagnostics tab to see if your pixel is firing correctly on key pages. Look for any errors or warnings that might indicate tracking gaps. Then examine your Conversions API setup—this is critical because browser-based tracking alone misses significant data due to iOS restrictions and cookie blocking.
The real detective work starts when you compare platforms. Pull a report from each platform for the same date range and conversion type. If Google reports 100 purchases and Facebook reports 95, but your actual sales total 110, you've got attribution overlap. Both platforms are claiming credit for conversions the other platform also tracked. Understanding the Google Ads and Facebook Ads attribution conflict is essential before attempting any sync.
Document every conversion event you're tracking and create a simple spreadsheet mapping how each event appears in Google Ads versus Facebook Ads. You might find that "Purchase" in Google corresponds to "CompleteRegistration" in Facebook, or that you're tracking different events entirely. These inconsistencies will cause major headaches later if you don't identify them now.
Look for tracking gaps too. Maybe Facebook tracks add-to-cart events but Google doesn't. Perhaps Google tracks phone calls but Facebook has no visibility into them. These gaps represent blind spots in your cross-platform understanding. Make note of them—you'll address them in later steps.
Step 2: Establish a Unified UTM Parameter Strategy
UTM parameters are the foundation of cross-platform tracking, but only if you use them consistently. Think of UTMs as the labels that follow your traffic from ad click to conversion, telling your analytics exactly where each visitor came from. Without a solid UTM strategy, your data becomes a mess of inconsistent labels and unidentifiable sources.
Start by defining your UTM structure. For the source parameter, use the platform name: "google" for Google Ads and "facebook" for Facebook Ads. Keep it lowercase and simple. For medium, use "cpc" or "paid-social" consistently—pick one convention and stick with it across all campaigns. The campaign parameter should include identifiable information like the campaign objective or product focus.
Here's what a clean UTM structure looks like in practice. A Google Ads campaign might use: utm_source=google&utm_medium=cpc&utm_campaign=spring-sale-search. The equivalent Facebook campaign would use: utm_source=facebook&utm_medium=paid-social&utm_campaign=spring-sale-newsfeed. Notice how the campaign names clearly distinguish between platforms while maintaining consistency in naming logic.
Create a UTM naming convention document that your entire team can reference. Include rules for capitalization (stick to lowercase), word separators (use hyphens, not underscores), and forbidden characters. This prevents one team member from creating "Facebook_Ads_Campaign_1" while another creates "facebook-ads-campaign-2"—variations that fragment your reporting.
For Google Ads, enable auto-tagging in your account settings. This adds a GCLID parameter to your URLs that passes detailed campaign information to Google Analytics. You can use auto-tagging alongside manual UTM parameters—they work together, not against each other. Just make sure you've enabled "Allow manual tagging to override auto-tagging" in your Google Analytics settings if you want your UTMs to take precedence. For deeper insights, explore marketing analytics for Google Ads to maximize your tracking setup.
Facebook doesn't have auto-tagging in the same way, so manual UTM parameters are essential. Build them directly into your ad URLs using Facebook's URL parameters section when creating ads. Don't just paste UTM-tagged URLs into the destination field—use the dedicated parameters section so Facebook can track them properly.
Test everything before launching campaigns. Click through your ads and check that UTM parameters appear correctly in your destination URLs. Use Google Analytics Real-Time reports to verify that traffic shows up with the right source, medium, and campaign labels. If something looks wrong, fix it now—correcting UTM parameters after campaigns launch means losing data you can't recover.
Step 3: Connect Both Platforms to a Central Attribution System
This is where everything comes together. You need a central attribution platform that pulls data from both Google Ads and Facebook Ads, tracks the complete customer journey, and becomes your single source of truth. This system sits between your ad platforms and your actual conversions, capturing every touchpoint regardless of which platform drove it.
Choose an attribution platform that offers native integrations with both Google Ads and Facebook Ads. The platform should support server-side tracking, which captures conversion data directly from your server rather than relying on browser pixels that get blocked by privacy tools and iOS restrictions. Server-side tracking is non-negotiable for accurate cross-platform attribution in 2026.
Start the connection process with Google Ads. Most attribution platforms provide a simple OAuth connection—you'll authorize the platform to access your Google Ads account data. Grant permissions for conversion tracking, campaign data, and performance metrics. The platform will begin pulling your campaign structure, ad performance, and conversion data automatically. Learn the best way to track Google Ads conversions to ensure your setup captures everything.
Connect Facebook Ads next. You'll need to authorize access to your Facebook Business Manager and the specific ad accounts you want to track. Make sure you grant permissions for both the pixel data and the Conversions API—you need both to get complete visibility. The platform should pull your campaign hierarchy, ad sets, individual ads, and all associated performance metrics.
Now comes the critical part: implementing server-side tracking. Your attribution platform will provide tracking code that goes on your website. Unlike a simple pixel that fires in the browser, this code sends conversion data directly from your server to the attribution platform. This ensures you capture conversions even when browser-based tracking fails due to ad blockers, cookie restrictions, or iOS limitations.
Install the tracking code on every page where conversions happen—checkout pages, thank you pages, form confirmation pages, wherever your key events occur. If you're using a platform like Shopify, WooCommerce, or another e-commerce system, look for native integrations that simplify this process. Many attribution platforms offer plugins that handle server-side tracking automatically.
Verify that data flows correctly by triggering test conversions. Make a test purchase or submit a test form, then check your attribution platform dashboard to confirm the conversion appears with all the right details—conversion value, source platform, campaign information, and timestamp. If test conversions don't show up within a few minutes, review your tracking implementation for errors.
Check that both Google Ads and Facebook Ads data appear in your unified dashboard. You should see campaigns from both platforms listed side by side, with metrics like spend, clicks, and conversions flowing in automatically. This central view is what makes cross-platform analysis possible—you can finally compare Google and Facebook performance using the same conversion data and attribution logic.
Step 4: Map Your Conversion Events Across Platforms
Different platforms use different names for the same actions, which creates chaos when you're trying to sync data. Facebook might call a sale "Purchase" while your website calls it "Order Completed" and Google Ads labels it "Transaction." You need to create a unified event structure that maps these variations to consistent conversion definitions.
Start by identifying which conversions actually matter for your business. Don't track everything just because you can. Focus on events that represent real business value: completed purchases, qualified leads, demo requests, subscription sign-ups. These are the conversions worth syncing across platforms because they directly impact revenue.
Create a conversion mapping document that defines each event clearly. For a purchase event, specify exactly what triggers it—is it when someone lands on the order confirmation page, when payment processes successfully, or when the order enters your fulfillment system? This precision prevents situations where different systems track slightly different versions of the "same" conversion. Understanding Facebook Ads attribution vs Google Ads attribution helps you align these definitions properly.
Standardize your event names across platforms. If you call a purchase "Purchase" in Facebook, use "Purchase" in Google Ads too, not "Sale" or "Transaction." Consistent naming makes reporting infinitely easier because you're comparing apples to apples. Your attribution platform can often handle this mapping automatically, translating platform-specific event names into your standardized structure.
Assign consistent values to conversions across platforms. If a lead is worth $50 to your business, make sure both Google Ads and Facebook Ads record that lead at $50, not $45 in one platform and $55 in another. Value consistency is crucial for accurate ROAS calculations and cross-platform budget optimization. Use your attribution platform to normalize these values if your ad platforms track them differently.
Configure multi-touch attribution to understand how both platforms contribute to conversions. A customer might click a Facebook ad on Monday, research your product, then click a Google search ad on Friday before purchasing. Single-touch attribution would give Google all the credit, ignoring Facebook's role in starting the journey. Multi-touch models distribute credit across touchpoints, showing you the real interplay between platforms.
Set up different attribution models to compare perspectives. First-touch attribution shows which platform typically starts customer journeys. Last-touch shows which platform closes deals. Linear attribution spreads credit evenly across all touchpoints. Position-based models give more credit to the first and last interactions. Each model tells you something different about how your platforms work together.
Test your conversion mapping by triggering events and watching how they flow through your system. Complete a purchase and verify it appears correctly in Google Ads, Facebook Ads, and your attribution platform with the same event name, value, and timestamp. If discrepancies appear, trace back through your tracking implementation to find where the mapping breaks down.
Step 5: Enable Conversion Sync to Feed Data Back to Ad Platforms
Tracking conversions in a central system is powerful, but the real magic happens when you send that enriched data back to Google Ads and Facebook Ads. This process, called conversion sync, feeds your platforms the accurate conversion signals they need to optimize campaigns effectively. Better data in means better results out.
Start with Google Ads offline conversion imports. Your attribution platform should support automatically sending conversion data to Google Ads via their API. This lets you pass back conversions that Google's native tracking might have missed, along with enhanced data like actual conversion values, customer lifetime value, or lead quality scores that you only know after the fact. Make sure you optimize Google Ads conversion tracking to receive this data properly.
Configure which conversions sync back to Google Ads. You typically want to sync your most valuable events—purchases, qualified leads, high-value sign-ups. Set up the conversion action in Google Ads first, then map it to the corresponding event in your attribution platform. The platform will handle sending conversion data back automatically whenever that event occurs.
Enable Facebook Conversions API integration in your attribution platform. The Conversions API sends conversion data directly from your server to Facebook, bypassing browser-based tracking limitations entirely. This is critical because iOS restrictions have severely limited Facebook's pixel-based tracking accuracy. Server-side events through the Conversions API restore much of that lost visibility. Learn how to sync conversion data to Facebook Ads for step-by-step implementation guidance.
Configure your Conversions API setup to send comprehensive event data. Beyond just "a conversion happened," send customer information like email addresses (hashed for privacy), phone numbers, and other identifiers that help Facebook match conversions to the right users. Include event parameters like purchase value, product categories, and quantities to give Facebook's algorithm richer optimization signals.
Test that conversion data flows back correctly. Trigger a test conversion and check both Google Ads and Facebook Events Manager to confirm the conversion appears. In Google Ads, look under Tools & Settings > Conversions to see recent conversions. In Facebook Events Manager, check the Events tab and filter by server events to see Conversions API data coming through.
Monitor data quality scores in Facebook Events Manager. Facebook rates the quality of your Conversions API implementation and shows whether you're sending enough events with sufficient detail. Higher quality scores mean better ad optimization. If your score is low, review what data you're sending and add more customer information parameters to improve matching.
Watch how improved data quality affects campaign performance. As your ad platforms receive more accurate conversion signals, their algorithms can optimize more effectively. You might notice improved targeting, better audience lookalikes, and more efficient bidding. This feedback loop—better data leading to better optimization leading to better results—is why conversion sync matters so much.
Step 6: Build Your Cross-Platform Reporting Dashboard
Now that your data syncs properly, you need a dashboard that makes cross-platform insights obvious at a glance. The goal is to see Google Ads and Facebook Ads performance side by side, using consistent metrics and attribution, so you can make smart budget decisions without switching between platforms.
Start with the metrics that matter most for your business. For e-commerce, that's typically ROAS, CPA, conversion rate, and total revenue by platform. For lead generation, focus on cost per lead, lead quality scores, and conversion rates from lead to customer. Choose metrics that directly tie to your business goals, not vanity metrics like impressions or reach. A solid Facebook Ads reporting dashboard combined with Google Ads data gives you complete visibility.
Create comparison views that put Google and Facebook performance next to each other. Build a table or chart showing each platform's spend, conversions, CPA, and ROAS for the same time period. This side-by-side view instantly reveals which platform performs better and where you should allocate more budget. Include trend lines to see whether performance is improving or declining over time.
Set up attribution model comparisons within your dashboard. Show how results look under first-touch attribution, last-touch attribution, and multi-touch models. This reveals important patterns—if Facebook dominates first-touch attribution but Google wins on last-touch, you know Facebook drives awareness while Google captures demand. That insight changes how you allocate budget and structure campaigns.
Build campaign-level breakdowns so you can see beyond platform totals. Maybe Google Ads overall has a lower ROAS than Facebook, but your Google Shopping campaigns crush everything else. Without campaign-level visibility, you'd miss that insight and potentially cut budget from your best performers. Drill down into campaign types, ad groups, and even individual ads when investigating performance.
Include cross-platform customer journey reports. Show the most common paths to conversion—how many customers see a Facebook ad first, then convert through Google search? How many interact with both platforms multiple times before purchasing? These journey insights help you understand how platforms work together rather than viewing them as competitors for attribution credit. For comprehensive tracking setup, review tracking for Facebook and Google Ads best practices.
Schedule automated reports to track trends and catch issues early. Set up weekly or monthly reports that email you key metrics and highlight significant changes. If Google Ads CPA suddenly spikes or Facebook ROAS drops below your target, you want to know immediately, not when you happen to check the dashboard next. Automated alerts keep you proactive instead of reactive.
Putting It All Together: Your Cross-Platform Sync Checklist
You've built a complete system for syncing Google Ads and Facebook Ads data. Here's your quick reference checklist to ensure everything stays on track:
Tracking Foundation: Verify Google Ads conversion tracking and Facebook pixel plus Conversions API are both implemented correctly. Check for tracking errors weekly in both platforms.
UTM Consistency: Ensure all campaigns use your standardized UTM structure. Audit new campaigns before launch to catch UTM mistakes early.
Attribution Platform Connection: Confirm data flows from both ad platforms into your central system. Test with sample conversions monthly to verify accuracy.
Conversion Mapping: Review that conversion events use consistent names and values across platforms. Update mappings when you add new conversion types.
Conversion Sync: Check that Google Ads offline conversions and Facebook Conversions API receive data properly. Monitor quality scores and fix issues immediately.
Dashboard Monitoring: Review your cross-platform dashboard weekly. Look for attribution discrepancies, performance trends, and optimization opportunities.
Common issues to watch for: If conversion totals don't match between your attribution platform and ad platforms, check your conversion windows and attribution models—different settings create different numbers. If Facebook shows significantly fewer conversions than expected, verify your Conversions API implementation and check for iOS-related tracking limitations. If Google Ads conversions seem inflated, look for duplicate tracking where both auto-tagging and manual imports count the same conversion twice.
As you optimize over time, focus on improving data quality. Add more customer information to your Conversions API events. Refine your UTM strategy based on what reporting insights matter most. Test different attribution models to find which best represents your actual customer journey. The system you've built is powerful, but it gets better as you feed it higher-quality data and tune it to your specific business needs.
Your Next Steps: Making Data-Driven Decisions With Confidence
With your Google Ads and Facebook Ads data now synced, you've eliminated the guesswork that comes with managing separate reporting systems. You can see exactly how each platform contributes to your conversions, compare performance accurately, and make budget decisions based on unified data rather than conflicting reports.
The key to maintaining this system is regular monitoring and keeping your tracking implementations up to date as both platforms evolve. Start by reviewing your cross-platform dashboard weekly, looking for patterns in how customers interact with both channels before converting. This insight will help you allocate budget more effectively and scale the campaigns that truly drive results.
Watch for opportunities to optimize based on your new visibility. If your data shows that customers typically see Facebook ads first, then convert through Google search, you might increase Facebook prospecting budget while maintaining Google brand search campaigns. If certain campaign combinations consistently lead to conversions, replicate that pattern across more products or audiences.
Keep improving your data quality. As platforms introduce new tracking capabilities, implement them. When you identify gaps in your conversion tracking, fill them. The more complete and accurate your data becomes, the smarter your optimization decisions can be. Your attribution platform becomes more valuable over time as it accumulates historical data and reveals long-term trends.
Ready to elevate your marketing game with precision and confidence? Discover how Cometly's AI-driven recommendations can transform your ad strategy—Get your free demo today and start capturing every touchpoint to maximize your conversions.