You're running campaigns across Google Ads, social media, and email. Traffic is flowing. Conversions are happening. But when you look at your reports, everything points to one channel as the hero—usually the last thing someone clicked before converting. Meanwhile, the campaigns that introduced prospects to your brand, warmed them up, and nudged them toward a decision get zero credit.
This is the last-click attribution trap, and it's costing you money.
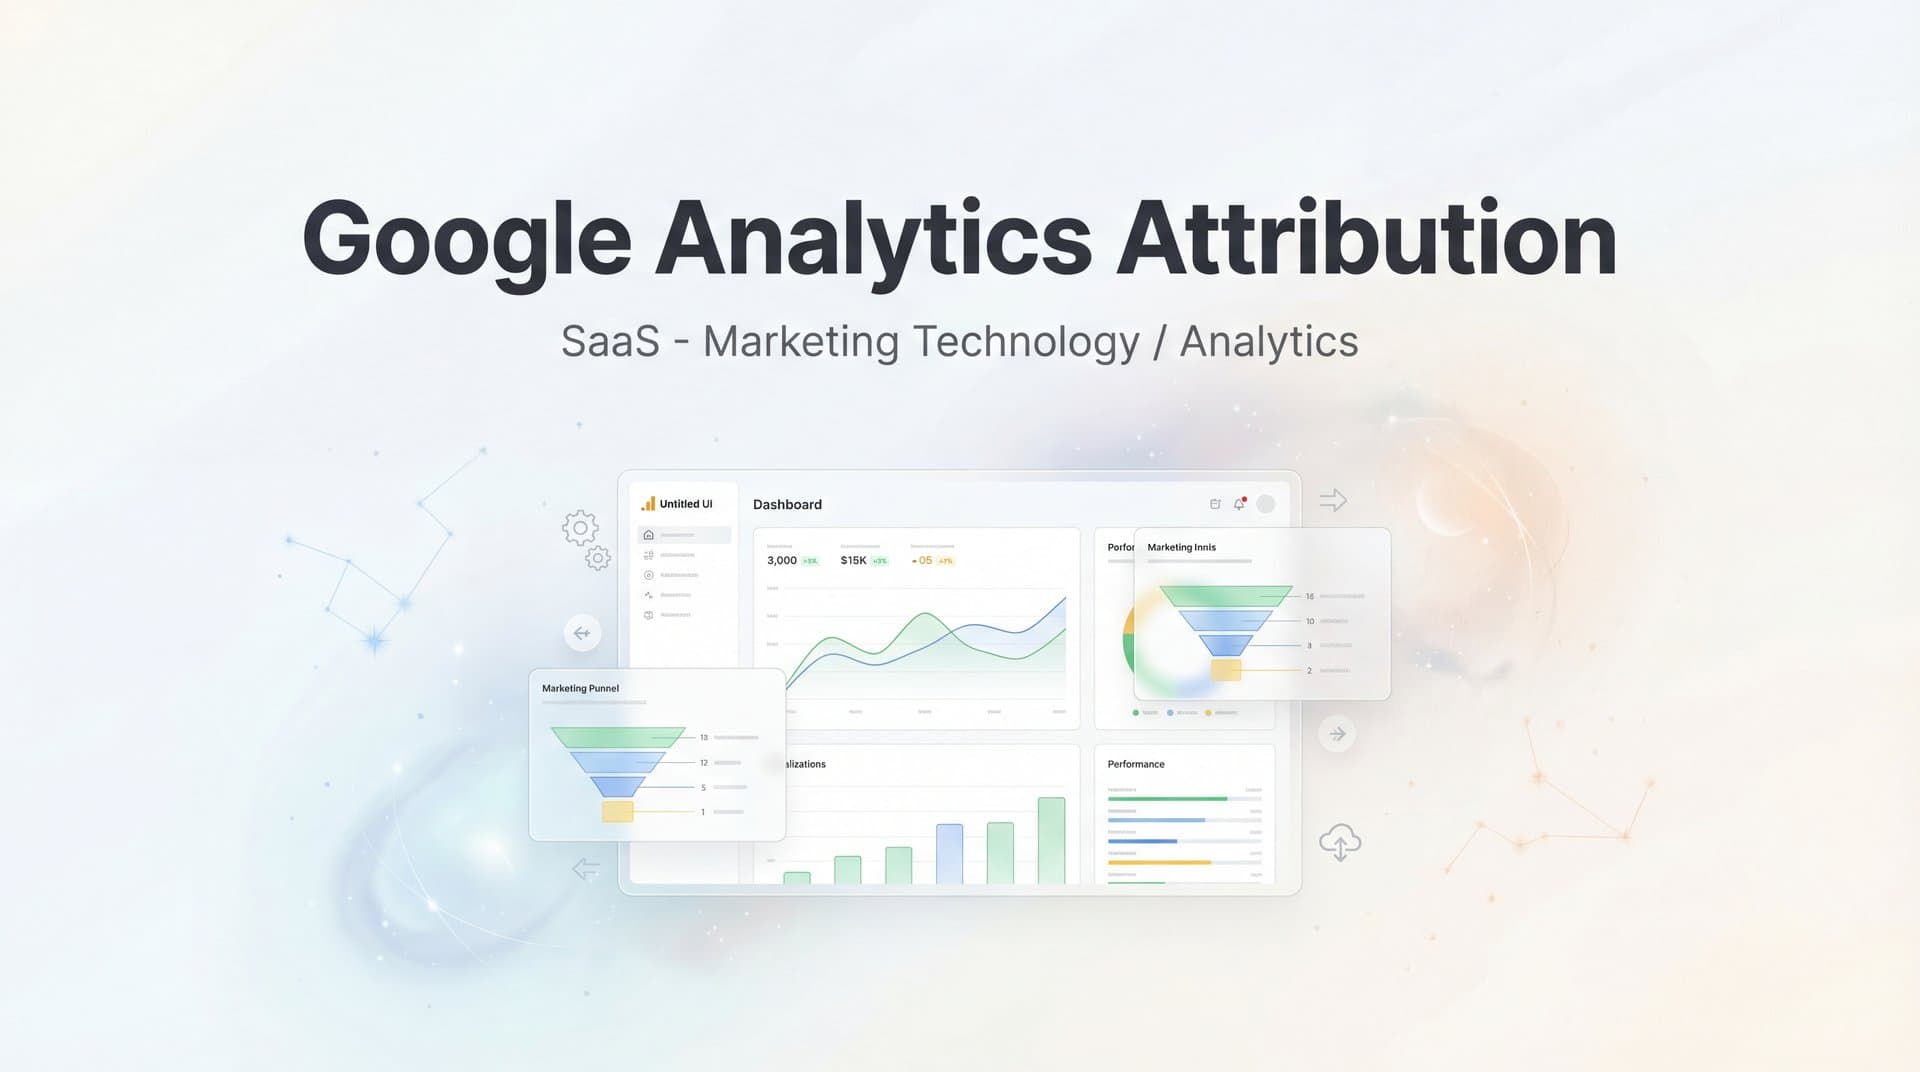
Google Analytics attribution solves this by showing you the complete customer journey—every touchpoint that contributed to a conversion, not just the final click. But here's the catch: most marketers install GA4, assume attribution is working automatically, and end up with incomplete data that leads to bad budget decisions.
Setting up Google Analytics attribution correctly requires more than dropping a tracking code on your site. You need to configure your property settings, mark the right events as conversions, implement consistent UTM tagging, connect your ad platforms, and actually know how to read the attribution reports.
This guide walks you through each step in order. By the end, you'll have a fully functional attribution setup that reveals which campaigns, channels, and touchpoints genuinely drive revenue—so you can stop guessing and start scaling what actually works.
Step 1: Configure Your Google Analytics 4 Property for Attribution
Before you can analyze attribution data, you need to tell GA4 how you want it to assign credit to your marketing touchpoints. This happens in your property settings, and getting it right from the start saves you from inconsistent reporting later.
Log into Google Analytics and click the gear icon in the bottom left to access Admin settings. Under the Property column, scroll down and click Attribution Settings. This is where you control how GA4 distributes conversion credit across your channels.
Your first decision is choosing an attribution model. GA4 offers several options, but for most accounts with sufficient conversion data, data-driven attribution is the best choice. Unlike rule-based models that use arbitrary formulas, data-driven attribution uses machine learning to analyze your actual conversion patterns and assigns credit based on which touchpoints statistically increase conversion likelihood. Understanding what attribution model is best for optimizing ad campaigns can help you make this decision confidently.
If your account is new or has fewer than 400 conversions per month, data-driven attribution won't be available yet. In that case, start with the last-click model and plan to switch once you hit the threshold. You can always compare models later in your reports.
Next, set your conversion lookback window. This determines how far back GA4 searches for touchpoints that contributed to a conversion. The default is 30 days for acquisition conversions and 90 days for other conversions. If you sell high-consideration products with longer sales cycles—think B2B software or expensive services—consider extending this to 90 days across the board. For e-commerce with shorter decision windows, 30 days often works fine.
Now enable Google Signals by clicking Data Settings > Data Collection in the Admin panel, then toggling on Google Signals. This allows GA4 to track users across devices when they're signed into their Google accounts, giving you cross-device attribution insights. Keep in mind this requires sufficient user volume to maintain Google's privacy thresholds.
Save your changes and verify everything is working by navigating to Reports > Advertising > Model Comparison. You should see your selected attribution model listed at the top. If you just made changes, give it 24-48 hours for data to populate fully.
Step 2: Set Up Conversion Events and Assign Values
Attribution only works if GA4 knows what counts as a conversion. Out of the box, GA4 tracks events like page views and clicks, but it doesn't automatically know which actions matter to your business. You need to explicitly mark your key events as conversions.
Go to Admin > Events under your property settings. You'll see a list of all events GA4 is currently tracking. Scan through and identify which ones represent valuable actions—purchases, form submissions, demo requests, phone calls, or whatever drives revenue for your business.
For each key event, toggle the switch under "Mark as conversion." The moment you do this, GA4 starts including that event in attribution reports. If you're running an e-commerce site, the "purchase" event is obviously critical. For lead generation businesses, events like "form_submit" or "contact_request" matter most. Proper event tracking in Google Analytics is essential for accurate attribution data.
Here's where most marketers stop, but you're missing a crucial piece: assigning monetary values to conversions. Without values, GA4 can tell you which channels drive conversions, but not which ones drive the most revenue. That's a problem when you're deciding where to spend your budget.
For e-commerce, GA4 automatically captures transaction values if your tracking code is set up correctly. For lead generation, you need to assign estimated values based on your average customer lifetime value or deal size. Go back to your Events list, click on a conversion event, and look for the option to set a default value. If your average customer is worth $500, assign that value to form submissions.
If GA4's default events don't capture everything you need to track, you'll need to create custom events using Google Tag Manager. For example, if you want to track when someone watches 75% of a product video or downloads a specific resource, you'll build those events in GTM and then mark them as conversions in GA4.
Test your conversion tracking immediately. Complete the conversion action yourself—submit the form, make a test purchase, or whatever the event represents. Then check the Realtime report in GA4 within a few minutes. You should see your conversion event appear. If it doesn't show up, your tracking isn't configured correctly, and you need to troubleshoot before moving forward. If conversions aren't appearing as expected, learn how to diagnose Google Analytics missing conversions issues.
Step 3: Implement Proper UTM Tagging Across All Campaigns
Google Analytics attribution can only work with the data it receives. If your campaigns aren't tagged consistently, GA4 lumps everything into vague categories like "direct" or "referral," making attribution analysis worthless.
UTM parameters are the solution. These are tags you add to your campaign URLs that tell GA4 exactly where traffic came from. Use Google's Campaign URL Builder to create them—just search "Google Campaign URL Builder" and you'll find the official tool.
The three critical parameters are source, medium, and campaign. Source identifies where the traffic originated (facebook, newsletter, partner-site). Medium describes the marketing channel type (cpc, email, social, affiliate). Campaign names the specific initiative (spring-sale, product-launch, q1-awareness).
Consistency is everything. If you tag one Facebook campaign as "facebook" and another as "Facebook" or "fb," GA4 treats them as separate sources. Create a naming convention document right now and share it with everyone who creates campaigns. Use lowercase, hyphens instead of spaces, and standardized abbreviations.
Apply UTM tags to every trackable link you control—paid ads, email campaigns, social media posts, affiliate links, and anywhere else you're driving traffic. The only exception is Google Ads, which we'll cover in the next step.
Common mistakes to avoid: Never use spaces in UTM parameters. Never duplicate parameters in the same URL. Never tag internal links on your own site. And never assume UTMs are optional for "small" campaigns—inconsistent tagging creates gaps in your attribution data that make reports unreliable.
After you start using UTM tags, verify they're working by checking the Traffic Acquisition report in GA4. Navigate to Reports > Acquisition > Traffic Acquisition and look at the Session source/medium dimension. You should see your UTM-tagged campaigns showing up with the exact names you specified. If you see direct traffic in Google Analytics dominating your reports, your UTM implementation has gaps that need addressing.
Step 4: Connect Google Ads and Other Platforms for Complete Data
UTM tagging handles most of your attribution tracking, but Google Ads deserves special treatment because GA4 can automatically import cost, click, and impression data when the two platforms are linked. This gives you ROI calculations without manual spreadsheet work.
Go to Admin > Product Links > Google Ads Links and click "Link" to connect your Google Ads account. Follow the prompts to authorize the connection. Once linked, GA4 automatically imports campaign performance data, and you'll see cost-per-conversion metrics in your attribution reports.
Enable auto-tagging in your Google Ads account by going to Settings > Account Settings and making sure "Auto-tagging" is turned on. This adds a gclid parameter to your ad URLs automatically, which captures more granular data than manual UTM tags alone. Auto-tagging and UTM parameters can coexist—GA4 prioritizes the gclid data when both are present.
Now set up conversion imports so Google Ads can use your GA4 conversion data to optimize campaigns. In GA4, go to Admin > Data Display > Google Ads Links, select your linked account, and choose which conversions to import. This feeds better data back to Google's algorithm, improving targeting and bidding over time. If you're running an e-commerce store, understanding how to set up Google Ads conversion tracking for Shopify provides additional platform-specific guidance.
Connect Google Search Console next by going to Admin > Product Links > Search Console Links. This integration adds organic search data to your analytics, showing which keywords drive conversions even when users don't click paid ads first.
Here's the limitation you need to understand: this seamless integration only works within Google's ecosystem. If you're running campaigns on Meta, TikTok, LinkedIn, or other ad platforms, GA4 can't automatically import cost data. You'll rely entirely on UTM tagging for those channels, and you won't see granular ad-level performance in GA4. Those platforms also face tracking challenges from iOS privacy changes and cookie restrictions, which means some conversions won't be attributed correctly no matter how well you tag your campaigns.
Step 5: Analyze Attribution Reports and Compare Models
Now that your tracking is configured, it's time to actually use the attribution data. GA4's Model Comparison report is where you'll spend most of your time because it shows you how different attribution models would credit the same conversions.
Navigate to Reports > Advertising > Attribution > Model Comparison. By default, you'll see your selected attribution model compared against last-click. This side-by-side view reveals which channels are undervalued when you only look at last-click data.
Look for channels where the data-driven attribution column shows significantly more conversions than the last-click column. These are your assist channels—the ones that introduce prospects to your brand, nurture them, and move them closer to conversion, even though they rarely get credit for the final click. Common examples include display ads, social media, and top-of-funnel content campaigns. Understanding multi-touch attribution models helps you interpret these differences accurately.
Click on the Conversion Paths report next. This visualizes the actual sequences of touchpoints that led to conversions. You'll see paths like "Organic Search > Email > Paid Search > Direct" that show how customers interact with multiple channels before converting. This is the insight that last-click attribution completely misses.
Pay attention to touchpoints that appear frequently in conversion paths but rarely as the last click. If you see paid social showing up as the first or second touchpoint in high-value conversion paths, that's a signal to maintain or increase investment there, even if last-click reports suggest it's underperforming.
Use the filters to segment by conversion type, date range, or specific campaigns. If you're running multiple product lines or targeting different customer segments, analyzing attribution paths separately for each group reveals different journey patterns that require different marketing strategies.
Export your attribution data regularly for deeper analysis or stakeholder presentations. Click the download icon in any report to grab a CSV file. Combine this with cost data from your ad platforms to calculate true ROI by channel, accounting for assist conversions instead of just last-click wins. Building a comprehensive data analytics dashboard can streamline this reporting process.
Step 6: Optimize Campaigns Based on Attribution Insights
Attribution data is worthless if you don't act on it. The whole point of understanding the customer journey is to make smarter budget decisions that improve ROI. Here's how to translate insights into action.
Start by reallocating budget toward channels that drive assisted conversions, not just last-click wins. If your Model Comparison report shows that display ads contribute to 30% of conversions when you look at data-driven attribution but only 5% under last-click, you're probably underfunding display. Shift budget from overvalued last-click channels to these assist channels and watch overall conversion volume increase.
Identify campaigns that appear early in high-converting paths and scale them. These are your awareness and consideration drivers. If organic social consistently shows up as the first touchpoint in paths that convert at high rates, invest in more content creation and community engagement there. Early-stage touchpoints set the foundation for conversions that happen later.
On the flip side, reduce spend on channels that rarely appear anywhere in conversion paths. If a paid channel consistently shows low attribution across all models and rarely appears in multi-touch paths, it's not contributing to your business. Cut it and reallocate that budget to proven performers.
Create custom audiences based on users who engaged with multiple touchpoints but haven't converted yet. In Google Ads or Meta, build audiences of people who clicked a top-of-funnel ad and later visited your site through organic search. These high-intent prospects are prime targets for retargeting campaigns that push them toward conversion. Effective customer attribution tracking makes this audience segmentation possible.
Schedule monthly attribution reviews to catch shifts in channel performance before they hurt your ROI. Customer behavior changes. New competitors enter the market. Platform algorithms evolve. What worked last quarter might not work next quarter. Set a recurring calendar event to review your Model Comparison and Conversion Paths reports, and adjust your strategy accordingly.
Your Attribution Setup Is Complete
You now have a complete Google Analytics attribution system that tracks the full customer journey across your marketing channels. Let's recap what you've built: a properly configured GA4 property with your chosen attribution model, conversion events marked and valued correctly, consistent UTM parameters applied across all campaigns, Google Ads linked and importing conversions, and attribution reports ready for analysis.
Your attribution data will improve over time as Google's algorithms learn from your conversion patterns. Give it at least 30 days of data collection before making major budget decisions, and remember that data-driven attribution requires ongoing conversion volume to stay accurate.
One critical limitation to keep in mind: GA4 attribution works best within Google's ecosystem. Cross-platform attribution with Meta, TikTok, and other ad networks still faces significant data gaps from iOS privacy changes, cookie restrictions, and client-side tracking limitations. If you're running substantial campaigns outside Google and need deeper attribution insights—including server-side tracking that captures touchpoints browser-based tracking misses—tools like Cometly can complement your GA4 setup by providing real-time optimization recommendations and more complete journey data.
Start analyzing your attribution reports today. Compare your data-driven model against last-click. Identify the channels that assist conversions but get ignored in traditional reporting. Reallocate budget based on complete journey data rather than last-click assumptions. Your next marketing decision should be informed by the full story of how customers find and choose your business.
Ready to elevate your marketing game with precision and confidence? Discover how Cometly's AI-driven recommendations can transform your ad strategy—Get your free demo today and start capturing every touchpoint to maximize your conversions.