Scattered marketing data is costing you more than you realize. When your ad platforms, CRM, and website analytics live in separate silos, you're making decisions based on incomplete information—and likely wasting budget on campaigns that look good in isolation but don't actually drive revenue.
Picture this: Your Meta ads dashboard shows 200 conversions this month. Google Analytics reports 150. Your CRM says only 75 of those leads actually turned into opportunities. Which number is right? More importantly, which campaigns are actually driving the deals that matter?
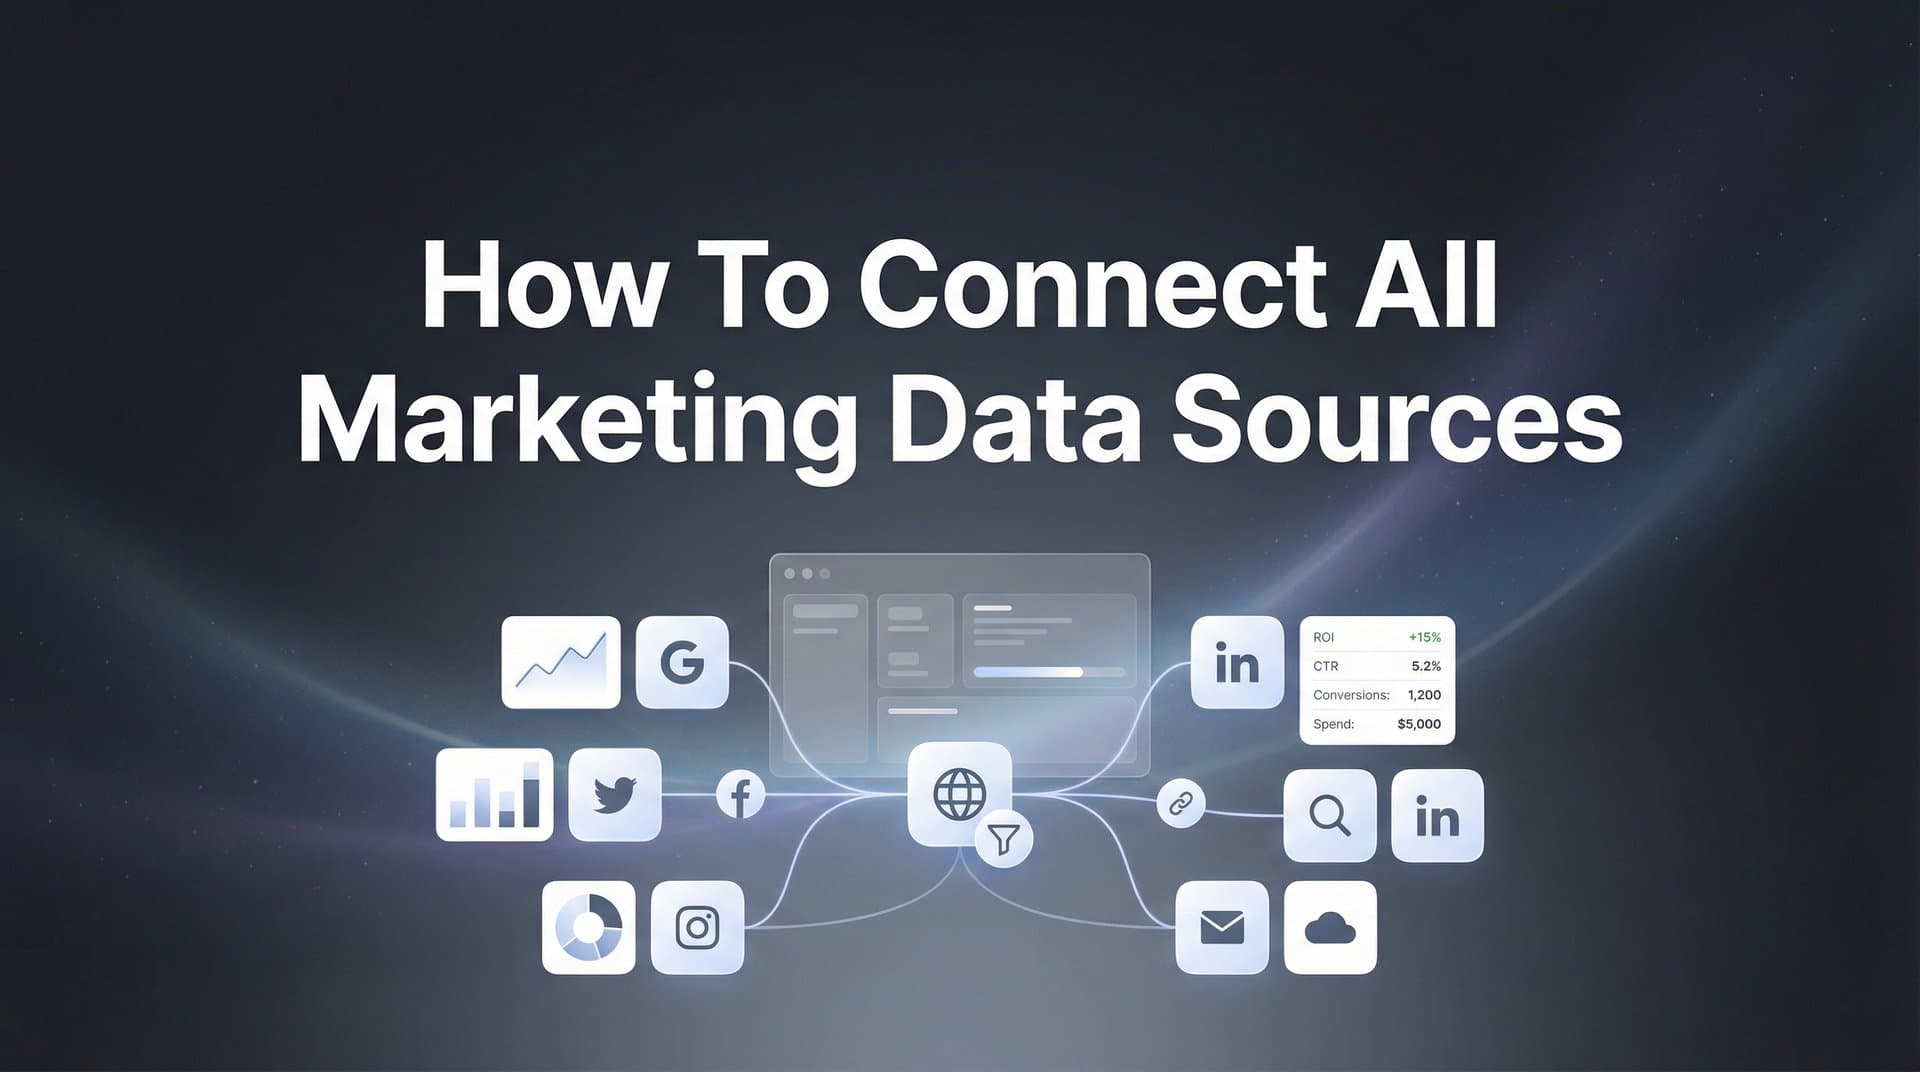
The solution isn't adding more dashboards or manually exporting spreadsheets every week. It's connecting all your marketing data sources into a single, unified view that tracks the complete customer journey from first click to closed deal.
This guide walks you through exactly how to do that. You'll learn how to audit your current data landscape, choose the right integration approach, and connect each source systematically so every touchpoint feeds into one accurate picture.
Whether you're running campaigns across Meta, Google, LinkedIn, or other platforms while managing leads in your CRM, these steps will help you finally see which marketing efforts actually generate revenue—not just clicks. Let's get started.
Step 1: Audit Your Current Data Ecosystem
Before connecting anything, you need to understand what you're working with. Think of this like taking inventory before reorganizing a warehouse—you can't optimize what you can't see.
Start by listing every platform that generates marketing data in your organization. This typically includes ad platforms like Meta, Google Ads, LinkedIn, and TikTok. Then add your CRM, whether that's HubSpot, Salesforce, Pipedrive, or another system. Don't forget email marketing tools, website analytics, chat platforms, and call tracking software if you use it.
Create a simple spreadsheet with three columns: Platform Name, Data It Captures, and Where That Data Lives. For each platform, document exactly what information it tracks. Meta captures ad impressions, clicks, and pixel-based conversions. Your CRM tracks leads, opportunities, and closed deals. Google Analytics shows website sessions and goal completions.
Here's where it gets revealing: Add a fourth column called "What's Missing." This is where you identify the gaps. Can you connect a specific Meta ad to the deal that closed three weeks later? Does your CRM show which LinkedIn campaign brought in your highest-value customer? If someone clicks three different ads before converting, do you know which touchpoints influenced the decision?
Most marketing teams discover significant blind spots during this exercise. Common gaps include the inability to track offline conversions back to digital campaigns, missing attribution for organic social traffic, or no way to connect phone calls to their originating ad source. Understanding these marketing data challenges is the first step toward solving them.
Next, map your ideal data flow. Draw out the customer journey from awareness to purchase. A typical B2B journey might look like: sees LinkedIn ad → clicks to landing page → downloads whitepaper → receives nurture emails → books demo call → becomes opportunity → closes as customer.
For each stage, note which platform should be capturing that data and where the handoffs happen. These transition points—when a lead moves from your website to your CRM, or from your CRM to your sales team—are where attribution typically breaks down.
Document your current state honestly. If you're manually updating spreadsheets or making educated guesses about which campaigns drive revenue, write that down. Understanding your starting point makes it easier to measure progress and justify the investment in proper integration.
This audit typically takes 2-3 hours but saves weeks of troubleshooting later. You'll reference this document throughout the integration process to ensure nothing gets overlooked.
Step 2: Choose Your Integration Architecture
Now that you know what needs connecting, you need to decide how to connect it. There are three main approaches, each with distinct trade-offs that affect accuracy, time investment, and long-term maintenance.
The first approach is manual exports and spreadsheet consolidation. This means downloading reports from each platform weekly or monthly, then combining them in Excel or Google Sheets. It's free and requires no technical setup, but it's also time-consuming, prone to human error, and always working with outdated data. By the time you've compiled last week's numbers, you've already spent this week's budget based on incomplete information.
The second approach uses native integrations between platforms. Many tools offer built-in connections—HubSpot can integrate with Google Ads, Salesforce connects to LinkedIn Campaign Manager, and so on. These work well for simple setups but have limitations. Native integrations typically only sync data one direction, may not capture all fields you need, and break when platforms update their APIs. You also need to set up and maintain each integration separately, which becomes unwieldy when you're running campaigns across five or more platforms.
The third approach is a unified attribution platform that acts as a central hub for all your marketing data. Instead of connecting each platform to each other platform, everything connects to one system that standardizes, enriches, and attributes the data automatically. This requires an investment in the platform itself but eliminates ongoing manual work and provides real-time visibility across all sources. Many organizations are exploring how to setup a datalake for marketing attribution to achieve this centralized approach.
When choosing your approach, consider these factors: How many data sources are you connecting? If it's just two or three, native integrations might suffice. Managing more than four platforms almost always justifies a unified solution. How quickly do you need to act on data? If you're optimizing campaigns daily based on performance, you need real-time sync, not monthly exports. What's your technical capacity? Manual exports require no technical skills but significant time. Native integrations need moderate technical understanding. Unified platforms handle the complexity for you.
There's another critical consideration: server-side tracking. In a post-iOS14 world where browser-based pixels miss significant portions of traffic due to ad blockers and privacy restrictions, server-side tracking has become essential for accuracy. This approach sends conversion data directly from your server to ad platforms, bypassing browser limitations entirely.
If accurate attribution matters to your business—and if you're reading this guide, it does—your integration architecture must include server-side tracking capabilities. Not all native integrations support this, and manual exports can't capture what pixels never saw in the first place.
For most marketing teams running multi-platform campaigns with budgets over $10,000 monthly, a unified attribution platform with server-side tracking delivers the best balance of accuracy, efficiency, and scalability. The time saved on manual reporting alone often justifies the investment within the first month.
Step 3: Connect Your Ad Platforms
With your integration approach selected, it's time to connect your advertising platforms systematically. This step determines whether you'll have complete visibility into campaign performance or continue making decisions with partial data.
Start with your highest-spend platform—typically Meta or Google Ads for most businesses. The connection process involves more than just granting API access. You need to configure it properly to capture campaign, ad set, and ad-level data, not just aggregate numbers.
For Meta, connect your Ads Manager account through the integration interface. Ensure you're granting permissions for both historical data and ongoing sync. Then configure Meta's Conversion API (CAPI) to send server-side conversion data. This is critical: pixel-based tracking alone misses conversions due to iOS restrictions and ad blockers. CAPI captures what pixels can't see, giving you a more complete picture of campaign performance. Learn more about how to sync conversion data to Facebook Ads for optimal setup.
When setting up Google Ads, connect at the account level if you manage multiple campaigns under one account, or at the MCC level if you're managing multiple client accounts. Enable Enhanced Conversions, which is Google's version of server-side conversion tracking. This requires adding a code snippet to your conversion pages that hashes user data and sends it securely to Google.
For LinkedIn Campaign Manager, the integration process is similar but requires attention to matched audiences and conversion tracking setup. LinkedIn's tracking can be particularly valuable for B2B companies since it captures professional demographic data that other platforms don't.
Don't forget emerging platforms where you're running campaigns. TikTok, Pinterest, Snapchat, and others all have integration capabilities, though their maturity varies. Connect them now even if spend is low—you want historical data when you scale those channels later.
Here's where many marketers make a critical mistake: inconsistent UTM parameters. If your Meta campaigns use one naming convention and Google Ads uses another, you'll never get clean attribution. Establish a standardized UTM structure before launching any new campaigns.
A solid UTM framework looks like this: utm_source identifies the platform (facebook, google, linkedin), utm_medium identifies the channel type (cpc, social, display), utm_campaign identifies the specific campaign name, and utm_content identifies the specific ad or creative. Use lowercase, replace spaces with underscores, and document your naming convention so everyone on your team follows it. For a deeper dive, explore what UTM tracking is and how UTMs can help your marketing.
For Google Ads specifically, set up tracking templates at the account level so UTM parameters append automatically to every click. This prevents the common issue of forgetting to add parameters to new campaigns.
After connecting each platform, verify the integration is working. Run a test conversion—click one of your ads, complete the conversion action, and confirm that conversion appears in both the ad platform and your unified attribution system with complete campaign details. If you see the conversion but can't identify which specific ad drove it, your integration isn't capturing granular enough data.
Set up conversion events that match your business model. E-commerce companies need purchase tracking with revenue values. B2B companies need lead form submissions, demo bookings, and trial signups. Service businesses might track quote requests and consultation bookings. Configure these events in each ad platform and ensure they're passing through your integration correctly.
This systematic approach to connecting ad platforms typically takes 3-5 hours initially, but it's a one-time setup that runs automatically afterward. The result is complete visibility into which campaigns, ad sets, and individual ads drive actual results—not just platform-reported conversions that may or may not represent real business value.
Step 4: Integrate Your CRM and Revenue Data
Connecting your ad platforms shows you which campaigns generate clicks and conversions. Connecting your CRM shows you which campaigns generate revenue. This is where marketing attribution transforms from interesting data into actionable intelligence that directly impacts your bottom line.
Start by connecting your CRM to your attribution system. The process varies by CRM, but the goal is the same: establish a two-way data flow that links every lead in your CRM back to its marketing source while also syncing deal stages and revenue data forward.
For HubSpot, this typically means creating an integration through their App Marketplace or using API credentials to establish a direct connection. Grant permissions for contacts, companies, deals, and custom properties. You'll need access to lifecycle stages, deal values, and any custom fields you use to track marketing source or campaign information.
Salesforce integrations require similar setup but with attention to your specific object structure. If you're using custom objects beyond standard Leads, Contacts, Accounts, and Opportunities, ensure those are included in the integration scope. Many B2B companies have complex Salesforce configurations with custom fields that contain critical attribution data—don't overlook these.
Pipedrive, Close, and other CRMs follow comparable patterns. The key is ensuring bidirectional sync: marketing data flows into your CRM so sales teams see which campaigns brought in each lead, and CRM data flows back to your attribution platform so marketers see which campaigns drove closed deals.
Here's the critical configuration step that many teams miss: lifecycle stage mapping. Your CRM likely tracks leads through stages like MQL, SQL, Opportunity, Closed-Won, and Closed-Lost. Map each of these stages in your attribution platform so you can track not just lead volume but progression through the funnel.
This mapping enables powerful analysis. You might discover that LinkedIn campaigns generate fewer leads than Meta, but those LinkedIn leads convert to opportunities at twice the rate and close at 40% higher deal values. Without lifecycle stage mapping, you'd only see the lead volume difference and might incorrectly conclude Meta is the better channel.
Customer ID persistence is another make-or-break factor. When someone clicks your ad, fills out a form, gets added to your CRM, and eventually becomes a customer, that needs to be tracked as one person—not four separate records. Ensure your integration uses consistent identifiers across systems. Implementing modern solutions for data accuracy in marketing can help maintain this consistency.
Email address is typically the most reliable identifier, but phone numbers and custom user IDs can also work depending on your business model. The important thing is that when a lead converts to a customer, your attribution system can definitively connect that customer back to their original marketing touchpoint.
Configure your revenue tracking carefully. For B2B companies with sales cycles, track both opportunity value and closed-won value. This lets you see pipeline impact faster than waiting for deals to close. For e-commerce, ensure transaction values are captured with each purchase, including any recurring subscription revenue.
Test your CRM integration thoroughly. Create a test lead with a known marketing source, move it through your lifecycle stages, and verify that each stage change appears correctly in your attribution platform. Then create a test deal, mark it as closed-won with a specific value, and confirm that revenue attributes back to the correct campaign.
Common issues to watch for: leads syncing without source attribution, deals syncing without being connected to their originating lead, or revenue values not passing through correctly. Catch these during testing rather than discovering them weeks later when you're trying to analyze campaign ROI.
This CRM integration step typically takes 2-4 hours to configure properly, but it's the difference between optimizing for vanity metrics and optimizing for revenue. Once it's working, you'll finally be able to answer the question every CMO asks: which marketing campaigns actually drive deals?
Step 5: Implement Website and Event Tracking
Your ad platforms and CRM are now connected, but there's a critical piece missing: what happens between the ad click and the CRM entry. This is where website and event tracking comes in, capturing the on-site behavior that bridges paid traffic and lead conversion.
Start by installing your attribution platform's tracking code on every page of your website. This is typically a JavaScript snippet that goes in your site's header, similar to how you'd install Google Analytics. If you're using a tag manager like Google Tag Manager, you can deploy the code through there instead of editing your site's code directly.
The tracking code captures essential data: which pages visitors view, how long they spend on each page, which forms they submit, and which buttons they click. More importantly, it maintains the connection between the ad they clicked and the actions they take on your site—even if they don't convert immediately.
Configure your conversion events next. These are the specific actions that matter to your business. Common conversion events include form submissions, demo bookings, free trial signups, purchases, phone number clicks, and chat initiations. For each event, specify what triggers it—typically a thank-you page URL, a specific button click, or a form submission.
Here's where server-side tracking becomes essential. Browser-based tracking alone misses significant portions of your traffic due to ad blockers, iOS App Tracking Transparency restrictions, and cookie limitations. Server-side tracking sends conversion data directly from your server to your attribution platform and ad platforms, bypassing browser restrictions entirely.
Setting up server-side tracking requires slightly more technical work. You'll need to configure your server to send conversion events to your attribution platform's API endpoint whenever someone completes a key action. This typically involves adding code to your form submission handlers or checkout process.
The technical implementation varies by website platform. WordPress sites might use a plugin, Shopify stores can use app integrations, and custom-built sites need developer involvement to add the API calls. The investment is worth it: server-side tracking can capture 20-30% more conversions than pixel-based tracking alone, depending on your audience and traffic sources. Understanding how ad tracking tools can help you scale ads using accurate data makes this investment even more compelling.
Don't forget offline conversions if they're relevant to your business. Many B2B companies close deals through phone calls that originated from digital campaigns. Set up call tracking that captures which marketing source drove each inbound call, then feeds that data into your attribution system.
Call tracking works by assigning unique phone numbers to different marketing sources or campaigns. When someone calls one of these numbers, the system logs which source they came from before routing the call to your sales team. This data then syncs to your attribution platform, giving you complete visibility into phone-driven conversions. For detailed implementation guidance, review our guide on marketing attribution for phone calls tracking.
For businesses with physical locations or events, offline conversion tracking might include scanning QR codes, capturing coupon codes, or having sales reps ask "How did you hear about us?" and logging that information in a way that connects back to your attribution system.
After implementing tracking, verify everything is working. Visit your website from different devices and browsers, complete your conversion actions, and confirm each event appears in your attribution platform with accurate source attribution. Test both desktop and mobile, both with and without ad blockers enabled.
Set up event tracking for micro-conversions too, not just major conversions. Tracking actions like video views, PDF downloads, pricing page visits, and email signups gives you insight into campaign quality beyond just lead volume. You might discover that one campaign drives fewer leads but those leads engage more deeply with your content—a signal of higher intent.
This implementation phase typically takes 4-6 hours depending on your website complexity and whether you need developer assistance. Once complete, you'll have comprehensive visibility into the complete customer journey from ad impression through on-site behavior to conversion.
Step 6: Validate and Optimize Your Connected Data
Your data sources are connected, but the work isn't finished. Now you need to validate that everything is working correctly and establish ongoing monitoring to maintain data integrity over time.
Start with end-to-end testing. Run test conversions through your entire funnel to verify attribution accuracy at every stage. Click one of your ads, land on your website, complete a conversion action, and watch that conversion flow through your attribution platform and into your CRM. Verify that the conversion attributes to the correct campaign, ad set, and specific ad.
Repeat this test for each major traffic source and conversion type. Test Meta ads, Google Ads, LinkedIn campaigns, and any other active channels. Test form submissions, demo bookings, and purchases. Each combination should attribute correctly with complete campaign details.
Compare your connected data against individual platform reports to identify discrepancies. Pull a conversion report from Meta Ads Manager for the past 30 days. Then pull the same date range from your attribution platform. The numbers won't match exactly—that's expected due to different attribution windows and counting methodologies—but they should be reasonably close.
If you see major discrepancies, investigate the cause. Common issues include conversion events not firing correctly, tracking code missing from key pages, or attribution windows configured differently between platforms. A 10-15% variance is normal. A 50% variance indicates a configuration problem that needs fixing. Understanding common attribution challenges in marketing analytics helps you troubleshoot these issues faster.
Set up alerts for data sync failures and tracking issues. Most attribution platforms can notify you when connections break, data stops flowing, or conversion volumes drop unexpectedly. Configure these alerts so you catch problems within hours, not weeks.
Create a monthly data audit routine to maintain integrity over time. Check that all platform connections are active, review any error logs or failed syncs, and spot-check a sample of recent conversions to ensure attribution is working correctly. This 30-minute monthly check prevents small issues from becoming major data gaps.
Document your integration setup for future reference. Record which platforms are connected, how UTM parameters are structured, which conversion events are tracked, and any custom configuration details. This documentation is invaluable when onboarding new team members or troubleshooting issues months later.
Review your attribution model settings. Most platforms default to last-click attribution, but that rarely reflects reality for complex B2B sales cycles or considered purchases. Experiment with multi-touch attribution models like linear, time-decay, or position-based to get a more accurate picture of how different touchpoints contribute to conversions.
As you validate your data, you'll likely discover insights that change how you think about campaign performance. That expensive LinkedIn campaign that seemed inefficient might be generating high-value leads that close at premium prices. That Meta campaign with great cost-per-lead might be attracting low-quality leads that never convert to opportunities.
Use these insights to optimize immediately. Applying marketing budget allocation based on data allows you to shift spend toward campaigns driving revenue, not just leads. Double down on channels that generate high-value customers. Cut or restructure campaigns that look good on surface metrics but don't contribute to bottom-line results.
Putting It All Together
Let's recap the complete implementation path. You started by auditing your current data ecosystem, documenting every platform and identifying gaps in your customer journey tracking. Then you chose an integration architecture that balances accuracy, efficiency, and technical complexity for your specific situation.
You systematically connected your ad platforms with proper conversion APIs and consistent UTM parameters, ensuring granular campaign data flows through correctly. You integrated your CRM with lifecycle stage mapping and revenue tracking, creating the critical link between marketing activity and business outcomes.
You implemented comprehensive website and event tracking with server-side capabilities to capture conversions that browser-based tracking misses. Finally, you validated everything with end-to-end testing and established ongoing monitoring to maintain data integrity.
Here's your quick implementation checklist to reference as you work through this process:
Complete your data audit and document all sources, including what each captures and where gaps exist.
Select your integration approach based on your stack complexity, budget, and need for real-time data.
Connect ad platforms with proper conversion APIs, standardized UTM parameters, and granular campaign tracking.
Integrate your CRM with lifecycle stage mapping, consistent customer identifiers, and bidirectional data flow.
Implement server-side website tracking for all key conversion events and offline conversions if applicable.
Validate with test conversions, compare against platform reports, and set up ongoing monitoring alerts.
With all your marketing data sources connected, you'll finally see the complete picture—which campaigns drive revenue, not just clicks. This clarity transforms how you allocate budget and scale what works. Instead of guessing which channels deserve more investment, you'll know with confidence based on actual revenue data. Mastering data analytics in marketing becomes significantly easier when all your sources feed into one unified view.
The difference is profound. Marketing teams with unified attribution typically discover that 20-30% of their budget was going to campaigns that looked good in isolation but didn't actually drive business results. They also identify undervalued channels that were generating high-quality customers without getting credit.
Ready to connect your marketing data without the technical headaches? Cometly brings your ad platforms, CRM, and website data together automatically, giving you real-time attribution across every touchpoint. From AI-powered campaign recommendations to server-side tracking that captures what pixels miss, Cometly makes unified attribution accessible without requiring a data engineering team. Get your free demo today and start capturing every touchpoint to maximize your conversions.