
Every dollar you spend on ads should be traceable back to actual revenue. Yet most ecommerce businesses struggle to connect their ad spend to real purchases, leaving them guessing which campaigns actually drive sales.
Conversion tracking for ecommerce solves this problem by capturing every customer action from first click to final purchase. When done right, you'll know exactly which ads generate revenue, which channels waste budget, and where to scale your spend for maximum ROI.
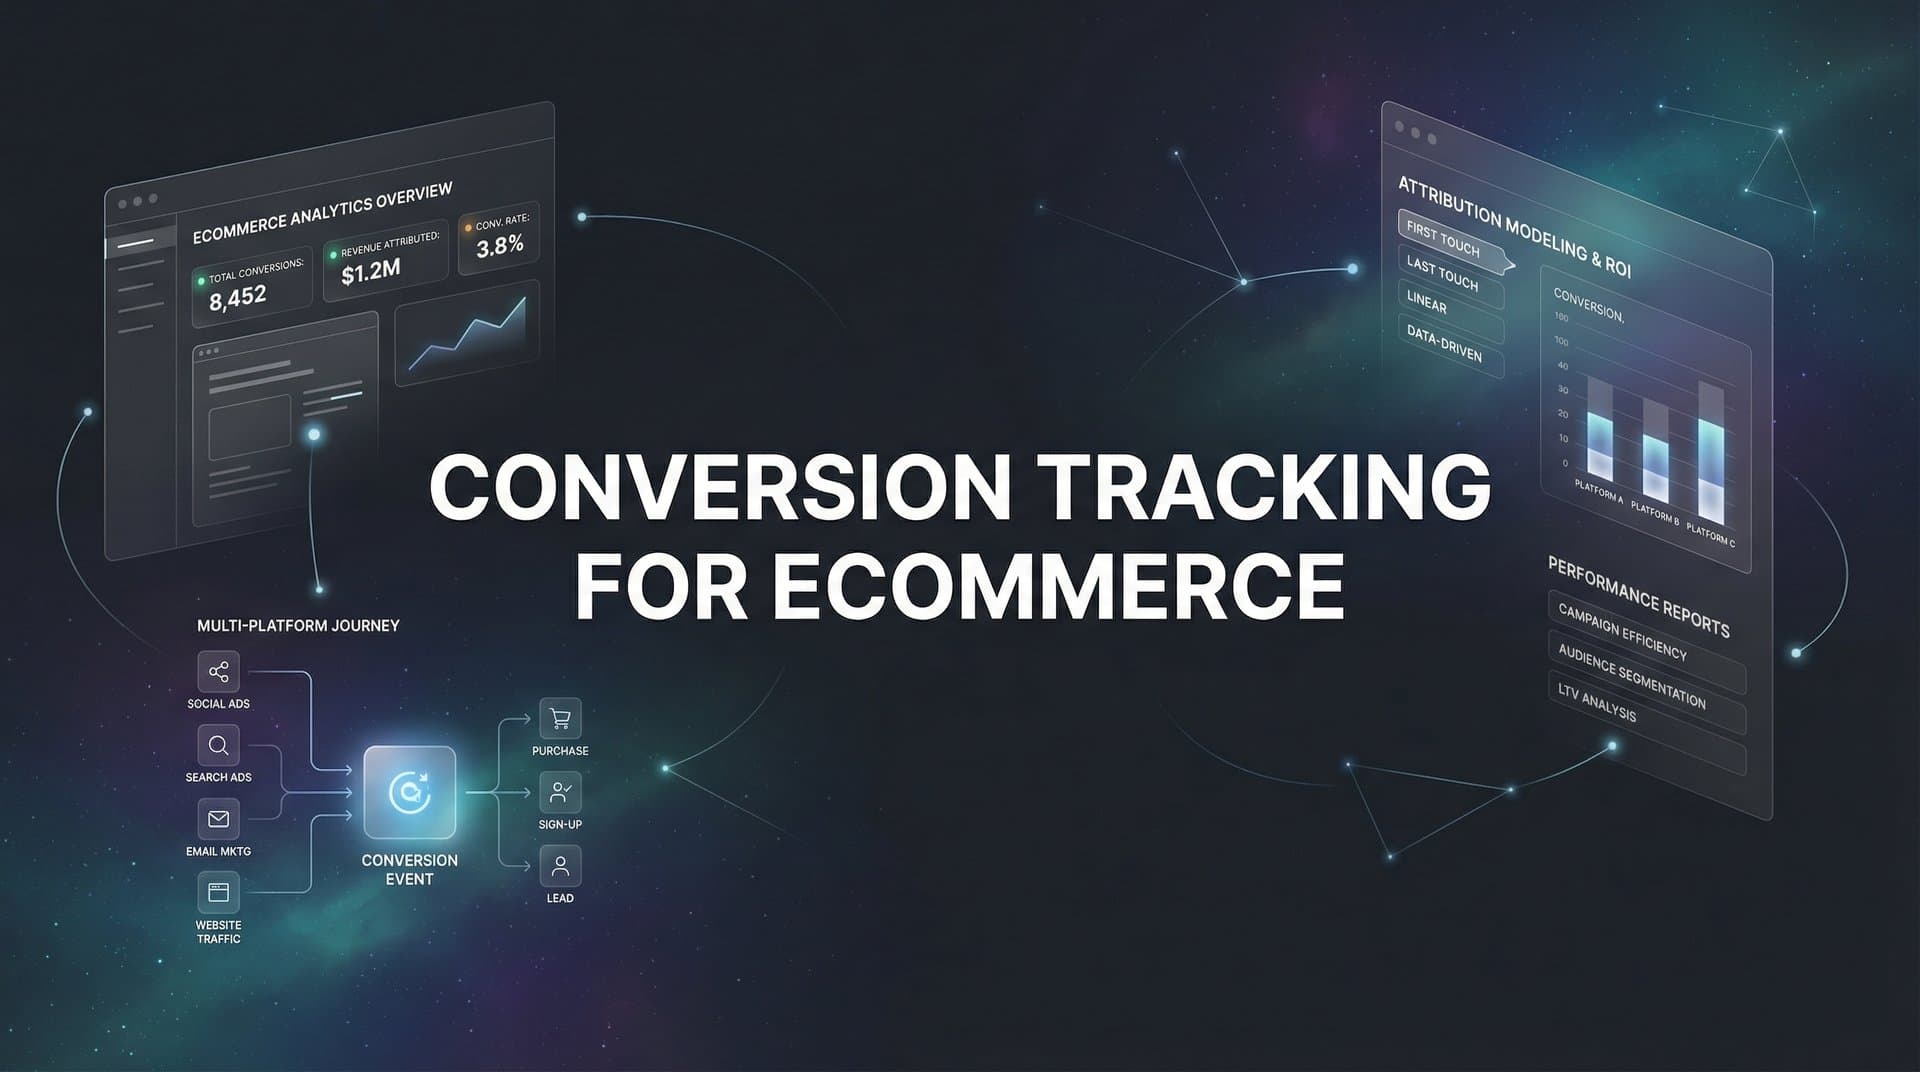
This guide walks you through setting up comprehensive conversion tracking for your ecommerce store. You'll learn how to define the right conversion events, implement tracking across platforms, and verify that your data flows correctly.
Whether you're running ads on Meta, Google, TikTok, or multiple platforms simultaneously, these steps will help you build a tracking foundation that reveals what's really driving your sales.
Step 1: Define Your Ecommerce Conversion Events
Before installing any tracking code, you need to map out exactly what actions matter to your business. Not all conversions carry equal weight.
Start with your primary conversion: the purchase event. This is the moment a customer completes a transaction and becomes a buyer. Your tracking system must capture this event along with the revenue value, currency, and transaction ID. Without these details, you're collecting data but missing the financial context that drives decisions.
Next, identify your micro-conversions. These are the stepping stones that lead to purchases. Think of them as signals of intent rather than completed transactions.
Common ecommerce micro-conversions include: ViewContent (product page visits), AddToCart (items added to shopping cart), InitiateCheckout (checkout process started), and AddPaymentInfo (payment details entered). Each represents a stage in your customer journey where someone moves closer to buying.
Why track these smaller actions? They help you understand where customers drop off and create remarketing audiences of high-intent shoppers. Someone who added items to cart but didn't purchase is far more valuable to retarget than someone who only viewed your homepage.
Assign monetary values to each conversion type. Your purchase event already has a dynamic value (the order total), but micro-conversions need estimated values based on your average conversion rates. If 10% of people who add to cart eventually purchase with an average order value of $80, your AddToCart event is worth approximately $8.
These values enable accurate ROAS calculations across your entire funnel, not just at the final purchase stage. Understanding how to properly structure your ecommerce conversion tracking setup from the beginning saves countless hours of troubleshooting later.
Document your conversion hierarchy in a simple spreadsheet. List each event, where it fires on your site, what data it should capture, and its relative importance. This becomes your tracking blueprint.
For example: Purchase (highest priority) captures order total, currency, transaction ID, and product details. InitiateCheckout (high priority) captures cart value and product count. AddToCart (medium priority) captures product ID and price. ViewContent (lower priority) captures product ID and category.
This hierarchy guides your implementation priorities. If you can only set up a few events initially, start with the ones that matter most to your bottom line.
Step 2: Install Base Tracking Pixels on Your Store
With your conversion events mapped, it's time to add the tracking infrastructure to your ecommerce site. This starts with installing platform pixels in your site header.
Platform pixels are small snippets of JavaScript code that load when someone visits your site. They establish a connection between your website visitors and the ad platforms where you run campaigns. Each platform provides its own pixel: Meta Pixel for Facebook and Instagram ads, Google Ads tag for Google campaigns, TikTok Pixel for TikTok ads, and so on.
The manual approach involves copying each pixel code and pasting it into your site's header section, typically in the theme files or through your ecommerce platform's settings. While this works, it quickly becomes messy when you're running ads on multiple platforms.
Google Tag Manager offers a cleaner solution. Instead of adding multiple pixel codes directly to your site, you install one GTM container code. Then you manage all your tracking pixels through the GTM interface, adding or removing them without touching your site code again.
This centralized approach makes maintenance significantly easier. When Meta updates their pixel code or you want to add a new advertising platform, you simply update GTM rather than editing your site files. For businesses managing conversion tracking for multiple ad platforms, this becomes essential.
Start by creating a Google Tag Manager account and container for your website. GTM provides two code snippets: one for your site header and one for immediately after the opening body tag. Add both to your ecommerce platform.
Inside GTM, configure basic pageview tracking first. This verifies that your pixels are firing correctly before you tackle more complex conversion events. Add your Meta Pixel as a tag that fires on all pages, then do the same for Google Ads and any other platforms you use.
Testing is crucial at this stage. Install browser extensions like Meta Pixel Helper and Google Tag Assistant. These tools show you which pixels are active on your site and whether they're firing correctly.
Visit different pages on your store and watch the debugging tools. You should see your pixels fire on every page load. If they don't appear, check your GTM configuration and make sure the container code is properly installed on your site.
Common issues include pixels firing multiple times per page (usually from duplicate installations), pixels not firing at all (typically a GTM trigger problem), or pixels firing on the wrong pages (a targeting issue in your tag setup).
Step 3: Configure Purchase and Revenue Event Tracking
Now comes the most critical piece: tracking actual purchases and revenue. This is where your conversion data transforms from simple page visits into actionable financial intelligence.
Your purchase event must fire on your order confirmation page, the page customers see immediately after completing a transaction. This is the only reliable trigger point because it confirms the payment went through and the order is complete.
Never fire purchase events on checkout pages or payment pages. Customers abandon these stages frequently, and tracking them as conversions inflates your numbers and misleads your optimization.
The purchase event needs to capture dynamic values that change with each transaction. At minimum, you need the order total, currency code, and a unique transaction ID. The transaction ID prevents duplicate tracking if someone refreshes the confirmation page.
Here's what a properly structured purchase event includes: the total purchase value (the amount the customer paid), the currency (USD, EUR, GBP, etc.), the transaction ID (a unique identifier from your ecommerce platform), and product-level details for each item in the order.
Product-level data powers catalog-based advertising features like dynamic remarketing. When you pass product IDs, names, categories, and prices, ad platforms can automatically show customers ads featuring the exact products they viewed or similar items.
Most ecommerce platforms like Shopify, WooCommerce, and BigCommerce offer built-in integrations or apps that automatically pass this data to your pixels. If you're using Shopify specifically, dedicated conversion tracking software for Shopify can streamline this entire process.
The data layer is your friend here. It's a JavaScript object that holds all your conversion data in a standardized format. Your ecommerce platform populates this data layer with order information, and your GTM tags read from it to send events to ad platforms.
Edge cases require special handling. Subscription orders should track both the initial purchase and recurring payments as separate events. Upsells and order bumps added after the initial checkout need their own tracking logic. Partial refunds should update the original purchase value rather than creating negative conversion events.
Test your purchase tracking by completing real transactions through each traffic source you advertise on. Place a test order after clicking a Meta ad, then another after clicking a Google ad. Verify that both purchases appear in the respective ad platform's conversion reporting with the correct revenue values.
Check your ecommerce platform's order dashboard against what your ad platforms report. The numbers should match closely, though some discrepancy is normal due to attribution windows and customers who block tracking.
Step 4: Implement Server-Side Tracking for Data Accuracy
Browser-based tracking has a fundamental problem: it relies on the customer's device to send conversion data. When ad blockers interfere, browsers restrict cookies, or iOS privacy features block tracking, your conversion data disappears into a black hole.
This isn't a minor issue. Many ecommerce purchases go untracked because the customer's browser prevented the pixel from firing. Your ad platforms optimize on incomplete data, making poor budget allocation decisions based on what they can see rather than what actually happened.
Server-side tracking solutions for ecommerce solve this by sending conversion data directly from your server to ad platforms, completely bypassing the customer's browser. Even if someone uses an ad blocker or has tracking prevention enabled, your server still reports the conversion.
Meta's Conversions API and Google's enhanced conversions are the two most important server-side implementations for ecommerce businesses. They work alongside your browser pixels, filling in gaps when browser tracking fails.
The Conversions API connects your ecommerce backend directly to Meta's servers. When a purchase happens, your server sends the conversion data to Meta using their API, including the same information your browser pixel would send: purchase value, product details, and customer identifiers.
Customer matching is crucial for server-side tracking to work. Since the data comes from your server rather than the customer's browser, ad platforms need a way to connect the purchase back to the person who clicked your ad. This happens through hashed customer information like email addresses and phone numbers.
When you send a conversion via Conversions API, you include a hashed version of the customer's email and phone number. Meta matches this against their user database to attribute the conversion to the correct ad click. The more customer identifiers you provide, the higher the match rate.
Google's enhanced conversions work similarly. You send hashed customer data along with your conversion events, and Google uses this to improve attribution accuracy even when cookies are blocked or deleted.
Event deduplication prevents double-counting when you run both browser and server-side tracking. Each conversion event needs a unique event ID that's identical in both the browser pixel and server-side API call. When Meta or Google receives the same event ID from both sources, they count it only once.
Your ecommerce platform generates this event ID (typically the order or transaction ID) and passes it to both tracking methods. Without deduplication, you'll see inflated conversion numbers that make your campaigns look more successful than they actually are.
Implementation varies by platform. Shopify stores can use apps that handle Conversions API setup automatically. WooCommerce requires plugins or custom code. Custom platforms need developer work to connect your order processing system to the ad platform APIs.
The technical lift is worth it. Server-side tracking typically recovers 20-40% more conversions than browser-only tracking, giving your ad algorithms better data to optimize on and giving you more accurate performance insights.
Step 5: Connect Your CRM and Payment Systems
Your conversion tracking shouldn't stop at the initial purchase. The most valuable insights come from connecting your entire customer data ecosystem: payment processors, CRM systems, and email platforms.
Payment processor integration provides the ultimate source of truth for revenue data. Platforms like Stripe, PayPal, and Shopify Payments record every successful transaction with precise amounts, timestamps, and customer details. This data is more reliable than browser-based tracking because it represents actual money movement, not just pixel fires.
Connect your payment processor to your attribution system to verify that tracked conversions match real revenue. Discrepancies between pixel-reported purchases and payment processor records reveal tracking problems that need fixing.
Your CRM holds the post-purchase story. It tracks refunds, chargebacks, customer support interactions, and repeat purchases. These events matter just as much as the initial conversion because they affect your true customer lifetime value and ROAS.
When you integrate CRM data with your conversion tracking, you can attribute not just first purchases but entire customer lifecycles back to the original ad click. That Meta ad that drove a $50 purchase looks even better when you discover that customer made three more purchases totaling $300 over the next six months. Proper attribution tracking for ecommerce makes this level of insight possible.
Customer identity matching ties everything together. The same person might interact with your brand through multiple touchpoints: clicking an ad on their phone, browsing your site on their laptop, making a purchase, then engaging with your email campaigns. Without identity resolution, these look like separate people.
Email addresses and phone numbers serve as the primary identifiers. When you collect an email at checkout and that same email exists in your CRM and email platform, you can connect all those touchpoints to one customer journey.
Privacy regulations require careful handling of this data. Hash customer identifiers before sending them to ad platforms, use secure API connections, and follow data retention policies. Never send raw email addresses or phone numbers through browser-based tracking.
The unified customer view this creates transforms your marketing decisions. Instead of optimizing for cheap first purchases, you can optimize for high lifetime value customers. You can identify which ad campaigns attract buyers who stick around versus one-time purchasers who never return.
Tools that specialize in marketing attribution excel at creating these connections. They automatically pull data from your ad platforms, website, CRM, and payment processors, matching customer identities across all sources to build complete journey maps from first click to final purchase and beyond.
Step 6: Verify and Test Your Tracking Setup
Your tracking infrastructure is only valuable if it works correctly. Verification and ongoing monitoring ensure your data stays accurate as your site evolves and platforms update their requirements.
Start with end-to-end testing. Place test orders through each advertising channel you use. Click a Meta ad, complete a purchase, and verify the conversion appears in Meta Ads Manager with the correct revenue value. Repeat for Google Ads, TikTok, and any other platforms.
Compare your ad platform conversion counts against your ecommerce dashboard. Pull your total orders for yesterday from your store admin, then check how many conversions each ad platform reported for the same day. Perfect alignment is rare, but the numbers should be reasonably close.
Large discrepancies signal problems. If your store shows 100 orders but Meta only tracked 60 conversions, you're missing 40% of your purchase data. Common causes include pixels not firing on confirmation pages, incorrect event parameters, or server-side tracking not properly configured. Following best practices for tracking conversions accurately helps prevent these issues.
Check for duplicate events by examining your conversion data for identical transaction IDs appearing multiple times. This usually means your event deduplication isn't working, causing both your browser pixel and server-side tracking to count the same purchase twice.
Revenue value mismatches are another frequent issue. Your ad platform might show conversions but with $0 values, or values that don't match your actual order totals. This typically indicates the dynamic value parameter isn't passing correctly from your ecommerce platform to your tracking code.
Delayed event firing can skew your optimization. Conversions should appear in ad platform reporting within minutes to hours, not days. If there's a significant lag, your ad algorithms are optimizing on outdated information, reducing campaign performance.
Set up monitoring alerts for tracking failures. Many attribution platforms can notify you when conversion volume drops unexpectedly or when specific events stop firing. This catches problems quickly instead of discovering them weeks later when your campaigns have already suffered.
Regular audits should happen monthly. Technology changes constantly. Ad platforms update their pixel code, ecommerce platforms release new versions, and browser privacy features evolve. A tracking setup that works perfectly today might break tomorrow without warning.
Document your tracking configuration in detail. Note which events fire where, what parameters they include, and how your server-side tracking connects. When something breaks, this documentation helps you troubleshoot faster instead of reverse-engineering your own setup.
Putting It All Together
With these six steps complete, you now have a conversion tracking system that captures the full picture of your ecommerce performance. Your tracking setup should now identify which ads drive purchases, pass accurate revenue data back to ad platforms for better optimization, and give you confidence in your marketing decisions.
Quick verification checklist: purchase events fire on confirmation pages, revenue values pass correctly, server-side tracking supplements browser pixels, CRM data connects to ad touchpoints, and test purchases verify end-to-end accuracy. Each of these elements works together to create a complete view of how customers discover, evaluate, and buy from your store.
The real power emerges when all these pieces connect seamlessly. Your ad platforms receive accurate conversion data and optimize toward profitable outcomes. Your attribution reports show which channels deserve more budget and which are wasting spend. Your team makes decisions based on verified revenue data rather than incomplete pixel fires.
For ecommerce businesses running ads across multiple platforms, maintaining this tracking infrastructure can become complex. Each platform has its own requirements, APIs change frequently, and troubleshooting issues requires technical expertise you might not have in-house.
Tools like Cometly simplify this by connecting all your ad platforms, your website, and your CRM in one place, automatically tracking every touchpoint and syncing conversion data back to each platform. This ensures your ad algorithms optimize on accurate data while you focus on scaling what works. From ad clicks to CRM events, comprehensive tracking provides your AI a complete view of every customer journey, helping you know what's really driving revenue and get recommendations on which campaigns to scale.
Ready to elevate your marketing game with precision and confidence? Discover how Cometly's AI-driven recommendations can transform your ad strategy. Get your free demo today and start capturing every touchpoint to maximize your conversions.


