
Webinar funnels are among the most powerful sales tools in a digital marketer's arsenal, but they come with a tracking challenge that most other funnel types simply do not have. A prospect clicks a Facebook ad, lands on a registration page, receives a confirmation email, shows up to the live webinar three days later, watches the replay on day five, and finally buys on day nine after receiving a follow-up sequence. That is nine days and at least six distinct touchpoints between the first ad impression and the revenue hitting your account.
If your tracking setup only captures the registration and the purchase, you are missing the entire middle of the story. Worse, if your attribution window is set to the default seven-day click window, that day-nine purchase might not even get credited to the ad that started the journey at all.
This is the core problem with conversion tracking for webinar funnels: the tools involved rarely talk to each other natively. Your ad platform, landing page builder, webinar software, email platform, CRM, and payment processor all operate in their own data silos. Connecting them into a coherent tracking system requires deliberate setup, not just dropping a pixel on a thank-you page and hoping for the best.
The good news is that with the right approach, you can build end-to-end visibility across every stage of your webinar funnel. You will know exactly which ads drive registrations, which registrants actually show up, which attendees convert, and what your true cost per acquisition looks like across every channel. That kind of data does not just satisfy curiosity. It tells you precisely where to invest more budget and where to cut.
This guide walks you through seven concrete steps to set up accurate, reliable conversion tracking for your webinar funnel from the ground up. Let's get into it.
Step 1: Map Every Conversion Event in Your Webinar Funnel
Before you place a single pixel or write a single line of tracking code, you need a clear map of every meaningful action a prospect can take inside your funnel. Skipping this step is the single most common reason webinar tracking setups end up incomplete or inconsistent.
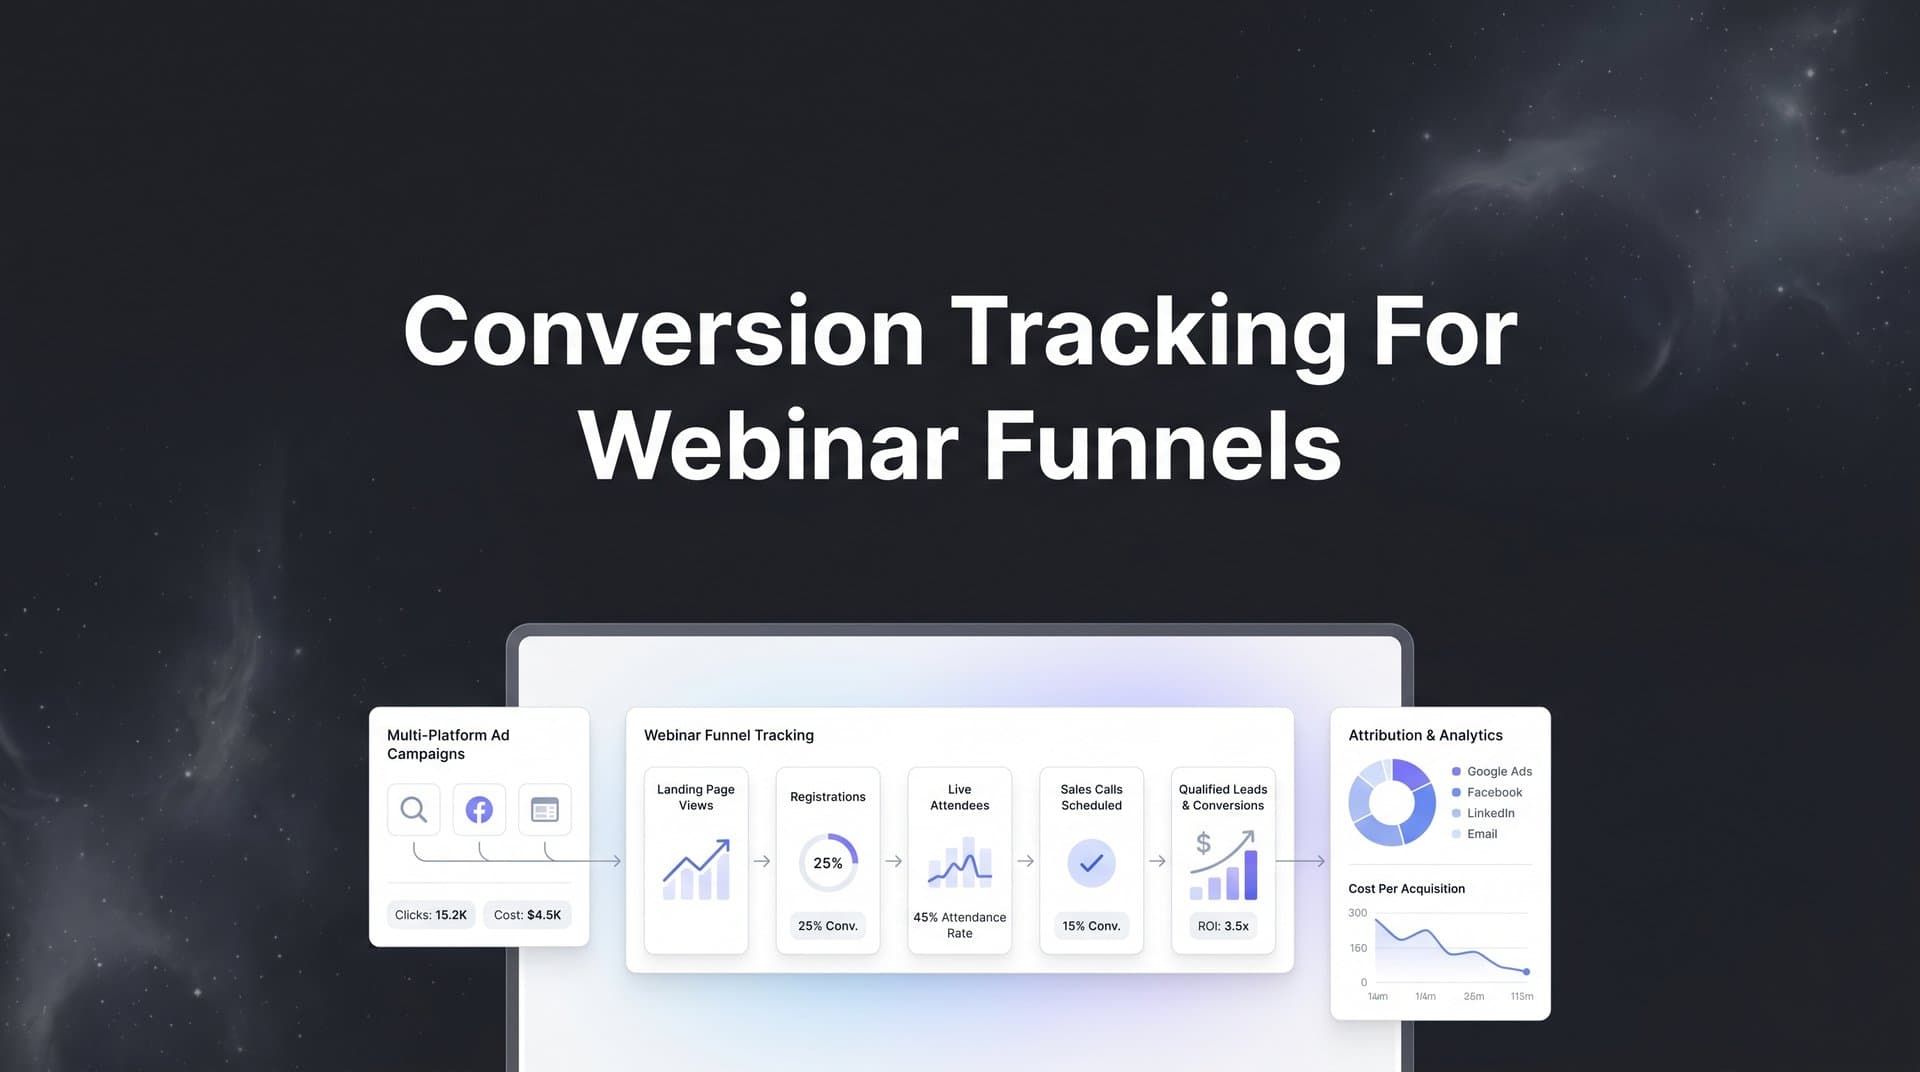
A typical webinar funnel includes more trackable events than most marketers initially realize. Think through each stage carefully:
Ad Click: The entry point. This is where UTM parameters and platform click IDs are generated and need to be captured for attribution later.
Registration Page View: A prospect landing on your registration page before they have taken any action. Useful for calculating page-level conversion rates.
Webinar Registration: The form submission confirming sign-up. This is typically your first micro-conversion and the event you will optimize most ad campaigns toward initially.
Confirmation Page View: The thank-you page after registration. This is where most marketers fire their primary pixel event, but it is often the only event they fire, which creates blind spots.
Webinar Attendance: Whether the registrant actually showed up to the live session. This is a critical mid-funnel event that separates engaged prospects from passive sign-ups.
Replay View: For registrants who missed the live session or want to re-watch. Replay viewers often convert at different rates than live attendees, so tracking them separately is valuable.
CTA Click During Webinar: If your webinar platform supports click tracking on in-webinar offers or links, this is a strong purchase-intent signal worth capturing.
Post-Webinar Purchase or Booking: The macro-conversion. This is the event that ultimately justifies your ad spend and should be tied back to the original ad click through your full attribution chain.
Once you have listed every event, assign a consistent naming convention across all platforms. A well-designed marketing event data schema using a format like webinar_registration, webinar_attended, webinar_replay_viewed, and webinar_purchase prevents the confusion that comes when the same event is called "Registration" in one tool, "Lead" in another, and "Form Submit" in a third.
Finally, document the specific technology involved at each stage. Which landing page builder hosts your registration page? Which webinar platform runs the live session? Where does your payment processor live? This tech stack map becomes your tracking blueprint for every step that follows.
Step 2: Install Tracking Pixels and Server-Side Tags Across Funnel Pages
With your event map in hand, the next step is making sure every page in your funnel has the right tracking code firing at the right moment. This sounds straightforward, but there are several layers to get right.
Start with the basics: place your ad platform pixels (Meta, Google, TikTok, LinkedIn, or whichever platforms you are running on) on every page in the funnel. That means the registration page, the confirmation page, the replay page, and the sales or checkout page. Each page should fire a page view event at minimum, with specific conversion events firing on the appropriate pages.
Use a tag management solution like Google Tag Manager to organize and deploy your tags cleanly. Tag managers let you fire multiple pixel events from a single container without cluttering your page code, and they give you a central place to manage triggers, variables, and event logic. Without a tag manager, you are likely to end up with duplicate events, missing triggers, or pixel conflicts that corrupt your data.
Here is where many marketers stop, and it is a mistake. Browser-side pixels alone are increasingly unreliable. iOS privacy changes, browser-level cookie restrictions, and widespread ad blocker usage all reduce the percentage of conversions that browser pixels can actually capture. Understanding pixel tracking problems on iOS is essential, because in longer funnels like webinar sequences, where a purchase might happen days after the initial click and across multiple browsing sessions, browser-based tracking faces even more limitations.
This is why server-side tracking has become an essential layer for serious webinar funnel tracking. Instead of relying on a pixel firing in the user's browser, server-side tracking sends conversion data directly from your web server to the ad platform's API. This bypasses browser restrictions entirely and gives you a more complete and accurate picture of what is actually converting.
Server-side tracking works alongside your browser pixels, not instead of them. The combination of both creates redundancy: if the browser pixel is blocked, the server-side event still fires. This overlap is intentional and valuable, and most platforms have deduplication logic to handle it.
Once your tags are deployed, verify that everything is firing correctly before moving on. Use platform-specific debugging tools like Meta's Pixel Helper browser extension or Google's Tag Assistant to confirm that events are being sent with the right parameters. Check that your event names match your naming convention and that key data like email addresses (hashed), click IDs, and conversion values are being passed correctly.
A pixel that fires but sends incomplete data is almost as problematic as a pixel that does not fire at all. Quality of data matters as much as quantity.
Step 3: Connect Your Webinar Platform to Your Tracking Stack
This is the step that most webinar tracking setups get wrong, and it is the one that creates the biggest gaps in your data. The registration page and the checkout page are relatively easy to track because they live on standard web pages where pixels and tags work normally. The webinar platform itself is a different story.
Most webinar platforms, including WebinarJam, Demio, Zoom, EverWebinar, and GoToWebinar, have limited native tracking capabilities. They can tell you who registered and who attended, but they do not automatically push that data into your ad platform, CRM, or attribution tool. You have to build that bridge yourself, and a solid attribution tracking setup is what makes this possible.
The most reliable approach is to use webhook integrations or automation tools like Zapier to push attendance events from your webinar platform into your CRM or attribution stack. When a registrant attends the live webinar, that event should trigger a webhook that fires your webinar_attended conversion event in your tracking system. The same applies for replay views, offer clicks, and any other in-webinar actions your platform supports.
The trickier challenge is maintaining the connection between the attendance event and the original ad click. This requires passing UTM parameters and unique identifiers from the registration page through to the webinar platform and carrying them all the way to the attendance event.
Here is how that typically works: when a prospect clicks your ad and lands on the registration page, your UTM parameters (utm_source, utm_medium, utm_campaign, etc.) and the platform's click ID (fbclid for Meta, gclid for Google) are captured in the URL. Using reliable UTM tracking tools ensures your registration form captures these parameters as hidden fields and stores them alongside the registrant's email address in your CRM.
When the attendance event fires later, it should include that same email address and the associated UTM data so your attribution tool can connect the attendance back to the original ad click. The email address acts as the consistent user identifier that bridges the gap between the webinar platform and the rest of your stack.
Without this passthrough, you will know that someone attended your webinar and later purchased, but you will not know which ad or campaign drove them to register in the first place. That broken attribution chain makes it impossible to calculate true ROAS at the campaign level.
Step 4: Sync Conversion Data Back to Your Ad Platforms
Tracking conversions for your own reporting is only half the job. The other half is feeding that conversion data back to the ad platforms so their algorithms can use it to optimize your campaigns. This is where conversion syncing becomes critical, and it is especially important for webinar funnels.
Ad platforms like Meta and Google rely on conversion signals to understand which users are most likely to take valuable actions. When you send them accurate, complete conversion data, they can build better audiences, optimize bidding toward high-value users, and find more prospects who match the profile of your actual buyers. When you send them incomplete data or no data at all, their algorithms are essentially flying blind, and your cost per acquisition suffers as a result.
For webinar funnels, the conversion that matters most (the purchase or booking) often happens days after the initial ad click. A prospect clicks your ad on Monday, registers, attends the webinar on Wednesday, watches the replay on Friday, and buys on Sunday after receiving a follow-up email. That is a six-day journey from click to purchase.
Default browser pixel tracking is poorly suited for this scenario. The pixel on your checkout page will fire when the purchase happens, but the connection back to the original ad click may be lost if the user switched browsers, cleared cookies, or converted on a different device. Server-side conversion syncing solves this by using the email address or click ID stored in your CRM to match the purchase back to the original ad interaction and send that match to the platform via API.
For Meta, this is done through the Conversions API (CAPI), and following a thorough Conversion API implementation tutorial is the best way to set it up correctly. For Google, it is handled through offline conversion imports or the Google Ads API. Both approaches allow you to send conversion events that happened outside the browser window, including purchases that occurred through email links or direct visits days after the original click.
Setting up delayed conversion syncing ensures that your ad platform's attribution data reflects the full reality of your webinar funnel, not just the fraction of purchases that happen to be captured by browser pixels within a short window. This directly improves the quality of optimization signals your campaigns receive, which compounds over time into better targeting and lower acquisition costs.
Step 5: Choose an Attribution Model That Fits the Webinar Journey
Even with perfect tracking in place, the wrong attribution model will give you a distorted picture of what is actually driving revenue. Webinar funnels have characteristics that make this choice more consequential than it might be for a simple one-step e-commerce funnel.
The most important characteristic is the long conversion window. When a purchase happens seven to fourteen days after the initial ad click, last-click attribution will typically credit that purchase to whatever touchpoint the buyer interacted with most recently. In a webinar funnel, that is almost always an email link or a direct visit to your sales page. The original Facebook or Google ad that started the entire journey gets zero credit.
This creates a dangerous distortion. Your ad campaigns look like they are not converting, so you reduce budget or pause them. Meanwhile, your email list appears to be your top revenue driver because it is capturing the last click. In reality, you have been starving the top of the funnel that feeds your email list in the first place.
First-touch attribution overcorrects in the other direction by giving all credit to the original ad and ignoring the role of the webinar content, the follow-up sequence, and the replay in actually closing the sale. For a detailed breakdown of how different models handle credit distribution, a comparison of attribution models can help you understand the trade-offs involved.
Multi-touch attribution is generally the best fit for webinar funnels because it distributes credit across the full journey: the ad that drove the click, the registration that confirmed intent, the webinar attendance that deepened engagement, and the follow-up that closed the sale. This gives you a realistic view of which touchpoints are contributing and which are not, so you can make smarter decisions about where to invest.
Beyond the attribution model itself, you also need to adjust your conversion windows inside your ad platforms. Meta's default click attribution window is seven days. Google's defaults vary by campaign type. For webinar funnels where purchases commonly happen eight to fourteen days after the initial click, these defaults will cause your platform reporting to undercount conversions. Extend your attribution windows to at least fourteen days for click-based attribution, and consider thirty days if your funnel includes longer nurture sequences.
Step 6: Validate Your Tracking With End-to-End Testing
You have mapped your events, installed your pixels, connected your webinar platform, set up conversion syncing, and chosen your attribution model. Before you spend a dollar on ads, you need to verify that all of it actually works together. This step is non-negotiable.
Run a complete test conversion through your entire funnel yourself. Start by clicking a live ad or simulating an ad click by manually appending UTM parameters to your registration page URL. Go through the full registration process, confirm that the confirmation page fires the correct pixel event, and check that your CRM has captured the UTM data alongside your email address.
Then simulate attendance by triggering the webhook or Zapier automation that fires your webinar_attended event. Confirm that the attendance event appears in your attribution tool with the correct UTM data attached. Finally, complete a test purchase (using a test transaction or a $1 product if needed) and verify that the purchase event fires correctly, syncs back to your ad platform, and is attributed to the correct original source.
Check each platform individually: your ad platform's event manager, your webinar platform's attendee report, your CRM, your attribution tool, and your payment processor. Look specifically for these common issues:
Duplicate events: If both your browser pixel and your server-side tag are firing without deduplication logic, you may be counting the same conversion twice.
Missing events on specific pages: Often caused by tag manager triggers not firing on pages with non-standard URL structures or dynamic thank-you pages. A dedicated guide on tracking pixel firing issues can help you troubleshoot these problems systematically.
Broken UTM passthrough: If UTM parameters are not being captured in your registration form hidden fields, your attendance and purchase events will have no source attribution.
Mismatched event names: If your CRM sends an event called "Purchase" but your attribution tool expects "webinar_purchase," the data will not match up correctly.
Build a simple QA checklist from this process and run it every time you launch a new webinar campaign. Catching a broken pixel before you spend budget is always cheaper than discovering the problem after the fact.
Step 7: Analyze Funnel Performance and Optimize With Confidence
With a fully validated tracking setup in place, you now have something most webinar marketers do not: a clear, accurate view of performance at every stage of your funnel. This is where the real work of optimization begins.
Start by reviewing your key funnel metrics in sequence. What is your cost per registration? What percentage of registrants actually attend the live webinar? What percentage of attendees click the offer or visit the sales page? What percentage of those ultimately purchase? Learning how to evaluate marketing performance metrics at each of these ratios tells you something specific about where your funnel is strong and where it is leaking.
If your cost per registration is high, the issue is likely at the ad level: targeting, creative, or offer positioning. If your registration-to-attendance rate is low, your confirmation and reminder email sequence needs work, or the webinar timing is not convenient for your audience. If your attendance-to-purchase rate is low, the webinar content itself or the offer presentation may need refinement. Accurate data makes these diagnoses possible. Without it, you are guessing.
Beyond diagnosing drop-offs, accurate attribution data lets you make smarter budget decisions. When you can see which specific ad campaigns and channels are driving the most revenue through the full funnel, not just the most registrations, you can reallocate budget from underperforming campaigns to proven winners with confidence. Using analytics for paid campaigns in this way ensures that a campaign driving cheap registrations but low-quality attendees who never purchase is identified and deprioritized, while a campaign that drives fewer but higher-intent registrants who convert at a strong rate is worth scaling aggressively.
This is where AI-powered attribution tools like Cometly add significant value. Rather than manually pulling data from five different platforms and trying to reconcile it in a spreadsheet, Cometly connects your ad platforms, CRM, and webinar stack into a single view of the customer journey. Its AI identifies which campaigns and channels are genuinely driving revenue through the full funnel and surfaces optimization recommendations based on that complete picture. You can see cost per registration, cost per attendee, and cost per purchase side by side, broken down by campaign, ad set, and creative.
The result is a feedback loop that compounds over time. Better data leads to smarter budget allocation. Smarter budget allocation leads to more efficient campaigns. More efficient campaigns generate more revenue from the same spend, which gives you more data to optimize with. That loop is what separates marketers who scale webinar funnels profitably from those who plateau.
Your Pre-Launch Tracking Checklist
With these seven steps complete, you have a fully tracked webinar funnel that captures every meaningful conversion event from the first ad click through to the final purchase. Before you close this guide, here is a quick summary of the key principles and a checklist to run before every webinar campaign launch.
The core takeaways: map your conversion events before you build anything, layer server-side tracking on top of browser pixels for accuracy, bridge the gap between your webinar platform and your analytics stack using webhooks and UTM passthrough, sync conversion data back to ad platforms so their algorithms can optimize properly, choose an attribution model and conversion windows that match the actual length of your funnel, and validate everything with a complete end-to-end test before spending budget.
Run through this checklist before every webinar campaign launch:
Pixels and server-side tags: All funnel pages have tracking firing correctly, including registration, confirmation, replay, and checkout pages.
Webinar platform connection: Attendance and engagement events are being pushed to your CRM and attribution tool via webhook or automation.
UTM passthrough: UTM parameters and click IDs are captured as hidden fields on your registration form and are flowing through to all downstream events.
Conversion sync: Server-side conversion syncing is active for purchase events, including delayed purchases from replay viewers and email follow-up sequences.
Attribution windows: Your ad platform attribution windows are extended to match your funnel's typical conversion timeline.
End-to-end test: A complete test conversion has been run and verified across every platform in your stack.
Accurate conversion tracking for webinar funnels is not a one-time setup. Revisit your configuration whenever you change webinar platforms, update your funnel structure, or add new ad channels. The marketers who consistently track and optimize their full webinar funnel are the ones who scale with confidence, because they are making decisions based on what is actually true, not what the last-click report suggests.
Ready to get complete visibility across your entire webinar funnel? Get your free demo of Cometly and see how AI-driven attribution can help you capture every touchpoint, feed better data to your ad platforms, and make smarter decisions at every stage of your funnel.


