
Running paid ads without proper conversion tracking is like driving with your eyes closed. You might be spending thousands on campaigns, but without knowing which clicks actually turn into customers, you're essentially guessing your way to success.
For WordPress site owners, setting up accurate conversion tracking can feel overwhelming. Between Google Analytics, Meta Pixel, Google Ads tags, and various plugins, there are multiple moving parts that need to work together seamlessly.
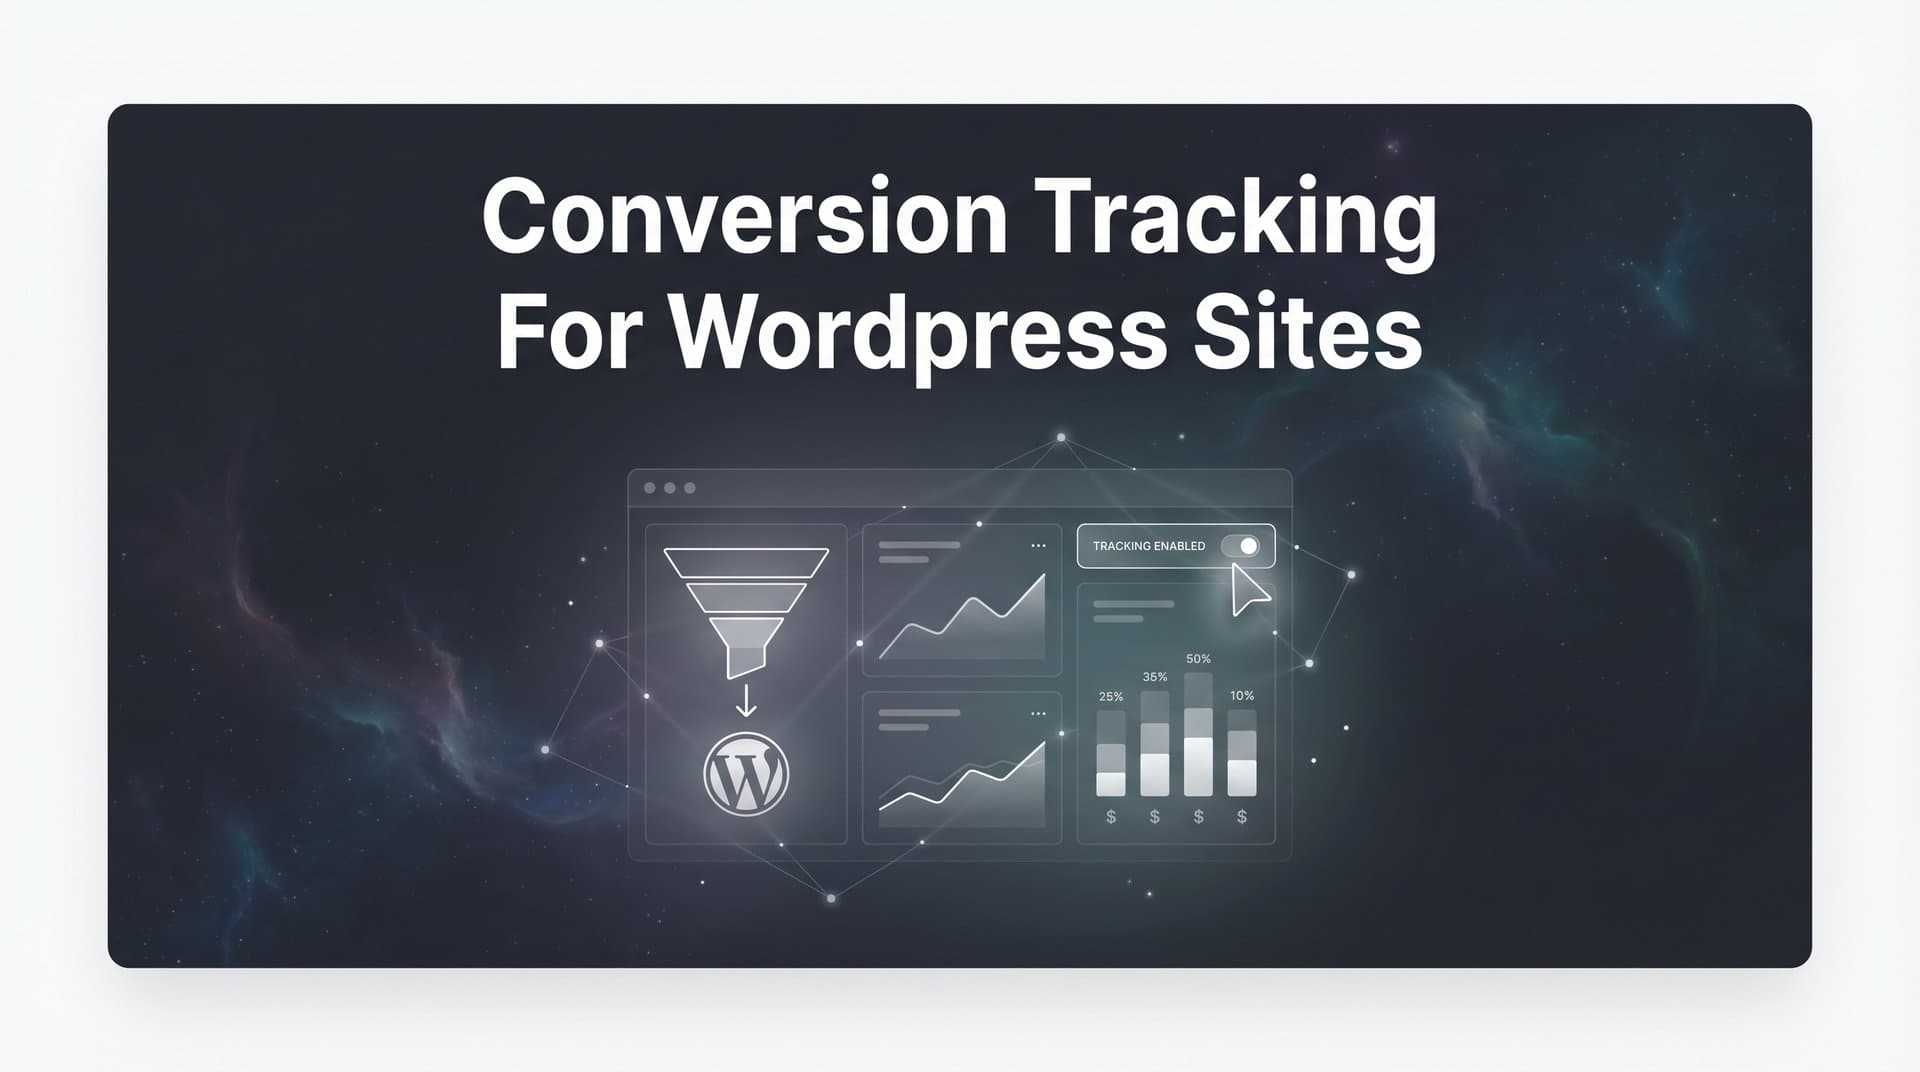
The good news? Once you understand the process, implementing conversion tracking becomes straightforward.
This guide walks you through every step of setting up conversion tracking on your WordPress site, from defining your conversion goals to verifying your data accuracy. By the end, you'll have a fully functional tracking system that shows you exactly which marketing efforts drive real results.
Whether you're tracking form submissions, purchases, or demo bookings, these steps apply to any WordPress setup.
Step 1: Define Your Conversion Goals and Events
Before installing a single line of code, you need to know exactly what you're tracking. This foundational step determines everything that follows.
Start by identifying the specific actions that matter most to your business. These typically fall into two categories: primary conversions that directly generate revenue, and secondary conversions that indicate engagement and buying intent.
Primary conversions might include completed purchases, demo requests, consultation bookings, or subscription signups. Secondary conversions could be newsletter signups, resource downloads, video views, or contact form submissions.
Think about it this way: primary conversions put money in your bank account, while secondary conversions fill your pipeline with potential customers.
Once you've identified your conversion types, document each one with a clear naming convention. Consistency matters here because you'll be setting up these same events across multiple platforms.
Example naming structure: Use descriptive, lowercase names with underscores. "purchase_complete" instead of "Purchase" or "sale." "demo_request" instead of "Demo Form." "newsletter_signup" instead of "Email Subscribe."
This consistency prevents confusion when you're looking at data across Google Analytics, Meta Ads Manager, and your attribution platform.
Next, map out the user journey to understand where each conversion happens on your site. Does the purchase conversion fire on a thank-you page? Does the demo request trigger when someone submits a form or when they land on a confirmation page?
Understanding these technical details now saves hours of troubleshooting later.
Create a simple spreadsheet documenting each conversion event, its location, its priority level, and its estimated value to your business. If a demo request typically converts to a customer worth three thousand dollars, note that. This information becomes crucial when you configure conversion values in your ad platforms.
The marketers who succeed with conversion tracking are those who plan thoroughly before implementation. If you're new to this process, our conversion tracking setup for beginners guide provides additional foundational guidance.
Step 2: Install Google Tag Manager on Your WordPress Site
Google Tag Manager serves as your central command center for all tracking tags. Instead of manually editing your WordPress theme files every time you need to add or update a tracking pixel, GTM lets you manage everything from one interface.
Start by creating a Google Tag Manager account if you don't already have one. Visit the Google Tag Manager website, sign in with your Google account, and create a new account for your business.
When prompted, create a container for your website. Choose "Web" as the container type. Google Tag Manager will generate two code snippets that you need to install on your WordPress site.
For WordPress users, the cleanest installation method uses a dedicated plugin. Two popular options are Site Kit by Google and GTM4WP (Google Tag Manager for WordPress).
Site Kit approach: Install the Site Kit plugin from your WordPress dashboard. Connect it to your Google account, and it will automatically detect your GTM container. The plugin handles the code installation without requiring you to touch theme files.
GTM4WP approach: Install the GTM4WP plugin and enter your GTM container ID in the plugin settings. This plugin offers advanced features like automatic dataLayer events for WordPress-specific actions.
After installation, verify that GTM is working correctly. Open your website in a browser and activate GTM Preview mode from your Tag Manager dashboard.
You should see the GTM debug panel appear at the bottom of your site, showing which tags are firing on each page. If you see this panel, congratulations. Your GTM installation is working.
For an additional verification layer, open your browser's developer tools (right-click anywhere on your page and select "Inspect"). Navigate to the Console tab and type "dataLayer" then press Enter. If you see an array of objects, your dataLayer is functioning properly.
Understanding why GTM matters helps you appreciate this step. Every time you want to add a new tracking pixel, update an existing tag, or remove outdated code, you can do it through GTM's interface. No theme file editing. No risk of breaking your site with a misplaced bracket.
GTM also allows you to set up sophisticated triggers and variables that control when and where your tags fire. This precision prevents duplicate tracking and ensures your data stays clean. Learn more about avoiding duplicated conversion tracking across platforms to maintain data integrity.
With GTM installed and verified, you now have the infrastructure to add all your conversion tracking tags in the following steps.
Step 3: Configure Google Analytics 4 Conversion Events
Google Analytics 4 represents a fundamental shift from the old Universal Analytics approach. Instead of tracking pageviews and sessions, GA4 focuses on events and user journeys across devices.
Your first task is connecting GA4 to your GTM container. In Google Tag Manager, create a new tag and select "Google Analytics: GA4 Configuration" as the tag type.
You'll need your GA4 Measurement ID, which looks like "G-XXXXXXXXXX." Find this in your GA4 property settings under Admin > Data Streams > Your Website Stream.
Enter your Measurement ID in the GTM configuration tag and set the trigger to "All Pages." This ensures GA4 loads on every page of your site. Save and publish this tag.
Now comes the crucial part: setting up event tracking for your conversion actions.
In GTM, create a new tag for each conversion event you documented in Step 1. Select "Google Analytics: GA4 Event" as the tag type.
Here's where your naming convention pays off. Use the exact same event names you documented earlier. If you called it "demo_request" in your spreadsheet, use "demo_request" as your event name in GTM.
Configure the trigger for when this event should fire. For a form submission, you might use a form submission trigger. For a purchase, you might trigger on a specific thank-you page URL.
Form submission example: Create a trigger that fires when a form with a specific ID or class is submitted. If your demo request form has the ID "demo-form," set up a trigger that fires on form submission where the form ID equals "demo-form."
Page view example: Create a trigger that fires when the page URL contains your thank-you page path, like "/thank-you" or "/order-confirmation."
After setting up your GA4 event tags in GTM, publish your container changes. Then navigate to your GA4 property and mark these events as conversions.
In GA4, go to Configure > Events. You should see your custom events appearing in the list as they fire on your site. Click the "Mark as conversion" toggle next to each event that represents a true conversion.
Testing is critical at this stage. GA4 provides a DebugView tool specifically for validating your implementation. In GA4, navigate to Configure > DebugView.
Open your website in a new browser tab and complete a test conversion. Within seconds, you should see the event appear in DebugView with all its parameters.
If you don't see your events in DebugView, return to GTM and use Preview mode to troubleshoot. Check that your triggers are configured correctly and that your tags are firing when expected.
GA4's event-based model gives you incredible flexibility to track user behavior, but it requires precise configuration. Following best practices for tracking conversions accurately ensures your data remains reliable for decision-making.
Step 4: Implement Ad Platform Tracking Pixels
With your analytics foundation in place, it's time to connect your ad platforms so they can track conversions and optimize your campaigns.
Start with Meta Pixel, which powers conversion tracking for Facebook and Instagram ads. In your Meta Events Manager, create a new pixel if you haven't already. Copy your Pixel ID.
In Google Tag Manager, create a new tag and select "Custom HTML" as the tag type. Paste the Meta Pixel base code provided by Facebook. Set this tag to fire on "All Pages."
Next, set up standard events for your specific conversion types. Meta provides predefined events like "Purchase," "Lead," "CompleteRegistration," and "AddToCart."
Create separate GTM tags for each Meta standard event, using the same triggers you configured for your GA4 events. If your demo request fires on form submission, your Meta "Lead" event should use the identical trigger.
Critical detail: Include conversion values in your event parameters. If a demo request typically leads to a three-thousand-dollar customer, pass that value with the event. This data helps Meta's algorithm optimize for high-value conversions. Explore dedicated conversion tracking tools for Facebook Ads for enhanced capabilities.
For Google Ads conversion tracking, navigate to your Google Ads account and go to Tools > Conversions > New Conversion Action. Select "Website" and choose "Code installation."
Google will provide a conversion ID and conversion label. In GTM, create a new "Google Ads Conversion Tracking" tag, enter these values, and set the appropriate trigger.
Assign conversion values here as well. Google's algorithm uses this information to bid more aggressively on clicks that are likely to generate higher-value conversions.
If you're running ads on LinkedIn, TikTok, or other platforms, follow a similar process. Each platform provides a pixel or tracking tag that you install through GTM using the same trigger logic. Managing conversion tracking for multiple ad platforms requires careful coordination to ensure consistency.
Here's where precision matters: ensure each pixel fires on the correct pages and events without duplication. A common mistake is having the same conversion fire multiple times on a single page load, inflating your conversion counts.
Use GTM Preview mode to verify that each tag fires exactly once per conversion event. If you see duplicate tags firing, check your triggers for overlapping conditions.
Another crucial consideration is preventing tags from firing on page refreshes or back button clicks. Configure your triggers to fire only on the initial conversion event, not on subsequent page views of the same confirmation page.
With all your ad platform pixels installed and tested through GTM, you now have the browser-based tracking infrastructure that most marketers rely on. But there's a problem: browser-based tracking misses a significant portion of conversions due to ad blockers, browser privacy features, and iOS restrictions.
That's where the next step becomes critical.
Step 5: Set Up Server-Side Tracking for Better Data Accuracy
Browser-based tracking has a fundamental limitation: it relies on cookies and JavaScript executing in the user's browser. When ad blockers remove your tracking scripts, when iOS privacy features block third-party cookies, or when users clear their browser data, your conversions disappear from your reports.
This isn't a minor issue. Many marketers find that browser-based tracking captures only sixty to seventy percent of actual conversions.
Server-side tracking solves this problem by sending conversion data directly from your server to ad platforms, bypassing browser restrictions entirely.
Think of it this way: browser-based tracking asks the customer's device to report the conversion. Server-side tracking reports the conversion from your own infrastructure, which can't be blocked or deleted by privacy tools.
For WordPress sites, implementing server-side tracking traditionally required custom development and server configuration. You'd need to set up a server-side GTM container, configure cloud hosting, and write custom code to send conversion data.
Modern attribution platforms have simplified this process significantly.
Tools like Cometly automate server-side tracking by connecting your WordPress site, CRM, and payment processor to capture conversion data at the source. When someone completes a purchase or submits a form, Cometly records that conversion server-side and sends it to Meta, Google, and other ad platforms through their conversion APIs.
This approach provides several advantages beyond just avoiding ad blockers.
Enriched conversion data: Server-side tracking can include additional customer information like email addresses, phone numbers, and purchase history. This enriched data helps ad platforms match conversions to the correct users and improve targeting accuracy.
Better attribution: When you send conversions from your server, you can attribute them based on your own data rather than relying on each platform's last-click attribution. This gives you a clearer picture of which touchpoints actually drive results. Achieving accurate cross platform conversion tracking becomes much more feasible with server-side implementation.
Reduced data loss: Server-side conversions aren't affected by browser crashes, page abandonment before tracking scripts load, or network issues that prevent client-side tags from firing.
Setting up server-side tracking with Cometly involves connecting your WordPress site through a simple integration, mapping your conversion events, and configuring which platforms should receive each conversion type.
The platform handles the technical complexity of server-side tracking while giving you a unified view of attribution across all marketing channels.
You can see which ads drove the initial click, which touchpoints influenced the decision, and which channel deserves credit for the final conversion. This multi-touch attribution view is impossible with browser-based tracking alone.
For e-commerce WordPress sites, server-side tracking also enables you to send post-purchase data back to ad platforms. When a customer who clicked your ad three weeks ago finally makes a purchase, that conversion gets attributed correctly even though the browser cookie has long expired.
The combination of client-side tracking through GTM and server-side tracking through an attribution platform gives you the most complete and accurate conversion data possible.
Step 6: Test and Validate Your Tracking Setup
Implementation means nothing if your tracking doesn't work correctly. This final step ensures your data is accurate before you make decisions based on it.
Start with platform-specific testing tools. Install the Meta Pixel Helper browser extension and visit your site. The extension shows which Meta Pixel events fire on each page and highlights any errors or warnings.
Complete a test conversion and verify that the correct event fires with the expected parameters. Check that the conversion value passes through correctly and that no duplicate events appear.
For Google Ads, use Google Tag Assistant to verify your conversion tags. This browser extension shows which Google tags are present on each page and whether they're firing correctly.
In your Google Ads account, navigate to Tools > Conversions and check the "Recent conversions" column. Your test conversion should appear within a few hours.
GA4's DebugView provides real-time validation for your analytics events. Keep DebugView open while you complete test conversions on your site. Each event should appear immediately with all its parameters.
Common issues to watch for include duplicate conversions, missing events, and incorrect attribution.
Duplicate conversions: If you see the same conversion counted twice, check your GTM triggers for overlap. You might have multiple tags firing on the same action, or a tag might be firing on both page view and form submission.
Missing events: If conversions don't appear in your platforms, verify that your triggers are configured correctly. Use GTM Preview mode to see exactly which tags fire during your test conversion.
Incorrect attribution: If conversions are attributed to the wrong source, check your UTM parameters and ensure your tracking links are formatted correctly. Server-side tracking helps solve many attribution issues by providing a source of truth beyond browser-based data.
Document your tracking setup for future reference. Create a spreadsheet listing each conversion event, which platforms track it, what triggers it, and what the expected conversion value is. A thorough conversion tracking platform evaluation can help you identify gaps in your current setup.
This documentation becomes invaluable when you need to troubleshoot issues, train team members, or audit your setup after WordPress updates.
Speaking of WordPress updates, theme changes and plugin updates can sometimes break your tracking. Schedule regular audits to verify your tags are still firing correctly.
A simple monthly check involves completing test conversions and confirming they appear in each platform. This proactive approach catches issues before they cost you valuable data.
Set up alerts in your analytics platforms to notify you of significant drops in conversion volume. If your daily conversions suddenly drop by fifty percent, you want to know immediately so you can investigate whether it's a tracking issue or a genuine performance problem.
Your Tracking Foundation Is Complete
With these six steps complete, your WordPress site now has a robust conversion tracking system in place. You can see which campaigns drive real results, optimize your ad spend based on actual data, and make confident decisions about scaling your marketing efforts.
Quick implementation checklist: Define and document all conversion goals. Install and verify Google Tag Manager. Configure GA4 with conversion events marked. Implement ad platform pixels through GTM. Set up server-side tracking for data accuracy. Test everything before launching campaigns.
Remember that tracking is not a set-it-and-forget-it task. Regularly audit your setup, especially after WordPress updates or theme changes, to ensure your data stays accurate.
The marketers who win are the ones who know exactly what's working and can prove it with data. When you can confidently say that this campaign generated forty-seven qualified leads at a cost of eighty-three dollars each, and thirty-two percent of those leads converted to customers worth an average of four thousand dollars, you're operating at a completely different level than competitors who are guessing.
Server-side tracking takes this accuracy even further by capturing conversions that browser-based tracking misses. Combined with proper attribution, you get a complete picture of your customer journey across every touchpoint.
Ready to elevate your marketing game with precision and confidence? Discover how Cometly's AI-driven recommendations can transform your ad strategy. Get your free demo today and start capturing every touchpoint to maximize your conversions.


