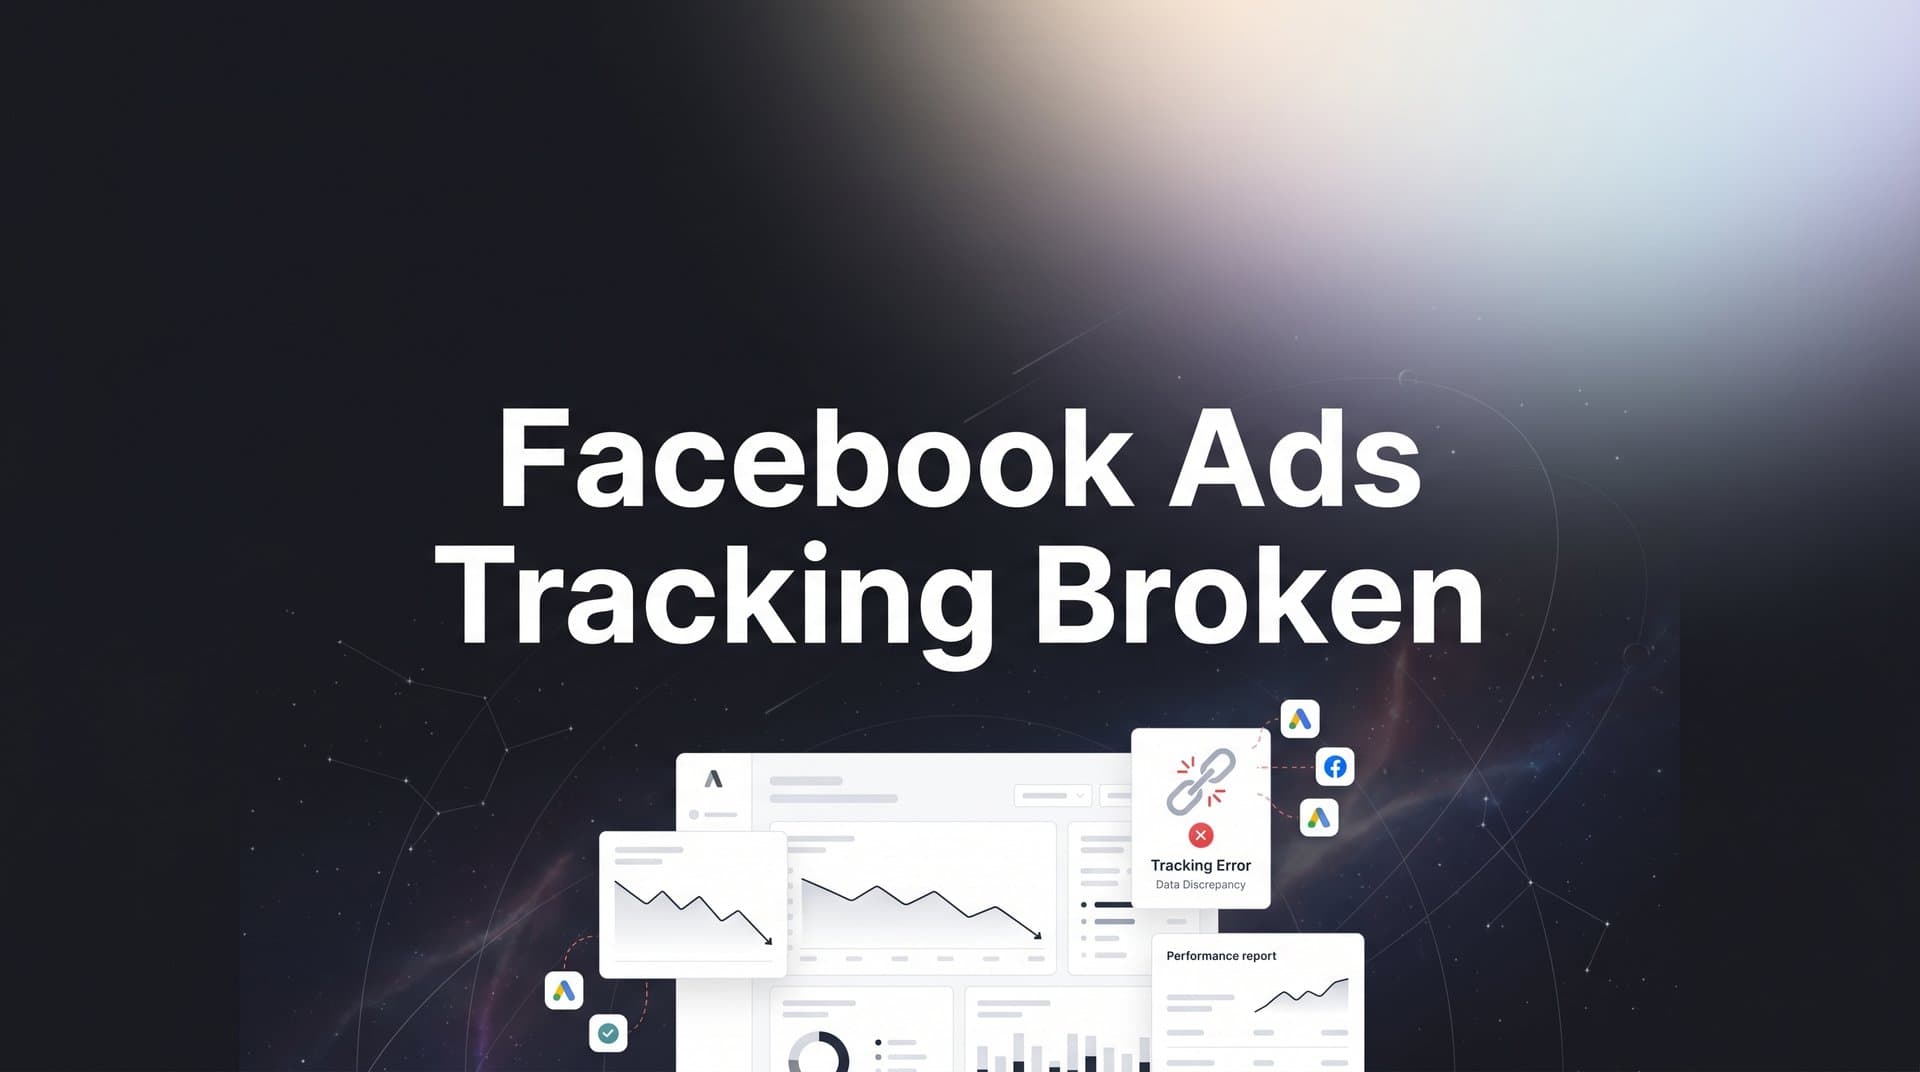
You log into Ads Manager, and the numbers just do not add up. Conversions are missing, your ROAS looks suspiciously low, and the data you are seeing does not match what your CRM or payment processor is telling you.
If this sounds familiar, your Facebook ads tracking is likely broken. And this is not a rare edge case. It is one of the most common and costly problems digital marketers face today.
Between iOS privacy updates, browser-level cookie restrictions, ad blockers, and increasingly complex customer journeys across multiple devices, the tracking infrastructure that Meta provides out of the box simply cannot keep up on its own. Safari's Intelligent Tracking Prevention, Firefox's enhanced privacy settings, and Chrome's evolving cookie policies have all added new layers of complexity that erode the reliability of pixel-only tracking setups.
Broken tracking does not just mean bad reports. It means your ad platform algorithms are optimizing on incomplete data, which leads to wasted budget, poor targeting, and scaling decisions based on numbers you cannot trust. When Meta's delivery system does not know which ads are actually converting, it cannot optimize toward your best customers.
This guide walks you through a clear, sequential process to diagnose exactly where your Facebook ads tracking is breaking down and how to fix each issue. You will cover everything from auditing your pixel setup to implementing server-side tracking, fixing domain verification, cross-referencing your CRM data, and feeding enriched conversion signals back to Meta for smarter optimization.
By the end, you will have a reliable tracking setup that captures conversions accurately, feeds better data back to Meta, and gives you the confidence to scale your campaigns based on numbers you can actually trust. Let us get into it.
Step 1: Audit Your Meta Pixel and Events Manager for Errors
Before you can fix anything, you need to know exactly what is broken. The best place to start is Meta's Events Manager, which gives you a real-time view of your pixel activity and flags configuration issues directly.
Open Events Manager and navigate to your pixel. Look at the status indicators for each event. Green means the event is receiving data as expected. Yellow indicates a warning, often a configuration issue or infrequent activity. Red signals that the event has stopped firing or has a critical error. Make note of anything that is not green.
Next, install the Meta Pixel Helper Chrome extension. This free tool lets you inspect any webpage and see whether your pixel is firing, which events are triggering, and whether those events contain the correct parameters. Visit your key pages: your landing page, any checkout pages, and your thank-you or confirmation page. For each page, open the Pixel Helper and verify the expected events are firing.
Common errors you will likely find include:
Duplicate pixel firing: The pixel loads twice on the same page, which doubles your reported conversions and skews all your data. This often happens when a pixel is hardcoded into a page template and also loaded through a tag manager.
Pixel not firing at all: The pixel code is missing from certain pages, usually because it was added manually and got overwritten during a site update. Understanding Facebook pixel tracking fundamentals helps you prevent these gaps from recurring.
Mismatched event names: A custom event named "purchase_complete" instead of the standard "Purchase" event will not match Meta's reporting correctly and can cause attribution gaps.
Events firing on the wrong pages: A Purchase event firing on the checkout page instead of the confirmation page means you are counting intent rather than actual conversions.
After reviewing individual pages, head to the Diagnostics tab inside Events Manager. Meta automatically flags issues it detects in your event data and often provides specific recommended fixes. This tab is underused by most advertisers, but it surfaces problems that are otherwise easy to miss.
Your success indicator here is straightforward: all standard events such as PageView, Lead, and Purchase should show green status with recent activity timestamps. If you see yellow or red on any conversion event, do not move on until it is resolved.
Step 2: Verify Your Conversion Events Are Configured Correctly
A pixel that technically fires is not the same as a pixel that fires correctly. The next layer of the audit is confirming that each conversion event triggers at the right moment in your funnel, with the right data attached.
Start by mapping out your funnel stages and the corresponding events you expect to fire at each stage. A typical e-commerce funnel might look like: ViewContent on product pages, AddToCart on cart actions, InitiateCheckout at checkout start, and Purchase on the confirmation page. A lead generation funnel might use PageView, Lead, and CompleteRegistration. Any event firing too early or at the wrong stage will pollute your data.
Use Meta's Test Events tool inside Events Manager to run through your funnel in real time. Open the tool, grab your test code, append it to your URL as a query parameter, and then complete the conversion action yourself. You should see the event appear in the Test Events panel within seconds, along with all the parameters it passed. Mastering conversion tracking at this level is essential for accurate reporting.
Pay close attention to the parameters being sent with each event. For Purchase events, you need value, currency, and ideally content IDs or content type. Missing these parameters creates attribution gaps and reduces the quality of data Meta can use for optimization. If the event fires but the value field is empty or zero, that is a configuration problem worth fixing immediately.
Two common pitfalls catch many advertisers off guard:
Events firing on page load instead of on action completion: If your Purchase event fires when someone lands on your checkout page rather than after they complete the transaction, you are counting people who never actually converted. This inflates your conversion numbers and misleads your algorithm.
Thank-you pages accessible without completing the action: If someone can navigate directly to your order confirmation URL without placing an order, your Purchase event will fire for non-customers. Add a session-based check or use a redirect that only triggers after a successful transaction.
Once your test events appear correctly in Events Manager with accurate parameter values and timing, you can move to the next step with confidence that your browser-side tracking is as accurate as it can be. But browser-side alone is no longer enough, which is exactly what Step 3 addresses.
Step 3: Implement the Conversions API for Server-Side Tracking
Here is the core problem with relying solely on the Meta Pixel: it lives in the browser, and the browser is increasingly hostile to tracking. Apple's App Tracking Transparency rollout starting with iOS 14.5 prompted users to opt out of cross-app tracking at scale. Safari's Intelligent Tracking Prevention limits cookie lifespans. Ad blockers prevent the pixel from loading entirely. The result is that a significant portion of your actual conversions never get reported back to Meta at all. This is a major reason Facebook ads stopped working after iOS 14 for so many advertisers.
The Conversions API (CAPI) solves this by sending conversion data directly from your server to Meta, bypassing the browser entirely. When a customer completes a purchase, your server sends that event data to Meta's API directly. No browser needed. No cookie required. The conversion gets recorded regardless of what the user's device settings say.
There are three main ways to set up CAPI:
Partner integrations: If you use Shopify, WooCommerce, or another major platform, Meta has built-in partner integrations that handle CAPI setup with minimal technical effort. Check Events Manager under "Manage Integrations" to see if your platform is listed.
Direct API setup: For custom-built sites or more complex setups, your development team can implement CAPI directly using Meta's API documentation. This gives you the most control but requires engineering resources.
Gateway solutions and attribution platforms: Tools like Cometly offer server-side tracking for ads that handles CAPI implementation without requiring deep technical work on your end. Cometly's server-side tracking captures conversion events, enriches them with user data, and sends them directly to Meta with high accuracy. This is often the fastest path for marketing teams who want reliable CAPI without pulling in developers for weeks.
One critical detail when running both pixel and CAPI simultaneously: you must implement event deduplication. Without it, a single conversion gets counted twice, once by the browser pixel and once by the server-side API, which inflates your conversion data and misleads Meta's algorithm. Deduplication works by passing a matching event ID with both the pixel event and the CAPI event. Meta uses this ID to recognize and merge duplicate events into a single conversion.
After implementation, check your Event Match Quality score in Events Manager. This score, rated on a scale that goes up to 10, tells you how effectively Meta can match your server events to actual Meta user accounts. A higher score means more conversions get attributed correctly. You can improve your score by passing additional user parameters with each event: hashed email address, hashed phone number, IP address, and user agent. Each additional parameter improves Meta's ability to match the event to a real user profile.
Your target is an Event Match Quality score of 7 or above. Below that, you are leaving meaningful attribution on the table. Once CAPI is live and your match quality score is strong, you have addressed the single biggest source of tracking loss in most Facebook ads setups.
Step 4: Fix Domain Verification and Aggregated Event Measurement Settings
Domain verification and Aggregated Event Measurement are two configuration steps that many advertisers skip or set up incorrectly, and both have a direct impact on tracking accuracy following Apple's privacy changes.
Domain verification tells Meta that your business owns the domain where conversions happen. Without it, you may encounter restrictions on which events you can track and optimize for. To verify your domain, go to Business Settings in Meta Business Suite, navigate to Brand Safety and then Domains, and add your domain. Meta will give you a DNS TXT record, a meta-tag, or a file upload option to confirm ownership. Complete this step before configuring your events.
Once your domain is verified, configure Aggregated Event Measurement. This is Meta's system for tracking paid ads after the iOS update in a privacy-compliant way for users who opt out of tracking. You are allowed to prioritize up to eight conversion events per domain. Meta will only report on these events for opted-out users, and it will use the priority order you set to determine which event to attribute when multiple events occur in a single session.
The most common mistake here is leaving the default event priority order unchanged or filling all eight slots with low-value events. Your highest-value conversion events, typically Purchase or Lead, should sit at the top of the priority list. Work your way down through the funnel from most valuable to least valuable.
Make sure both your top-of-funnel events and bottom-of-funnel events are represented. If you only include Purchase events, you lose visibility into earlier funnel stages for opted-out users. A balanced list might include Purchase, Lead, InitiateCheckout, AddToCart, ViewContent, and PageView in descending order of priority.
Your success indicator: your domain shows as verified in Business Settings, and your eight prioritized events reflect your actual campaign objectives in the correct order. This configuration is a one-time setup that pays dividends across every campaign you run.
Step 5: Cross-Reference Ad Data Against Your CRM and Revenue Source
Even with a well-configured pixel and CAPI in place, you should never trust any single data source in isolation. Meta's reporting reflects what Meta can see and attribute, which is inherently limited by its own attribution model and data access. Your CRM and payment processor see the full picture of what actually happened.
Pull your conversion data from Meta Ads Manager for a defined time period, say the last 30 days. Then pull the corresponding data from your CRM, specifically leads or deals that are tagged as coming from paid social or Facebook. Finally, check your payment processor for actual revenue attributed to those same campaigns.
Compare these numbers side by side and look for meaningful discrepancies. If Meta reports significantly fewer conversions than your CRM shows for the same period, your tracking is under-reporting. Understanding why underreporting conversions in Facebook ads happens helps you quantify the gap and prioritize fixes. If Meta reports more conversions than your CRM or payment processor confirms, you may have duplicate events, misconfigured thank-you page tracking, or attribution window issues inflating your numbers.
Attribution window mismatches are a common source of confusion. Meta's default attribution windows may not align with your actual sales cycle. A B2B company with a 30-day sales cycle will see very different numbers depending on whether Meta is reporting on a 7-day click window or a 28-day click window. Make sure the attribution window you are analyzing in Ads Manager matches the realistic timeline for your conversions.
This is also where multi-touch attribution becomes essential. Meta's reporting shows you what Meta wants credit for. But your customer may have clicked a Facebook ad, then a Google search ad, then received an email before converting. Last-click or single-platform attribution misses this entire journey and leads to budget decisions that undervalue or overvalue specific channels.
Cometly is built specifically to bridge this gap. It connects your ad platforms, CRM, and website data into a single view, so you can see which ads actually drive revenue across the full customer journey rather than relying on each platform's self-reported numbers. With multi-touch attribution, you get a clearer picture of how Facebook ads contribute to conversions alongside your other channels, which makes budget allocation decisions far more reliable.
Your success indicator: the discrepancy between Meta-reported conversions and your CRM or revenue data is minimal and explainable by known factors like attribution windows or cross-device journeys. If the gap is large and unexplained, you have more configuration work to do in the earlier steps.
Step 6: Send Enriched Conversion Data Back to Meta for Better Optimization
Fixing broken tracking is not just about getting accurate reports. It is about closing a feedback loop that directly affects how well Meta's algorithm optimizes your campaigns.
Meta's ad delivery system is a machine learning model. It learns which users are most likely to convert based on the conversion signals it receives. When your tracking is broken or incomplete, the algorithm is training on a fraction of your actual conversions. It does not know about the customers who converted but were not tracked due to iOS restrictions or ad blockers. As a result, it targets the wrong people, bids inefficiently, and delivers worse results over time. This is precisely why Facebook ads conversions are dropping for many advertisers who have not addressed their data gaps.
The solution is conversion syncing: a process where enriched, verified conversion events are sent back to Meta after they have been confirmed by your CRM or payment processor. Instead of relying solely on what the pixel captured in real time, you are sending Meta a complete, accurate record of who actually converted, including user identifiers that help Meta match those conversions to real profiles.
This enriched data improves three things directly. First, it makes lookalike audiences more accurate, because Meta is building them from a more complete picture of your actual customers. Second, it improves bid optimization, because the algorithm has more signal to work with when deciding how much to bid for each impression. Third, it stabilizes your ROAS over time, because the algorithm is no longer flying partially blind. Learning how to properly measure Facebook ads ROI depends on having this complete data foundation in place.
Cometly's Conversion Sync feature automates this process. After Cometly captures and verifies conversion events from your CRM and website, it automatically sends that enriched data back to Meta in the format the platform needs for optimization. You do not have to manually export conversion lists or build custom integrations. The data flows continuously, keeping Meta's algorithm up to date with your most accurate conversion signals.
This same principle applies across your other ad platforms. If you are running Google Ads campaigns alongside Facebook, feeding enriched conversion data back to Google's algorithm through a similar sync process improves performance there as well. Cometly handles this cross-platform data flow, so your entire paid media ecosystem benefits from better data, not just your Facebook campaigns.
Your success indicator: after enabling enriched conversion syncing, you see more stable delivery, improved cost per conversion, and more consistent ROAS in your campaigns over the following weeks. The algorithm improvement is not instant, but it compounds over time as Meta's model trains on better data.
Your Tracking Fix Checklist and Next Steps
Broken Facebook ads tracking is fixable. But it requires a systematic approach rather than randomly poking at settings and hoping something improves. Here is a quick-reference checklist of everything this guide covered:
Pixel and Events Manager audit: Verify all events show green status, use the Meta Pixel Helper to confirm correct firing on key pages, and review the Diagnostics tab for flagged issues.
Conversion event configuration: Confirm each event fires at the correct funnel stage with the right parameters, use the Test Events tool to verify in real time, and eliminate events firing on page load or on accessible URLs.
Conversions API implementation: Set up server-side tracking to bypass browser restrictions, implement event deduplication to prevent double-counting, and optimize your Event Match Quality score by passing enriched user parameters.
Domain verification and Aggregated Event Measurement: Verify your domain in Business Settings and configure your eight prioritized conversion events in the correct order of value.
CRM cross-referencing: Compare Meta-reported conversions against your CRM and payment processor data, identify discrepancies, and use multi-touch attribution to understand the full customer journey.
Enriched conversion syncing: Send verified, enriched conversion data back to Meta to improve algorithm optimization, lookalike audiences, and long-term ROAS stability.
The most resilient tracking setups combine all six of these layers. Browser-side pixels, server-side tracking, proper domain and event configuration, CRM cross-referencing, and enriched data feedback loops work together to give you a complete and accurate picture of your ad performance.
For teams that want accurate attribution without managing all of this complexity manually, Cometly handles the heavy lifting. From server-side tracking and conversion syncing to multi-touch attribution across every channel, it gives you one place to see exactly which ads are driving revenue and the confidence to scale based on data you can trust.
Ready to elevate your marketing game with precision and confidence? Discover how Cometly's AI-driven recommendations can transform your ad strategy. Get your free demo today and start capturing every touchpoint to maximize your conversions.