
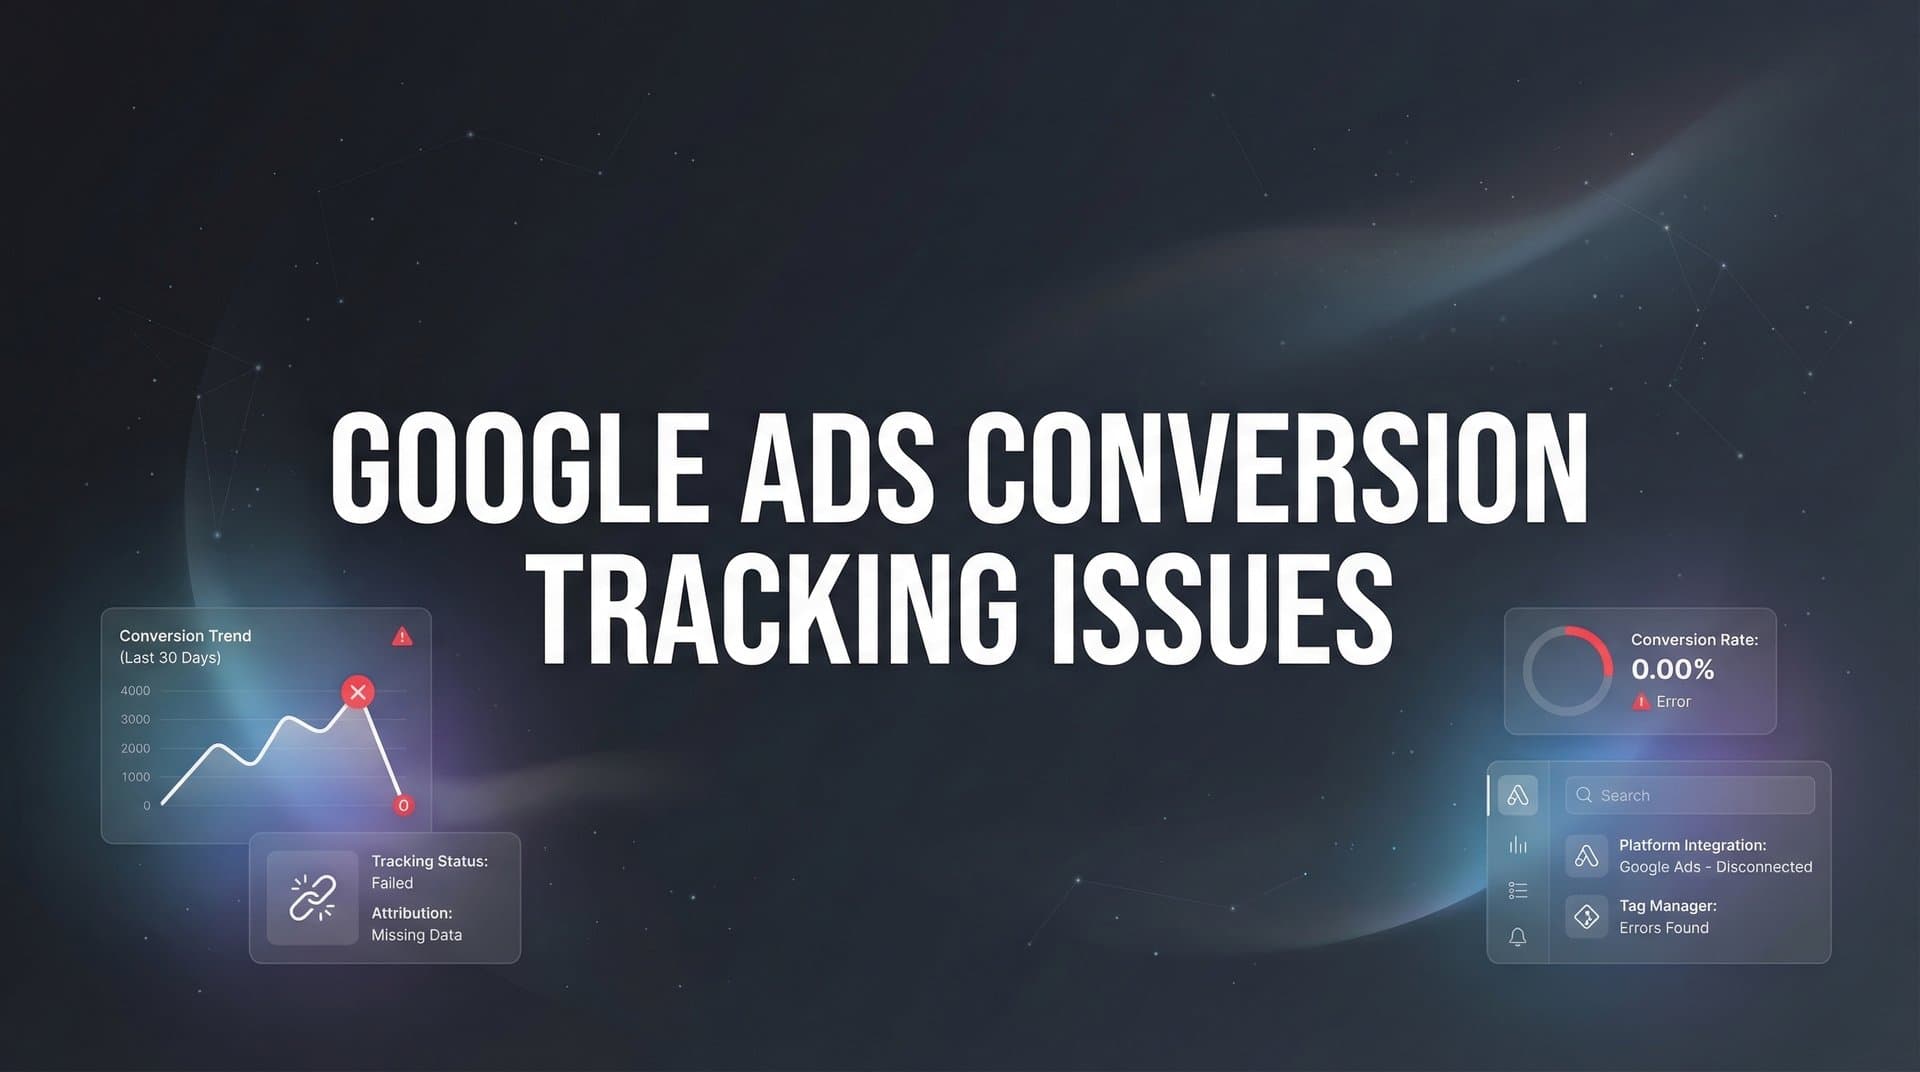
Your Google Ads campaign is running, budget is being spent, but your conversion data looks off. Maybe conversions aren't recording at all, numbers don't match your CRM, or there's a suspicious delay between clicks and reported conversions.
You're not alone. Conversion tracking issues are among the most common frustrations for digital marketers.
The problem is that faulty tracking doesn't just create reporting headaches—it actively sabotages your campaign optimization. Google's algorithms rely on conversion data to find more customers like your best ones. Feed it bad data, and you're essentially teaching the algorithm to target the wrong people.
This guide walks you through a systematic approach to diagnosing and fixing Google Ads conversion tracking issues. We'll start with quick diagnostic checks, move through tag implementation problems, address data discrepancies, and cover advanced fixes for persistent issues. By the end, you'll have a clear troubleshooting framework you can use whenever tracking problems arise.
Step 1: Run a Quick Diagnostic Check in Google Ads
Before diving into technical fixes, you need to identify exactly which conversion actions are problematic and what symptoms they're showing. This diagnostic step takes five minutes but saves hours of guessing.
Navigate to Tools & Settings, then click on Conversions under the Measurement section. You'll see a list of all your Google Ads conversions with a Status column next to each one.
Here's what each status means and what you should do about it:
Recording conversions: This is what you want to see. The tag is firing correctly and Google is receiving conversion data. If you see this status but still suspect issues, the problem likely lies elsewhere in your tracking setup.
No recent conversions: This is your first warning sign. It means the tag was working previously but hasn't recorded conversions in the last seven days. This often happens after website updates, theme changes, or when someone accidentally removes tracking code.
Unverified: Google can't detect the tag on your website. Either the tag was never installed correctly, or it's been removed. This requires immediate attention because you're losing all conversion data.
Tag inactive: The tag exists but isn't firing when it should. This typically indicates a trigger problem in Google Tag Manager or a JavaScript error preventing the tag from executing.
Next, check the "Last conversion" timestamp for each action. If tracking stopped on a specific date, cross-reference that with any website changes, plugin updates, or marketing tool installations. Website migrations and theme updates are notorious for breaking tracking tags.
While you're in the conversion settings, verify the conversion counting method matches your business model. For lead generation, you typically want "One" conversion per click because you don't want multiple form submissions from the same person inflating your numbers. For e-commerce, choose "Every" conversion because each purchase matters, even if the same person buys multiple times.
Document what you find here. Write down which specific conversion actions are problematic and what status they're showing. This information guides everything that follows.
Step 2: Verify Tag Installation with Google Tag Assistant
Now that you know which conversion actions need attention, it's time to verify whether the tracking tags are actually firing on your website. Google Tag Assistant makes this process straightforward.
Install the Google Tag Assistant Chrome extension from the Chrome Web Store. Once installed, navigate to a page where conversions happen—your thank-you page, order confirmation page, or wherever the conversion action should trigger.
Click the Tag Assistant extension icon and select "Enable" to start recording tag activity. Then trigger a test conversion by completing the action yourself. Fill out the form, complete the checkout process, or perform whatever action you're tracking.
Tag Assistant will show you all the tags that fired during your session. Look for the Google Ads Conversion Tracking tag. It should appear with a green status indicator if everything is working correctly.
Click on the tag to see the details. You need to verify two critical pieces of information: the conversion ID and the conversion label. These should match exactly what you see in your Google Ads conversion tracking settings. Even one wrong character means conversions won't attribute correctly.
If you're evaluating vendors, our track programmatic ads conversions breakdown can help.
Watch for these common errors:
Tag not firing at all: The tag doesn't appear in Tag Assistant even after completing a conversion. This means either the tag isn't installed or the trigger conditions aren't met.
Tag firing on wrong pages: The conversion tag fires on your homepage or product pages instead of just the thank-you page. This inflates your conversion numbers with false positives.
Tag firing multiple times: You see the same conversion tag fire twice or more during a single conversion event. This double-counts conversions and makes your data unreliable.
Missing conversion value: The tag fires but doesn't include the transaction value parameter. This prevents you from tracking revenue and calculating ROAS accurately.
For Google Tag Manager users, there's an additional check. Open your GTM container and verify that the conversion tag is published, not just saved in draft mode. Check the trigger conditions carefully—they need to match the exact page URL, form submission event, or other condition that indicates a conversion happened.
A common GTM mistake is setting a trigger for "Page View" on a URL that contains "thank-you" but the actual page URL is "confirmation" or "success." Small mismatches like this prevent the tag from firing.
Step 3: Test the Complete Conversion Path
Tag Assistant shows you what happens on a single page, but conversions are journeys. You need to test the entire path from ad click to conversion to catch issues that only appear in real-world scenarios.
Start fresh by clearing your browser cookies and cache. This ensures you're testing as a new user without any existing tracking data that might mask problems.
Use the Google Ads ad preview tool to click through one of your actual ads without spending budget. This is crucial because the GCLID parameter that Google uses to track conversions only gets added when someone clicks a real ad—you can't just type your landing page URL into the browser.
Pay attention to the URL as you land on your website. You should see a parameter that looks like "?gclid=SomeLongStringOfCharacters" at the end. This GCLID is what connects the eventual conversion back to the specific ad click.
Now complete the entire conversion process exactly as a real customer would. Fill out the form with real information, go through all the checkout steps, or complete whatever action you're tracking. Don't skip steps or use shortcuts—you're looking for problems that occur in the natural user flow.
After completing the conversion, wait 24 to 48 hours before checking your Google Ads reporting. Some conversions appear within minutes, but others can take up to 72 hours to process and attribute correctly. This delay is normal and doesn't indicate a problem.
When you check your reporting, look for your test conversion in the Conversions section. Verify these details:
Did it record? The most basic check—did your test conversion appear at all?
Was the value correct? If you're tracking revenue, does the conversion value match what you entered during checkout?
Did attribution match? Does the conversion attribute to the campaign, ad group, and keyword you clicked on?
Is the timestamp accurate? Compare the conversion time in Google Ads with when you actually completed the action.
If you have access to your CRM or backend system, cross-reference the data there as well. The lead or order should appear in both systems with matching timestamps and details.
Document any discrepancies you find. If the conversion didn't record, you know there's a technical problem with tag implementation. If it recorded but with wrong values or attribution, you're dealing with a configuration issue rather than a complete tracking failure.
Step 4: Address Cross-Domain and Redirect Tracking Gaps
One of the sneakiest causes of conversion tracking issues is when your conversion path crosses multiple domains or includes redirects. Each domain transition is an opportunity for the GCLID parameter to get lost.
First, map out your complete conversion path. Does it stay on a single domain, or does it move between subdomains or entirely different domains? Common scenarios include main website to checkout subdomain, main site to third-party payment processor, or landing page to separate form hosting service.
If your conversion path crosses domains, you need cross-domain tracking configured. Without it, Google sees each domain as a separate session and can't connect the ad click to the eventual conversion. Understanding cross-device conversion tracking issues can help you identify similar attribution gaps.
For Google Tag Manager users, cross-domain tracking is configured in your Google Ads tag settings. Edit the tag, scroll to Fields to Set, and add a field called "allowLinker" with a value of "true." Then add another field called "linkerParam" with the value "gclid."
You also need to specify which domains should share tracking data. In the tag settings, look for the option to configure cross-domain tracking and list all domains involved in your conversion path. This includes your main domain, any subdomains, and third-party domains like payment processors.
Redirects are another common culprit. If your conversion path includes URL redirects—maybe from a URL shortener, affiliate link, or server-side redirect—the GCLID can get stripped during the redirect process.
Test this by manually adding "?gclid=test123" to your landing page URL and following the complete conversion path. At each step, check whether the GCLID parameter is still present in the URL. If it disappears at any point, you've found your problem.
For payment processors specifically, verify that your integration preserves the GCLID through the entire checkout flow and back to your thank-you page. Many payment processors offer a "return URL" or "success URL" setting where you can specify what happens after payment. Make sure this URL includes the GCLID parameter.
Some payment processors automatically preserve URL parameters, while others require explicit configuration. Check your payment processor's documentation or support resources for guidance on preserving tracking parameters.
The success indicator for this step is straightforward: the GCLID parameter should persist from initial ad click all the way through to your final conversion confirmation page. Any break in this chain means conversions won't attribute correctly.
Step 5: Fix Data Discrepancies Between Google Ads and Your CRM
Even with perfect tag implementation, you might notice that Google Ads reports different conversion numbers than your CRM or analytics platform. Before assuming something is broken, understand that some discrepancies are expected and explainable.
The most common reason for mismatched numbers is different attribution windows. Google Ads uses a default click-through conversion window of 30 days and a view-through window of one day. Your CRM, on the other hand, typically uses last-touch attribution and records conversions the moment they happen. If you're experiencing Google Ads attribution window problems, this is often the root cause.
Here's what this means in practice: Someone clicks your ad on March 1st but doesn't convert until March 15th. Google Ads counts this conversion and attributes it to the March 1st click. Your CRM records the conversion on March 15th with no connection to the ad click. When you compare daily reports, the numbers don't match because they're measuring different things.
Check your Google Ads conversion action settings and review the attribution windows. If your typical sales cycle is shorter than 30 days, consider reducing the click-through window to match reality. For e-commerce with quick purchase decisions, a 7-day window might be more appropriate. For B2B with longer sales cycles, you might need to extend it to 60 or 90 days.
Time zone settings are another frequent culprit. If Google Ads uses Pacific Time but your CRM uses Eastern Time, conversions that happen between 9 PM and midnight Pacific will fall on different days in each system. This creates a three-hour window where daily reports will never match perfectly.
Verify that all your systems use the same time zone. In Google Ads, check your account settings under Time Zone. In your CRM and analytics platforms, find the equivalent setting and align them.
Google's conversion modeling adds another layer of complexity. Due to privacy restrictions from iOS App Tracking Transparency and browser cookie limitations, Google can't directly observe all conversions. To compensate, it uses machine learning to estimate conversions based on patterns from users who do allow tracking.
These modeled conversions appear in your reports with a note indicating they're estimated. Your CRM only sees actual conversions, so there will be a gap between Google's total (observed plus modeled) and your CRM's total (observed only).
This isn't a problem to fix—it's a reality to understand and document. Modeled conversions help Google's algorithm optimize more effectively by giving it a fuller picture of campaign performance.
For marketers dealing with significant data loss from privacy restrictions, server-side tracking offers a solution. Instead of relying on browser-based tags that can be blocked, server-side tracking sends conversion data directly from your server to Google. This captures conversions that browser-based methods miss.
The goal isn't to achieve perfect alignment between Google Ads and your CRM—that's often impossible. The goal is to understand the specific reasons for discrepancies and have documentation of expected variance. When you know that a 5-10% difference is normal due to attribution windows and time zones, you can focus on investigating when the gap suddenly jumps to 30%.
Step 6: Implement Enhanced Conversions for Better Data Quality
Enhanced conversions represent Google's solution to the growing challenge of privacy-restricted tracking. By sending hashed first-party customer data along with conversion events, you can improve measurement accuracy even when cookies are blocked or unavailable.
Here's how it works: When someone converts on your website, enhanced conversions Google Ads captures information they provided—typically email address, phone number, name, or address. This data gets hashed using a one-way cryptographic algorithm before being sent to Google, making it secure and privacy-safe. Google then matches this hashed data against signed-in Google accounts to attribute conversions more accurately.
The beauty of enhanced conversions is that it works alongside your existing tracking, not as a replacement. You're essentially giving Google two ways to match conversions: the traditional GCLID method and the enhanced conversion method using hashed customer data.
You have three implementation options: Google Tag Manager (recommended for most marketers), global site tag with manual code modifications, or the Google Ads API for advanced technical teams.
For Google Tag Manager implementation, start by enabling enhanced conversions in your Google Ads account. Navigate to your conversion action settings, click on the conversion action you want to enhance, and look for the Enhanced Conversions section. Click to enable it and select "Google Tag Manager" as your implementation method.
Back in Google Tag Manager, edit your Google Ads conversion tag. In the tag configuration, you'll see an option for Enhanced Conversions. Enable it and choose how you want to capture customer data—either from data layer variables or from form fields on the page.
The data layer method is cleaner and more reliable. It requires your development team to push customer information into the data layer when someone completes a conversion. The data layer code looks something like this: it defines variables for email, phone, and other customer details that Google Tag Manager can access.
The form field method is quicker to implement but less reliable. GTM attempts to automatically detect form fields on your thank-you page and extract the customer data. This works well for simple forms but can miss data if your form structure is complex or if customer information isn't visible on the confirmation page.
After configuring the tag, publish your GTM container and test the implementation using Google Tag Assistant. Trigger a test conversion and verify that Tag Assistant shows the enhanced conversion data being sent. You should see indicators that hashed customer information is included with the conversion event.
Don't expect immediate results. Enhanced conversions need time to build up data and improve match rates. Check back after a few weeks and look for the Enhanced Conversions column in your Google Ads reporting. This shows you what percentage of your conversions are being enhanced with first-party data.
A good match rate is typically 60% or higher. If you're seeing lower rates, it might indicate issues with data quality—missing email addresses, incorrectly formatted phone numbers, or mismatched data layer variables.
Step 7: Set Up Ongoing Monitoring to Catch Issues Early
Fixing tracking issues once is great, but preventing them from recurring is even better. The key is establishing a regular monitoring routine that catches problems before they significantly impact your data quality.
Create a weekly tracking health check ritual. Every Monday morning (or whatever day works for your schedule), spend 15 minutes reviewing your conversion tracking status. Check the same items you examined in Step 1: conversion action statuses, recent conversion timestamps, and week-over-week conversion volumes.
Look for red flags like sudden drops in conversion volume, conversion actions switching from "Recording conversions" to "No recent conversions," or significant changes in conversion rate without corresponding changes in your campaigns. These symptoms often indicate Google Ads showing wrong conversions.
Set up automated alerts in Google Ads to notify you when something looks wrong. Navigate to Tools & Settings, then Automated Rules. Create a rule that sends you an email when conversions drop by more than 50% compared to the previous week. This catches major tracking failures quickly.
You can also create alerts for conversion rate changes, cost per conversion spikes, or other metrics that might indicate tracking problems. The key is setting thresholds that are sensitive enough to catch real issues but not so sensitive that you get false alarms from normal campaign fluctuations.
Documentation is your friend when troubleshooting tracking issues. Create a simple marketing campaign tracking spreadsheet that lists all your conversion actions, their corresponding tag IDs, the pages where tags should fire, and expected weekly conversion volumes. When something breaks, this reference document helps you quickly verify whether tags are configured correctly.
Include screenshots of your Google Tag Manager setup, notes about cross-domain tracking configuration, and contact information for anyone who has access to make changes to your website or tracking setup. Future you (or your replacement) will thank you for this documentation.
For marketers managing complex multi-channel campaigns across multiple platforms, consider implementing a marketing attribution platform that provides real-time tracking validation. These platforms continuously monitor data flow from all your marketing sources and alert you immediately when data stops flowing or looks anomalous.
Platforms like Cometly offer server-side tracking that captures conversions browser-based methods miss, plus real-time validation across all your marketing touchpoints. This means you catch tracking issues within hours instead of weeks, and you have a backup data source when browser-based tracking fails.
Build a troubleshooting checklist based on this guide that your team can reference when issues arise. The checklist should walk through the diagnostic steps in order: check conversion status, verify tag firing, test conversion path, confirm GCLID persistence, review attribution settings, and check enhanced conversions.
Having this checklist means that anyone on your team can start troubleshooting immediately, even if they weren't the person who set up tracking originally. It reduces your dependency on specific individuals and speeds up problem resolution.
Putting It All Together
Conversion tracking issues don't have to derail your Google Ads performance. By following this systematic approach, you can maintain accurate tracking that powers effective campaign optimization.
Here's your quick reference checklist for troubleshooting:
1. Check conversion action status in Google Ads to identify which specific actions are problematic and what symptoms they're showing.
2. Verify tags with Google Tag Assistant to confirm tags are firing correctly with matching conversion IDs and labels.
3. Test the complete conversion path with cleared cookies to catch issues that only appear in real-world user journeys.
4. Confirm GCLID persists across domains and redirects by manually testing the parameter through your entire conversion flow.
5. Align attribution windows and time zones to minimize explainable discrepancies between Google Ads and your CRM.
6. Enable enhanced conversions to improve measurement accuracy despite privacy restrictions and cookie limitations.
7. Establish weekly monitoring with automated alerts to catch tracking issues within 24-48 hours of occurrence.
The key is treating tracking maintenance as an ongoing practice, not a one-time setup. Your data quality directly determines your optimization quality. When Google's algorithms receive accurate conversion data, they can find more customers like your best ones and automatically optimize your campaigns for better results. Following best practices for tracking conversions accurately ensures your campaigns perform at their peak.
For marketers managing complex multi-channel campaigns, tools like Cometly can simplify this process by providing server-side tracking that captures conversions browser-based methods miss. From ad clicks to CRM events, Cometly tracks every touchpoint—providing a complete, enriched view of every customer journey. You can analyze ad performance, compare attribution models, and get AI-driven recommendations to scale your campaigns with confidence. Plus, Cometly feeds enriched conversion data back to Meta, Google, and other ad platforms, improving their targeting algorithms and ad ROI.
Ready to elevate your marketing game with precision and confidence? Discover how Cometly's AI-driven recommendations can transform your ad strategy—Get your free demo today and start capturing every touchpoint to maximize your conversions.


