
Your Facebook ads are running. You're seeing clicks. But when you check your ad account, the conversion numbers don't match what's actually happening in your business. Sound familiar?
This disconnect isn't just frustrating—it's expensive. When Facebook's algorithm doesn't see your real conversion data, it can't optimize properly. You end up targeting the wrong audiences, overpaying for clicks that don't convert, and missing opportunities to scale what's actually working.
The problem got worse after iOS 14+ rolled out. Browser-based tracking now misses a significant portion of conversions due to privacy restrictions, ad blockers, and cookie limitations. Facebook's pixel alone can't capture the full picture anymore.
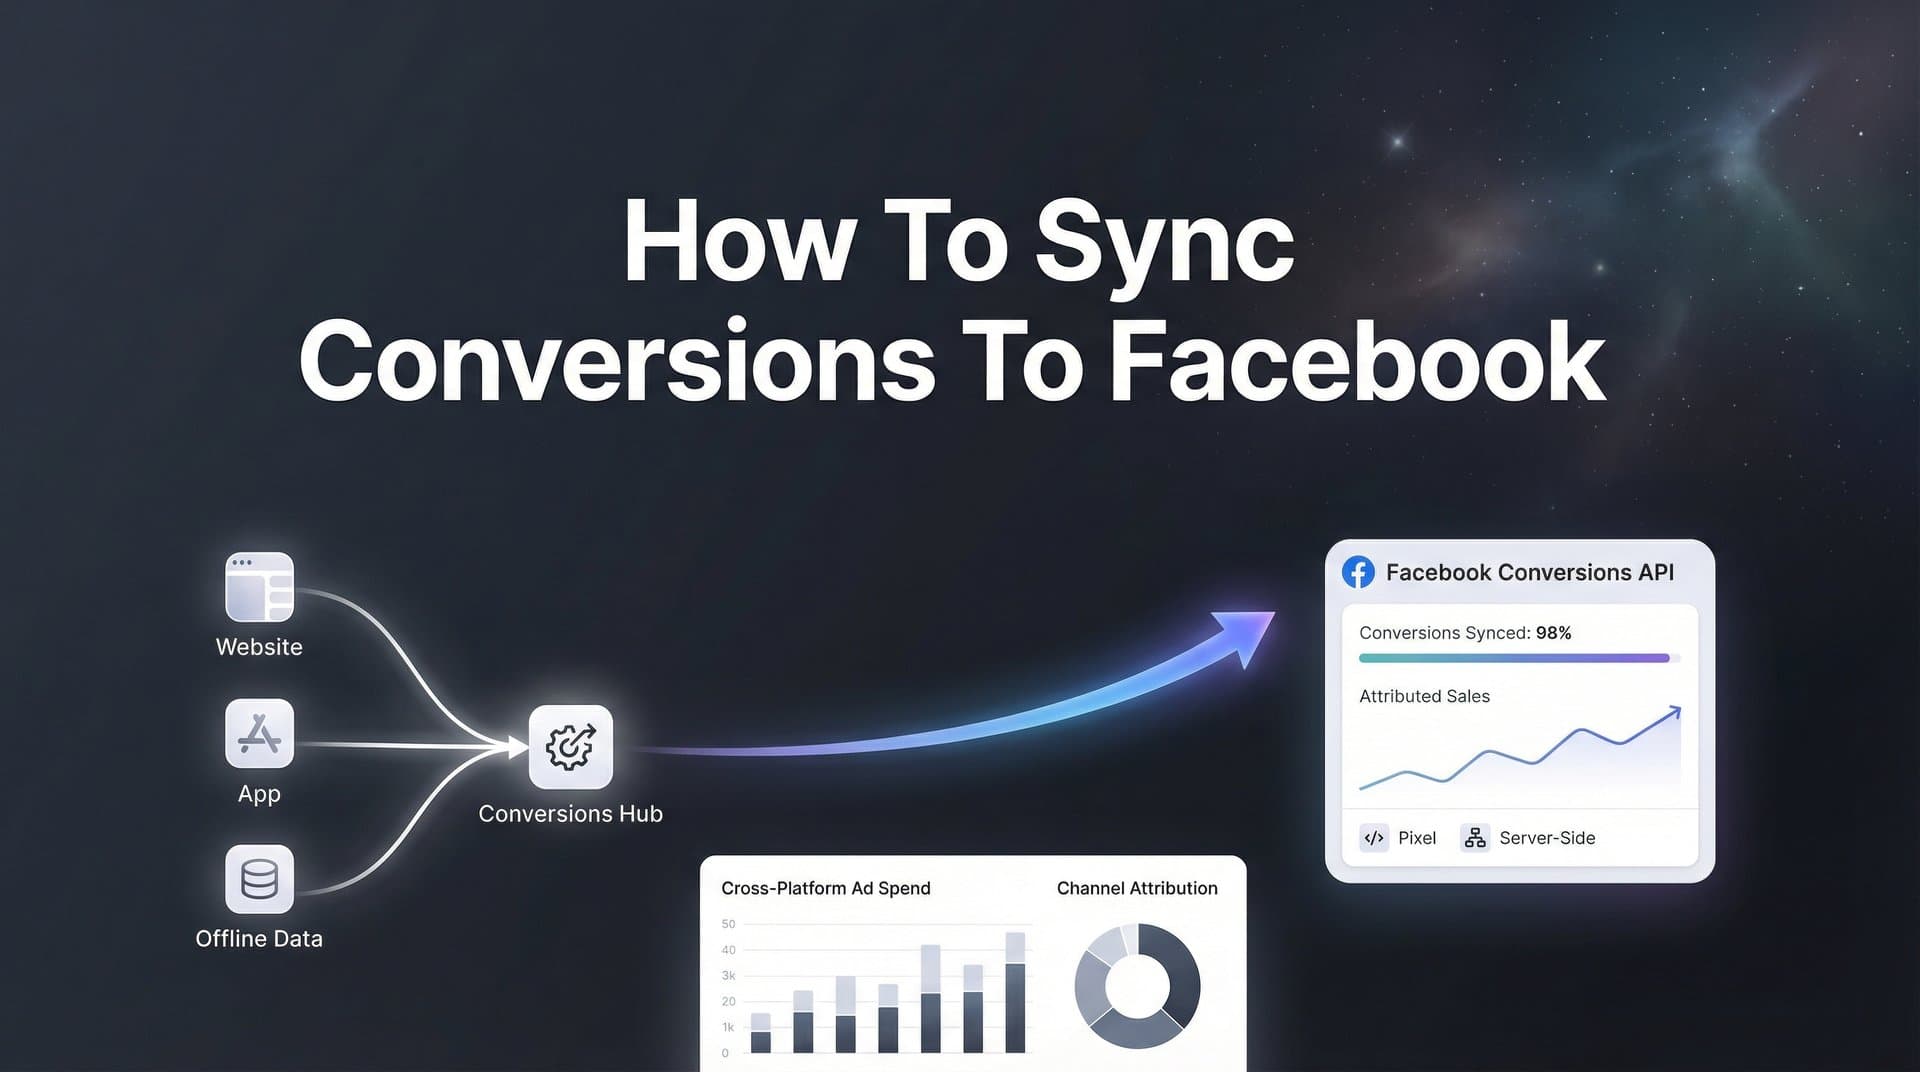
That's where conversion syncing comes in. By sending your actual conversion data directly to Facebook—whether it happens in your CRM, payment processor, or backend system—you give the platform's algorithm the quality signals it needs to find more customers like your best ones.
This guide walks you through the complete process of syncing conversions to Facebook, from verifying your basic setup to implementing server-side tracking that bypasses browser limitations. Whether you're using native Facebook tools or a third-party attribution platform, you'll learn how to establish a reliable data pipeline that feeds Facebook accurate conversion information in real time.
The result? Better targeting, improved return on ad spend, and the confidence that comes from knowing your optimization decisions are based on complete data rather than a partial view of reality.
Step 1: Verify Your Facebook Business Manager and Pixel Setup
Before you can sync conversions effectively, you need to confirm your foundation is solid. This means checking that you have the right permissions and that your Facebook Pixel is actually tracking events on your website.
Start by logging into Facebook Business Manager and navigating to Business Settings. Under "Accounts," select "Ad Accounts" and verify that you have admin access to the account you're working with. Without admin permissions, you won't be able to make the configuration changes required for proper conversion syncing.
Next, find your Facebook Pixel ID. Go to Events Manager from the Business Manager menu, and you'll see your pixel listed with its unique ID number. Make a note of this—you'll need it for various integration steps later.
Now verify that your pixel is actually firing on your website. The easiest way to do this is with the Facebook Pixel Helper browser extension for Chrome. Install it, then visit your website. The extension icon will show a popup indicating whether the pixel is present and what events it's tracking.
Head back to Events Manager and click on your pixel to see the Overview dashboard. This shows you what events Facebook is currently receiving from your site. You'll see standard events like PageView, ViewContent, AddToCart, and hopefully Purchase or Lead events.
Here's where it gets important: compare what Events Manager shows against what's actually happening in your business. If your website generated 50 purchases last week but Facebook only shows 30, you've identified a tracking gap. This discrepancy is exactly why you need proper conversion sync for Facebook ads.
Check the "Activity" tab in Events Manager to see recent events in real time. Trigger a test conversion on your site—complete a purchase or submit a lead form—and watch to see if it appears in the activity feed within a few minutes. If it doesn't show up, your pixel installation has issues that need fixing before you move forward.
Common problems at this stage include: pixel code not installed on all pages, pixel installed but not configured to track conversion events, duplicate pixels causing data conflicts, or pixel blocked by consent management tools before users opt in.
Take the time to resolve these issues now. Everything else in this guide builds on having a properly functioning pixel as your baseline tracking method.
Step 2: Configure Your Conversion Events in Events Manager
With your pixel verified and firing correctly, it's time to define which conversion events matter most for your business. Not all events carry equal weight, and Facebook needs to know which ones represent real business value.
Return to Events Manager and select your pixel. Click on "Overview" and then look for the "Custom Conversions" section. Before creating custom conversions, review the standard events your pixel is already tracking. Facebook provides standard events like Purchase, Lead, CompleteRegistration, AddToCart, and InitiateCheckout that cover most business models.
If your conversion funnel doesn't fit neatly into standard events, you'll need to create custom conversions. Click "Create Custom Conversion" and define the conversion based on URL rules or event parameters. For example, if you want to track demo bookings, you might create a custom conversion that fires when someone lands on your "demo-confirmed" thank-you page.
Name your custom conversions clearly and descriptively. "Demo Booked" is better than "Conversion 1" when you're optimizing campaigns six months from now and need to remember what each event represents.
Here's where iOS compliance becomes critical. Due to Aggregated Event Measurement restrictions, you can only optimize for up to eight conversion events per domain for iOS 14+ users. This means you need to prioritize your events strategically. Understanding why Facebook ads stopped working after iOS 14 helps you navigate these limitations effectively.
Click on "Aggregated Event Measurement" in Events Manager to set your event priorities. Put your most valuable conversion events at the top. For most e-commerce businesses, Purchase goes first, followed by AddToCart and InitiateCheckout. For lead generation businesses, Lead or CompleteRegistration typically ranks first, with lower-funnel events like "Demo Booked" or "Trial Started" following closely.
Think carefully about your sales cycle when prioritizing events. If you have a long consideration period, you might want to optimize for mid-funnel events like "Pricing Page View" or "Calculator Used" rather than only tracking final conversions that happen weeks after the ad click.
For each conversion event, assign a value if possible. Even if you're not tracking actual purchase amounts, assigning estimated values helps Facebook optimize for higher-value conversions. A qualified lead might be worth $50 to your business, while a demo booking might be worth $200 based on your close rate and average deal size.
Review your event configuration every few months. As your business evolves and your understanding of what drives revenue improves, you may need to adjust which events you're prioritizing and optimizing toward.
Step 3: Implement Server-Side Tracking with Conversions API
This is where conversion syncing gets powerful. Browser-based tracking through the Facebook Pixel misses a substantial portion of conversions due to ad blockers, browser privacy settings, and iOS restrictions. Server-side tracking through Facebook's Conversions API solves this problem by sending conversion data directly from your server to Facebook, completely bypassing the browser.
The Conversions API works alongside your pixel, not instead of it. When both are implemented correctly, Facebook automatically deduplicates events so conversions aren't counted twice. The pixel captures what it can through the browser, while the Conversions API fills in the gaps with server-side data.
Start by generating an access token for the Conversions API. In Events Manager, select your pixel and click on "Settings." Scroll down to "Conversions API" and click "Set Up." You'll be prompted to generate an access token—save this securely, as you'll need it for the integration.
How you implement the Conversions API depends on your technical setup. If you're using platforms like Shopify, WordPress, or other major e-commerce systems, you may find official Facebook integrations or plugins that handle the server-side connection automatically. These typically require you to paste in your access token and configure which events to send.
For custom implementations, you'll need developer resources to set up the API connection. Your development team will send HTTP POST requests to Facebook's Graph API endpoint with conversion event data. For a detailed walkthrough, check out our guide on Facebook Conversion API setup.
The critical piece for effective server-side tracking is event matching parameters. These are customer identifiers that help Facebook match your conversion data to specific users who saw or clicked your ads. The more parameters you include, the better Facebook can attribute conversions accurately.
Key event matching parameters include: email address (hashed with SHA-256), phone number (hashed), first and last name (hashed), external ID (your internal customer ID), client IP address, and user agent string. Facebook uses these to probabilistically match conversions to user profiles without storing raw personal data.
Configure deduplication by including an event_id parameter that's identical between your pixel and Conversions API events. When Facebook receives the same event_id from both sources, it counts the conversion only once. Most integration tools handle this automatically, but verify it's working correctly.
After setting up the Conversions API connection, use Facebook's Test Events tool to verify data is flowing correctly. In Events Manager, click on "Test Events" under your pixel. You'll see a test code that you can use to send sample events. Trigger a conversion on your site or send a test event through your server, and watch it appear in the Test Events interface.
Check that both your pixel and Conversions API events are coming through. You should see them labeled with their source—browser for pixel events, server for Conversions API events. If you only see one source, troubleshoot your setup before proceeding. Our article on how to fix Facebook Conversion API issues can help you diagnose common problems.
Step 4: Connect Your CRM or Backend Data Source
The real power of conversion syncing comes from connecting your source of truth—the system where you track actual business outcomes. For many businesses, the most valuable conversions happen long after someone clicks an ad, often in a CRM, payment processor, or custom database.
Think about your customer journey. Someone might click your Facebook ad, submit a lead form, get contacted by sales, attend a demo, and eventually close a deal three weeks later. If you're only tracking the initial lead form submission, Facebook's algorithm never learns which ad clicks led to actual customers. You're optimizing for volume, not value.
Start by identifying where your conversion data lives. For e-commerce businesses, this might be Shopify, WooCommerce, or a custom order management system. For B2B companies, it's typically a CRM like Salesforce, HubSpot, or Pipedrive. For SaaS businesses, it might be your subscription billing platform like Stripe or Chargebee.
Map your CRM stages or backend events to Facebook conversion events. In a typical B2B funnel, you might map: "Lead Created" to Facebook's Lead event, "Opportunity Created" to a custom "Qualified Lead" event, "Demo Completed" to a custom "Demo Attended" event, and "Deal Closed Won" to Facebook's Purchase event with the actual deal value.
The technical implementation depends on your stack. Many CRMs offer native Facebook integrations that can send conversion data through the Conversions API. Check your CRM's integration marketplace first—you might find an official connector that handles the heavy lifting.
If no native integration exists, tools like Zapier can bridge the gap. Create a Zap that triggers when a specific CRM event occurs (like a deal stage change), then sends that data to Facebook as a conversion event through the Conversions API. You'll need to map your CRM fields to Facebook's required parameters.
For more sophisticated needs, attribution platforms like Cometly automate this entire process. They connect to your CRM, payment processor, and other data sources, then intelligently sync conversion events to Facebook with proper attribution, deduplication, and event matching—all without requiring technical implementation work.
The key to successful CRM syncing is including customer identifiers that Facebook can match back to ad interactions. At minimum, include the customer's email address (hashed). If you collected phone numbers, include those too. The external_id parameter should contain your internal customer ID, allowing you to track the same customer across multiple touchpoints.
Consider your attribution window when syncing CRM conversions. If your typical sales cycle is 30 days, but Facebook's attribution window is set to 7-day click, conversions that occur after day 7 won't be attributed to the original ad click. Understanding Facebook's attribution model helps you interpret your data correctly.
Set up your data pipeline to sync conversions in near real-time when possible. The faster Facebook receives conversion data, the sooner its algorithm can learn and optimize. Daily batch syncs work, but real-time event streaming is better for campaign performance.
Step 5: Test and Validate Your Conversion Sync
You've configured everything, but how do you know it's actually working? Testing and validation are critical—without them, you might be making optimization decisions based on incomplete or incorrect data.
Start with Facebook's Test Events tool in Events Manager. This shows you a real-time feed of events as they're received. Trigger a test conversion—either on your website or by creating a test record in your CRM that should sync to Facebook. Watch the Test Events feed to confirm the event appears within a few minutes.
Pay attention to the event details. Click on the event in Test Events to see all the parameters that were sent. Verify that event matching parameters like email, phone, and external_id are present and correctly formatted. Missing parameters reduce Facebook's ability to match conversions to ad clicks.
Check your Facebook Event Match Quality score in Events Manager. This metric, ranging from 0 to 10, indicates how well your customer data matches Facebook's user profiles. A score above 6.0 is generally considered good. If your score is lower, you're likely missing key matching parameters or sending poorly formatted data.
To improve Event Match Quality, focus on including more customer identifiers with each event. Email addresses typically provide the strongest match signal. Phone numbers and names also help. Make sure all personal data is hashed using SHA-256 before sending—Facebook's API requires this for privacy compliance.
Compare the conversion counts in Facebook against your source of truth. Pull a report from your CRM or analytics platform showing conversions for the last 30 days, then compare it to what Events Manager shows for the same period. Some discrepancy is normal due to attribution windows and matching limitations, but if Facebook shows significantly fewer conversions, you have a syncing problem.
Look for duplicate events in Events Manager. If you see the same conversion counted multiple times, your deduplication isn't working correctly. Check that you're using consistent event_id values between your pixel and Conversions API implementations.
Watch for delayed data. Some integrations have latency between when a conversion occurs and when Facebook receives the event. A few hours of delay is acceptable, but if events are taking days to sync, troubleshoot your data pipeline. Delayed data prevents Facebook's algorithm from optimizing in real time.
Common issues to troubleshoot include: incorrect access tokens causing API authentication failures, missing or incorrectly formatted event matching parameters reducing match rates, firewall or server restrictions blocking outbound connections to Facebook's API, and CRM integration triggers not firing when expected. If you're dealing with Facebook ads reporting discrepancies, systematic testing usually reveals the root cause.
Set up ongoing monitoring. Don't just test once and assume everything will keep working. Schedule a weekly check of your Event Match Quality score and conversion count comparisons. Integration failures happen—catching them quickly prevents wasted ad spend.
Step 6: Optimize Your Campaigns Using Synced Conversion Data
Now that accurate conversion data is flowing to Facebook, it's time to put it to work optimizing your campaigns. This is where all the technical setup pays off with better ad performance and improved return on ad spend.
Start by reviewing your campaign optimization settings. In Ads Manager, edit your campaign and check the "Optimization & Delivery" section. If you've been optimizing for link clicks or landing page views because your conversion tracking wasn't reliable, it's time to switch to conversion optimization.
Select the specific conversion event that matters most for this campaign. For bottom-of-funnel campaigns targeting high-intent audiences, optimize for your highest-value conversion—Purchase for e-commerce, or a CRM-synced event like "Demo Booked" or "Deal Closed" for B2B. For top-of-funnel awareness campaigns, you might optimize for lower-funnel events like Lead or AddToCart.
Set your attribution window based on your typical sales cycle. Facebook offers several options: 1-day click, 7-day click, and 1-day view. Most businesses use 7-day click as the default, but if your product has a longer consideration period, understand that conversions occurring after the attribution window won't be counted in Facebook's reporting.
Give Facebook's algorithm time to learn from your improved data. When you first switch to conversion optimization with newly synced data, campaign performance might fluctuate for the first week or two. The algorithm needs to gather enough conversion events to identify patterns and optimize delivery effectively.
Monitor how your campaigns respond to the better data quality. You should see improvements in several areas: more efficient delivery to users likely to convert, lower cost per conversion as the algorithm gets better at finding your ideal audience, and improved conversion rates as Facebook shows your ads to more qualified prospects. Learn more about Facebook ads optimization with data to maximize these improvements.
Use Facebook's attribution reporting to understand which touchpoints contribute to conversions. Go to "Analyze and Report" in Business Manager and select "Attribution." This shows you how different channels and campaigns work together to drive conversions, helping you make smarter budget allocation decisions.
Adjust your conversion event selection as you gather insights. If you initially optimized for Lead but find that "Qualified Lead" (synced from your CRM) correlates more strongly with actual revenue, switch your optimization target. The beauty of proper conversion syncing is that you can optimize for events that truly represent business value, not just top-of-funnel volume.
Consider creating value-based lookalike audiences using your synced conversion data. Facebook can build lookalikes based on customers who completed high-value conversions, helping you find new prospects who resemble your best customers rather than just anyone who converted. Once your data is flowing properly, you can focus on how to scale Facebook ads profitably.
Putting It All Together: Your Conversion Sync Checklist
Syncing conversions to Facebook isn't a one-time setup—it's an ongoing process that requires regular maintenance and optimization. But when done correctly, it transforms Facebook from a platform that's guessing about your results into one that's actively learning from your actual business outcomes.
Here's your quick-reference checklist for maintaining effective conversion syncing:
Weekly: Check your Event Match Quality score and investigate any sudden drops. Compare conversion counts in Facebook against your source of truth to catch syncing issues early.
Monthly: Review your Aggregated Event Measurement priorities and adjust if your business focus has shifted. Audit your campaign optimization settings to ensure you're targeting the right conversion events.
Quarterly: Evaluate whether your CRM-to-Facebook event mapping still reflects your actual customer journey. Test your entire conversion sync pipeline end-to-end to verify everything still works correctly.
Remember that Facebook's algorithm performs best when it receives consistent, high-quality conversion data. The more complete your data, the better the platform can optimize your campaigns. Server-side tracking through the Conversions API addresses browser limitations. CRM syncing ensures Facebook sees your actual business results, not just website interactions. Event matching parameters improve attribution accuracy.
The technical complexity of setting up and maintaining proper conversion syncing is real. Between managing API credentials, configuring deduplication, monitoring data quality, and troubleshooting integration failures, it can become a significant time investment—especially if you're running campaigns across multiple ad platforms. If you need to track conversions across multiple ad platforms, the complexity multiplies quickly.
This is where attribution platforms like Cometly become valuable. Rather than manually building and maintaining integrations between your CRM, website, and ad platforms, Cometly automates the entire conversion sync process. It captures every touchpoint across your customer journey, then feeds that enriched conversion data back to Facebook (and Google, TikTok, and other platforms) through server-side tracking that bypasses browser limitations.
The result is accurate, real-time conversion data flowing to your ad platforms automatically, with proper deduplication and event matching built in. You get the performance benefits of proper conversion syncing without the technical overhead of maintaining custom integrations.
Ready to elevate your marketing game with precision and confidence? Discover how Cometly's AI-driven recommendations can transform your ad strategy—Get your free demo today and start capturing every touchpoint to maximize your conversions.


