
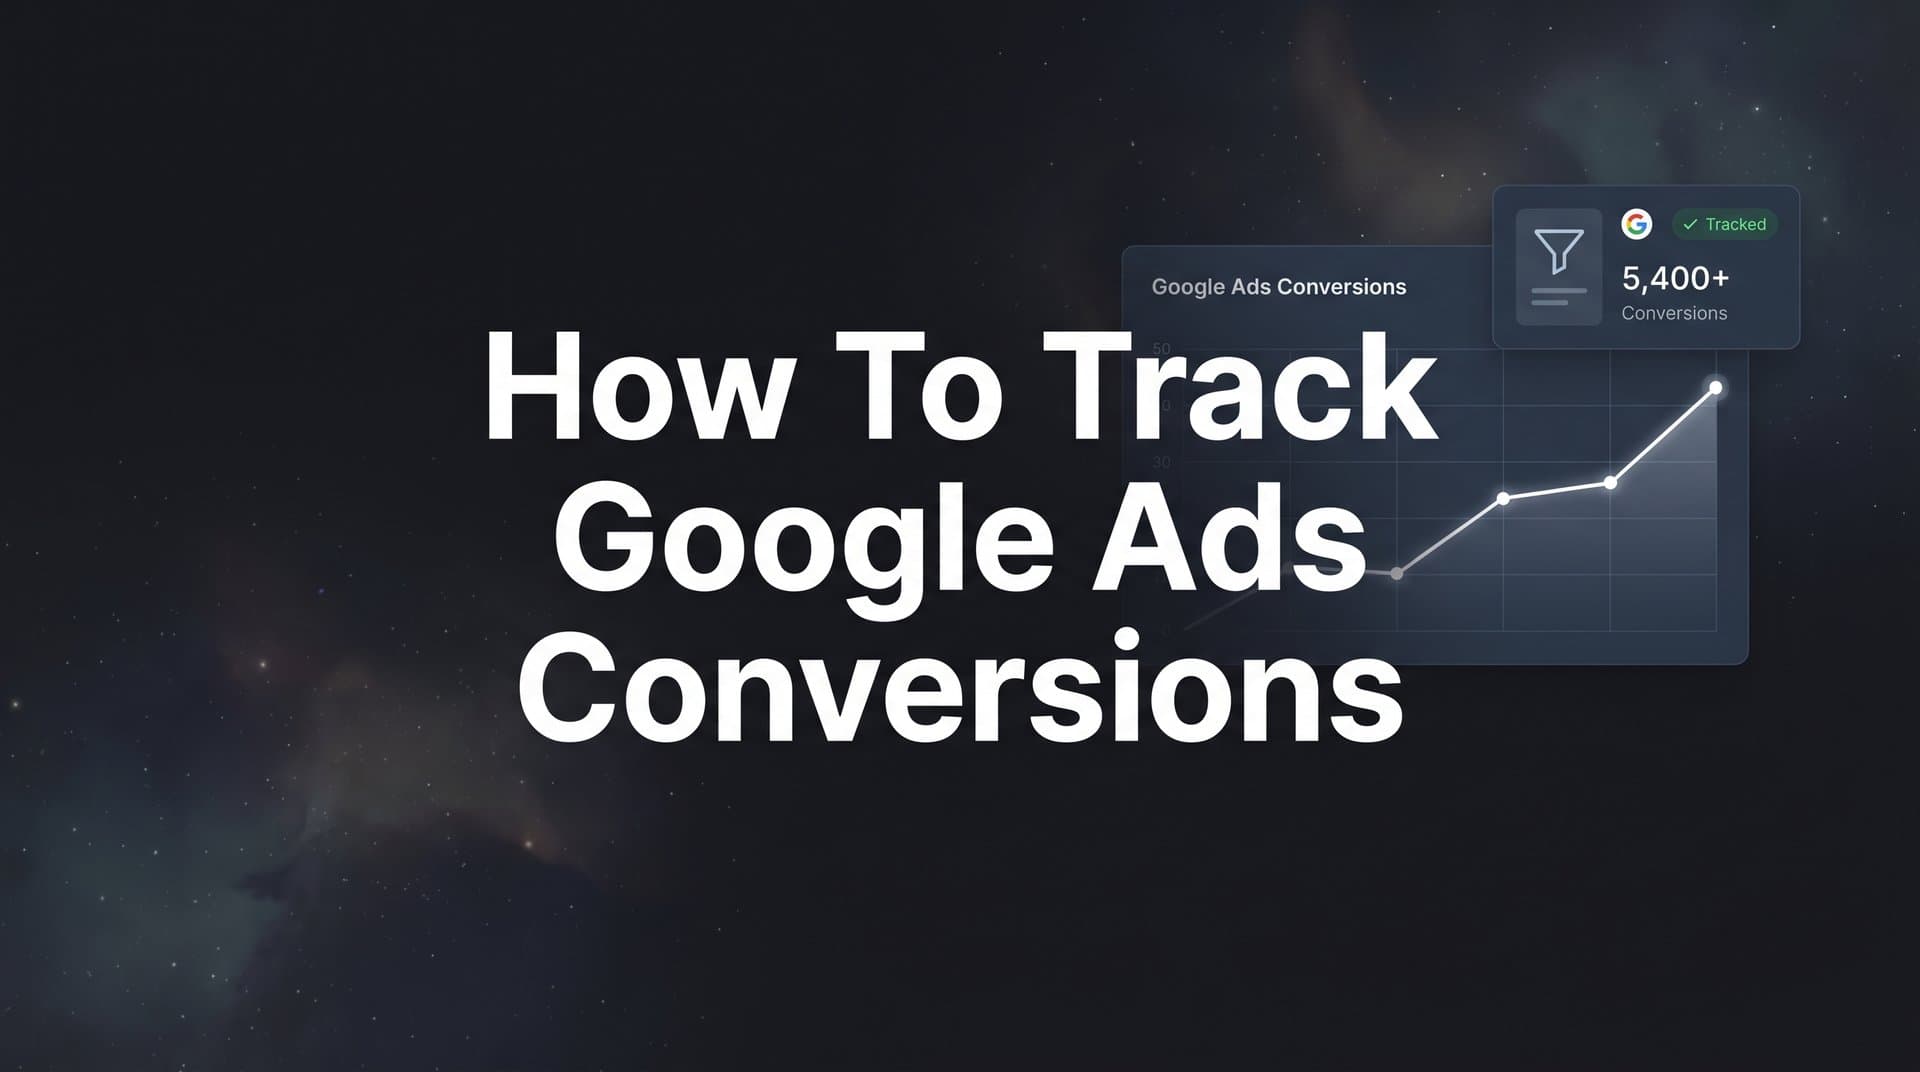
Every dollar you spend on Google Ads should be traceable to a result. Whether that result is a purchase, a demo booking, a form submission, or a phone call, conversion tracking is the mechanism that connects your ad spend to real business outcomes. Without it, you are essentially flying blind, making budget decisions based on clicks and impressions rather than actual revenue.
The good news is that setting up Google Ads conversion tracking is straightforward once you understand the moving parts. This guide walks you through the entire process, from creating your first conversion action inside Google Ads to verifying that data flows correctly, to going beyond native tracking with server-side solutions that capture the full customer journey.
By the end, you will have a reliable conversion tracking setup that gives you confidence in your data and helps you optimize campaigns based on what actually drives results. Let us get started.
Step 1: Define Your Conversion Actions in Google Ads
Before a single tag goes on your website, you need to tell Google Ads what a conversion actually means for your business. A conversion action is a specific customer activity that you have identified as valuable, and Google Ads supports several types: website purchases, lead form submissions, sign-ups, phone calls, app installs, and even specific page views.
To create a conversion action, navigate to your Google Ads account and go to Goals > Conversions > Summary, then click New conversion action. You will be prompted to choose a conversion source. The four main options are:
Website: Tracks actions that happen on your website, such as purchases or form completions. This is the most common starting point for most advertisers.
App: Tracks installs and in-app actions for mobile applications.
Phone calls: Tracks calls made directly from your ads or from a number on your website. If you are having trouble with this type, check out our guide on Google Ads phone call conversions for troubleshooting tips.
Import: Allows you to bring in conversion data from external sources like your CRM or analytics platform, which we will cover in Step 5.
Once you select your source, you will configure three critical settings. First, conversion value: you can assign a static value (useful for fixed-price products) or use dynamic values that pull the actual transaction amount at the time of conversion. For e-commerce, dynamic values are essential because they give Smart Bidding accurate revenue signals to optimize against.
Second, conversion count: choose "Every" if you want to count each conversion separately, which makes sense for purchases. Choose "One" if you only want to count the first conversion per click, which is the right choice for lead generation. Counting every form submission from the same user as a separate lead inflates your numbers and confuses your bidding strategy.
Third, attribution model: this determines how credit is distributed across the touchpoints that led to the conversion. Data-driven attribution is generally the recommended choice because it uses your account's historical data to assign credit proportionally, rather than defaulting to last-click rules. For a deeper dive into how attribution works in Google Ads, read our article on Google Ads attribution tracking.
Start with your highest-value conversion action first, whether that is a purchase, a demo request, or a qualified lead. Micro-conversions like page views or video watches can be added later as secondary actions, but you do not want them influencing your primary bidding strategy before your core data is solid.
Step 2: Install the Google Ads Tag on Your Website
With your conversion action defined, Google Ads will generate the tags you need to install on your site. There are two components to understand: the Global Site Tag (gtag.js) and the event snippet.
The Global Site Tag is a JavaScript snippet that loads the Google Ads tracking library. It goes in the <head> section of every page on your website. Think of it as laying the foundation that makes tracking possible across your entire site.
The event snippet is the piece that actually fires a conversion. It only belongs on the page a user sees after completing the action you want to track, such as an order confirmation page or a thank-you page after a form submission. This distinction matters enormously.
You have two options for installation:
Option A: Manual installation. Copy the Global Site Tag from your Google Ads account and paste it into the <head> of every page on your site. Then copy the event snippet and place it on only the conversion confirmation page. This approach works well for simple sites where you have direct access to the HTML. If you run a Shopify store, our guide on Google Ads conversion tracking for Shopify walks through the platform-specific steps.
Option B: Google Tag Manager. This is the method most marketing teams prefer because it does not require touching site code directly for every change. Inside GTM, create a new tag and choose Google Ads Conversion Tracking as the tag type. Enter your Conversion ID and Conversion Label (both found in your Google Ads account under the conversion action details). Then set your trigger.
Choosing the right trigger depends on how your conversion page works. If your site loads a separate thank-you URL after a form submission, use a Page View trigger that fires on that specific URL. If the form submission happens without a page reload (common with single-page applications), use a Form Submission trigger or a click-based trigger that fires when the submit button is clicked.
One of the most common mistakes at this stage is placing the event snippet on every page rather than only the confirmation page. When that happens, the tag fires every time any user visits any page, and your conversion numbers become meaningless. Double-check your trigger conditions before publishing.
After publishing your GTM container, confirm the tags are live by using preview mode in GTM or the Google Tag Assistant extension, which we cover in Step 4.
Step 3: Set Up Enhanced Conversions for Better Data Accuracy
Standard pixel-based tracking has a real vulnerability: it depends on browser cookies. With increasing privacy restrictions across browsers, ad blockers, and iOS privacy features limiting cross-device tracking, many conversions that should be attributed to your ads simply go unrecorded. Enhanced conversions are Google's answer to this signal loss.
Here is how it works: when a user converts on your site, enhanced conversions capture first-party data they have provided, such as an email address, phone number, or physical address. That data is hashed (converted into an anonymized string) before being sent to Google. Google then matches that hashed data against signed-in Google accounts to confirm the conversion came from an ad click, even when cookies are not available.
Many advertisers find that enabling enhanced conversions improves their match rates meaningfully, giving Google's algorithm more accurate signals to work with. Better signals mean better Smart Bidding performance, because Target CPA and Target ROAS strategies are only as good as the conversion data feeding them.
To enable enhanced conversions, go to Goals > Conversions > Settings in your Google Ads account and turn on the enhanced conversions toggle. You will then choose your implementation method:
Automatic (Google tag): Google's tag automatically detects form fields on your conversion pages and extracts the relevant data. This is the simpler option but requires that your form fields use standard naming conventions that Google can recognize.
Manual via GTM or code: You map specific variables from your page (such as the value stored in an email input field) to the enhanced conversion fields in your tag configuration. This gives you more control and is the better choice when your forms use custom field names or when you want to ensure specific data is captured reliably.
Enhanced conversions work best when your conversion pages collect email addresses. If your checkout or lead form does not capture an email, the match rate benefit is limited. Make sure your highest-value conversion pages are set up to collect this data before you invest time in the implementation.
Step 4: Verify Your Tracking with Tag Assistant and Real-Time Reports
Setting up tags is only half the job. Verifying they fire correctly is where many advertisers skip a step and later discover their data has been wrong for weeks. Do not skip verification.
Start with the Google Tag Assistant Chrome extension. Install it, navigate to your conversion page, and activate Tag Assistant. It will show you which Google tags are present on the page and whether they are firing correctly. A green indicator means the tag is healthy. Yellow or red indicators signal configuration issues that need attention.
If you deployed through Google Tag Manager, use GTM's built-in debug mode. Click Preview in your GTM workspace, enter your website URL, and GTM will open a debug panel alongside your site. Navigate through your conversion flow (fill out the form, complete a purchase) and watch the debug panel to confirm your conversion tag fires at exactly the right moment on exactly the right page.
After confirming tags fire correctly, check your Google Ads Conversions Summary page for tracking status. If you notice discrepancies between what your tags report and what Google Ads shows, our article on Google Ads conversion tracking problems covers the most common causes and fixes.
Recording: Conversions are being tracked successfully.
No recent conversions: The tag is installed but has not recorded a conversion yet. This is normal immediately after setup.
Inactive: The tag has not been detected on your site. This usually means the tag was not installed correctly or the trigger is not firing.
Keep in mind that there is typically a 24 to 72 hour delay before conversions appear in Google Ads reporting after they occur. Do not assume your tracking is broken simply because conversions are not showing up within the first hour. Submit a test conversion yourself, verify it fires in Tag Assistant, and then give it a day before checking the reporting dashboard.
Step 5: Connect Offline and CRM Conversions to See the Full Funnel
Website conversion tracking captures what happens in the browser. But for many businesses, especially in B2B or high-consideration categories, the actual sale happens days or weeks later, over email, on a sales call, or inside a CRM. If you are only tracking form submissions, you are optimizing for leads, not revenue. That distinction can lead Smart Bidding in the wrong direction entirely.
The solution is offline conversion imports, and the key to making them work is capturing the Google Click ID (GCLID). When someone clicks your Google ad, Google appends a unique GCLID parameter to the destination URL. You need to capture that parameter and store it alongside the lead record in your CRM. For a comprehensive walkthrough, see our guide on how to track offline conversions from online ads.
Here is the basic process:
1. Enable auto-tagging in your Google Ads account settings (it is on by default, but worth confirming). This ensures GCLID parameters are added to your ad click URLs automatically.
2. Add a hidden field to your lead capture forms that stores the GCLID value from the URL. Most CRM integrations and form tools support this with a small amount of configuration.
3. When a lead progresses to a closed deal or a qualified opportunity in your CRM, export a CSV containing the GCLID and the conversion date, then upload it to Google Ads under Goals > Conversions > Upload. Google matches those GCLIDs back to the original ad clicks and attributes the revenue correctly.
4. For higher volumes, automate this process using Google's Ads API or a native CRM integration so conversions sync in real time rather than through manual uploads.
This is where platforms like Cometly make a significant difference. Cometly connects your CRM and ad platforms, capturing every touchpoint from the first ad click through to a closed deal. Instead of manually exporting and uploading CSVs, Cometly automates the sync of enriched conversion events back to Google Ads in real time. Your Smart Bidding strategies receive accurate revenue signals without the operational overhead, and you can map your CRM pipeline stages directly to conversion actions so you track progression from lead to customer rather than just counting form fills.
When Smart Bidding receives actual revenue data rather than just lead counts, it can optimize toward the campaigns and keywords that generate real business value, not just the ones that generate the most form submissions.
Step 6: Go Beyond Native Tracking with Server-Side Attribution
Even with everything set up correctly, Google's native conversion tracking has structural limitations you need to understand. It operates within a walled garden: it tells you how your Google campaigns are performing according to Google's own attribution. It does not tell you how Google compares to Meta, email, organic search, or any other channel in your mix.
There are also technical gaps. Browser-based tracking relies on cookies, and cookies expire, get blocked by privacy tools, or fail to persist across devices. A user who clicks your Google ad on their phone and converts on their laptop may never be connected in your reporting. If you want to understand how to maintain accurate measurement in a cookieless landscape, read our guide on how to track conversions without cookies.
Server-side tracking addresses this at the infrastructure level. Instead of relying on a browser cookie to record a conversion, server-side tracking captures the event on your server and sends it directly to the ad platform. This approach is not blocked by browser privacy features, does not depend on cookie persistence, and typically captures more complete data than browser-based methods alone.
Multi-touch attribution takes this a step further by distributing conversion credit across every touchpoint in the customer journey, not just the last click. This matters because many conversions start with a Google ad, pass through an email or organic search visit, and close via a retargeting campaign. Last-click attribution gives all the credit to the final touchpoint and makes the earlier campaigns look ineffective, which leads to budget decisions that underinvest in the channels that initiate and assist the most valuable journeys. For businesses running ads on multiple platforms, learning how to track conversions across multiple ad platforms is essential for accurate budget allocation.
Cometly's server-side tracking and multi-touch attribution work together to give you a unified view across Google Ads, Meta, and every other channel in your stack. Rather than looking at each platform's self-reported numbers in isolation, you see the actual contribution of each channel to your revenue. Cometly's Conversion Sync feature then sends enriched, conversion-ready events back to Google Ads, improving the quality of signals that power your targeting and bidding strategies.
On top of that, Cometly's AI-powered recommendations analyze your ad performance across channels and surface which campaigns are generating the strongest returns. Instead of manually digging through dashboards to figure out where to scale budget, you get clear, data-driven guidance on where your next dollar will have the most impact.
Your Conversion Tracking Checklist: Putting It All Together
Conversion tracking is not a one-time setup. It is an ongoing system that needs attention as your campaigns evolve, your website changes, and your business goals shift. Use this checklist to confirm your setup is complete and to guide your ongoing maintenance:
Define conversion actions: Created at least one primary conversion action in Google Ads aligned with your core business goal, with the correct value, count, and attribution model settings.
Install the tags: Global Site Tag deployed on every page, event snippet deployed only on the conversion confirmation page, verified via GTM preview or Tag Assistant.
Enable enhanced conversions: Enhanced conversions turned on in Google Ads settings, implemented via GTM or automatic detection, with email capture confirmed on key conversion pages.
Verify tracking: Test conversion submitted, tag firing confirmed in Tag Assistant or GTM debug mode, conversion status showing as Recording in Google Ads.
Connect offline data: GCLID capture enabled on lead forms, CRM pipeline stages mapped to conversion actions, offline conversion import process established (manual or automated).
Implement server-side attribution: Server-side tracking in place to capture conversions beyond browser limitations, multi-touch attribution configured to understand the full customer journey, Conversion Sync feeding enriched data back to Google Ads.
After any website update, tag deployment, or landing page change, run through the verification steps again. Broken tracking is often silent: campaigns keep running, money keeps spending, and the data quietly stops reflecting reality.
If you are ready to move beyond manual setups and fragmented platform reporting, Get your free demo of Cometly today. See how AI-driven attribution and automated conversion sync can give you accurate, complete data across every ad platform, so you can scale with confidence instead of guesswork.


