Your marketing team just launched a campaign that generated 500 leads. Three days later, your sales team asks why they only see 200 of them in Salesforce. Meanwhile, Marketo shows engagement data that never made it to the CRM, and your sales reps are working leads without knowing they've opened five emails and visited your pricing page twice. Sound familiar?
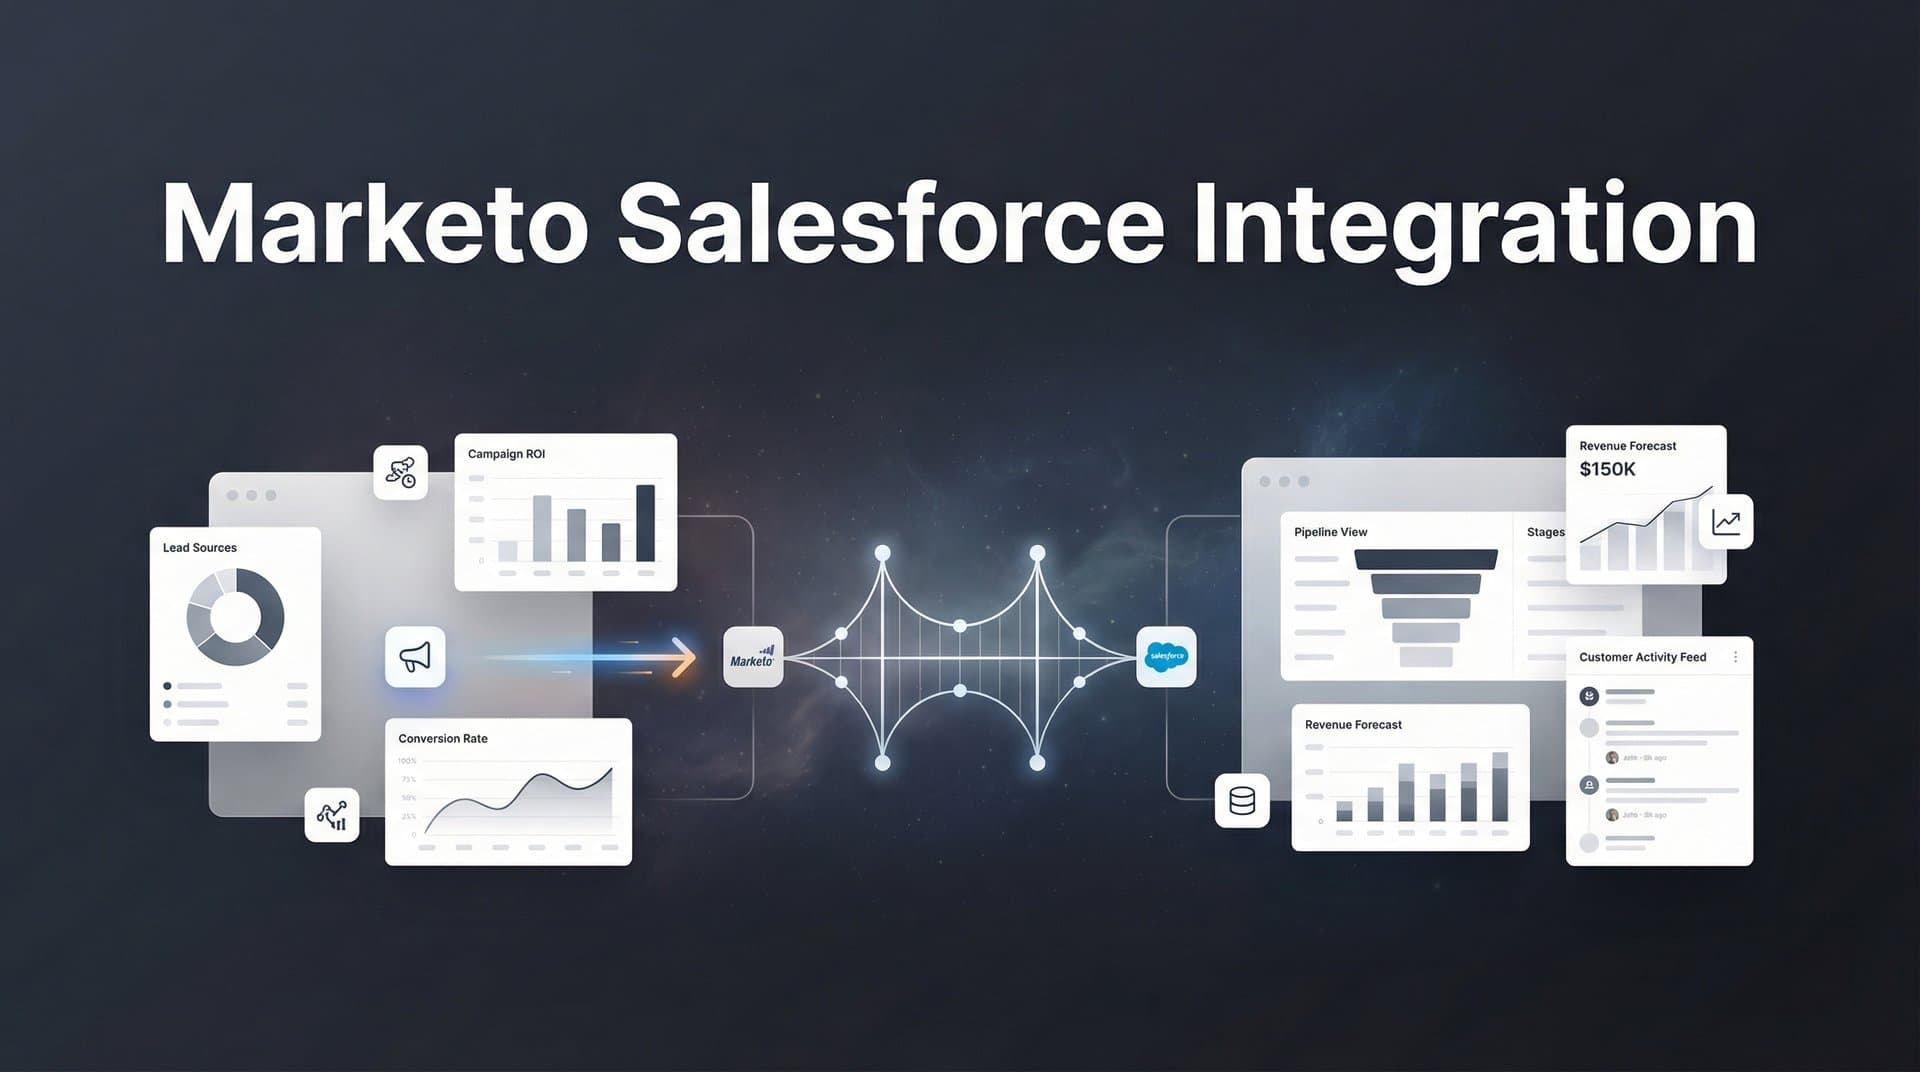
Connecting Marketo and Salesforce creates a powerful bridge between your marketing automation and CRM systems—but the setup process can feel overwhelming without clear guidance. When these platforms sync correctly, your sales team sees every marketing touchpoint, lead scores update in real time, and campaigns can trigger based on CRM data.
When they don't? You're left with duplicate records, sync errors, and frustrated teams pointing fingers at each other.
This guide walks you through the complete Marketo Salesforce integration process, from initial preparation to validation testing. Whether you're setting up a native sync for the first time or troubleshooting an existing connection, you'll find practical steps to get both platforms working together seamlessly. By the end, you'll have a fully functional integration that keeps your marketing and sales data aligned.
Step 1: Verify Your Salesforce Edition and User Permissions
Before you touch any integration settings, you need to confirm your Salesforce edition supports the native Marketo sync. Not all Salesforce licenses are created equal when it comes to API access.
Marketo's native integration requires Salesforce Enterprise, Unlimited, or Developer edition. If you're running Professional edition, you'll need to purchase the API add-on from Salesforce. Check your edition by navigating to Setup in Salesforce, then searching for "Company Information" in the Quick Find box.
Here's why this matters: the integration relies on API calls to sync data between platforms every five minutes. Without API access, the sync simply won't work. Understanding ad platform API integration principles can help you grasp how these connections function at a technical level.
Create a Dedicated Sync User
This is the single most important decision you'll make during setup. Create a dedicated Salesforce user specifically for the Marketo integration—don't use a personal account, even if it's your admin account.
Why? When Sarah from marketing leaves the company and her account gets deactivated, your entire Marketo sync shouldn't break with it. A dedicated integration user with a generic email like marketo-sync@yourcompany.com ensures continuity regardless of staff changes.
Configure the Sync User Profile
Your sync user needs specific permissions to function correctly. Start by creating a new profile or cloning the System Administrator profile. The sync user requires:
Read and write access to Leads, Contacts, Accounts, Opportunities, and Campaigns. Without these permissions, data won't flow between systems.
API Enabled permission checked in the profile settings. This allows Marketo to authenticate and make API calls.
Marketing User checkbox enabled on the user record itself. This grants access to Campaigns and Campaign Members, which Marketo uses to track program membership.
Navigate to Setup > Users > Profiles, then edit your sync user's profile. Scroll to the Standard Object Permissions section and verify that all required objects show "Read" and "Create" permissions at minimum.
Enable API Access
In the sync user's profile, find the Administrative Permissions section and confirm "API Enabled" is checked. This single checkbox determines whether Marketo can communicate with Salesforce at all.
One more critical setting: assign the sync user a Salesforce license. Don't try to save money by using a limited license here—the sync user needs full platform access to function reliably.
Step 2: Configure Salesforce Custom Fields for Marketo Data
Marketo tracks dozens of data points that Salesforce doesn't capture by default—lead scores, acquisition programs, email engagement metrics, and behavioral data. Before syncing, you need to create matching fields in Salesforce to receive this information.
Start by identifying which Marketo fields contain critical data for your sales team. Common examples include Lead Score, Acquisition Program, Last Interesting Moment, and Email Engagement Status. These fields help sales reps prioritize outreach and understand prospect behavior.
Create Custom Fields on Lead and Contact Objects
Here's a key detail many teams miss: you need to create custom fields on both the Lead object and the Contact object. When a lead converts to a contact in Salesforce, the data needs somewhere to live on the Contact record.
Navigate to Setup > Object Manager > Lead > Fields & Relationships, then click "New" to create a custom field. Let's say you're adding Lead Score. Select "Number" as the field type, set the length to accommodate your scoring range, and choose a decimal precision if needed.
Name the field clearly—something like "Marketo Lead Score" makes the source obvious. Add a description explaining what the field represents and how it's calculated. Your future self will thank you when troubleshooting six months from now.
Now repeat this exact process on the Contact object. The field name, type, and length should match precisely. Mismatched field types between Lead and Contact objects cause sync errors during lead conversion.
Set Field-Level Security
After creating each field, you need to grant your Marketo sync user access. Click "Set Field-Level Security" immediately after creating the field, then check "Visible" for your sync user's profile.
If you skip this step, Marketo can't write data to the field even though it exists. The sync will fail silently, and you'll spend hours wondering why lead scores aren't updating.
Match Field Types Correctly
Field type mismatches cause data truncation and conversion errors. If Marketo sends a text string but Salesforce expects a number, the sync fails. Following data integration best practices helps you avoid these common pitfalls. Common field type mappings:
Marketo Text fields map to Salesforce Text fields—but watch the character length. If Marketo allows 255 characters and Salesforce only allows 100, data gets cut off.
Marketo Score fields map to Salesforce Number fields. Set an appropriate decimal precision based on how you calculate scores.
Marketo Date/Time fields map to Salesforce Date/Time fields. Time zones matter here—document which time zone you're using as the standard.
Marketo Boolean fields map to Salesforce Checkbox fields. These work reliably as long as both systems use true/false values.
For picklist fields, the values must match exactly between systems. If Marketo sends "Qualified" but Salesforce expects "Sales Qualified," the sync fails. Create a spreadsheet mapping your picklist values before you start syncing.
Step 3: Set Up the Native Sync in Marketo Admin
With your Salesforce environment prepared, you're ready to configure the connection from Marketo's side. This is where both systems shake hands and establish the sync relationship.
Log into Marketo and navigate to Admin > Integration > Salesforce. If this is your first time setting up the integration, you'll see a "Connect to Salesforce" button. Click it to begin the authorization process.
Authorize the Connection
Marketo will redirect you to a Salesforce login page. Enter the credentials for your dedicated sync user—not your personal Salesforce account. This is where using a dedicated user pays off, as the integration will maintain this connection indefinitely.
Salesforce will display a permission request showing what data Marketo wants to access. Review the permissions carefully. Marketo needs read and write access to sync data bidirectionally, so the permission scope looks extensive. This is normal and expected.
Click "Allow" to authorize the connection. Salesforce redirects you back to Marketo, where you'll see a confirmation message that the integration is initializing.
Configure Sync Settings
The initial sync can take several hours if you have a large database. Marketo will pull all existing Leads and Contacts from Salesforce during this first sync. Monitor the sync status in the Salesforce section of your Marketo admin panel.
Once the initial sync completes, ongoing syncs happen automatically every five minutes for most record types. You can't change this frequency—it's built into Marketo's sync engine.
Set Conflict Resolution Rules
Here's where things get interesting. What happens when both systems update the same field on the same record within the five-minute sync window? You need to decide which system wins.
Marketo offers two conflict resolution approaches: "Salesforce wins" and "Marketo wins." These rules determine which system's data overwrites the other during conflicts.
"Salesforce wins" means if a sales rep updates a field in Salesforce and a Marketo campaign updates the same field simultaneously, Salesforce data takes priority. This protects manual updates from being overwritten by automation.
"Marketo wins" means Marketo's automation takes precedence. This makes sense for fields that marketing owns exclusively, like lead scores or email engagement metrics that sales shouldn't manually edit.
Most teams use a hybrid approach: Salesforce wins for fields that sales actively manages (like phone numbers and company names), while Marketo wins for marketing-specific fields (like lead scores and program membership). Leveraging Salesforce automation capabilities can help enforce these rules consistently.
You set these rules field by field during the mapping process in the next step. There's no global "Salesforce always wins" setting—you need to think through each field individually.
Understand Sync Behavior
The sync is bidirectional, meaning changes flow both directions. When a sales rep updates a lead's title in Salesforce, that change syncs to Marketo. When a Marketo campaign updates a lead score, that change syncs to Salesforce.
New records created in either system automatically sync to the other. Create a lead in Marketo, and it appears in Salesforce within five minutes. Create a lead in Salesforce, and Marketo picks it up on the next sync cycle.
One important limitation: Marketo only syncs records that meet your sync filters. If you've configured filters to exclude certain record types or values, those records won't sync even if they exist in Salesforce.
Step 4: Map Fields and Configure Sync Behavior
Field mapping determines which Marketo fields connect to which Salesforce fields. Get this wrong, and data ends up in the wrong places—or doesn't sync at all.
Navigate to Admin > Field Management in Marketo. You'll see a list of all Marketo fields and their Salesforce mappings. Marketo automatically maps standard fields like First Name, Last Name, Email, and Company based on API names.
Review Auto-Mapped Fields
Check the automatic mappings first. Click on each field to see which Salesforce field it's connected to. Most standard mappings work correctly, but occasionally Marketo maps to an unexpected field if your Salesforce org has custom configurations.
Pay special attention to required fields. If Salesforce requires a field but Marketo doesn't, you'll encounter sync errors when creating records. Add validation rules in Marketo to ensure required Salesforce fields always contain data before syncing.
Map Your Custom Fields
For the custom fields you created in Step 2, you need to establish mappings manually. Find your custom Marketo field in the field list, click "Edit," then select the corresponding Salesforce field from the dropdown.
Remember that you created matching fields on both Lead and Contact objects? You need to map both. Marketo shows separate mapping options for "Lead" and "Contact"—make sure you map to the correct field on each object.
If you don't map both Lead and Contact fields, data disappears during lead conversion. A lead converts to a contact, and suddenly the lead score vanishes because you only mapped the Lead object field.
Block Sensitive Fields from Syncing
Not every field should sync between systems. Internal notes, sensitive financial data, or fields used exclusively for Salesforce automation should stay in Salesforce.
In Marketo's field management, you can block fields from syncing. Find the field, click "Edit," and check "Block updates from Marketo." This prevents Marketo from writing to the field while still allowing Salesforce data to flow into Marketo if needed.
Common fields to block include internal comment fields, fields used by Salesforce workflows that marketing shouldn't touch, and any field containing personally identifiable information that marketing doesn't need.
Configure Lead Conversion Behavior
When a lead converts to a contact in Salesforce, Marketo needs to know how to handle the record. Navigate to Admin > Salesforce > Edit Sync Options to configure conversion settings.
You have two main options: keep the Marketo lead record and link it to the Salesforce contact, or merge the Marketo lead into a contact record. Most teams choose to keep the lead record in Marketo for historical tracking, even after conversion in Salesforce.
This setting affects reporting. If you merge records, you lose the ability to track pre-conversion behavior separately from post-conversion behavior. If you keep separate records, you need to account for both in your reports. Improving your lead tracking process ensures you maintain visibility throughout the entire customer journey.
Set Up Custom Object Sync
If you use Salesforce custom objects, they require additional configuration. Marketo doesn't automatically sync custom objects—you need to enable them individually.
Navigate to Admin > Salesforce > Edit Sync Options > Custom Objects. Select which custom objects should sync and how they relate to Leads and Contacts. This is advanced configuration that most teams tackle after the basic sync is working reliably.
Step 5: Test the Integration with Sample Records
Configuration looks perfect on paper, but the real test comes when data starts flowing. Create test records to validate that everything works before unleashing the sync on your entire database.
Start in Marketo. Create a new lead with a unique email address like test-marketo-sync@yourcompany.com. Fill in all the standard fields plus your custom fields—lead score, acquisition program, whatever you configured.
Wait five minutes, then check Salesforce. Search for your test lead by email address. It should appear as a new Lead record with all the data you entered in Marketo.
Test Bidirectional Sync
Now test the reverse direction. In Salesforce, update your test lead's phone number and title. Wait five minutes, then check the same lead in Marketo. The changes should appear in Marketo's lead record.
Create a second test lead directly in Salesforce. Give it a unique email address like test-salesforce-sync@yourcompany.com. Within five minutes, this lead should appear in Marketo automatically.
If either direction fails, check your sync user permissions. The most common issue is missing read or write access on specific objects or fields.
Validate Custom Field Sync
Update your custom fields on both test leads. Change the lead score in Marketo and verify it updates in Salesforce. Change a custom field in Salesforce and verify it updates in Marketo.
If custom fields aren't syncing, revisit Step 2. You probably missed field-level security settings or created a field type mismatch between Marketo and Salesforce. Many teams encounter similar marketing data integration challenges during initial setup.
Check Sync Timing
The five-minute sync interval is approximate, not exact. Under normal conditions, changes appear in the other system within five to seven minutes. During high-traffic periods, sync delays can extend to ten or fifteen minutes.
This isn't a problem—it's how the system works. Set expectations with your sales team that Marketo data isn't instant in Salesforce. Real-time sync isn't realistic with the native integration.
Monitor for Sync Errors
Navigate to Admin > Salesforce > Sync Errors in Marketo. This page shows any records that failed to sync and why. Common errors include:
Required field missing—Salesforce requires a field that Marketo didn't populate. Add validation in Marketo to ensure required fields always contain data.
Field type mismatch—You're trying to sync a text value into a number field. Fix the field mapping or change the field type in one system.
Duplicate record detected—Salesforce's duplicate rules blocked the sync. Decide whether to merge the duplicates or adjust your duplicate rules.
Insufficient permissions—Your sync user lacks access to a field or object. Grant the necessary permissions in Salesforce.
Document every error you encounter and how you resolved it. You'll see similar issues again as your team creates new fields and processes.
Test Lead Conversion
Convert one of your test leads to a contact in Salesforce. Check that the data transfers correctly to the Contact record and that Marketo maintains its connection to the record.
In Marketo, the lead should now show a link to both the Salesforce Lead record and the Salesforce Contact record. All the data should remain intact—no fields should go blank during conversion.
Step 6: Validate Your Complete Customer Journey Tracking
Your Marketo Salesforce integration is live, but it only captures part of the customer journey. The sync shows what happens within Marketo and Salesforce, but what about everything that happened before someone became a lead?
Test that marketing touchpoints appear correctly in Salesforce. When someone clicks an email in Marketo, that activity should log in Salesforce as a Task or Activity record. When someone fills out a form, Salesforce should show the form submission.
Navigate to a synced lead's Activity History in Salesforce. You should see Marketo activities listed chronologically—emails opened, links clicked, forms submitted. If these activities don't appear, check your Activity Sync settings in Marketo's Salesforce configuration.
Verify Sales Activities Sync Back to Marketo
The sync should flow both directions for activities too. When a sales rep logs a call or meeting in Salesforce, Marketo should capture that activity for lead scoring purposes.
Have a sales rep log a test call on your test lead. Check Marketo's Activity Log for that lead—the call should appear within five minutes. If sales activities aren't syncing to Marketo, your lead scoring models will miss critical engagement signals.
Test Campaign Membership and Program Status
Marketo programs sync to Salesforce campaigns when configured correctly. Create a test program in Marketo and add your test lead as a member. In Salesforce, you should see a corresponding campaign with your lead listed as a campaign member.
Program status changes in Marketo should update campaign member status in Salesforce. If someone's status changes from "Invited" to "Attended" in Marketo, Salesforce should reflect that change.
This sync enables sales reps to see which marketing programs influenced each lead—valuable context for sales conversations.
Understand What the Integration Doesn't Capture
Here's the gap many marketing teams discover too late: the Marketo Salesforce integration captures activity within Marketo, but it doesn't automatically connect upstream ad platform data.
Someone clicks your Facebook ad, visits your website three times, watches a product video, then fills out a Marketo form. The form submission syncs to Salesforce, but the ad click, website visits, and video view? Those happened outside Marketo's tracking scope.
Your sales rep sees a lead in Salesforce with a form submission but no context about the paid ad campaign that started the journey. They don't know which ad creative resonated or which landing page converted. Implementing proper marketing attribution CRM integration bridges this visibility gap.
For teams running multi-platform campaigns across Google Ads, Meta, LinkedIn, and other channels, this creates a visibility gap. You're optimizing Marketo campaigns based on form fills, but you can't trace those fills back to specific ad campaigns or channels. Understanding ad platform reporting discrepancies helps explain why your numbers don't always match.
This is where attribution platforms like Cometly become valuable. While your Marketo Salesforce integration handles the marketing automation and CRM connection, attribution tools connect the dots between ad clicks and CRM conversions. They capture the complete customer journey—from first ad impression through every website visit to final sale—and feed that enriched data back to your ad platforms for better optimization.
Think of it as three layers working together: your ad platforms generate traffic, Marketo nurtures leads, Salesforce manages the sales process, and attribution tools connect all three layers into a complete picture of what's actually driving revenue.
Putting It All Together
With your Marketo Salesforce integration now live, your marketing and sales teams share a unified view of every prospect. Lead scores update automatically, marketing touchpoints appear in sales records, and both teams work from the same data instead of arguing about whose numbers are correct.
Quick checklist to confirm success: dedicated sync user created and properly configured, custom fields mapped on both Lead and Contact objects, bidirectional sync verified with test records, activities flowing between systems, and sync errors monitored and resolved.
Monitor your sync queue regularly for the first few weeks to catch any issues early. Navigate to Admin > Salesforce > Sync Errors daily and address any problems before they compound. Most sync issues are easiest to fix immediately after they occur.
Document your field mappings, sync settings, and conflict resolution rules. When someone asks why a field syncs a certain way six months from now, you'll want that documentation handy. Create a simple spreadsheet listing each custom field, its purpose, and which system owns it. Following marketing data integration best practices ensures your documentation stays useful long-term.
Remember that this integration handles the Marketo-Salesforce connection, but your complete customer journey likely spans additional touchpoints—paid ads, website visits, and multiple marketing channels. Your prospects don't start their journey by filling out a Marketo form. They click an ad, research your product, compare alternatives, and interact with your brand across multiple platforms before ever becoming a lead.
For teams running multi-platform campaigns, pairing your CRM integration with a dedicated attribution solution ensures you capture the full picture of what's actually driving revenue. You'll see which ad campaigns generate leads that actually close, which channels deliver the highest lifetime value customers, and where to invest your budget for maximum return.
Ready to elevate your marketing game with precision and confidence? Discover how Cometly's AI-driven recommendations can transform your ad strategy—Get your free demo today and start capturing every touchpoint to maximize your conversions.