
You launch a Facebook campaign that generates 200 leads. Your sales team closes 15 deals worth $75,000. But when you check your Facebook Ads Manager, it shows zero conversions. Why? Because those deals happened through phone calls and in-person meetings, completely invisible to your ad platform.
This disconnect costs you money in two ways. First, you can't identify which campaigns actually drive revenue, so you keep funding ads that generate junk leads while starving the ones that bring in customers. Second, Facebook's and Google's algorithms have no idea which audience segments convert to paying customers, so they optimize for cheap form fills instead of valuable prospects.
Offline conversion tracking solves this by connecting your CRM sales data back to the original ad click. When a lead becomes a customer three weeks after clicking your ad, that conversion gets reported back to the ad platform. Suddenly, your campaigns can optimize for closed deals instead of form submissions.
The setup requires connecting three systems: your website (where click IDs get captured), your CRM (where sales stages get updated), and your ad platforms (where conversion data feeds back in). Each connection point needs proper configuration, or your tracking breaks silently and you never know why your data looks wrong.
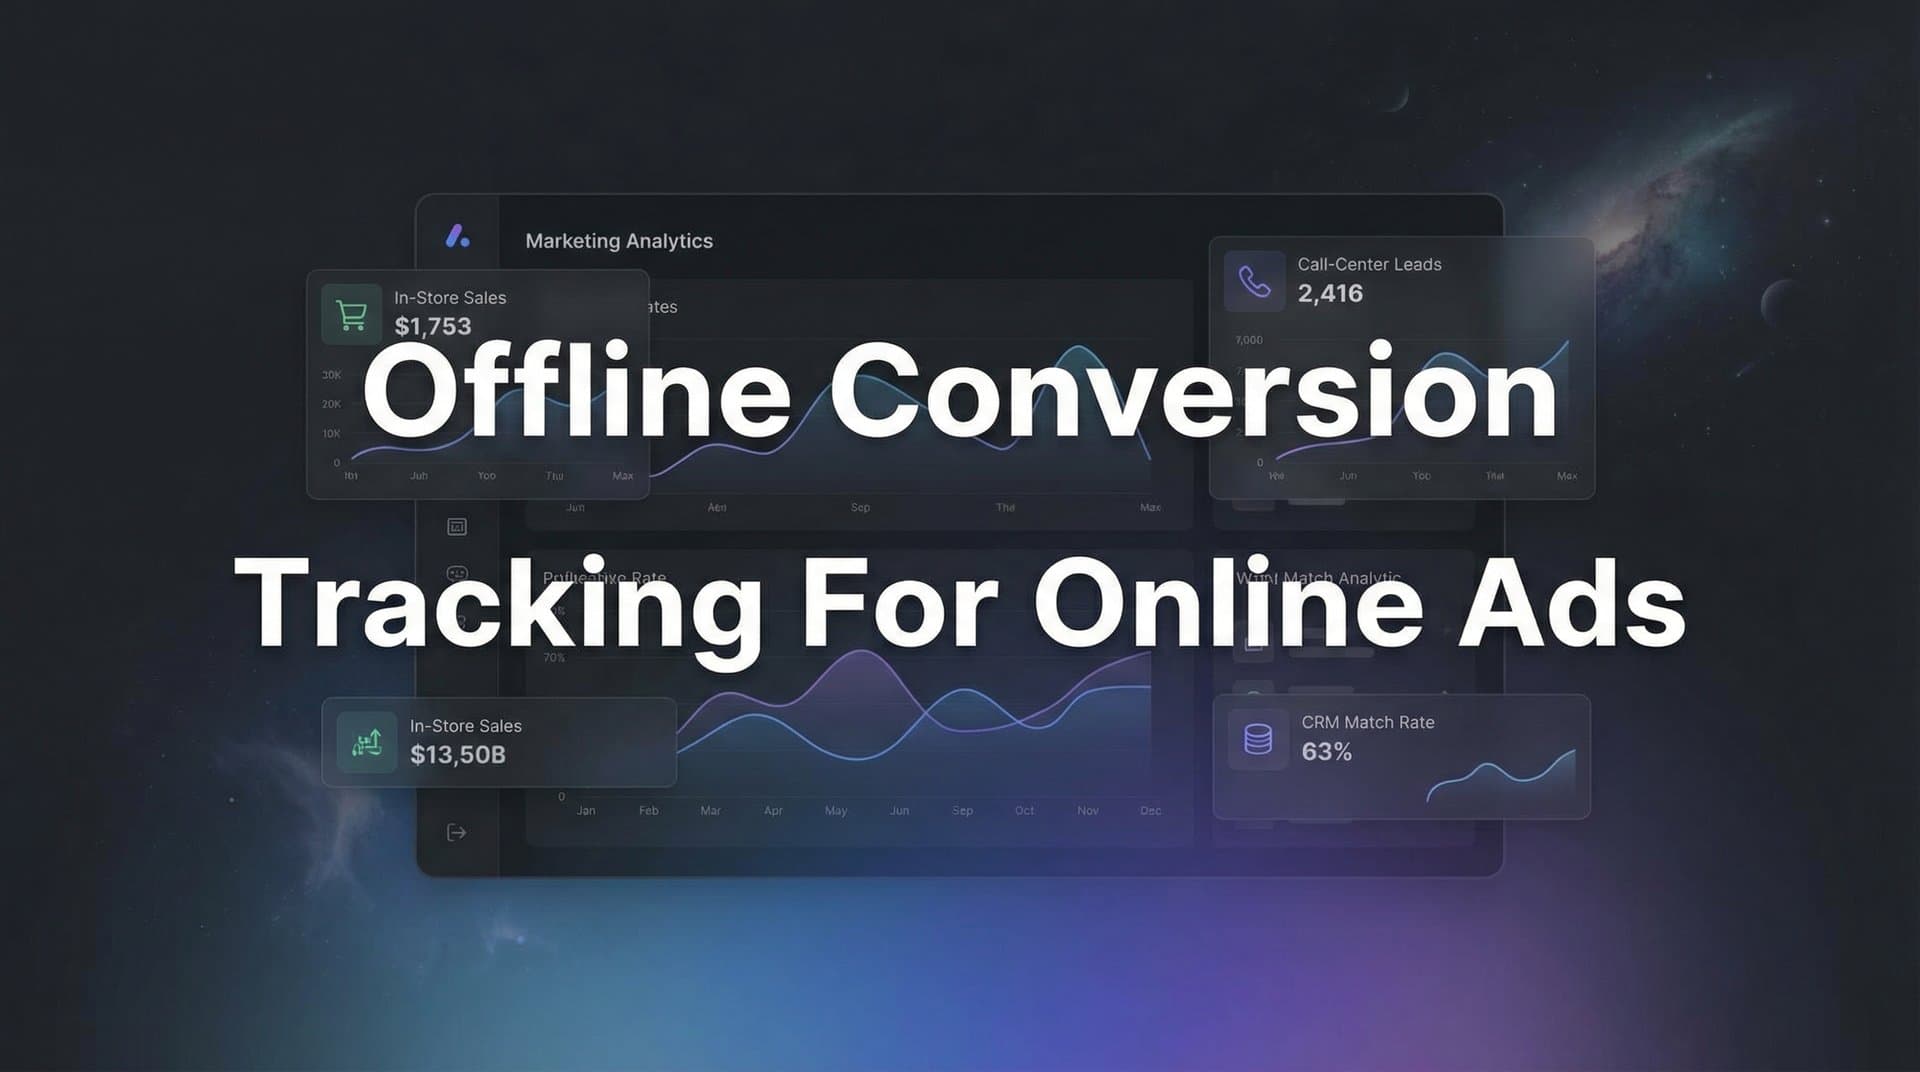
This guide walks through the complete technical implementation. You will learn exactly which fields to create in your CRM, how to configure conversion actions in Google Ads and Meta, and how to validate that real sales data flows back to your campaigns. By the end, you will have a working system that shows which ads drive revenue, enabling you to scale what works and cut what doesn't.
Step 1: Map Your Customer Journey and Identify Offline Conversion Points
Before you build any tracking, you need a clear picture of how customers move from ad click to closed deal. Start by documenting every single touchpoint in your sales process. Most B2B companies follow a pattern like this: prospect clicks ad, lands on page, fills form, receives email, books demo call, attends demo, receives proposal, negotiates terms, signs contract.
Write down your actual process. Include everything: automated email sequences, sales rep phone calls, in-person meetings, proposal reviews, contract negotiations. Be specific about which steps happen online (trackable by default) and which happen offline (invisible to ad platforms).
Now identify which offline events actually matter for optimization. Not every touchpoint deserves tracking. A lead filling out a form is easy to track with standard pixels. But what happens next? If your sales team qualifies leads through phone calls, that qualification event happens offline. If deals close during in-person meetings, that revenue event happens offline. Understanding tracking offline to online conversions is essential for capturing this data.
Create a hierarchy of conversion events based on business value. For most businesses, this looks like: form submission (low value, high volume), sales qualified lead (medium value, medium volume), opportunity created (higher value, lower volume), closed deal (highest value, lowest volume). Your ad platforms can track multiple conversion types, but you need to know which ones to prioritize.
Think about your sales cycle length. If you close deals within days, you can track almost everything. If your sales cycle runs six months, you need to identify earlier indicators that predict eventual purchases. Maybe "demo attended" or "proposal sent" correlates strongly with closed revenue. Those become your trackable offline conversion points.
Consider conversion value. Not all closed deals are worth the same. If you sell different product tiers or deal sizes vary significantly, you need to track actual revenue amounts, not just conversion counts. This lets ad platforms optimize for high-value customers instead of just maximizing deal volume.
Document this in a simple spreadsheet. Column one: conversion event name. Column two: where it happens (online/offline). Column three: business value (low/medium/high). Column four: data source (website pixel, CRM stage change, sales team input). This becomes your implementation roadmap.
The clearer your map, the easier your technical setup becomes. You will know exactly which CRM fields to create, which conversion actions to configure in ad platforms, and which data points to sync. Without this clarity, you end up tracking everything poorly instead of tracking what matters well.
Step 2: Set Up Click ID Capture and Storage in Your CRM
Every ad platform appends a unique identifier to your landing page URLs when someone clicks your ad. Google Ads adds gclid, Meta adds fbclid, LinkedIn adds li_fat_id. These click IDs are the bridge between your ad click and your eventual sale. If you lose them, you cannot connect conversions back to campaigns.
Your first job is capturing these click IDs the moment someone lands on your page. Most form builders and landing page platforms can grab URL parameters automatically, but you need to configure them correctly. In your form settings, create hidden fields that capture gclid, fbclid, and any other platform identifiers you use.
Test this immediately. Run a test ad, click it yourself, and check the landing page URL. You should see something like "yoursite.com/landing?gclid=ABC123XYZ". Now fill out your form and check what data gets submitted. The gclid value should pass through. If it doesn't, your forms aren't configured to capture URL parameters.
Next, you need somewhere to store these click IDs permanently. In your CRM, create custom fields for each platform you advertise on. Name them clearly: "Google Click ID (gclid)", "Facebook Click ID (fbclid)", "LinkedIn Click ID (li_fat_id)". Make them text fields, not number fields, because click IDs contain letters and special characters.
Map your form fields to these CRM fields. When someone submits a form, the click ID captured in the hidden form field should automatically populate the corresponding CRM field on that lead record. Most modern CRMs like HubSpot, Salesforce, and Pipedrive support field mapping in their form integration settings. This is particularly important for conversion tracking for lead generation campaigns.
Here's where many implementations break: the click ID gets captured on the landing page but doesn't survive the form submission process. This happens when your form uses a third-party tool that doesn't preserve URL parameters, or when your thank-you page redirects without passing the data forward.
Run end-to-end tests for each ad platform. Create a test campaign in Google Ads, click your own ad, fill out the form with test data, then immediately check the CRM record. The gclid field should contain the exact value from your landing page URL. Repeat this for Meta, LinkedIn, and any other platform.
Pay attention to click ID expiration windows. Google's gclid remains valid for 90 days, but Meta's fbclid only works for 7 days by default. If someone clicks your Facebook ad, fills out a form, but doesn't become a customer for three weeks, that fbclid might already be expired when you try to report the conversion back to Meta.
This is why server-side tracking for ads matters. Instead of relying on browser-based click IDs that expire, platforms like Cometly capture the click data server-side and maintain the connection indefinitely. When your lead converts six months later, the original ad source is still tracked accurately.
For now, focus on getting basic click ID capture working. Create the CRM fields, configure your forms, and validate that click IDs flow through correctly. Once this foundation is solid, the rest of your offline conversion tracking becomes much simpler.
Step 3: Configure Your Ad Platform Offline Conversion Settings
With click IDs flowing into your CRM, you can now tell ad platforms about conversions that happen outside your website. Each platform handles offline conversions differently, so you need to configure them separately.
In Google Ads, navigate to Tools & Settings, then Conversions. Click the plus button to create a new conversion action and select "Import". Choose "Other data sources or CRM" and then "Track conversions from clicks". This creates an offline conversion action that accepts data uploads. If you encounter issues during setup, review common Google Ads conversion tracking issues to troubleshoot.
Name your conversion action descriptively. Instead of "Offline Conversion", use something specific like "CRM - Closed Deal" or "Sales Qualified Lead". You will likely create multiple conversion actions for different stages, so clear naming prevents confusion later.
Set your conversion window to match your sales cycle. If you typically close deals within 30 days of the initial ad click, set a 30-day window. If your sales cycle runs 90 days, extend it accordingly. Google allows up to 90 days for click-based conversions.
Choose your attribution model. Last click gives all credit to the final ad interaction before conversion. Data-driven attribution spreads credit across multiple touchpoints based on their influence. For offline conversions, many businesses start with last click for simplicity, then experiment with other models once data volume increases.
Decide whether to include this conversion in your "Conversions" column. If you want Google's automated bidding to optimize for these offline events, select yes. If you are just tracking them for reporting purposes initially, you can exclude them until you validate data quality.
For Meta, the process differs. Meta requires the Conversions API for offline event tracking. Navigate to Events Manager, select your pixel, and click "Settings". Under "Conversions API", you will set up server-side event tracking.
Meta's Conversions API requires technical implementation. You need to send HTTP POST requests to Meta's servers containing the conversion event data. This includes the fbclid (or Facebook browser ID), event name, event time, and optionally the conversion value. Learning how to improve Facebook Ads conversion tracking can help you maximize the accuracy of this setup.
The technical setup involves generating an access token, configuring your server or integration tool to format events correctly, and sending test events to verify the connection works. Meta provides a Test Events tool that shows whether your server-side events are being received properly.
Create event names that match your conversion stages. Use clear naming like "Lead", "SQL", "Opportunity", "Purchase". Meta allows custom event names, but using their standard event types (like "Purchase" for closed deals) enables better optimization features.
Set your event deduplication parameters. If someone converts both online and offline, you don't want to count them twice. Meta uses event IDs to deduplicate. When you send an offline conversion, include a unique event ID that matches the online event if it exists.
Attribution windows matter here too. Meta's default attribution window is 7 days for clicks and 1 day for views. For longer sales cycles, you can extend the click window up to 28 days in your campaign settings, though this doesn't change the fbclid expiration issue.
Both platforms allow you to assign conversion values. If you track actual deal amounts, you can pass the revenue value with each conversion. This enables ROAS (return on ad spend) optimization, where campaigns automatically bid higher for audiences that generate higher-value customers.
Test your conversion actions before going live. Google Ads provides a "Test conversion" feature where you can upload sample data to verify formatting. Meta's Test Events tool shows real-time event delivery. Use these testing features to catch configuration errors before they affect your live campaigns.
Step 4: Build Your Data Connection Between CRM and Ad Platforms
You have click IDs stored in your CRM and conversion actions configured in your ad platforms. Now you need to connect them so conversion data flows automatically when deals close.
The simplest method is manual CSV uploads. Export a spreadsheet from your CRM containing the necessary fields: click ID, conversion time, conversion name, and conversion value. Format it according to each platform's requirements, then upload it through the ad platform interface.
For Google Ads, the CSV needs specific columns: "Google Click ID" (the gclid value), "Conversion Name" (matching your conversion action name), "Conversion Time" (in the format "yyyy-mm-dd hh:mm:ss timezone"), and optionally "Conversion Value" and "Conversion Currency". Upload this file through the Conversions section under "Uploads".
Meta's CSV format requires "event_name", "event_time" (Unix timestamp), "fbclid" or "external_id", and optionally "value" and "currency". Upload through Events Manager under your Conversions API settings.
Manual uploads work for testing and low-volume scenarios, but they don't scale. You need to remember to export and upload regularly, and there's always a delay between when conversions happen and when ad platforms receive the data. This delay reduces optimization effectiveness.
API integrations automate the process. Google Ads API and Meta Conversions API allow you to programmatically send conversion data whenever CRM records update. When a deal closes in your CRM, a webhook triggers an API call that immediately reports the conversion to the ad platform.
Building custom API integrations requires development resources. You need to authenticate with each platform, handle rate limits, format data correctly, implement error handling, and maintain the integration as APIs change. For most marketing teams, this isn't realistic.
This is where attribution platforms provide value. Tools like Cometly sit between your CRM and ad platforms, handling all the technical complexity automatically. You connect your CRM once, map which CRM stages correspond to which conversion events, and the platform syncs data continuously. This approach works especially well for conversion tracking for multiple ad platforms simultaneously.
Cometly captures click IDs server-side, so you don't rely on expiring browser cookies. When someone clicks your ad, Cometly stores the complete source data indefinitely. Months later, when that lead becomes a customer, Cometly automatically sends the conversion back to Google, Meta, LinkedIn, and any other platform you advertise on.
The platform handles data formatting, deduplication, error handling, and retry logic. If an API call fails, it automatically retries. If a conversion matches multiple platforms (someone clicked both a Google ad and a Facebook ad before converting), it correctly attributes to both.
Beyond basic conversion tracking, Cometly provides multi-touch attribution. Instead of just reporting last-click conversions, you can see every touchpoint in the customer journey. This reveals which campaigns assist conversions even if they don't get last-click credit. Understanding offline to online attribution tracking helps you capture the full picture of your marketing performance.
Regardless of which integration method you choose, the data requirements remain the same. You need the platform-specific click ID, the conversion timestamp, the conversion event name, and optionally the conversion value. Make sure your CRM workflow captures all these fields when deals progress through your pipeline.
Set up automated triggers in your CRM. When a deal stage changes to "Closed Won", automatically fire the conversion sync. When a lead gets marked as "Sales Qualified", sync that conversion too. The more automated your data flow, the more accurate and timely your optimization becomes.
Step 5: Validate Your Tracking and Troubleshoot Common Issues
Your tracking is configured, but you need to verify it actually works before trusting the data. Run a complete test conversion through your entire funnel. Create a test campaign with a small budget, click your own ad, fill out the form, and manually move that test lead through your CRM stages to a closed deal.
Check each step. First, verify the click ID captured correctly in your CRM. Open the test lead record and confirm the gclid or fbclid field contains a value. If it's empty, your form integration broke somewhere between the landing page and CRM.
Next, trigger the conversion sync. If you are using manual uploads, export the test conversion and upload it to your ad platform. If you are using an API integration or attribution platform, the sync should happen automatically when you change the CRM stage.
Wait a few hours, then check your ad platform conversion reports. In Google Ads, navigate to the Conversions section and look for your offline conversion action. You should see one conversion recorded. In Meta Events Manager, check your Conversions API events for the test conversion.
If the conversion doesn't appear, start troubleshooting. Common issues include click ID mismatches (the uploaded click ID doesn't match any ad click in the platform's records), time zone errors (conversion time is outside the attribution window), and data formatting problems (dates in wrong format, missing required fields). Review Google Ads conversion tracking problems for detailed solutions to these issues.
Google Ads provides upload status reports that show which conversions were accepted and which failed. Check the error messages. "Click ID not found" means the gclid doesn't match any click in your account. "Outside conversion window" means too much time passed between click and conversion. "Invalid format" means your data structure is wrong.
Meta's Test Events tool shows real-time event delivery and highlights errors. Send a test event and watch it appear in the interface. If it doesn't show up, check your access token, pixel ID, and event formatting. If you're experiencing persistent issues, explore why Facebook Ads not tracking conversions for additional troubleshooting steps.
Time zone mismatches cause frequent problems. If your CRM records times in EST but you send conversions to Google Ads without specifying the timezone, Google might interpret them as PST. This can push conversions outside the attribution window. Always include explicit timezone information in your conversion timestamps.
Data quality issues multiply over time. Set up regular audits comparing CRM closed deals against ad platform reported conversions. If you closed 50 deals last month but only 35 show in Google Ads, you have a tracking gap. Investigate which deals didn't sync and why.
Monitor click ID capture rates. What percentage of form submissions include a click ID? If only 60% of leads have gclid values, that means 40% of your conversions can't be attributed back to Google Ads. This might indicate direct traffic, organic search, or broken tracking on certain pages.
Create alerts for tracking failures. If your API integration stops syncing conversions, you need to know immediately. Set up monitoring that checks for successful conversion syncs daily and alerts you if the count drops to zero.
The validation phase takes time, but it's essential. A tracking system that silently fails is worse than no tracking at all because you make optimization decisions based on incomplete data. Invest the effort upfront to confirm everything works correctly.
Step 6: Optimize Your Campaigns Using Offline Conversion Data
With accurate offline conversion tracking in place, you can finally optimize campaigns for what actually matters: closed deals and revenue. Start by switching your campaign bidding strategies to target your offline conversion actions instead of form submissions.
In Google Ads, change your campaign goal from "Leads" to your offline conversion action. If you created a "Closed Deal" conversion action, set your campaigns to optimize for that. Google's algorithm will now prioritize ad delivery to audiences most likely to become paying customers, not just people who fill out forms.
This shift typically improves conversion quality while reducing volume. You might get fewer leads, but a higher percentage close. Your cost per lead might increase, but your cost per customer decreases. This is the entire point of offline conversion tracking.
Analyze campaign performance through a revenue lens. Which campaigns drive the most closed deals? Which ad sets generate the highest average deal value? Sort your campaigns by total conversion value, not just conversion count. A campaign with 5 conversions worth $50,000 beats a campaign with 50 conversions worth $10,000. Using tracking paid ads performance tools helps you maintain this revenue-focused view.
Look for audience patterns. When you filter for only closed deals, which demographics, interests, or job titles appear most frequently? These insights let you refine targeting. If your closed customers skew heavily toward certain industries or company sizes, adjust your audience targeting to focus there.
Build lookalike audiences based on actual customers. In Meta, create a custom audience from your CRM customer list, then generate a lookalike audience from that seed. This finds new prospects who resemble your best customers, not just your cheapest leads.
Adjust your attribution model based on what you learn. If your multi-touch attribution data shows that certain campaigns rarely get last-click credit but frequently assist conversions, you might be undervaluing them. Consider switching to data-driven attribution to give proper credit to campaigns throughout the customer journey.
Use conversion value optimization if your deal sizes vary. Instead of optimizing for conversion count, tell Google or Meta to maximize total conversion value. The algorithms will automatically bid higher for audiences likely to generate larger deals. This approach is especially valuable for conversion tracking for high ticket sales.
Refine your conversion events over time. You might start tracking only closed deals, then realize that "demo booked" predicts eventual purchases with 70% accuracy. Add "demo booked" as a conversion action and start optimizing for it too. This gives algorithms faster feedback while maintaining focus on revenue-correlated events.
Review your negative conversion patterns. Which campaigns generate leads that never close? Which audiences have high form fill rates but zero sales? Pause or reduce budget on these segments. Offline conversion data reveals what standard conversion tracking misses: which traffic sources waste money.
The optimization process is continuous. As you gather more conversion data, patterns become clearer. Your ad platform algorithms learn which signals predict valuable customers. Your targeting becomes sharper. Your budget allocation becomes smarter. This is the compounding value of accurate offline conversion tracking.
Putting It All Together
You now have a complete roadmap for connecting your offline sales data back to your online advertising. Let's confirm your setup is solid. First, check that click IDs capture on all your forms and landing pages. Every form submission should include gclid, fbclid, or other platform identifiers in your CRM records.
Second, verify your CRM fields store tracking data permanently. Open a few lead records and confirm the click ID fields contain values. If they are empty, your form integration needs fixing.
Third, confirm your ad platform conversion actions are configured correctly. Check Google Ads and Meta for your offline conversion actions. Make sure attribution windows match your sales cycle and conversion values are set up if you track revenue.
Fourth, validate that automated data sync is running. Whether you are using manual uploads, API integrations, or an attribution platform, confirm conversions flow from CRM to ad platforms when deals close. Test this with a sample conversion and verify it appears in your ad reports.
Fifth, run end-to-end tests regularly. Create test campaigns, click your ads, submit forms, and move test leads through your CRM pipeline. Confirm the conversion appears in your ad platform within 24 hours.
The real power emerges when you start optimizing campaigns based on actual revenue rather than vanity metrics. Your Google Ads campaigns stop chasing cheap clicks and start finding valuable customers. Your Facebook algorithm learns which audiences convert to paying clients, not just which ones download your lead magnet.
This transformation doesn't happen overnight. Ad platform algorithms need data volume to optimize effectively. You might need 50-100 conversions before automated bidding strategies perform well. Start with your highest volume campaigns, validate the tracking works, then expand across all your advertising.
The clarity you gain into true marketing ROI changes everything. You finally know which campaigns drive revenue, which audiences are worth targeting, and where to allocate budget for maximum return. No more guessing. No more optimizing for metrics that don't correlate with sales. Just clear data showing what works.
As your tracking matures, layer in more sophisticated analysis. Compare different attribution models to understand how credit distributes across touchpoints. Analyze customer lifetime value by acquisition source. Build predictive models that identify high-value prospects early in the funnel.
Remember that offline conversion tracking is not a one-time setup. Sales processes change, CRM workflows evolve, and ad platforms update their APIs. Schedule quarterly audits to confirm tracking accuracy remains high. Monitor your click ID capture rates, conversion sync success rates, and data quality metrics.
The businesses that win with paid advertising are the ones that connect ad spend to revenue with precision. When you can definitively say "this campaign generated $100,000 in closed deals from $15,000 in ad spend," budget conversations become simple. You invest more in what works and cut what doesn't.
Ready to elevate your marketing game with precision and confidence? Discover how Cometly's AI-driven recommendations can transform your ad strategy. Get your free demo today and start capturing every touchpoint to maximize your conversions.


