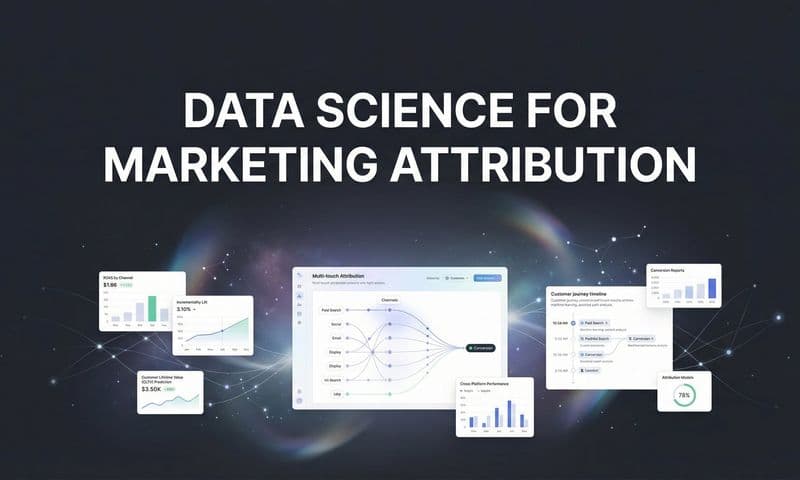
You've just signed the contract, got the login credentials, and your team is ready to finally get clear on which ads are actually driving revenue. Then reality sets in. The dashboard is open, integrations are waiting, and nobody is quite sure where to start.
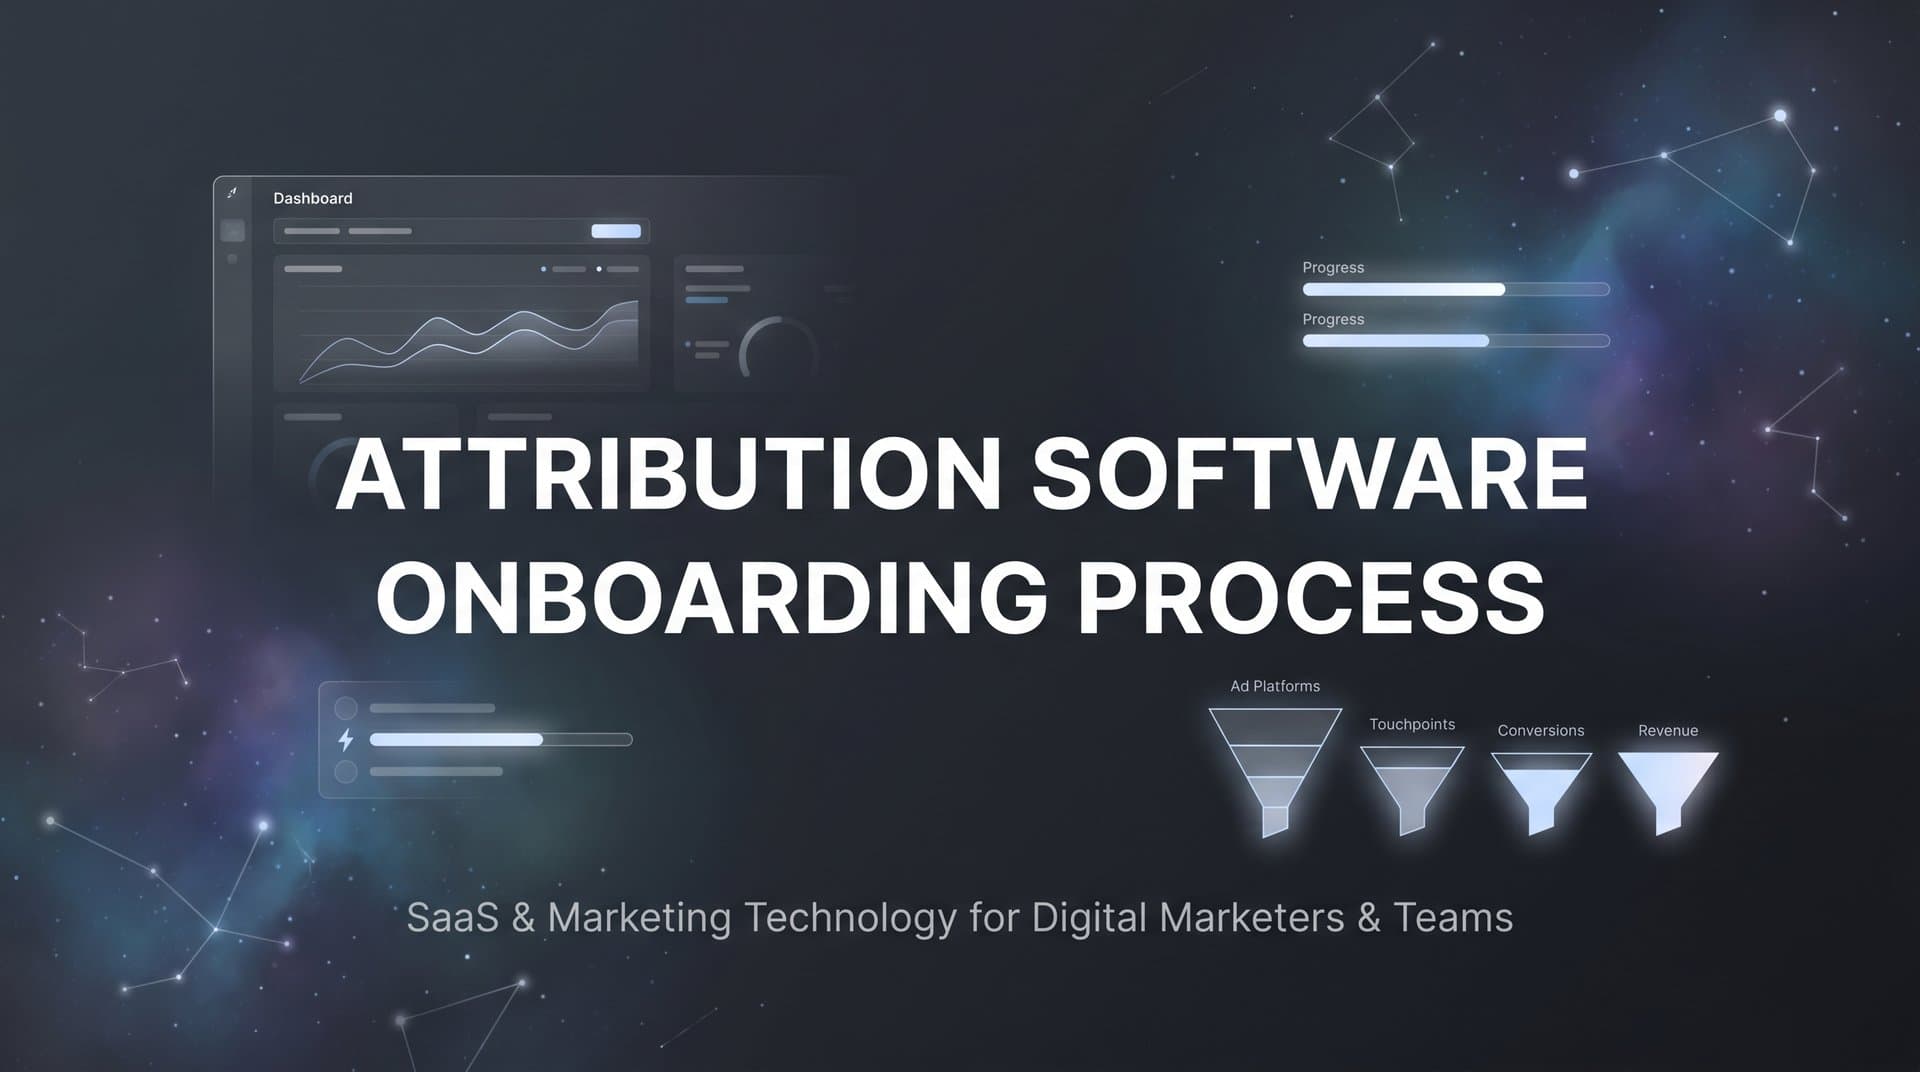
This is the moment most marketing teams stall. Not because the software is too complex, but because the attribution software onboarding process was never mapped out before anyone touched a setting. Pixels get installed in the wrong order, CRM connections get skipped, and three weeks later you're looking at data that doesn't match anything in your ad platforms. Confidence in the tool drops, and eventually it collects dust while your team goes back to guessing.
The good news is that a structured onboarding process changes everything. When you work through setup in the right sequence, from defining goals before connecting platforms to validating data before making decisions, attribution software becomes one of the most powerful tools in your marketing stack.
This guide walks you through a six-step attribution software onboarding process that takes you from pre-setup planning all the way through to trusting your first reports enough to act on them. Each step builds on the last, so nothing falls through the cracks and your team ends up with a system that actually reflects how customers move from ad to close.
Throughout this walkthrough, we'll reference Cometly's onboarding flow as a practical example. Cometly is a marketing attribution and analytics platform that connects your ad platforms, CRM, and website to track the full customer journey in real time. It's a useful reference point because its setup process mirrors the best practices covered here, and its features illustrate why each step matters.
Whether you're onboarding Cometly or another attribution tool, this framework applies. Let's get into it.
Step 1: Define Your Attribution Goals and KPIs Before You Touch a Dashboard
Here's a mistake that plays out constantly: a marketing team gets access to their new attribution platform and immediately starts clicking through integrations, connecting ad accounts, and installing tracking scripts. Two weeks later, they have data flowing, but nobody agrees on what it means or what they should do with it.
The fix is simple, but it requires discipline. Before you log into your attribution dashboard for anything other than a tour, sit down with your team and define exactly what you need this tool to answer.
Start with your core business questions. Are you trying to understand which campaigns drive the most revenue, not just the most clicks? Do you need to know which channels assist conversions even when they don't get last-touch credit? Are you trying to figure out where to reallocate budget across Meta, Google, and TikTok? Write these questions down. They become your north star for every configuration decision that follows.
Next, align your team on primary KPIs. The most common ones for paid advertising teams include return on ad spend (ROAS), cost per acquisition (CPA), assisted conversions, and customer lifetime value. The challenge is that media buyers, CMOs, and finance teams often have different definitions of success. Getting everyone in the same room before setup ensures that when the data starts flowing, everyone is measuring against the same benchmarks.
Take time to document your current tracking gaps. Where is your attribution breaking down right now? Are you losing visibility after a lead fills out a form? Do you have no idea which ad drove a deal that closed in your CRM 30 days later? These gaps tell you exactly what your attribution setup needs to solve, and they help you prioritize which integrations matter most. Understanding why attribution data doesn't match across platforms is a great starting point for identifying these gaps.
Finally, build a simple onboarding checklist that names your stakeholders, sets realistic timelines for each step, and defines what success looks like at the end of the process. This doesn't need to be elaborate. A shared document with owners and due dates is enough.
Pro tip: Involve both your media buyers and your leadership team in this conversation early. Media buyers know where tracking breaks. Leadership knows which revenue metrics matter most. When both groups agree on what "accurate data" means for your business, you avoid the painful back-and-forth that happens when reports go live and stakeholders start questioning the numbers.
This step takes a few hours, not days. But skipping it costs weeks of confusion later.
Step 2: Audit Your Existing Tech Stack and Data Sources
Before you connect a single platform to your attribution tool, you need a clear picture of everything that currently touches your customer data. Think of this as drawing a map before you start building roads.
Start by listing every ad platform you're running: Meta, Google Ads, TikTok, LinkedIn, Pinterest, YouTube, and any others. Then add your CRM, your website or funnel builder, your email platform, and any analytics tools like Google Analytics that are currently in use. Write down what each tool tracks, where it stores that data, and how (or whether) it shares data with other tools in your stack.
This exercise often surfaces surprises. Many teams discover that their CRM isn't capturing the UTM parameters that come in from ad clicks, meaning there's no way to connect a closed deal back to the campaign that started the journey. If you're unsure how UTM parameters and attribution tools differ in practice, it's worth exploring the distinction between UTM tracking vs attribution software before proceeding.
Look specifically for these common blockers:
Outdated or broken pixels: If your tracking pixels haven't been audited recently, there's a good chance some are misfiring or missing key pages entirely.
Inconsistent UTM structures: If your team hasn't followed a consistent naming convention for UTM parameters across campaigns, your attribution data will be fragmented and hard to analyze.
Missing CRM fields: Your attribution tool needs to pull revenue and conversion data from your CRM. If the fields that capture deal value, close date, or lead source aren't populated consistently, that connection won't work properly.
iOS tracking limitations: Apple's privacy changes have significantly reduced the accuracy of browser-based pixel tracking for Meta campaigns in particular. If you haven't accounted for this, your current conversion data is likely undercounting.
Also verify that your CRM can pass conversion events back to your attribution tool. This two-way data flow is what enables true revenue attribution, not just click tracking. Most modern CRMs like HubSpot, Salesforce, and GoHighLevel support this, but you'll need to confirm the specific events and fields that can be shared.
Cometly is a useful benchmark here because it's built with a broad integration ecosystem that spans major ad platforms, CRMs, and web builders. When evaluating compatibility between your tech stack and any attribution tool, look for native integrations with the platforms you actually use rather than relying on workarounds.
Success indicator for this step: You have a complete map of every data source that needs to connect to your attribution platform, along with a clear note on any gaps or blockers that need to be resolved before setup begins.
Step 3: Connect Your Ad Platforms and Install Server-Side Tracking
This is where the technical setup begins, and the order matters. Start with your ad platform connections before worrying about anything else. Most attribution tools walk you through an OAuth-based connection process for each platform. For Meta and Google Ads, this typically involves authorizing your ad account and selecting which accounts you want to pull data from. TikTok, LinkedIn, and other platforms follow a similar pattern.
Once your ad accounts are connected, your attribution platform can start pulling in campaign, ad set, and ad-level spend data. But spend data alone isn't attribution. To connect that spend to actual conversions, you need tracking on your website, and this is where server-side tracking becomes critical.
Here's the problem with traditional client-side pixels: they rely on the visitor's browser to fire. When someone uses an ad blocker, or when iOS restricts cross-site tracking, the pixel either doesn't fire or fires with incomplete data. The result is that a meaningful portion of your conversions simply disappear from your reports. You're making budget decisions based on a partial view of reality. Dedicated tracking software for paid ads addresses this by moving beyond browser-dependent methods.
Server-side tracking solves this by moving the tracking logic from the visitor's browser to your server. When a conversion happens, your server sends the event data directly to your attribution platform, bypassing browser restrictions and ad blockers entirely. The result is a more complete and accurate picture of what's actually happening.
The typical setup flow looks like this:
1. Add your attribution platform's tracking script to your website, usually via a tag manager or direct installation in your site's header.
2. Configure server-side events for the conversions that matter most: form submissions, purchases, phone calls, and any other actions tied to your KPIs from Step 1.
3. Verify that the connection is firing correctly by triggering test events and confirming they appear in your attribution dashboard.
Cometly's server-side tracking is designed specifically to capture the touchpoints that traditional pixels miss. This matters because it gives the AI a complete view of each customer journey, which in turn makes the attribution data and the optimization recommendations more accurate.
Common pitfall: Teams often test tracking on their homepage and call it done. Make sure you test on every key page in your funnel: landing pages, checkout pages, thank-you pages, and any page where a form submission or purchase can occur. A missed conversion event on your thank-you page means every conversion from that funnel goes untracked.
Pro tip: Use a staging environment or run a test transaction before going live. Confirm that the event appears in your attribution dashboard with the correct data attached before you start relying on the data for decisions.
Step 4: Integrate Your CRM and Map the Full Customer Journey
If server-side tracking is what captures the click, CRM integration is what completes the story. This step is where surface-level click tracking becomes true revenue attribution, and it's the step that most teams either rush through or skip entirely.
Without CRM integration, your attribution platform can tell you which ads generated clicks and maybe which ones generated leads. But it can't tell you which campaigns drove closed deals, which channels produce customers with the highest lifetime value, or which lead sources convert at the best rate through your sales process. Implementing revenue attribution software properly depends on this CRM connection being in place.
Start by connecting your CRM. Whether you're using HubSpot, Salesforce, GoHighLevel, or another platform, the goal is the same: enable your attribution tool to receive downstream events that happen after the initial conversion. Closed deals, recurring revenue, upsells, and churn events all belong in your attribution model if you want a complete picture.
Once the connection is live, map out every stage of your customer journey and assign a corresponding event in your attribution platform:
Ad click: Captured by your tracking script and tied to the specific campaign, ad set, and ad that drove the click.
Landing page visit: Recorded as a session with the referring source attributed correctly.
Lead capture: A form submission or other conversion event that marks the visitor as a known contact in your CRM.
Sales call or demo: A pipeline event that shows the lead is progressing through your sales process.
Closed deal: The revenue event that ties the entire journey back to its original ad source.
Post-purchase events: Upsells, renewals, or additional purchases that contribute to lifetime value.
Configure conversion events in your attribution platform that match the KPIs you defined in Step 1. If your primary KPI is cost per acquisition, make sure your CRM is passing closed deal events back to your attribution tool so CPA can be calculated accurately. If you care about lifetime value, consider how tracking attribution for lead generation feeds into those downstream revenue metrics.
Cometly connects every touchpoint from ad click to CRM event, which means you can see which sources actually convert rather than just which ones generate the most clicks. This distinction is what makes attribution software worth the investment.
Success indicator: You can trace a test lead from the original ad click all the way through to a closed deal in your attribution dashboard. If that path is visible and accurate, your CRM integration is working correctly.
Step 5: Configure Your Attribution Model and Enable Conversion Sync
With your tracking live and your CRM connected, you now have data flowing through your attribution platform. The next decision is how to assign credit for that data, and that's where your attribution model comes in.
Different attribution models tell different versions of the same story. Here's a quick breakdown of the most common ones:
First-touch attribution gives 100% of the credit to the first interaction a customer had with your brand. It's useful for understanding which channels are best at generating awareness and bringing new prospects into your funnel.
Last-touch attribution gives 100% of the credit to the final interaction before conversion. It's simple and easy to understand, but it tends to overvalue bottom-of-funnel channels and ignore everything that happened earlier in the journey.
Linear attribution distributes credit equally across every touchpoint in the customer journey. It's a more balanced view but doesn't account for the fact that some touchpoints have more influence than others.
Time-decay attribution gives more credit to touchpoints that happened closer to the conversion, on the assumption that recent interactions had more influence. This model works well for shorter sales cycles.
Multi-touch attribution distributes credit across touchpoints based on their actual influence in the journey, using more sophisticated weighting. It's the most complete view, especially for businesses with longer sales cycles or multiple marketing channels. For a deeper comparison, our guide on single source vs multi-touch attribution models breaks down when each approach makes sense.
For most teams starting out, multi-touch attribution is the best starting point. It gives you the broadest view of how your channels work together, rather than forcing you to pick a winner before you have enough data to know which touchpoints actually matter. Once you've run multi-touch for a few weeks, compare it against first-touch and last-touch models to see how credit distribution changes. Those differences often reveal which channels are being over- or under-valued in your current reporting.
Once your model is configured, enable conversion sync. This is the process of sending enriched, attribution-verified conversion data back to your ad platforms, specifically Meta and Google, so their algorithms can use it for targeting and bidding optimization.
Here's why this matters: ad platform algorithms are constantly optimizing toward the conversion signals they receive. If they're only receiving incomplete pixel data, they're optimizing toward an incomplete picture of your best customers. When you send back enriched conversion data that includes downstream events like closed deals and revenue, the algorithm gets a much clearer signal about who actually converts and at what value. The result is better targeting, more efficient bidding, and improved return on ad spend over time.
Cometly's Conversion Sync does exactly this, sending enriched events back to Meta, Google, and other platforms to improve the quality of signals those algorithms use for optimization. It's one of the features that separates a modern attribution platform from a basic analytics tool.
Step 6: Validate Your Data, Train Your Team, and Go Live
Before you start making budget decisions based on your attribution data, you need to trust it. And trust is earned through validation, not assumption.
Plan for a validation period of seven to fourteen days after your setup is complete. During this time, run your attribution platform in parallel with your existing reporting rather than replacing it. Your goal is to compare attribution data against your ad platform reports and your CRM records to look for discrepancies.
Here's what to look for during validation:
Missing conversions: If your ad platform reports 50 purchases but your attribution dashboard only shows 35, there's a tracking gap somewhere. Common causes include missing tracking on certain pages or server-side events that aren't firing correctly.
Duplicate events: If the same conversion is being counted twice, you may have both a client-side pixel and a server-side event firing for the same action. This inflates your conversion numbers and throws off your attribution data.
Mismatched revenue figures: If the revenue reported in your attribution platform doesn't match what's in your CRM, check whether your CRM is passing the correct revenue fields and whether the events are being mapped to the right conversion types.
Untracked channels: Look for traffic sources showing up as "direct" or "unknown" in your attribution reports. These are often channels that aren't being tagged with UTM parameters correctly, or integrations that weren't fully connected during setup.
Once your data looks clean and consistent, shift your focus to team training. Attribution software only drives results if your team knows how to read it. Run a working session that covers how to navigate the attribution dashboard, how to compare different attribution models and interpret what the differences mean, and how to identify top-performing ads and campaigns. Reviewing the best attribution reporting software options can help your team understand what strong reporting capabilities look like.
This is also where modern attribution tools like Cometly add real value beyond the data itself. Cometly's AI Chat lets team members ask natural language questions about their data without needing to dig through reports manually. The AI Ads Manager surfaces actionable recommendations for which ads and campaigns to scale, pause, or test, based on the attribution data flowing through the platform. These features reduce the time between having data and acting on it, which is ultimately what makes attribution software worth the investment.
Finally, set a recurring review cadence. Weekly or biweekly check-ins to review data quality, flag any new discrepancies, and adjust attribution settings as your campaigns evolve will keep your system accurate over time. Attribution isn't a set-it-and-forget-it tool. As you launch new campaigns, add new channels, or update your funnel, your configuration needs to keep pace. Exploring the top marketing attribution platforms available can also help you benchmark whether your current setup is keeping up with industry standards.
Success indicator: Your team trusts the attribution data enough to make budget allocation decisions based on it. That's the moment your attribution software stops being a reporting tool and starts being a growth engine.
Your Attribution Onboarding Checklist: Putting It All Together
A structured attribution software onboarding process is the difference between a tool that generates reports nobody acts on and a system that actively shapes smarter budget decisions every week. The six steps above give you a repeatable framework that works regardless of which attribution platform you're using.
Here's your quick-reference checklist to take into your onboarding:
Step 1: Define goals and KPIs. Document your business questions, align stakeholders on primary metrics, identify current tracking gaps, and build an onboarding checklist with owners and timelines.
Step 2: Audit your tech stack. Map every ad platform, CRM, and analytics tool. Identify broken pixels, inconsistent UTMs, missing CRM fields, and iOS tracking gaps.
Step 3: Connect ad platforms and install server-side tracking. Authorize ad account connections, install your tracking script, configure server-side events, and verify tracking on every key page in your funnel.
Step 4: Integrate your CRM and map the customer journey. Connect your CRM, configure downstream conversion events, and trace a test lead from ad click to closed deal before moving on.
Step 5: Configure your attribution model and enable conversion sync. Select a starting model (multi-touch is a strong default), compare models once data is flowing, and activate conversion sync to feed enriched signals back to your ad platforms.
Step 6: Validate, train, and go live. Run a 7 to 14 day validation period, resolve discrepancies, train your team on reading reports and acting on AI recommendations, and set a recurring review cadence.
The goal isn't just to install software. It's to build a system where every touchpoint is captured, every conversion is traced to its source, and your team has the confidence to scale what's working and cut what isn't. When onboarding is done right, attribution software becomes one of the clearest competitive advantages a marketing team can have.
If you want to see how Cometly simplifies each of these steps with built-in server-side tracking, multi-touch attribution, CRM integrations, AI-powered recommendations, and conversion sync, there's no better way than to explore it firsthand. Get your free demo today and start building the attribution system your team deserves.