
Running a dropshipping business means every advertising dollar counts. Without proper conversion tracking, you're essentially flying blind, unable to determine which ads generate sales and which drain your budget. The unique challenges of dropshipping—including longer fulfillment times, multiple supplier integrations, and cross-platform advertising—make accurate tracking even more critical.
This guide walks you through setting up comprehensive conversion tracking that captures the entire customer journey from ad click to confirmed purchase. By the end, you'll have a tracking system that shows exactly which campaigns drive revenue, allowing you to scale winners and cut losers with confidence.
The difference between profitable and failing dropshipping businesses often comes down to data quality. When you can see which specific ads, audiences, and platforms generate real revenue, you stop wasting money on underperformers and double down on what works. Let's build that visibility into your business.
Step 1: Map Your Customer Journey and Identify Key Conversion Events
Before installing a single tracking pixel, you need to understand exactly what actions matter in your dropshipping funnel. This mapping exercise prevents you from drowning in data while missing the metrics that actually drive decisions.
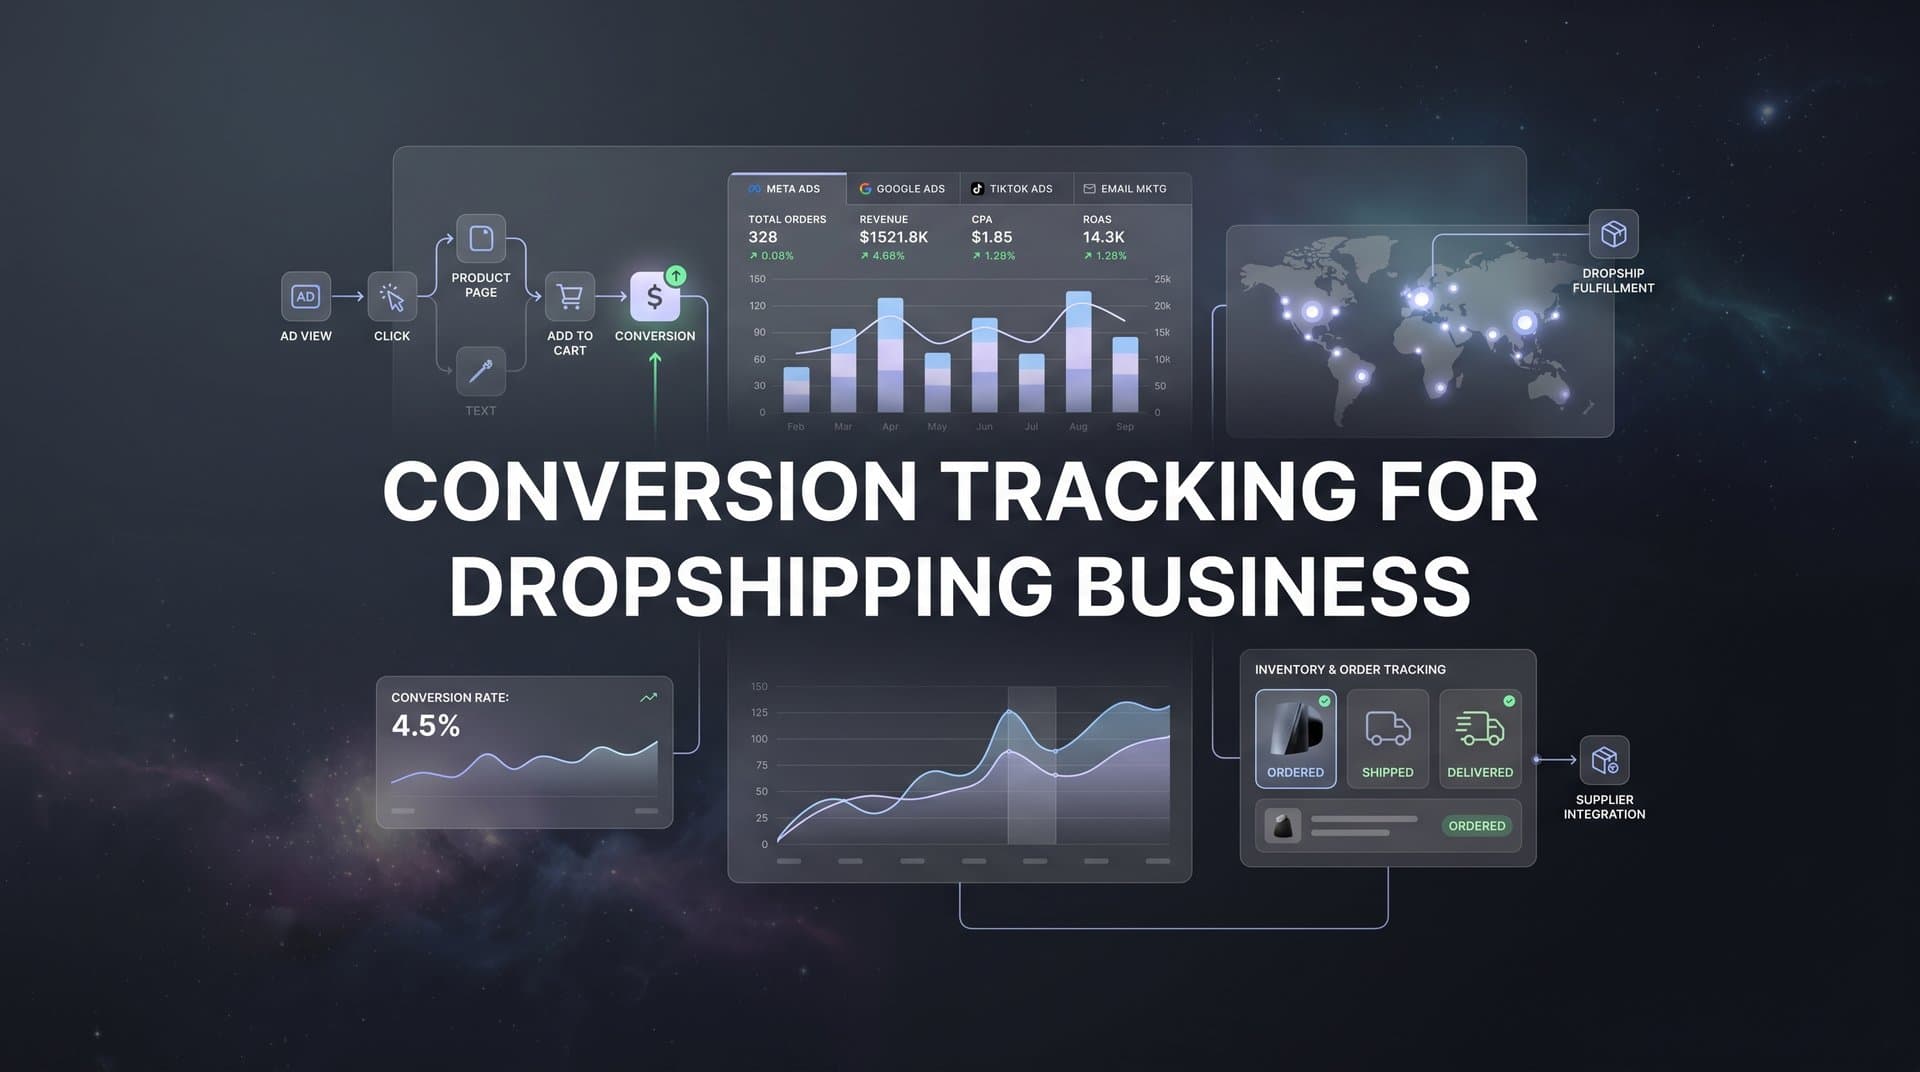
Start by documenting your core conversion funnel stages. For most dropshipping businesses, this includes: ad click, landing page view, add to cart, initiate checkout, and purchase confirmation. Each stage represents a decision point where customers either move forward or drop off. Understanding these transitions helps you identify where campaigns excel or fail.
Next, identify dropshipping-specific events that standard ecommerce tracking often misses. These include supplier confirmation (when your supplier accepts the order), shipping notification (when the product actually ships), and delivery completion (when the customer receives their order). These events matter because they affect customer satisfaction and repeat purchase rates, especially when dealing with longer fulfillment windows.
Document every traffic source you're currently running or plan to test. This typically includes Meta (Facebook and Instagram), Google Ads, TikTok, email campaigns, and organic search. Each source needs its own tracking parameters to properly attribute conversions. Don't forget about influencer partnerships, affiliate links, or SMS marketing if those are part of your strategy.
Create a simple spreadsheet with three columns: Event Name, Definition, and Why It Matters. For example, "Add to Cart" might be defined as "Customer clicks the add to cart button on a product page" and matters because "Shows product-level interest and helps identify which products resonate with different audiences." This documentation becomes your tracking blueprint and helps team members understand what you're measuring.
Consider the attribution window that makes sense for your business model. Dropshipping often involves longer consideration periods than traditional ecommerce, especially for higher-priced items. A customer might see your ad on Monday, research competitors for several days, then purchase on Friday. Your tracking needs to capture that full journey, which is why attribution tracking for dropshipping stores requires careful configuration.
Success indicator: You should have a complete list of 5-8 conversion events with clear definitions for each. This list becomes your reference point for everything that follows. If you can't explain why you're tracking something, you probably don't need it.
Step 2: Install Base Tracking Pixels on Your Store Platform
With your conversion events mapped, it's time to install the foundational tracking infrastructure. This step establishes browser-based tracking that captures customer actions in real time as they navigate your store.
Start with the Meta Pixel if you're running Facebook or Instagram ads. Log into your Meta Events Manager, create a new pixel if you haven't already, and copy the pixel code. In Shopify, navigate to Settings > Customer Events > Add Custom Pixel and paste the code. For WooCommerce, use the official Meta for WooCommerce plugin. The pixel should be installed in your site header so it loads on every page.
Configure the standard ecommerce events that Meta recognizes: ViewContent (when someone views a product), AddToCart (when they add an item), InitiateCheckout (when they begin checkout), and Purchase (when they complete an order). Most modern platforms fire these events automatically once the pixel is installed, but verify this in your Events Manager to confirm they're appearing.
Next, install the Google Ads tag following a similar process. In Google Ads, go to Tools > Conversions > New Conversion Action > Website. Create a purchase conversion action and copy the global site tag. Install it in your site header, then add the event snippet to your order confirmation page. If you're running a Shopify store, learning how to set up Google Ads conversion tracking for Shopify will streamline this process significantly.
Set up Google Analytics 4 with enhanced ecommerce tracking enabled. GA4 provides deeper insights into customer behavior beyond what ad platform pixels capture. In your GA4 property, enable ecommerce events and connect your data stream to your website. Most platforms offer GA4 integrations that automatically send product views, cart additions, and purchases without custom coding.
Add the TikTok Pixel if you're advertising on that platform. TikTok's tracking setup mirrors Meta's process: create a pixel in TikTok Events Manager, install the base code in your site header, and configure standard events. TikTok has grown significantly as a dropshipping advertising channel, making accurate tracking essential for campaign optimization.
We cover this in more depth in our guide to AI ad generator for dropshipping.
Install browser extensions to verify your pixel installations immediately. Meta Pixel Helper for Chrome shows you which Meta events fire on each page. Google Tag Assistant does the same for Google tags. Load your store, navigate through the purchase funnel, and watch these tools confirm that events fire at the right moments.
Run a test purchase through your store to verify end-to-end tracking. Use a real payment method (you can refund yourself later) to ensure the complete checkout flow triggers all conversion events. Within minutes, you should see the test purchase appear in Meta Events Manager, Google Ads conversions, and GA4 reports.
Success indicator: All pixels firing correctly on test transactions, visible in both browser debugging tools and platform dashboards. If events aren't appearing within 20 minutes, troubleshoot before moving forward.
Step 3: Implement Server-Side Tracking for Accurate Data
Browser-based pixels have a critical weakness: they only work when the customer's browser allows them to. iOS privacy restrictions, ad blockers, and cookie limitations mean many conversions go unreported when you rely solely on pixel tracking. Server-side tracking solves this by sending conversion data directly from your store's backend to ad platforms.
The numbers tell the story. Many dropshipping businesses find that browser pixels capture only 60-70% of actual conversions due to tracking restrictions. That missing 30-40% makes your ads look less profitable than they actually are, leading to poor optimization decisions and missed scaling opportunities.
Start by setting up the Conversions API for Meta. This server-to-server connection sends purchase events directly from your store backend to Meta, bypassing browser limitations entirely. In Meta Events Manager, navigate to your pixel settings and find the Conversions API section. Generate an access token that your server will use to authenticate with Meta's API.
Most major ecommerce platforms offer Conversions API integrations through apps or plugins. For Shopify, apps like the official Meta Sales Channel include built-in Conversions API support. For WooCommerce, plugins handle the server-side connection. Install the appropriate solution for your platform and configure it with your access token.
Configure event deduplication to prevent double-counting conversions. When both your pixel and server-side tracking report the same purchase, ad platforms need a way to recognize it's one conversion, not two. This happens through event IDs: unique identifiers that match pixel events to server events. Avoiding duplicated conversion tracking across platforms is essential for maintaining data integrity.
Set up Google's Enhanced Conversions following a similar approach. Enhanced Conversions sends hashed customer data (email, phone, address) from your server to Google, improving conversion accuracy and attribution. In Google Ads, enable Enhanced Conversions for your conversion actions, then configure your platform integration to send this hashed data with each purchase event.
Connect your store backend to send purchase events directly from your server. This means when someone completes checkout, your store's server immediately notifies Meta, Google, and other platforms about the conversion—regardless of whether the customer's browser successfully fired a pixel. This redundancy dramatically improves data accuracy.
Monitor your server-side event quality in Meta Events Manager. Meta provides an Event Match Quality score showing how well your server events match to user profiles. Aim for a score above 6.0 by including as many customer data points as possible (email, phone, city, state, zip code) in a hashed format that protects privacy while improving matching.
Success indicator: Server-side events appearing in your ad platform dashboards alongside pixel events, with deduplication working correctly so you're not seeing inflated conversion counts. Your total reported conversions should increase by 20-40% compared to pixel-only tracking, reflecting the previously missing data.
Step 4: Connect Your Ad Platforms to a Central Attribution System
Here's a common scenario: Meta reports 50 conversions from your campaign, Google claims 35, and TikTok says 20. Add those up and you get 105 conversions, but your store only processed 60 orders. What's happening? Each platform takes credit for conversions it touched, regardless of what other platforms contributed. This attribution overlap creates false confidence and poor budget allocation.
A central attribution system solves this by tracking the entire customer journey across all platforms, then assigning conversion credit based on a consistent methodology. Instead of trusting each platform's self-reported numbers, you get a single source of truth showing which channels actually drive revenue. Implementing cross platform tracking for dropshipping eliminates the guesswork from budget allocation.
Start by configuring UTM parameters consistently across all campaigns and ad sets. UTM tags are the snippets added to your ad URLs that identify traffic sources. Create a standardized naming convention and stick to it religiously. For example: utm_source=facebook, utm_medium=paid_social, utm_campaign=summer_sale, utm_content=video_ad_1. Consistency here determines whether your attribution system can accurately track cross-platform journeys.
Choose an attribution platform that integrates with your specific ad channels and store platform. The system needs to pull data from Meta, Google, TikTok, and any other channels you use, while also connecting to your Shopify, WooCommerce, or other ecommerce backend to capture actual purchase data. This dual connection enables accurate attribution by matching ad interactions to confirmed orders.
Link your attribution system to your store and ad accounts for real-time data sync. Most attribution platforms use OAuth connections that securely access your ad account data without requiring you to share passwords. Authorize each connection and verify that data flows correctly. Within 24 hours, you should see ad spend, impressions, clicks, and conversions populating in your attribution dashboard.
Configure your preferred attribution model. First-touch attribution credits the initial ad that introduced the customer to your brand. Last-touch credits the final ad before purchase. Multi-touch models distribute credit across all touchpoints in the journey. For dropshipping businesses running multiple platforms simultaneously, multi-touch attribution typically provides the most accurate view of channel performance.
The value of unified attribution becomes clear when you analyze cross-platform journeys. You might discover that TikTok ads introduce new customers who then convert through Meta retargeting, or that Google search captures customers initially exposed through Meta awareness campaigns. These insights are invisible when viewing each platform in isolation.
Success indicator: A single dashboard showing conversions attributed to specific ads across all platforms, with total conversions matching your actual order count. When you can confidently answer "Which specific ad drove this purchase?" you've achieved proper attribution.
Step 5: Set Up Purchase Value Tracking with Accurate Revenue Data
Tracking that a conversion happened is only half the equation. You need to know the value of each conversion to calculate true return on ad spend. A $30 order and a $300 order both count as one conversion, but they have vastly different impacts on profitability.
Configure dynamic value tracking that passes actual order totals to your ad platforms, not static values. When someone purchases a $75 product, your tracking should send "$75" to Meta, Google, and your attribution system. Static values (like always reporting "$50" regardless of actual order size) destroy the accuracy of your ROAS calculations and prevent platforms from optimizing toward high-value customers.
Most ecommerce platform integrations handle dynamic values automatically, but verify this by checking several conversion events in your ad platform. Look at the purchase value column in Meta Events Manager or Google Ads conversions. The values should vary based on actual order totals. If you see the same value repeated for every conversion, your tracking isn't capturing real revenue data.
Decide whether to include or exclude shipping and taxes based on your reporting preferences. Some businesses track gross revenue (including all fees), while others track product revenue only. Neither approach is wrong, but consistency matters. Following best practices for tracking conversions accurately ensures your data remains reliable across all platforms.
Handle currency conversion for international dropshipping operations. If you sell in multiple currencies, your tracking needs to normalize everything to a single currency for accurate reporting. Most attribution systems can automatically convert currencies based on daily exchange rates. Configure this conversion to match your accounting practices so ad performance data aligns with financial reports.
Track profit margins by connecting product cost data where possible. Advanced attribution systems can import your product costs from your supplier or inventory management system, then calculate profit per conversion instead of just revenue. This transforms your optimization from maximizing revenue to maximizing actual profit, which matters far more for business sustainability.
Revenue accuracy directly impacts ad platform optimization algorithms. When Meta or Google receive accurate conversion values, their machine learning can identify and target customers likely to make high-value purchases. Inaccurate values train the algorithms to optimize for the wrong outcomes, degrading performance over time.
Success indicator: Revenue figures in ad platforms matching your store dashboard within 5% variance. Small discrepancies are normal due to refunds, cancellations, and attribution timing, but large gaps indicate tracking problems that need immediate attention.
Step 6: Test Your Tracking Setup Before Scaling Ad Spend
A tracking system that looks correct but contains subtle errors can cost you thousands in wasted ad spend. Before scaling campaigns based on your new tracking data, run comprehensive tests to verify everything works as expected.
Run test purchases through each traffic source to verify end-to-end tracking. Create a test campaign in Meta with a tiny budget, click through your own ad, and complete a purchase. Do the same for Google and TikTok. Each test purchase should appear correctly attributed in all connected systems: the originating ad platform, your attribution dashboard, and your store analytics.
Compare conversions across your store analytics, ad platforms, and attribution tool. Pull reports for the same date range from each system. Your store should show the authoritative order count. Ad platforms will typically show higher numbers due to attribution overlap. Your attribution system should match or come very close to your actual store orders. Document any significant discrepancies for troubleshooting.
Troubleshoot common issues before they impact live campaigns. Delayed conversions are normal, with some platforms taking up to 24 hours to report events, but if conversions never appear, check your pixel installations and server-side connections. Missing events usually indicate incomplete setup steps. Incorrect values point to problems with dynamic value configuration or currency handling.
Test edge cases that might break tracking. What happens if a customer uses a discount code? Does the tracking pass the discounted value or the full price? What about customers who abandon cart, then return days later through a different channel? Does your attribution system handle that journey correctly? These scenarios reveal tracking gaps that only appear under specific conditions.
Document your tracking setup for team members and future reference. Create a simple guide explaining which pixels are installed, how server-side tracking is configured, what UTM naming conventions you use, and where to check if tracking breaks. When managing conversion tracking for multiple ad platforms, clear documentation prevents confusion and speeds up troubleshooting.
Set up monitoring alerts so you catch tracking issues immediately. Most attribution platforms can alert you when conversion volume drops suddenly or when data stops flowing from a specific source. These alerts help you identify and fix problems before they cause significant data loss or poor optimization decisions.
Success indicator: Test conversions appearing correctly in all connected systems within 24 hours, with values, attribution, and event details matching across platforms. If your test purchases track perfectly, your live campaigns will too.
Step 7: Optimize Campaigns Using Your New Conversion Data
Now comes the payoff. With accurate tracking in place, you can make optimization decisions based on real performance data rather than platform-reported estimates. This is where proper tracking transforms from a technical project into a competitive advantage.
Analyze which ad creatives and audiences drive the highest return on ad spend. Your attribution system shows true ROAS by breaking down performance at the campaign, ad set, and individual ad level. You might discover that video ads outperform images for cold audiences, or that certain interest targets consistently deliver better results. These insights were invisible with incomplete tracking.
Feed accurate conversion data back to ad platforms to improve their optimization algorithms. When Meta and Google receive complete, accurate conversion signals through server-side tracking, their machine learning can better identify high-value customers and optimize delivery accordingly. This feedback loop compounds over time, with ad performance improving as algorithms learn from better data.
Set up automated rules or alerts based on conversion performance thresholds. For example, automatically increase budget by 20% when a campaign achieves above 3x ROAS for three consecutive days. Or pause ad sets that spend more than $100 without generating a conversion. Investing in the best conversion tracking platform for your needs makes this automation possible.
Review attribution models to understand first-touch versus last-touch performance. First-touch shows which channels introduce new customers to your brand. Last-touch reveals which channels close sales. Both perspectives matter for strategic planning. You might discover that TikTok excels at awareness while Meta retargeting drives conversions, suggesting a coordinated strategy across both platforms.
Use your conversion data to inform creative testing. When you know which ads drive revenue, you can analyze what makes them work. Is it the hook in the first three seconds? The specific product angle? The offer structure? Extract these insights and apply them to new creative concepts, creating a systematic approach to ad production rather than random testing.
Monitor how conversion data impacts your cost per acquisition over time. As ad platforms receive better signals and optimize delivery, your CPA should gradually decrease even as you scale spend. If CPA increases despite better tracking, it indicates market saturation or creative fatigue rather than tracking problems.
Success indicator: Clear visibility into true ROAS by campaign, enabling confident scaling decisions. When you can look at your dashboard and immediately identify which campaigns deserve more budget and which need to be paused, your tracking system is delivering its full value.
Putting It All Together
With these seven steps complete, your dropshipping business now has conversion tracking that captures the full customer journey across every advertising platform. You can see exactly which ads drive revenue, feed better data to ad platform algorithms, and make scaling decisions based on accurate numbers rather than guesswork.
Quick checklist to confirm your setup: all pixels installed and verified, server-side tracking active, attribution system connected, purchase values tracking dynamically, and test conversions confirmed. Review your tracking data weekly to catch any issues early and continuously refine your campaigns based on what the data reveals.
The difference between tracking setup and tracking maintenance is crucial. Platforms update their requirements, new iOS restrictions emerge, and integrations occasionally break. Schedule monthly audits where you verify that conversion counts still match across systems and that all tracking components remain functional. This proactive approach prevents silent tracking failures that gradually degrade data quality.
Remember that tracking accuracy directly translates to profitability. When you can identify your best-performing campaigns with confidence, you allocate budget to winners instead of spreading it across mediocre performers. When ad platforms receive complete conversion signals, their optimization improves, reducing your cost per acquisition. These advantages compound over time, creating a widening gap between businesses with proper tracking and those flying blind.
Ready to elevate your marketing game with precision and confidence? Discover how Cometly's AI-driven recommendations can transform your ad strategy. Get your free demo today and start capturing every touchpoint to maximize your conversions.


