
Every dollar you spend on ads should be traceable to revenue. Yet many ecommerce store owners fly blind, unable to connect their ad spend to actual purchases. The result? Wasted budget on underperforming campaigns and missed opportunities to scale what actually works.
Conversion tracking bridges this gap by capturing every customer action from initial ad click to completed purchase. When done right, you'll know exactly which campaigns drive sales, which products convert best from paid traffic, and where to invest your next marketing dollar.
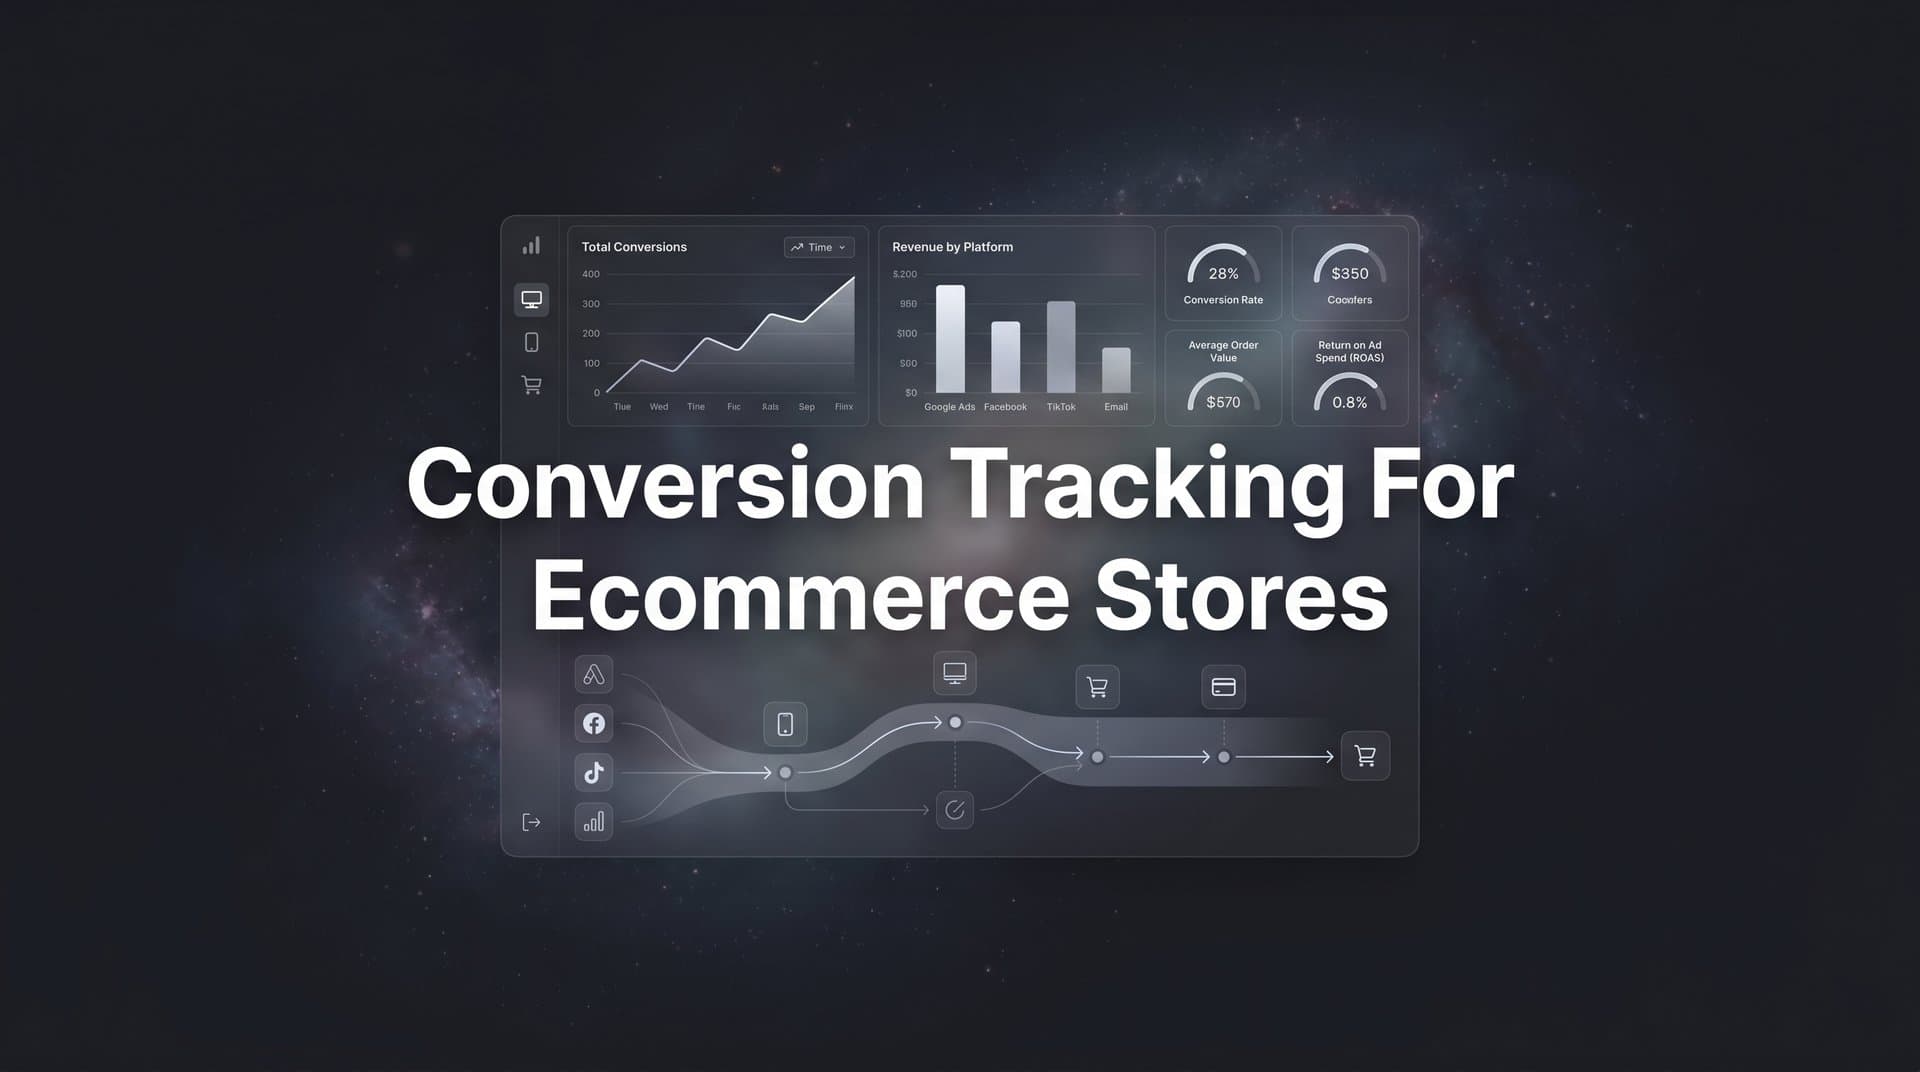
This guide walks you through setting up comprehensive conversion tracking for your ecommerce store. You'll learn how to implement tracking across your ad platforms, connect your store data, and build a system that captures the full customer journey.
By the end, you'll have a tracking foundation that turns guesswork into data-driven decisions. Let's get started.
Step 1: Audit Your Current Tracking Setup and Identify Gaps
Before you build new tracking infrastructure, you need to understand what's already working and what's broken. Most ecommerce stores have some tracking in place, but it's often incomplete or misconfigured.
Start by checking which pixels and tags are currently installed on your store. Open your website in Chrome or Firefox, then right-click and select "Inspect" to access developer tools. Navigate to the Network tab and reload your homepage while watching for tracking requests.
Look for familiar names: fbevents.js signals Meta Pixel, gtag.js or analytics.js indicates Google tracking, and tr.tiktok.com shows TikTok Pixel. Make note of every tracking script you find firing on your site.
Next, install browser extensions designed to audit tracking implementation. The Meta Pixel Helper, Google Tag Assistant, and similar tools will show you which events fire on each page and whether they're configured correctly.
Navigate through your entire purchase funnel as a customer would. Start on a product page, add items to cart, proceed to checkout, and complete a test purchase. At each step, check which conversion events fire in your tag assistant extensions.
The critical events you should see include: ViewContent on product pages, AddToCart when items are added, InitiateCheckout when customers begin checkout, and Purchase when orders complete. If any of these events are missing, you've found your first gap.
Now compare the conversion data reported in your ad platforms against actual sales in your ecommerce platform. Pull yesterday's purchase count from your store admin, then check how many purchases Meta Ads and Google Ads reported for the same day.
Discrepancies are common and revealing. If your store shows 50 orders but Meta only reports 35 purchases, you're missing 30% of your conversion data. That means Meta's algorithm is optimizing with incomplete information about what actually drives sales. Understanding best practices for tracking conversions accurately can help you close these gaps.
Create a simple spreadsheet documenting your findings. List each tracking platform, which events are currently firing, which are missing, and the percentage gap between reported conversions and actual sales. This becomes your tracking requirements checklist.
Pay special attention to platform-specific configurations. Shopify stores might have automatic Meta Pixel integration but lack proper server-side implementation. WooCommerce sites often have Google Analytics installed but missing enhanced ecommerce tracking. BigCommerce users might find their data layer isn't passing dynamic product values correctly.
The goal here isn't perfection. It's clarity. You need to know exactly where your tracking stands before you can improve it.
Step 2: Configure Your Ecommerce Platform for Proper Data Layer Setup
The data layer is the foundation of accurate conversion tracking. Think of it as a standardized container that holds all the important information about customer actions, ready to be sent to any tracking platform you use.
Google Tag Manager serves as your central tag management system, and configuring it properly eliminates the need to manually edit code every time you add a new tracking pixel. Start by creating a Google Tag Manager account if you don't have one, then install the GTM container code in your site's header.
Most modern ecommerce platforms offer native GTM integration. In Shopify, you can paste your GTM container ID directly in the theme settings. WooCommerce users typically install a GTM plugin that handles the container placement automatically. BigCommerce provides a script manager where you can inject the GTM code sitewide.
Once GTM is installed, you need to configure the data layer to pass essential ecommerce variables. These variables include product ID, product name, price, quantity, category, and transaction ID for completed purchases.
The data layer should populate dynamically based on what customers are viewing or purchasing. On a product page, it should contain details about that specific product. In the shopping cart, it should list all items with their quantities and prices. At purchase completion, it should include the full transaction details.
Here's what proper data layer output looks like: when a customer views a product, the data layer should contain an object with ecommerce details including the product name, ID, price, and category. When they add to cart, it should capture the same product details plus the quantity added. At purchase, it should include all purchased items, the transaction total, tax, and shipping.
Testing this configuration is critical before you connect any tracking pixels. Open Google Tag Manager's preview mode by clicking "Preview" in the top right corner of your GTM workspace. This opens your website with a debugging panel that shows exactly what data is available at each step.
Navigate through your purchase funnel again while watching the GTM preview panel. On each page, click into the "Data Layer" tab and verify that all expected variables are present and contain the correct values.
Common issues include static values instead of dynamic ones (every product shows the same price), missing variables (product ID isn't captured), or incorrect formatting (price shows as "$29.99" instead of 29.99 as a number). A comprehensive ecommerce conversion tracking setup guide can help you avoid these pitfalls.
Platform-specific configurations vary significantly. Shopify's data layer is automatically populated for most events, but you might need to customize the checkout.liquid file for complete purchase tracking. WooCommerce requires either a plugin like GTM4WP or custom code in your theme's functions.php file. BigCommerce users often need to work with Stencil theme files to ensure proper data layer implementation.
If you're not comfortable editing code, many ecommerce platforms offer apps or plugins that handle data layer configuration automatically. The investment in a quality tracking plugin often pays for itself in improved ad performance within weeks.
The key is ensuring that every critical customer action populates the data layer with accurate, dynamic information. Once this foundation is solid, connecting tracking pixels becomes straightforward.
Step 3: Implement Server-Side Tracking for Accurate Data Collection
Browser-based tracking alone no longer captures the full picture. iOS privacy changes, browser cookie restrictions, and ad blockers prevent traditional pixels from seeing a significant portion of your conversions.
Many ecommerce stores discover they're missing 20-40% of their actual conversions when they rely solely on browser pixels. That means ad platforms are optimizing with incomplete data, often favoring the wrong campaigns and audiences.
Server-side tracking solves this problem by sending conversion data directly from your server to ad platforms, bypassing browser restrictions entirely. When a customer completes a purchase, your server sends that information to Meta, Google, and other platforms regardless of whether their browser pixel fired. Implementing server-side tracking solutions for ecommerce is now essential for accurate attribution.
For Meta Ads, this means implementing the Conversions API alongside your browser pixel. The Conversions API sends purchase events from your server, including customer information like email and phone number that helps Meta match the conversion to the right user.
Google Ads uses enhanced conversions, which works similarly by sending hashed customer data server-side to improve conversion matching and attribution accuracy.
The implementation approach depends on your ecommerce platform. Shopify offers built-in Conversions API integration through their customer events feature. You can enable it in your Shopify admin under Settings > Customer Events, then connect your Meta Business account.
WooCommerce users typically need a plugin or custom integration to handle server-side tracking. Several WordPress plugins offer Conversions API functionality, or you can use Meta's official PHP SDK to build a custom solution.
BigCommerce provides webhooks that trigger when orders are placed, which you can use to send conversion data to Meta's Conversions API endpoint.
Alternatively, attribution platforms like Cometly handle server-side tracking automatically across all major ad platforms. When an order comes through your store, Cometly captures the conversion data and sends it server-side to Meta, Google, TikTok, and other platforms simultaneously.
The critical component of server-side tracking is customer data parameters. To accurately match conversions to users, you need to send hashed versions of email addresses, phone numbers, and other identifiers along with the conversion event.
Meta's Conversions API accepts parameters like email, phone, first name, last name, city, state, zip code, and country. The more parameters you can match, the better Meta can attribute the conversion to the correct ad interaction.
Google's enhanced conversions require at minimum an email address, though adding phone number and address information improves match rates.
Here's the important part: server-side tracking should work alongside browser tracking, not replace it. The browser pixel captures events in real-time as customers navigate your site, providing immediate signals to ad platforms. Server-side tracking fills in the gaps where browser tracking fails and provides redundancy for critical purchase events.
After implementing server-side tracking, verify that events are firing correctly in your ad platform's events manager. Meta's Events Manager shows both pixel events and Conversions API events, allowing you to confirm that server events are being received. Google Ads similarly displays enhanced conversion data in the conversions section.
The combination of browser and server-side tracking creates a resilient system that captures conversions regardless of privacy restrictions or technical limitations.
Step 4: Define and Map Your Key Conversion Events
Not all conversions carry equal weight. A newsletter signup indicates interest, but a completed purchase generates revenue. Your tracking setup needs to reflect these distinctions.
Start by identifying your primary conversion: the completed purchase. This is the event that directly drives revenue and should be your main optimization target for ad campaigns.
Next, define your micro-conversions. These are valuable actions that happen earlier in the customer journey. Common ecommerce micro-conversions include viewing a product, adding items to cart, initiating checkout, and signing up for email lists.
Each conversion event should have an assigned value. For purchases, the value is straightforward: the actual transaction amount. For micro-conversions, you'll need to estimate based on how often they lead to purchases.
Let's say your average order value is $75, and historically 10% of people who add to cart complete a purchase. You might assign an estimated value of $7.50 to the AddToCart event. This helps ad platforms understand the relative importance of different actions.
Create consistent event naming conventions across all platforms. If you call the purchase event "Purchase" in Meta, use "Purchase" in Google Ads and TikTok too. Inconsistent naming makes cross-platform analysis unnecessarily complex. Using a conversion tracking solution for multiple ad platforms helps maintain this consistency.
Most platforms support standard ecommerce events, but you might need custom events for store-specific actions. If you sell subscriptions, create a custom "SubscriptionPurchase" event separate from one-time purchases. If you offer product bundles, track "BundlePurchase" as its own event.
Custom events help you optimize campaigns for specific business goals. You can create ad sets that specifically target people likely to purchase bundles, or optimize for subscription conversions rather than one-time sales.
Conversion windows define how long after seeing or clicking an ad a conversion can be attributed to that ad. The default is often 7 days after clicking and 1 day after viewing, but this might not match your customer behavior.
If you sell high-consideration products where customers research for weeks before buying, extend your conversion window to 28 days or more. For impulse-buy products, a shorter window might be more accurate.
Review your store's analytics to understand typical purchase cycles. Look at the time between first visit and purchase for your customers. If most people buy within 3 days of first discovering your store, a 7-day click window captures the majority of conversions. If they typically take 2-3 weeks, you need a longer window.
Document all of this in a conversion event map. Create a simple table listing each event name, what triggers it, its assigned value, which platforms track it, and any special configuration notes.
This map becomes your reference when setting up campaigns, troubleshooting tracking issues, or onboarding team members who need to understand your measurement framework.
Step 5: Connect Your Ad Platforms and Sync Conversion Data
With your tracking infrastructure in place, it's time to connect your ad platforms so they receive accurate conversion signals and can optimize accordingly.
In Google Ads, navigate to Tools & Settings > Measurement > Conversions, then click the plus button to create a new conversion action. Select "Website" as the source, then choose "Import" if you're pulling from Google Analytics, or "Manually add conversion actions" if you're setting up through Google Tag Manager.
Configure each conversion action with the appropriate category (Purchase, Add to Cart, etc.), value settings (use transaction-specific value for purchases), and count (typically "Every" for purchases, "One" for lead submissions).
For Meta Ads, your pixel and Conversions API should already be sending events. Navigate to Events Manager, select your pixel, and verify that all expected events appear in the recent activity. Click into each event to configure aggregated event measurement, which determines priority when iOS users limit tracking.
Prioritize your events with Purchase at the top, followed by InitiateCheckout, AddToCart, and ViewContent. This ensures that when Meta can only track a limited number of events due to iOS restrictions, it prioritizes the most valuable ones.
Conversion sync takes this a step further by feeding enriched purchase data back to ad platforms. When someone completes a purchase, your attribution system sends detailed information about that conversion including the specific ad, campaign, and even creative that influenced it.
This closed-loop feedback dramatically improves ad platform algorithms. Instead of guessing which audiences and creative approaches drive purchases, the algorithm receives direct confirmation of what works.
Platforms like Cometly automate conversion sync across Meta, Google, TikTok, and other channels. When a purchase occurs, Cometly attributes it to the correct marketing touchpoints and sends that enriched conversion data back to each platform's API.
For businesses with phone orders or offline sales, set up offline conversion tracking for online ads. Both Google Ads and Meta allow you to upload conversion data via CSV files or API integration.
The key is matching the offline conversion to the original ad click. You'll need to capture the click ID (GCLID for Google, FBC for Meta) when customers first arrive from ads, then include that ID when uploading offline conversions later.
Enable enhanced matching and customer data parameters in all platforms. In Meta's Events Manager, turn on automatic advanced matching, which hashes and sends customer information from form fields to improve conversion attribution.
Google Ads enhanced conversions require you to pass hashed customer data (email, phone, address) along with conversion events. This can be configured in Google Tag Manager or through server-side implementation.
The more customer data points you can match, the better platforms can connect conversions to the right users, even when cookie-based tracking fails.
Finally, if you're running campaigns across multiple platforms, consider using an attribution platform to unify all conversion data in one place. Rather than logging into five different ad accounts to see how campaigns perform, you get a single dashboard showing cross-channel attribution and performance.
This unified view reveals how channels work together. You might discover that TikTok ads introduce customers who later convert through Google search, or that Meta retargeting is essential for closing sales that start from email campaigns.
Step 6: Test and Validate Your Entire Tracking Funnel
Configuration without validation is just hope. You need to verify that your tracking actually works before you trust it to guide budget decisions.
Run test purchases through each major traffic source. Create a unique UTM parameter for each test (utm_source=test_google, utm_source=test_meta, etc.) so you can identify these conversions later.
Place a real order on your store coming from each test link. Use different email addresses or customer profiles for each test to avoid confusion. Complete the entire checkout process including payment.
Within minutes, check whether each ad platform received the conversion. In Meta Events Manager, filter events by the test email address or transaction ID. In Google Ads, navigate to your conversions report and look for the test conversion with your UTM parameters.
Compare the reported conversion details against your actual order. Does the conversion value match the order total? Did it attribute to the correct source and campaign? Is the timestamp accurate?
Next, check for duplicate conversions. If both your browser pixel and server-side tracking fired for the same purchase, you might see two conversion events instead of one. Most platforms have deduplication built in, but verify it's working correctly. Learn more about handling duplicated conversion tracking across platforms to avoid inflated metrics.
Meta uses the event_id parameter to deduplicate. If your browser pixel and Conversions API both send the same event_id with a purchase, Meta counts it once. Check that your implementation includes matching event_ids for the same transaction.
Google's enhanced conversions automatically deduplicate when the transaction ID matches between the tag-based conversion and the enhanced conversion data.
Look for missing events at each funnel stage. Your test purchase should have triggered ViewContent on the product page, AddToCart when you added items, InitiateCheckout when you started checkout, and Purchase when you completed the order.
If any event is missing, trace back through your implementation. Check the GTM preview mode to see if the data layer populated correctly. Verify that the corresponding tag fired. Look for JavaScript errors in the browser console that might have prevented the tag from executing.
Validate conversion values carefully. A common issue is currency mismatch where your store operates in USD but the tracking sends values without currency codes, causing platforms to interpret them incorrectly.
Another frequent problem is including or excluding tax and shipping inconsistently. Decide whether your conversion values should include these amounts, then ensure all tracking implementations follow the same rule.
Document any discrepancies you find. If Meta reports 95% of test conversions but Google only shows 80%, you've identified a gap in Google's tracking that needs investigation.
Common issues include timing delays where conversions take several minutes to appear in reporting, deduplication failures creating inflated conversion counts, or attribution windows that exclude conversions happening outside the default window.
Fix each issue before moving to the next. Accurate tracking requires patience and attention to detail, but the payoff in improved campaign performance is substantial.
Step 7: Build Your Attribution Dashboard and Ongoing Monitoring System
Tracking setup is just the beginning. You need a system for actually using this data to make better marketing decisions.
Create a centralized attribution dashboard that shows conversions by channel, campaign, and ad set. Most ecommerce businesses use a combination of Google Analytics, ad platform reports, and dedicated attribution tools to get the complete picture.
Google Analytics 4 provides multi-channel funnel reports showing how different channels contribute to conversions. The attribution comparison tool lets you see how different attribution models (last click, first click, linear, time decay) assign credit differently.
This reveals important insights about how your channels work together. Last-click attribution might show Google search driving most conversions, but a data-driven model might reveal that Meta ads play a crucial role in the earlier stages of the customer journey.
For deeper cross-channel analysis, marketing attribution for ecommerce stores platforms like Cometly unify data from all your marketing sources. You can see which combination of touchpoints leads to the highest-value customers, which campaigns assist conversions even when they don't get last-click credit, and where to reallocate budget for maximum ROI.
Set up automated alerts for tracking failures or significant data drops. If your daily conversion count suddenly drops by 50%, you need to know immediately, not three days later when you check your reports.
Google Analytics allows you to create custom alerts based on metric thresholds. Set an alert if conversions drop more than 30% day-over-day, or if your conversion rate falls below your historical average.
Meta and Google Ads also offer automated rules that can notify you when performance metrics change significantly. Use these to catch tracking issues before they impact campaign optimization.
Establish a weekly review process to catch issues before they compound. Every Monday, pull a report comparing last week's conversions across all platforms against actual store orders.
If you see growing discrepancies, investigate immediately. A small tracking gap this week can become a major attribution problem next month if left unaddressed.
Compare attribution models regularly to understand how different approaches value your marketing touchpoints. Run the same date range through last-click, first-click, and data-driven attribution models.
If last-click gives 80% credit to Google search but data-driven gives only 40%, it suggests that other channels are playing important assisting roles. This might justify maintaining or increasing budget in channels that don't show strong last-click performance but contribute to the overall conversion path. Implementing accurate cross-platform conversion tracking makes these comparisons possible.
Use AI-powered insights to identify scaling opportunities and budget reallocation. Modern attribution platforms analyze your conversion data to recommend which campaigns are underinvested, which audiences show strong conversion potential, and where you're overspending on diminishing returns.
Cometly's AI analyzes patterns across all your marketing channels to provide specific recommendations: increase budget on this campaign by 20%, shift spend from this underperforming ad set to this high-performer, or test this audience segment that shows strong early signals.
These recommendations remove guesswork from optimization decisions. Instead of relying on intuition about where to invest next, you have data-driven guidance based on actual conversion patterns.
The goal is turning your tracking infrastructure into an active decision-making system, not just a passive reporting tool. When you can quickly identify what's working, what's not, and where to shift budget, you transform marketing from an expense into a predictable growth engine.
Putting It All Together
You now have a complete conversion tracking system that captures the full customer journey from ad click to purchase. Your tracking setup includes browser and server-side implementation, proper event mapping, and connected ad platforms receiving accurate conversion data.
Here's your quick reference checklist: audit existing tracking and identify gaps, configure your data layer in Google Tag Manager, implement server-side tracking for iOS and ad blocker resilience, define conversion events with proper values, connect and sync data to all ad platforms, test purchases through each traffic source, and build ongoing monitoring dashboards.
With accurate tracking in place, you can confidently scale winning campaigns, cut spend on underperformers, and make every marketing dollar work harder. Start with Step 1 today, and within a week you'll have visibility into exactly what drives your ecommerce revenue.
The difference between guessing and knowing is everything in paid advertising. Stores with proper conversion tracking consistently outperform competitors who fly blind, simply because they can identify and double down on what actually works.
Your tracking foundation is now solid. The next step is leveraging that data to optimize campaigns, improve targeting, and scale profitably. Ready to elevate your marketing game with precision and confidence? Discover how Cometly's AI-driven recommendations can transform your ad strategy. Get your free demo today and start capturing every touchpoint to maximize your conversions.


