Most marketers are running blind, and they don't even know it. They're making budget decisions based on default attribution models that were designed for generic use cases, not for the complex, multi-channel funnels that most modern businesses actually run.
If your buyers touch paid search, paid social, retargeting, and email before they ever convert, a last-click model is telling you that only one of those channels matters. A linear model is pretending they all matter equally. Neither is true, and neither should be guiding your spend.
The problem gets worse when your sales cycle stretches beyond a few days. Default attribution windows don't account for buyers who see your Meta ad in week one, click a Google search ad in week three, and finally book a demo after receiving a nurture email in week five. That first touchpoint, which may have sparked the entire journey, gets zero credit.
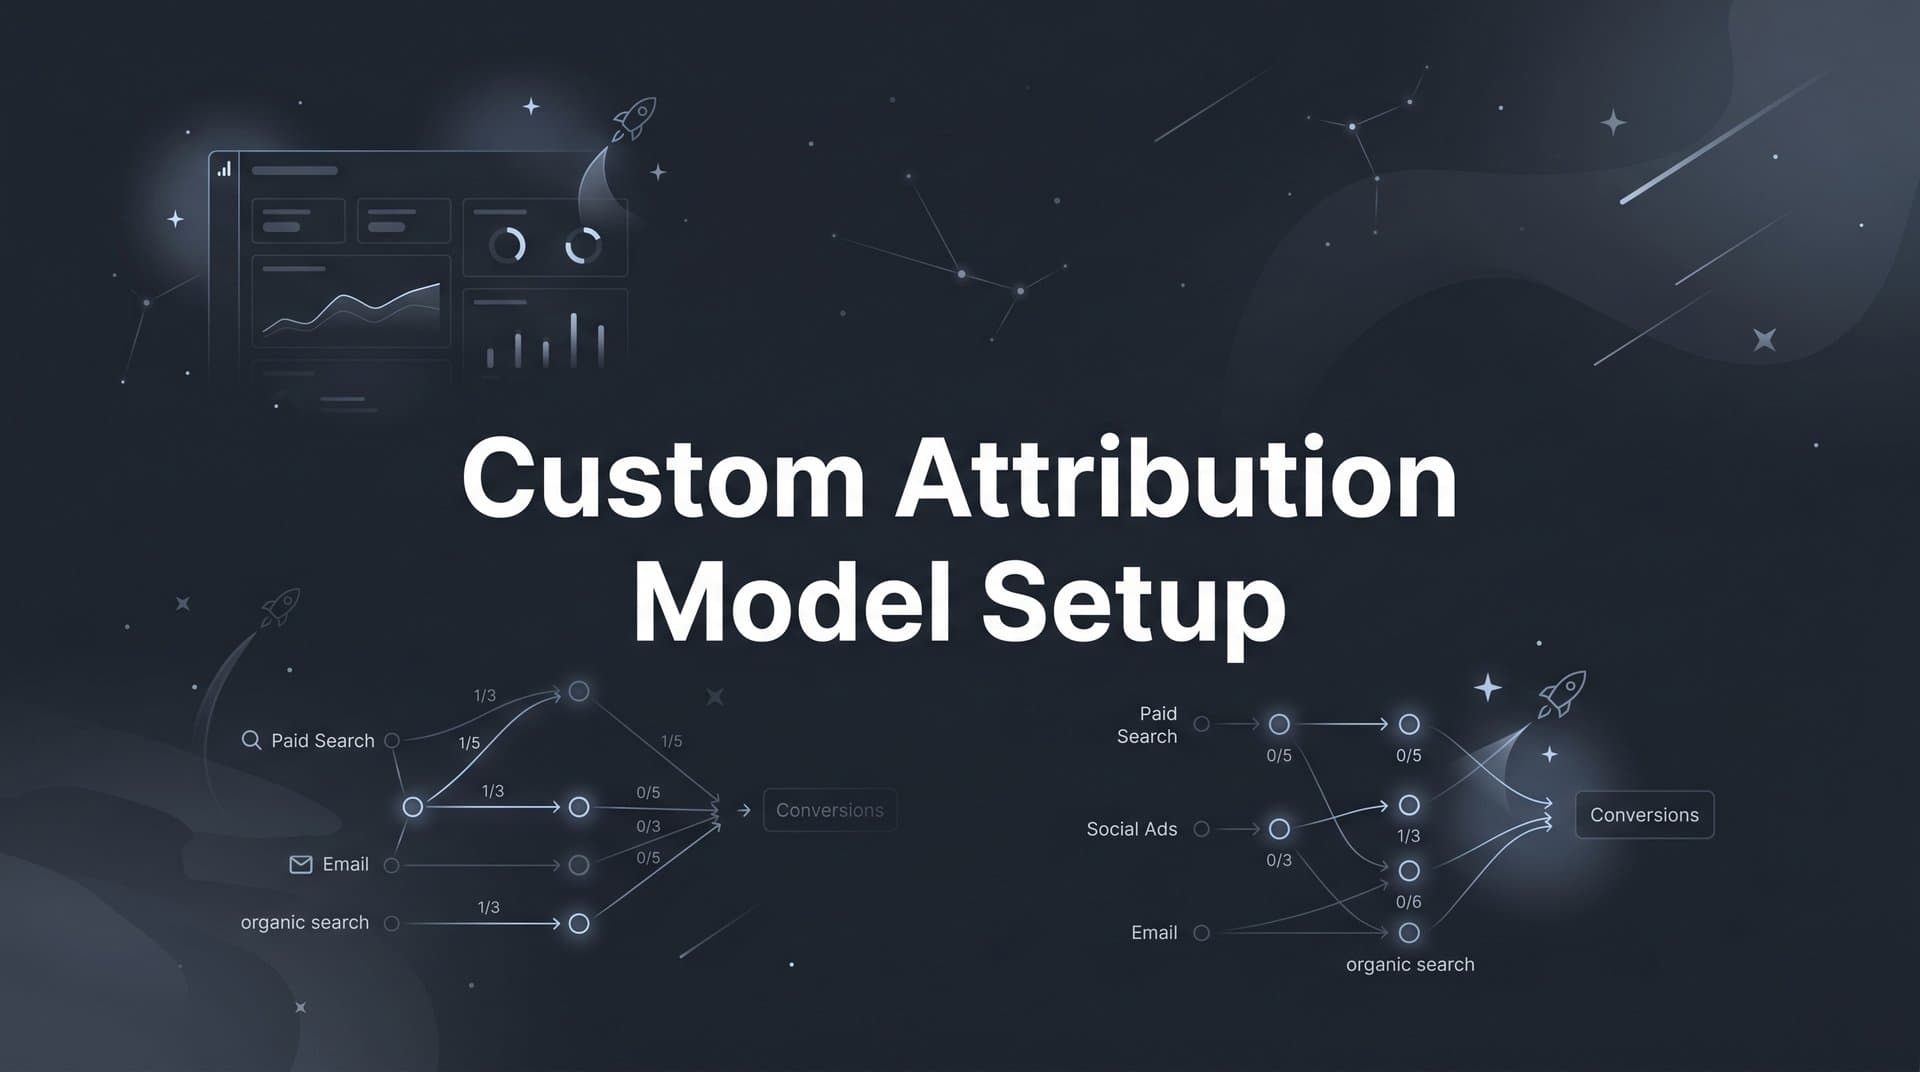
A custom attribution model fixes this. Instead of accepting a platform's built-in assumptions about how your customers make decisions, you define the rules yourself. You choose which touchpoints get credit, how much, and why. The result is attribution data that actually reflects your customer journey rather than a convenient simplification of it.
This guide walks you through the complete custom attribution model setup process. You'll start by auditing your existing tracking, then map your customer journey, assign credit weights, configure your model, validate it against real data, and finally use those insights to make smarter budget decisions. Each step builds on the last, so by the time you finish, you'll have a working model grounded in how your buyers actually behave.
Whether you're a solo marketer juggling multiple paid channels or part of a growth team looking to scale with confidence, this process will give you a clearer, more accurate picture of what's actually driving revenue. Let's get into it.
Step 1: Audit Your Current Tracking Setup
Before you build anything new, you need to understand what you're working with. A custom attribution model is only as reliable as the data feeding it. If your tracking is broken, incomplete, or duplicating events, your custom model will produce confident-looking numbers that are completely wrong.
Start by listing every tracking element currently active across your site and ad accounts. This includes platform pixels (Meta Pixel, Google Ads tag, TikTok Pixel, LinkedIn Insight Tag), any third-party analytics scripts, your CRM's tracking code, and any event-level tracking you've configured for key actions like form submissions, button clicks, or page visits.
Once you have that list, check for three common problems:
Gaps in coverage: Are there key pages in your funnel that aren't being tracked? A missing pixel on your thank-you page, for example, means conversions go unrecorded. Walk through your entire funnel as a user and verify that every meaningful action fires a tracking event.
Duplicate events: This happens when both a browser-side pixel and a server-side integration are firing for the same conversion without deduplication logic in place. Duplicate events inflate your conversion counts and skew attribution data.
CRM and ad platform misalignment: Pull your conversion data from your CRM and compare it to what your ad platforms are reporting. If the numbers are significantly different, something is broken. Your CRM is usually the more reliable source since it records actual business outcomes rather than estimated conversions.
Next, assess whether you have server-side tracking in place. Browser-level tracking has become increasingly unreliable due to privacy changes across major operating systems and browsers. Ad blockers, cookie restrictions, and intelligent tracking prevention all create gaps in your data. Server-side tracking sends conversion signals directly from your server to ad platforms, bypassing these browser-level limitations and giving you a more complete picture of what's actually happening.
Document everything you find in this audit. Create a simple spreadsheet that captures which pixels are live, which pages they're on, whether server-side tracking is active, and any gaps or issues you identified. This document becomes your baseline. You'll refer back to it throughout the rest of this process, and it will save you significant troubleshooting time later.
Skipping this step is one of the most common mistakes marketers make when setting up custom attribution. If you want a deeper look at how to structure a proper attribution tracking setup, reviewing a complete framework before you proceed can help you avoid the most costly errors. Building a sophisticated model on top of flawed tracking doesn't give you better insights. It gives you more confidently wrong ones.
Step 2: Map Your Customer Journey and Define Touchpoints
With your tracking audit complete, the next step is to map the actual path your buyers take from first awareness to conversion. This is the strategic foundation of your entire custom attribution model. The credit weights you assign in the next step will only make sense if your journey map is accurate.
Start by listing every channel and interaction point in your funnel. Think broadly: paid search, paid social, organic search, direct traffic, email campaigns, retargeting ads, content downloads, webinar registrations, sales outreach, and any offline touchpoints like trade shows or phone calls. If a buyer could interact with your brand through it, it belongs on your list.
Once you have your full list, map the typical sequence. For most businesses, the journey looks something like this: a buyer first encounters your brand through a top-of-funnel touchpoint (a display ad, a social post, an organic search result), then engages with middle-of-funnel content (a blog post, a comparison page, a retargeting ad), and finally converts through a bottom-of-funnel action (a direct visit, a branded search, a demo request email).
The key distinction to make here is between discovery touchpoints and decision touchpoints. Discovery touchpoints introduce your brand and create initial awareness. Decision touchpoints push an already-interested buyer toward conversion. These two categories will receive very different credit weights in your model, so you need to be clear about which touchpoints typically fall into each category for your specific buyers.
For B2B teams or businesses with longer sales cycles, your journey map needs to account for time. A buyer might interact with your brand across multiple sessions spanning weeks or months before they ever reach a conversion event. Understanding multi-channel attribution modeling can help you think through how to represent these complex paths accurately. Make sure your journey map reflects this reality rather than compressing everything into a short window.
Define your conversion events clearly before you move on. Is your primary conversion a lead form submission? A demo booking? A purchase? A qualified opportunity created in your CRM? Different businesses have different definitions of "conversion," and your attribution model needs to be anchored to the one that actually matters for your revenue goals. If you have multiple conversion events (for example, a lead form and a closed deal), consider whether you need separate attribution models for each stage.
Write your journey map out in a format your whole team can reference. A simple visual diagram or a table showing touchpoint sequence, channel type, and funnel stage works well. The more clearly you can articulate how your buyers actually move through your funnel, the more precisely you'll be able to assign credit in the next step.
Step 3: Choose Your Attribution Logic and Credit Weights
Now that you have a clear picture of your customer journey, it's time to decide how credit gets distributed across touchpoints. This is where custom attribution model setup moves from analysis into design, and it requires you to make deliberate choices rather than accepting defaults.
Start by choosing the type of attribution logic your model will use. There are a few main approaches:
Position-based (U-shaped or W-shaped): This logic assigns higher credit to specific positions in the journey, typically the first touch and the last touch, with the remaining credit distributed across middle touchpoints. It's a good starting point for businesses that value both brand awareness and conversion-driving channels. The U-shaped attribution model is one of the most commonly adopted starting points for teams making this transition.
Time-decay with custom weights: Credit increases as touchpoints get closer to the conversion event. You can customize how steeply credit decays to match your sales cycle. This works well for shorter consideration cycles where recency genuinely matters.
Algorithmic or data-driven: Machine learning analyzes your actual conversion paths and assigns credit based on which touchpoints statistically correlate with conversion. This is the most accurate approach, but it requires sufficient conversion volume to produce reliable results.
Fully custom rule set: You define specific rules for specific touchpoints. For example, you might say that any demo request page visit receives a fixed credit bonus regardless of where it falls in the journey, because historically that action correlates strongly with conversion.
Once you've chosen your logic, assign credit percentages to touchpoint positions based on your journey map. If your business runs strong brand awareness campaigns that reliably introduce buyers to your brand, you might weight first touch heavily. If your funnel is retargeting-heavy and most buyers convert after seeing a specific offer multiple times, you might weight the final few touchpoints more generously.
Consider giving bonus credit to specific high-intent actions that your data or sales team feedback suggests are strong conversion signals. Pricing page visits, demo requests, and email clicks on bottom-of-funnel content often deserve extra weight because they indicate a buyer who is actively evaluating your product.
If you run campaigns across multiple products or business lines, consider building separate model variants for each. A campaign driving enterprise leads may have a very different customer journey than one targeting SMB buyers, and a single model may not capture both accurately.
One important caution: resist the temptation to copy credit weights from a blog post or best-practice template. Your model should reflect your buyer behavior, not someone else's. The whole point of custom attribution is that it's built around your data and your customer journey. Document your rationale for every weight assignment in writing so you can revisit and refine it as you gather more real-world performance data.
Step 4: Configure Your Attribution Model in Your Analytics Platform
With your logic and credit weights defined, it's time to build the model in your attribution platform. This step is where your strategic decisions become technical configurations, and the details matter.
Begin by connecting all your data sources. Your attribution platform needs to receive data from every channel in your funnel: ad platforms (Meta, Google, TikTok, LinkedIn), your CRM, your website event tracking, and any offline conversion data you've collected. Incomplete data connections mean incomplete journey mapping, which means your model will assign credit based on partial information.
Set your attribution window to match your actual sales cycle, not a platform default. Most ad platforms default to 7-day or 30-day attribution windows. If your buyers typically take six to eight weeks from first touch to conversion, a 30-day window will miss a significant portion of the journey. Your attribution window should be long enough to capture the full path for the majority of your conversions.
Apply your custom credit weights within the platform, mapping them to the touchpoint categories you defined in Step 2. Be precise with your event naming conventions here. If your CRM calls a demo booking a "Meeting Booked" event and your ad platform calls it a "Demo Request," you need to map these to the same touchpoint category in your attribution model. Naming mismatches are a common source of attribution discrepancies in data that are easy to miss but hard to diagnose after the fact.
Enable server-side tracking if you haven't already. As noted in the audit step, browser-level data loss from ad blockers and privacy restrictions creates real gaps in your attribution data. Server-side tracking ensures that conversion signals are captured and sent accurately, giving your custom model a more complete data set to work with.
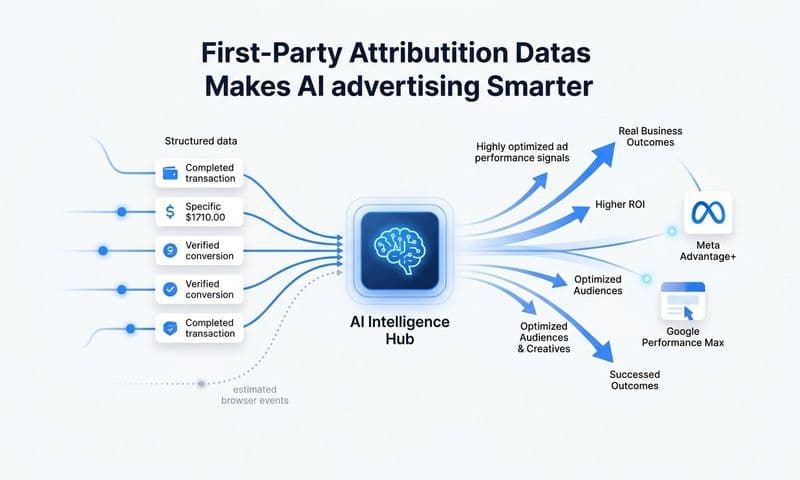
Set up conversion sync to feed your enriched attribution data back to Meta, Google, and other ad platforms. This step is often overlooked, but it's one of the highest-leverage actions you can take. When you send better conversion data back to ad platforms, their algorithms use it to improve targeting and optimization. Better input data leads to better algorithmic performance, which means lower cost per acquisition over time.
Platforms like Cometly are built specifically for this kind of setup. Cometly connects your ad channels, CRM, and website in one place, applies multi-touch attribution across the full customer journey, and syncs conversion data back to ad platforms automatically. Instead of manually stitching together data from five different sources, you get a unified view with the attribution logic applied consistently across all channels. This makes the configuration step significantly faster and reduces the risk of data mismatches that can undermine your model's accuracy.
Step 5: Validate Your Model Against Real Campaign Data
A custom attribution model isn't trustworthy the moment you configure it. It needs to be tested against real data before you start making budget decisions based on it. Validation is what separates a model that looks good in theory from one that actually reflects reality.
Run your custom model in parallel with your existing default model for at least two to four weeks before acting on its outputs. This parallel period gives you a meaningful data set to compare and enough time to catch configuration errors that might not be obvious immediately.
During this period, compare attributed revenue or conversions across both models and look for significant discrepancies in which channels receive credit. Some divergence is expected and is actually the point. Your custom model should tell a different story than the default model. The question is whether that different story makes sense given what you know about your customer journey. Knowing how to evaluate attribution models objectively is essential at this stage so you're comparing outputs with the right criteria.
Pay particular attention to channels or campaigns that appear undervalued in the default model but show strong performance in your custom model. Top-of-funnel channels like display advertising, social awareness campaigns, and organic content often receive little or no credit in last-click models even when they play a genuine role in introducing buyers to your brand. If your custom model is correctly weighted, these channels should start receiving more appropriate credit.
Check for over-crediting as well. If a single channel is receiving a disproportionately large share of attribution credit, investigate whether it reflects a genuinely high-performing channel or a misconfigured weight. A channel that appears in almost every conversion path will naturally accumulate credit, but that doesn't always mean it's the primary driver.
One of the most valuable validation steps is qualitative: talk to your sales team. Ask them which channels and content pieces buyers mention during discovery calls. Review CRM notes from closed deals to see what buyers say influenced their decision. If your model is crediting channels that your sales team never hears about, that's worth investigating. If the model aligns with what your team hears from buyers, that's a good signal that your credit weights are in the right range.
Plan to revisit model accuracy on a quarterly basis. Your channel mix will evolve, your buyer behavior will shift, and new campaigns will change the shape of your typical conversion path. Custom attribution model setup is not a one-time project. It's an ongoing process that gets more accurate as you gather more data and refine your weights.
Step 6: Use Attribution Insights to Optimize Budget and Scale Campaigns
Validation complete, your custom model is now ready to guide real decisions. This is where the work you've done pays off, not just in better reporting, but in smarter spending and stronger campaign performance.
Start by identifying your highest-performing channels based on attributed revenue rather than platform-reported conversions. Platform dashboards are designed to make their own channels look good. Each platform attributes as much credit as possible to itself, which means your Meta dashboard and your Google dashboard are both overclaiming. Your custom model, which sees the full journey across all channels, gives you a more objective view of where revenue is actually coming from.
Use those insights to reallocate budget. Channels that look strong in platform dashboards but show weak performance in your custom model are likely benefiting from last-click overcrediting. Channels that looked weak in default reporting but show meaningful contribution in your custom model are likely underinvested. Shifting budget from the former to the latter is often where teams find the biggest efficiency gains. Reviewing marketing attribution analytics best practices can help you structure these budget reviews more systematically.
Use AI-powered recommendations to go deeper than channel-level analysis. Platforms like Cometly's AI Ads Manager can surface which specific ads, ad sets, and campaigns are driving the most attributed conversions across all channels. This lets you make creative and targeting decisions based on full-funnel performance rather than siloed platform metrics.
Feed your enriched conversion data back to your ad platforms through conversion sync. This isn't just good for your reporting. It actively improves the performance of your campaigns. When Meta and Google receive accurate, enriched conversion signals, their algorithms can optimize more effectively for the outcomes that actually matter to your business. Better data in means better targeting out, and that compounds over time.
Set up regular reporting cadences using your custom model as the primary source of truth. Weekly or bi-weekly reviews of attributed performance by channel, campaign, and ad set will help you catch shifts in performance quickly and make adjustments before budget is wasted. Retire vanity metrics that don't connect to revenue and focus your team's attention on the numbers that actually drive decisions.
Scale the campaigns and channels your model identifies as high performers with confidence. When your spend decisions are grounded in accurate, cross-channel attribution rather than siloed platform data, you're not guessing. You're investing based on evidence.
Your Custom Attribution Checklist: Putting It All Together
Before you launch your custom attribution model, run through this checklist to make sure everything is in place:
1. Tracking audit complete: all pixels, tags, and scripts documented, gaps identified and resolved, server-side tracking active, CRM and ad platform data aligned.
2. Customer journey mapped: all touchpoints listed, discovery vs. decision touchpoints distinguished, conversion events clearly defined, journey length accounted for in your attribution window.
3. Attribution logic chosen and credit weights documented: rationale recorded for each weight, high-intent actions given appropriate bonus credit, separate model variants created for different campaign types if needed.
4. Model configured in your platform: all data sources connected, attribution window set to match your sales cycle, event naming conventions consistent, conversion sync active.
5. Parallel validation run: at least two to four weeks of data compared against default model, qualitative check completed with sales team, over-crediting and under-crediting investigated.
6. Insights actioned: budget reallocated based on custom model findings, AI-powered recommendations reviewed, regular reporting cadence established.
The most important thing to remember is that custom attribution model setup is a process, not a destination. Your first model won't be perfect, and that's fine. Start simple, act on the insights you have, and refine your weights as you gather more data. The marketers who consistently outperform their peers aren't the ones who waited to build the perfect model. They're the ones who started, iterated, and kept improving.
Cometly makes this entire process faster and more accessible. By connecting your ad platforms, CRM, and website in one place with built-in multi-touch attribution and AI-powered optimization recommendations, Cometly removes the data engineering overhead that typically makes custom attribution a project reserved for large teams with dedicated analysts. You get accurate, cross-channel attribution and the insights to act on it, without needing to build the infrastructure from scratch.
Ready to stop guessing and start making budget decisions based on what's actually driving revenue? Get your free demo today and see how Cometly can help you capture every touchpoint, connect every conversion, and scale your campaigns with real confidence.