
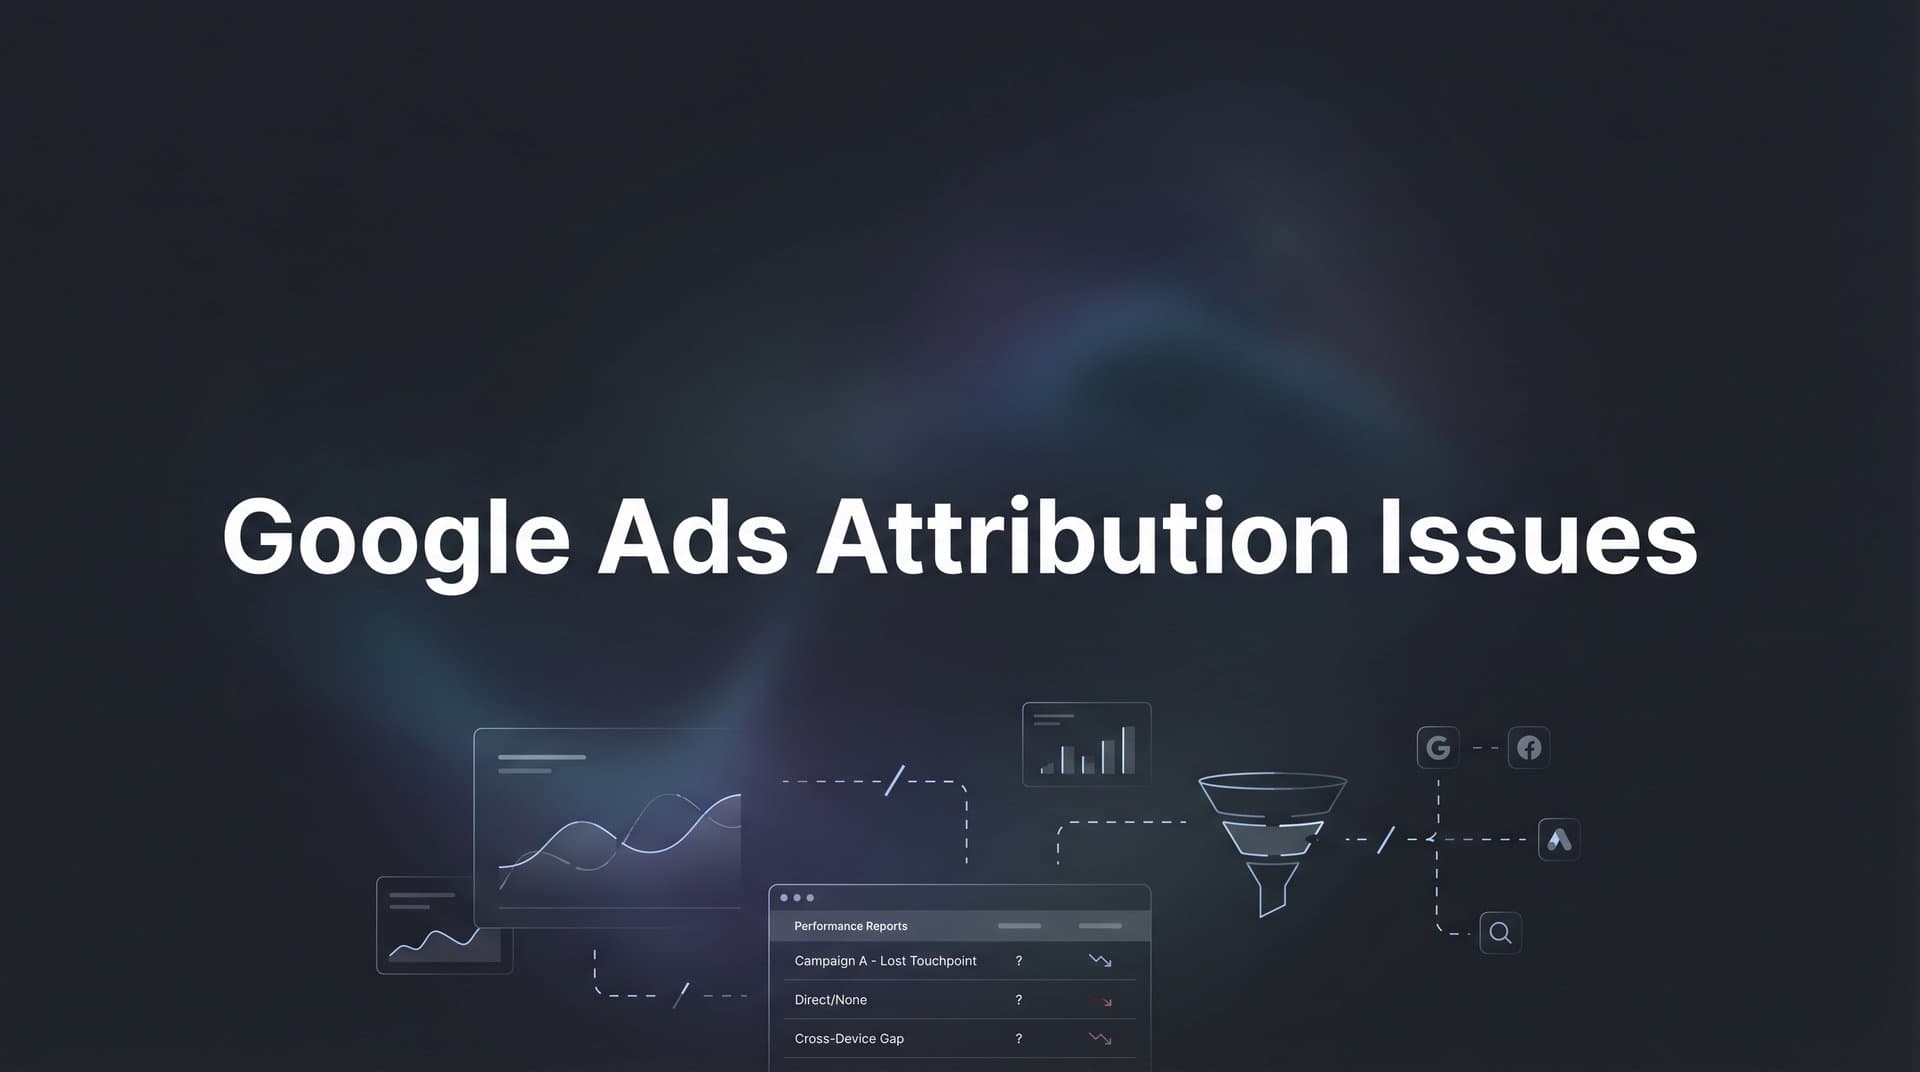
You check your Google Ads dashboard and see 50 conversions. Then you look at your CRM and count only 30 actual sales. Sound familiar?
Google Ads attribution issues create a frustrating gap between what your ads report and what your business actually experiences. This disconnect makes it nearly impossible to know which campaigns deserve more budget and which ones are wasting money.
The problem has gotten worse as privacy changes, cross-device journeys, and longer sales cycles complicate how conversions get tracked and credited. iOS App Tracking Transparency and browser cookie restrictions have reduced visibility into user journeys. Users click ads on mobile but convert on desktop, breaking attribution chains. B2B sales cycles extend beyond default tracking windows, causing conversions to vanish from reports.
Many marketers find themselves making decisions based on incomplete or misleading data. You might be cutting budgets from campaigns that actually drive revenue, or scaling campaigns that only look good on paper.
This guide walks you through a systematic process to identify, diagnose, and fix the most common Google Ads attribution problems. You will learn how to audit your current setup, verify your conversion tracking, align your attribution model with your business reality, and implement solutions that give you confidence in your data.
By the end, you will have a clear action plan to close the gap between reported and actual performance.
Step 1: Audit Your Conversion Tracking Setup for Gaps
Your first task is identifying what is actually being tracked and how accurately those tracking mechanisms are working. Most attribution issues start here, with misconfigured conversion actions that either miss events or count them incorrectly.
Log into your Google Ads account and navigate to Tools & Settings, then click Conversions under the Measurement section. You will see a list of all conversion actions currently configured for your account.
Check the status column for each conversion action. You are looking for actions marked as "Active" with recent conversion data. If you see actions marked as "Removed" or showing zero conversions despite active campaigns, you have found your first problem. Inactive conversion actions mean you are running blind on those conversion types.
Next, examine your conversion counting settings. Click into each conversion action and review the "Count" setting. You will see either "One" or "Every" as options. This choice dramatically affects your reported numbers.
"One" counts a single conversion per ad click, regardless of how many times the user completes that action. This works well for lead generation where you want to count each unique person who submitted a form. "Every" counts each time the conversion happens, which makes sense for e-commerce transactions where a single user might purchase multiple times.
Many attribution discrepancies come from using "Every" when you should use "One," inflating your conversion numbers compared to actual unique leads or customers in your CRM.
Review your conversion windows next. The default 30-day window means Google Ads will only credit conversions that happen within 30 days of the ad click. If your sales cycle typically takes 45 or 60 days, you are missing conversions that actually resulted from your ads. Understanding attribution window issues helps you configure settings that match your business reality.
B2B companies often need conversion windows of 60 or 90 days to capture their full attribution picture. E-commerce businesses with shorter decision cycles might be fine with the default settings.
Now verify that your tags are actually firing. Install the Google Tag Assistant Chrome extension and navigate to your conversion pages. The extension will show you which tags fire when the page loads and whether they are working correctly.
Look for errors, warnings, or tags that fail to fire entirely. Common issues include tags placed incorrectly in the page code, tags that fire before the page fully loads, or duplicate tags that count the same conversion multiple times.
If you find duplicate conversion tracking, you will see inflated numbers in Google Ads compared to your actual business results. This happens when marketers accidentally implement both the global site tag and a separate conversion tag, or when they import conversions from Google Analytics while also using native Google Ads tracking.
Document everything you find during this audit. Create a spreadsheet listing each conversion action, its status, counting method, conversion window, and any tag firing issues you discovered. This becomes your baseline for the fixes you will implement.
Step 2: Identify Data Discrepancies Between Platforms
Now that you understand what Google Ads is tracking, you need to compare those numbers against your source of truth. For most businesses, that source of truth is your CRM or analytics platform where actual sales and leads live.
Pull conversion data from Google Ads for a specific time period, ideally the last 30 days. Record the total conversions, conversion value, and conversions by campaign. Make sure you are looking at the same conversion actions you audited in Step 1.
Then pull the corresponding data from your CRM for the exact same date range. Count the actual leads, sales, or whatever conversion action you are measuring. If you are tracking revenue, note the actual revenue generated during this period.
Calculate the percentage difference between what Google Ads reports and what actually happened. A 10-15% variance is common and often acceptable given normal attribution limitations. A 30-50% gap indicates serious conversion discrepancies that demand immediate attention.
Break down the discrepancies by campaign. You might find that some campaigns show accurate attribution while others have massive gaps. This tells you where to focus your troubleshooting efforts.
Search campaigns often show better attribution accuracy than display or video campaigns because the user journey is more direct. Display campaigns typically show larger discrepancies because they play an awareness role that does not always get credited in last-click attribution.
Check for timezone mismatches between platforms. Google Ads might be reporting in Pacific Time while your CRM uses Eastern Time. A three-hour difference can shift conversions between days, making your comparison inaccurate.
Verify that both platforms use the same currency if you are comparing revenue values. Currency conversion rates fluctuate daily, creating apparent discrepancies that are actually just currency math.
Examine counting methodology differences. Google Ads counts conversions based on when the ad click happened, not when the conversion occurred. Your CRM counts conversions based on when the sale or lead was created. This temporal difference can create gaps, especially at month boundaries.
Create a baseline measurement document that captures these discrepancies in detail. Include the overall percentage gap, the variance by campaign, and any patterns you notice. For example, you might observe that mobile campaigns show larger attribution gaps than desktop campaigns, or that remarketing campaigns have better attribution accuracy than cold prospecting campaigns.
This baseline becomes your measurement tool. As you implement fixes in the following steps, you will compare new data against this baseline to confirm your improvements are working.
If you discover that certain conversion actions have near-perfect alignment while others show major gaps, investigate what makes the accurate ones different. They might use better tracking implementation, have shorter customer journeys, or benefit from more direct conversion paths. Comparing Google Ads attribution vs actual sales reveals where your biggest optimization opportunities exist.
Step 3: Evaluate and Adjust Your Attribution Model
Your attribution model determines which touchpoints get credit for conversions. The wrong model can make profitable campaigns look unprofitable and vice versa, leading you to make budget decisions that hurt your business.
Navigate to Tools & Settings in Google Ads, then click Attribution under the Measurement section. You will see the attribution model currently applied to your account and can explore how different models would redistribute credit across your campaigns.
Most Google Ads accounts default to last-click attribution, which gives 100% of the credit to the final ad click before conversion. This model systematically undervalues awareness and consideration campaigns that introduce users to your brand but do not close the deal.
Think about your actual customer journey. Do people typically see one ad and immediately convert? Or do they interact with multiple ads across search, display, and video before finally making a purchase?
If your business has a multi-touch customer journey, last-click attribution is lying to you about which campaigns drive results. Your brand awareness campaigns might be doing the heavy lifting while your branded search campaigns take all the credit.
Review the attribution reports to see how different models would change your conversion credit. Click on "Attribution modeling" to compare models side by side. You will see how first-click, linear, time-decay, position-based, and data-driven attribution would redistribute conversions across your campaigns.
First-click attribution gives all credit to the initial touchpoint. This model makes sense if you want to understand which campaigns are best at introducing new prospects, but it ignores everything that happens after that first interaction.
Linear attribution distributes credit equally across all touchpoints in the journey. If a user clicked five different ads before converting, each ad gets 20% credit. This model works well when you believe every touchpoint contributes equally, though that is rarely true in practice.
Time-decay attribution gives more credit to touchpoints closer to the conversion. The final click gets the most credit, the second-to-last click gets less, and so on. This model acknowledges the full journey while recognizing that recent interactions often matter more.
Position-based attribution gives 40% credit to the first touchpoint, 40% to the last touchpoint, and distributes the remaining 20% among the middle touchpoints. Understanding attribution modeling for paid ads helps you select the right approach for your business.
Data-driven attribution uses machine learning to determine how much credit each touchpoint deserves based on actual conversion patterns in your account. This is often the most accurate model, but it requires at least 3,000 conversions in the past 30 days to function properly.
If you have sufficient conversion volume, test data-driven attribution. Navigate to your conversion actions and change the attribution model setting. Monitor performance for two to four weeks to see how the new model affects your optimization decisions.
Consider how different models align with your business goals. If you are focused on customer acquisition and need to understand which campaigns bring in new prospects, position-based or first-click attribution provides better insights. If you are optimizing for immediate revenue, time-decay or last-click might be more appropriate.
Remember that changing your attribution model does not change reality. It changes which campaigns get credit for the conversions that already happened. The goal is selecting a model that most accurately reflects how your marketing actually drives business results.
Document your attribution model decision and the reasoning behind it. This helps future team members understand why you made this choice and prevents confusion when someone questions why the numbers changed.
Step 4: Implement Server-Side Tracking for Better Data Capture
Browser-based tracking is increasingly unreliable. Ad blockers, browser privacy settings, and cookie restrictions mean you are missing a significant portion of your actual conversions. Server-side tracking solves this by capturing events at the server level rather than relying on JavaScript that runs in the user's browser.
Traditional Google Ads tracking uses the global site tag, a JavaScript snippet that fires when a user loads your conversion page. This approach has worked for years, but privacy changes have broken it. When users block cookies or use browsers with enhanced privacy features, the tag never fires and the conversion goes unrecorded.
Server-side tracking moves the conversion recording process to your server. Instead of relying on the user's browser to send conversion data to Google Ads, your server sends that data directly. This bypasses ad blockers entirely and is not affected by browser privacy settings.
Setting up server-side tracking requires technical implementation, but the improvement in data accuracy makes it worthwhile. You need to configure your server to send conversion events to Google Ads using the Google Ads API or Google Tag Manager Server-Side.
Google Tag Manager Server-Side is the more accessible option for most businesses. It creates a server container that receives events from your website or app, processes them, and forwards them to Google Ads and other platforms.
Start by creating a server container in Google Tag Manager. You will need to deploy this container on a server you control, either through Google Cloud Platform, your own infrastructure, or a third-party hosting provider.
Configure your client-side tracking to send events to your server container instead of directly to Google Ads. This means your website still uses JavaScript to detect conversions, but instead of sending data straight to Google, it sends data to your server first.
For a deeper dive into this space, see our guide to track programmatic ads conversions.
Your server then enriches this data, validates it, and forwards it to Google Ads. This server-side step gives you the opportunity to add additional information from your CRM or database before sending the conversion to Google.
Connect your CRM events directly to your tracking infrastructure. When a lead converts in your CRM, trigger a server-side event that sends this conversion back to Google Ads. This captures conversions that happen offline or through channels that browser-based tracking cannot measure. Implementing enhanced conversions further improves match rates between your data and Google's systems.
For example, if a user clicks your ad, fills out a form, but then calls your sales team to complete the purchase, browser-based tracking only sees the form submission. Server-side tracking connected to your CRM can send the actual purchase conversion back to Google Ads, giving you complete attribution.
Verify that your server-side events appear correctly in Google Ads. Navigate to your conversion actions and check that you are seeing conversions with source "Import" or "API" depending on your implementation method. These conversions indicate successful server-side tracking.
Monitor the difference between client-side and server-side conversion volumes. You will likely see an increase in total conversions as server-side tracking captures events that browser-based methods missed. This increase represents the attribution gap you have been experiencing.
Server-side tracking also improves data quality by allowing you to validate conversions before sending them to Google Ads. You can filter out bot traffic, test conversions, and duplicate submissions at the server level, ensuring Google Ads only receives legitimate conversion data.
Step 5: Sync Enriched Conversion Data Back to Google Ads
Google Ads optimization works better when you feed it high-quality conversion data that includes revenue values and conversion quality signals. Offline conversion imports let you send this enriched data from your CRM back to Google Ads, dramatically improving Smart Bidding performance.
Navigate to Tools & Settings, then click Conversions and select "Uploads" from the menu. This is where you configure offline conversion imports that send CRM data back to Google Ads.
You need to include a unique identifier with each conversion that Google Ads can match back to the original ad click. Google Ads provides a click ID parameter called GCLID that you can capture when users click your ads. This GCLID must be stored in your CRM alongside the lead or customer record.
Modify your landing pages to capture the GCLID parameter from the URL and pass it through your forms into your CRM. Most form builders allow you to include hidden fields that automatically populate with URL parameters.
Once you have GCLIDs stored in your CRM, you can export conversion data and upload it to Google Ads. Include the GCLID, conversion name, conversion time, and conversion value for each record.
The conversion value is critical for Smart Bidding optimization. Instead of just telling Google Ads that a conversion happened, you are telling it exactly how much revenue that conversion generated. This allows Google Ads to optimize for high-value conversions rather than just conversion volume.
Include conversion quality signals beyond just revenue. If you are a B2B company, you might send lead quality scores from your CRM. If you are e-commerce, you might send profit margin data instead of just revenue. The more context you provide, the better Google Ads can optimize. Proper attribution tracking ensures this data flows accurately between systems.
Set up automated syncing to keep data flowing without manual uploads. Most CRMs offer API integrations or webhook capabilities that can automatically send conversion data to Google Ads whenever a deal closes or a lead reaches a qualified status.
Platforms like Cometly specialize in this automated conversion syncing, connecting your CRM events directly to Google Ads and other ad platforms. This ensures your conversion data stays current without requiring manual exports and uploads.
Monitor how enriched data improves Google Ads optimization. After implementing offline conversion imports, watch for changes in your Smart Bidding performance. You should see the algorithm start to favor campaigns and keywords that drive higher-value conversions, not just more conversions.
Check your conversion lag reports to understand how long it takes for conversions to be reported after the initial click. B2B companies often see conversion lags of weeks or months. This lag explains why your real-time Google Ads data never matches your CRM until you implement offline conversion imports.
Verify that your uploaded conversions appear in Google Ads with the correct attribution. Navigate to your conversion reports and filter by conversion source to see imported conversions separately from web-based conversions. This helps you confirm the upload process is working correctly.
Document your conversion import process including which CRM fields map to which Google Ads conversion fields, how often data syncs, and who is responsible for monitoring the integration. This documentation prevents breaks in your data flow when team members change or systems get updated.
Step 6: Validate Your Fixes and Establish Ongoing Monitoring
You have implemented multiple fixes to your attribution setup. Now you need to verify that these changes actually improved your data accuracy and create systems to maintain that accuracy going forward.
Run a two-week comparison between your old tracking data and your new tracking data. Pull conversion numbers from Google Ads and compare them against your CRM for the same period. Calculate the new percentage variance and compare it to your baseline from Step 2.
You should see the gap between Google Ads and your CRM narrow significantly. If you started with a 40% discrepancy and now see a 10-15% gap, your fixes are working. Some variance will always exist due to attribution limitations, but major improvements confirm your implementation is sound.
If the gap has not improved, review each step you implemented. Check that your conversion tracking audit fixes are live, your attribution model change took effect, your server-side tracking is capturing events, and your offline conversion imports are processing correctly. Review common conversion tracking problems to identify what might be breaking your implementation.
Create a dashboard to monitor attribution accuracy on an ongoing basis. This dashboard should compare Google Ads conversions against CRM conversions on a weekly or monthly basis, track the percentage variance over time, and highlight campaigns with the largest discrepancies.
Most businesses use Google Data Studio, Tableau, or similar tools to build these dashboards. Connect both your Google Ads account and your CRM as data sources, then create visualizations that make attribution gaps immediately visible.
Set up alerts for significant data discrepancies that need investigation. If the variance between Google Ads and your CRM suddenly jumps from 10% to 30%, something broke and you need to investigate immediately.
Common causes of sudden attribution breaks include conversion tags that stop firing due to website updates, offline conversion imports that fail due to API changes, or attribution model changes that someone made without documentation.
Schedule monthly attribution audits where you review your conversion tracking setup, verify tags are firing correctly, and confirm offline conversion imports are processing. This regular maintenance catches problems before they significantly impact your optimization decisions.
Document your entire setup for team reference and future troubleshooting. Include which conversion actions are active, what counting methods you use, which attribution model you selected and why, how server-side tracking is configured, and how offline conversion imports work. Leveraging marketing analytics for Google Ads provides deeper insights into campaign performance beyond basic conversion metrics.
This documentation becomes invaluable when onboarding new team members, troubleshooting unexpected discrepancies, or explaining to stakeholders why your conversion numbers changed after implementing these fixes.
Making Attribution Work for Your Business
Fixing Google Ads attribution issues requires a systematic approach rather than quick patches. Start by auditing your conversion tracking setup to identify gaps in what you are measuring and how accurately those measurements work. Then identify where your data diverges from reality by comparing Google Ads reports against your CRM or source of truth.
Evaluate whether your attribution model fits your customer journey. If you are using last-click attribution but your customers interact with multiple ads before converting, you are systematically undervaluing awareness and consideration campaigns. Switch to a model that better reflects your business reality.
Implement server-side tracking to capture conversions that browser-based methods miss. Privacy changes and ad blockers have made client-side tracking increasingly unreliable. Server-side tracking bypasses these limitations and gives you complete visibility into your conversion data.
Sync enriched conversion data back to Google Ads through offline conversion imports. Include revenue values and conversion quality signals so Smart Bidding can optimize for high-value conversions rather than just conversion volume. This dramatically improves campaign performance over time.
Establish ongoing monitoring to maintain accuracy. Create dashboards that compare Google Ads data against your CRM, set up alerts for significant discrepancies, and schedule regular audits to catch problems early.
Quick checklist to verify your setup: Confirm all conversion actions show active status and are firing correctly. Document the current discrepancy percentage between Google Ads and your CRM. Select an attribution model that matches your actual sales cycle and customer journey. Implement server-side tracking to capture events that client-side methods miss. Set up automated conversion syncing that includes revenue values and quality signals. Create monitoring dashboards for ongoing validation of attribution accuracy.
With accurate attribution data, you can confidently scale the campaigns that actually drive revenue and cut spend on those that only look good on paper. You will stop second-guessing your optimization decisions because your data finally reflects business reality.
Ready to elevate your marketing game with precision and confidence? Discover how Cometly's AI-driven recommendations can transform your ad strategy. Get your free demo today and start capturing every touchpoint to maximize your conversions.


