
You launch a campaign that feels like a winner. The creative is strong, the targeting looks right, and early engagement metrics seem promising. Then you check your tracking data and nothing makes sense. Conversions appear from sources you barely invested in. Your best-performing ad according to platform data shows minimal revenue in your CRM. Attribution feels random, and you cannot confidently tell your team which campaigns actually drove sales.
The problem is not your marketing instincts. It is your tracking accuracy.
Privacy changes have reshaped how data flows from browsers to ad platforms. iOS App Tracking Transparency blocks default tracking. Safari's Intelligent Tracking Prevention strips cookies. Ad blockers run on millions of devices. Cross-device journeys fragment the customer path. Platform limitations create blind spots in your data.
Inaccurate tracking has real consequences. You waste budget scaling ads that look good in platform dashboards but deliver poor actual returns. You pause campaigns that genuinely drive revenue because the data does not connect conversions back to the source. You make strategic decisions based on incomplete information, missing the full picture of what works.
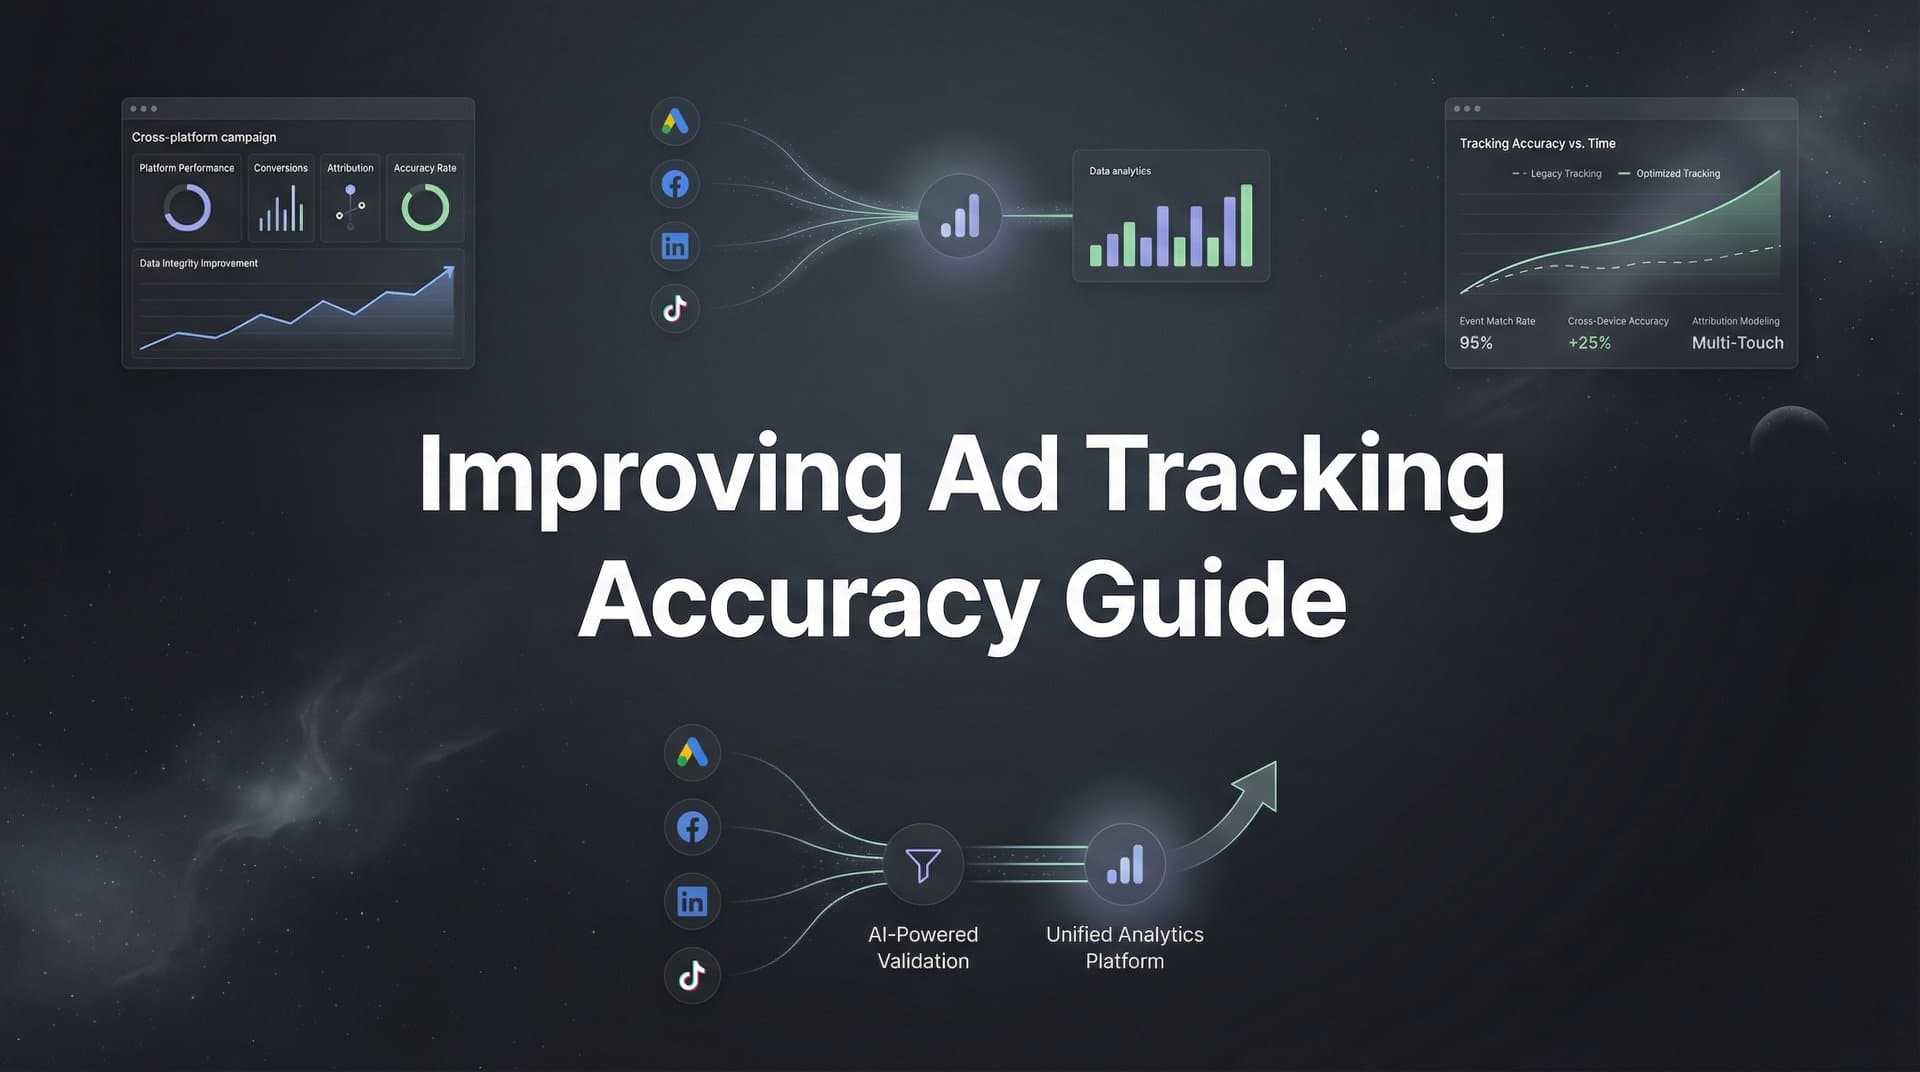
This guide walks you through six actionable steps to dramatically improve your ad tracking accuracy. You will learn how to audit your current setup for gaps, implement server-side tracking that bypasses browser restrictions, connect your revenue data properly, standardize your tracking parameters, configure multi-touch attribution, and establish continuous monitoring. By the end, you will have a tracking system that captures the full customer journey and shows you exactly which ads drive real revenue.
Step 1: Audit Your Current Tracking Setup for Gaps and Errors
Before you fix tracking problems, you need to know exactly what is broken. A comprehensive audit reveals the gaps between what you think you are tracking and what actually gets captured.
Start by creating a complete inventory of every tracking pixel, tag, and script running on your website. Open your site in Chrome, right-click, and select "Inspect" to access developer tools. Navigate to the Network tab and reload your page while filtering for "analytics" or "pixel" to see what fires. Install browser extensions like Meta Pixel Helper, Google Tag Assistant, or Omnibug to identify which tracking codes are active on each page.
Document everything you find. List each platform pixel (Meta, Google Ads, TikTok, LinkedIn), analytics tools (Google Analytics, Mixpanel), and any third-party tracking scripts. Note which pages they appear on and what events they are supposed to capture.
Now check for common problems that kill tracking accuracy. Duplicate pixels fire the same conversion multiple times, inflating your numbers. Missing parameters mean conversions get tracked without critical context like campaign source or ad ID. Broken event triggers fail to fire when users complete key actions like form submissions or purchases.
Use your browser's developer console to watch for JavaScript errors that might prevent tracking scripts from executing. Check your tag management system (Google Tag Manager, Segment) for misconfigured triggers or variables. Test your conversion events manually by completing purchases or form fills while monitoring the network tab to confirm events fire correctly. Understanding pixel tracking accuracy issues helps you identify what to look for during this process.
The most critical step is comparing platform-reported conversions against actual sales data. Pull conversion counts from Meta Ads Manager, Google Ads, and your other platforms for the past 30 days. Then pull actual purchase records, lead submissions, or closed deals from your CRM or e-commerce platform for the same period.
Calculate your accuracy gap. If Meta reports 500 conversions but your database shows 350 actual purchases, you have a 30% discrepancy. This baseline accuracy score tells you how much improvement is needed and gives you a clear metric to measure progress.
Document every issue you find in a tracking audit spreadsheet. Include the problem type, affected pages or events, potential impact on data quality, and priority level for fixing. This becomes your roadmap for the improvements ahead.
Step 2: Implement Server-Side Tracking to Bypass Browser Limitations
Browser-based tracking is fundamentally broken in the current privacy landscape. Understanding why helps you appreciate the server-side solution.
When you rely solely on pixels that fire in the user's browser, you depend on that browser cooperating. Ad blockers actively prevent tracking scripts from loading. Safari's Intelligent Tracking Prevention deletes cookies after seven days, breaking attribution for longer sales cycles. iOS App Tracking Transparency requires explicit user permission, and most users decline. Firefox Enhanced Tracking Protection blocks third-party trackers by default. These client-side tracking accuracy problems affect nearly every advertiser.
The result is that browser-based pixels miss significant portions of your actual conversions. You optimize campaigns based on incomplete data, scaling ads that appear successful while missing the full picture.
Server-side tracking solves this by sending conversion data directly from your server to ad platforms, bypassing the browser entirely. When a user completes a purchase, your backend system captures that event and transmits it to Meta, Google, or other platforms through their server APIs.
For Meta campaigns, implement the Conversions API. This allows your server to send conversion events with rich customer data directly to Meta's systems. You can include hashed email addresses, phone numbers, and other identifiers that help Meta match conversions to the right users, even when browser tracking fails.
Google offers Enhanced Conversions, which works similarly. Your server sends first-party customer data alongside conversion events, allowing Google to improve match rates and attribution accuracy despite cookie restrictions. Our server-side tracking implementation guide walks through the technical details.
Setting up server-side tracking requires backend development work or using a platform that handles it for you. If you have engineering resources, you can build direct API integrations. Most marketing attribution platforms like Cometly provide server-side tracking infrastructure that connects your data sources to ad platforms without custom development.
Configure your server-side setup to capture the same events your browser pixels track: page views, add to cart, initiate checkout, and purchases. Include all relevant parameters like transaction value, product IDs, and customer identifiers.
Critical step: implement event deduplication. Since you will run both browser pixels and server-side tracking initially, you need to prevent the same conversion from being counted twice. Use unique event IDs that match between your client-side and server-side events, allowing platforms to deduplicate automatically.
Verify your server-side events are firing correctly using Meta Events Manager or Google Ads conversion tracking. Check that events appear with "Server" as the source and that match quality scores are high, indicating strong customer data matching.
Server-side tracking typically captures 20-40% more conversions than browser-based tracking alone, giving you a more complete view of campaign performance.
Step 3: Connect Your CRM and Revenue Data to Close the Attribution Loop
Ad platforms show you clicks and conversions. Your CRM shows you revenue and customer lifetime value. The gap between these systems is where attribution breaks down.
Start by mapping your complete customer journey. For e-commerce businesses, this might be straightforward: ad click to website visit to purchase. For B2B companies, the path is longer: ad click to content download to demo request to sales conversation to closed deal. Understanding every step helps you identify where tracking needs to connect.
Integrate your CRM with your tracking system to close this loop. If you use HubSpot, Salesforce, Pipedrive, or another CRM, you need a way to send conversion events that happen in your CRM back to your ad platforms. Companies focused on attribution tracking for lead generation find this integration essential.
Many businesses generate leads through ads but close sales offline through phone calls or in-person meetings. Without CRM integration, you cannot attribute these high-value conversions back to the original ad source. Your tracking shows a form fill worth $0, while your CRM shows a $50,000 deal, but the connection between them never gets made.
Set up offline conversion imports to capture these events. When a lead becomes a customer in your CRM, that conversion event should flow back to Meta, Google, and your other ad platforms with the original click ID or customer identifier that ties it to the source campaign. Our offline tracking guide covers this process in detail.
Define conversion values that reflect actual revenue, not just lead counts. A lead form submission is not worth the same as a completed purchase. Configure your tracking to pass transaction amounts for e-commerce or assign appropriate values to different lead types based on historical close rates and average deal sizes.
The technical key is maintaining customer identifiers across touchpoints. When someone clicks your ad, capture their click ID. When they fill out a form, associate that click ID with their email address. When they become a customer in your CRM, use that email to match the sale back to the original ad interaction.
This creates a complete attribution chain: ad impression to click to website visit to lead capture to CRM record to closed deal. Every step connects, giving you end-to-end visibility into which campaigns drive actual revenue.
Test your CRM integration by creating a test lead and watching it flow through your entire system. Verify that the conversion appears in your ad platforms with the correct value and attribution to the source campaign.
With CRM data connected, you can finally optimize for revenue instead of vanity metrics. You discover which campaigns generate high-value customers, not just high volumes of low-quality leads.
Step 4: Standardize UTM Parameters and Campaign Naming Conventions
Inconsistent tracking parameters create chaos in your reporting. One campaign manager uses "facebook" as the source while another uses "meta" or "fb". Your data fragments across dozens of similar-but-different labels, making analysis impossible.
Create a standardized UTM structure that everyone on your team follows religiously. UTM parameters are the tags you add to campaign URLs that tell analytics tools where traffic came from.
The five standard UTM parameters are source (the platform), medium (the channel type), campaign (the specific campaign name), content (the ad variation), and term (the keyword for search campaigns). Define exactly how your team should use each one.
For example, establish that utm_source always uses lowercase platform names: "meta" not "Facebook" or "fb". Decide that utm_medium uses standard channel types: "cpc" for paid search, "paid_social" for social ads, "email" for email campaigns. Create a campaign naming structure that includes date, objective, and audience: "2026-04-brand-awareness-retargeting".
Document these standards in a shared naming convention guide that lives where your team can easily reference it. Include examples for every platform and campaign type you run. Following attribution tracking best practices ensures your data stays clean and actionable.
Use dynamic parameters whenever possible to auto-populate campaign details. Meta allows you to insert {{campaign.name}}, {{adset.name}}, and {{ad.name}} into your URLs, automatically capturing the exact ad that drove each click. Google Ads offers ValueTrack parameters like {campaignid} and {creative} that work similarly.
Dynamic parameters eliminate manual errors and ensure you capture granular attribution data without tedious URL building for every ad variation.
Implement URL validation before campaigns launch. Build a simple spreadsheet or use a URL builder tool that checks for common mistakes: missing parameters, incorrect capitalization, spaces instead of hyphens, or inconsistent naming patterns.
Set up a central tracking spreadsheet where you log every campaign URL before it goes live. Include columns for campaign name, platform, URL, launch date, and owner. This creates a single source of truth for all your tracking links and makes it easy to audit consistency.
Standardized parameters transform your analytics from a mess of fragmented data into clean, rollable reports. You can confidently compare performance across platforms, time periods, and campaign types because everything uses the same labeling logic.
Step 5: Configure Multi-Touch Attribution to See the Full Journey
Last-click attribution tells you which touchpoint closed the deal, but it ignores everything that happened before. It is like crediting only the final pass in a soccer game while ignoring the plays that set it up.
Most customer journeys involve multiple touchpoints. Someone sees your brand awareness ad on Meta, searches your brand name later, clicks a retargeting ad, then finally converts through an email. Last-click attribution gives all credit to the email, suggesting you should cut your Meta and retargeting budgets. Multi-touch attribution reveals how channels work together.
Choose an attribution model that matches your sales cycle. Linear attribution splits credit evenly across all touchpoints, useful when every interaction matters equally. Time-decay attribution gives more credit to touchpoints closer to conversion, reflecting that recent interactions often have stronger influence. Position-based (U-shaped) attribution emphasizes first and last touch while acknowledging middle interactions. Our attribution marketing tracking complete guide explains each model in depth.
For longer B2B sales cycles, consider data-driven attribution models that use machine learning to assign credit based on actual conversion patterns in your data. These models identify which touchpoint combinations consistently lead to conversions.
Set appropriate lookback windows based on your typical customer journey length. If most customers convert within two weeks of first interaction, a 14-day window captures the relevant touchpoints. For considered purchases or B2B sales that take months, extend your window to 60 or 90 days.
Analyze your attribution reports to identify which touchpoints consistently appear in high-value conversion paths. You might discover that while your brand awareness campaigns rarely get last-click credit, they appear as the first touch in 70% of your highest-value customer journeys. This insight completely changes how you evaluate campaign performance.
Use multi-touch attribution to reallocate budget toward channels that assist conversions even if they do not close them. Upper-funnel awareness campaigns, retargeting, and email nurture sequences often show poor performance in last-click models but prove essential when you see the full journey. Implementing cross-platform tracking ensures you capture touchpoints across all your advertising channels.
Review your multi-touch attribution data monthly to spot patterns. Look for touchpoint sequences that correlate with higher conversion rates or larger transaction values. These insights guide your campaign strategy beyond what single-touch attribution reveals.
The goal is not to find one perfect attribution model but to understand how different perspectives change what looks successful. Compare last-click, first-click, and multi-touch views to get a complete picture of campaign performance.
Step 6: Validate and Monitor Tracking Accuracy Continuously
Tracking accuracy degrades over time. Website updates break pixels. Platform API changes disrupt integrations. New team members launch campaigns with incorrect parameters. Without continuous monitoring, small issues compound into major data gaps.
Set up automated alerts for tracking discrepancies or sudden data drops. Configure notifications when daily conversions drop more than 30% compared to the previous week, when specific events stop firing, or when revenue totals between your analytics and actual sales diverge significantly.
Most analytics platforms allow you to create custom alerts based on metric thresholds. Use them to catch problems immediately rather than discovering them weeks later during monthly reporting. When you notice conversion tracking accuracy issues, address them before they corrupt weeks of data.
Run monthly reconciliation between ad platform data, analytics, and actual revenue. Pull conversion counts from Meta, Google, TikTok, and other platforms. Compare them against Google Analytics conversion reports and your actual transaction database or CRM closed deals.
Calculate the variance for each source. Small discrepancies of 5-10% are normal due to attribution window differences and modeling. Gaps larger than 15% indicate tracking issues that need investigation.
Test tracking after any website changes, new integrations, or platform updates. When your development team pushes a site redesign, immediately verify that all tracking pixels still fire correctly. When you add a new payment processor or form tool, confirm conversion events capture properly.
Create a tracking health dashboard with key accuracy metrics. Include total conversion counts by platform, variance between platforms and actual sales, server-side event match rates, and percentage of revenue with proper attribution. Review this dashboard weekly to spot trends before they become problems. The best marketing analytics software for revenue tracking makes this monitoring straightforward.
Establish a regular review cadence to catch and fix issues proactively. Schedule a monthly tracking audit where you check pixel health, review UTM parameter consistency, validate CRM integration, and reconcile conversion data across systems.
Document every tracking issue you discover along with how you fixed it. Build a knowledge base of common problems and solutions so your team can quickly resolve similar issues in the future.
Assign ownership for tracking accuracy to a specific person or team. When everyone assumes someone else is monitoring data quality, problems slip through. Clear ownership ensures tracking health gets the attention it deserves.
Putting It All Together
Improving ad tracking accuracy is not a one-time project. It is an ongoing practice that separates marketers who guess from those who know exactly where their revenue comes from.
By following these six steps, you have built a foundation for reliable marketing data. You audited your current setup to identify gaps and errors. You implemented server-side tracking to bypass browser limitations and capture conversions that pixels miss. You connected your CRM and revenue data to close the attribution loop from ad click to actual sale. You standardized UTM parameters and naming conventions to keep your data clean and analyzable. You configured multi-touch attribution to see how channels work together across the customer journey. You established continuous monitoring to catch and fix issues before they compound.
Your quick-start checklist: Complete a tracking audit this week to document your baseline accuracy and identify the biggest gaps. Prioritize server-side implementation as your next major project since it delivers the largest immediate improvement in data capture. Connect at least one revenue data source, whether that is your e-commerce platform or CRM, to start tying conversions to actual business outcomes. Set up a monthly accuracy review where you reconcile platform data against real sales.
With accurate tracking in place, you can finally make confident decisions about where to invest your ad budget. You know which campaigns truly drive growth, not just which ones look good in platform dashboards. You can scale winners aggressively and cut losers quickly because your data reflects reality.
The difference between mediocre marketing and exceptional marketing often comes down to data quality. When you trust your tracking, you trust your decisions. When you trust your decisions, you move faster and outmaneuver competitors still operating on incomplete information.
Ready to elevate your marketing game with precision and confidence? Discover how Cometly's AI-driven recommendations can transform your ad strategy. Get your free demo today and start capturing every touchpoint to maximize your conversions.


