
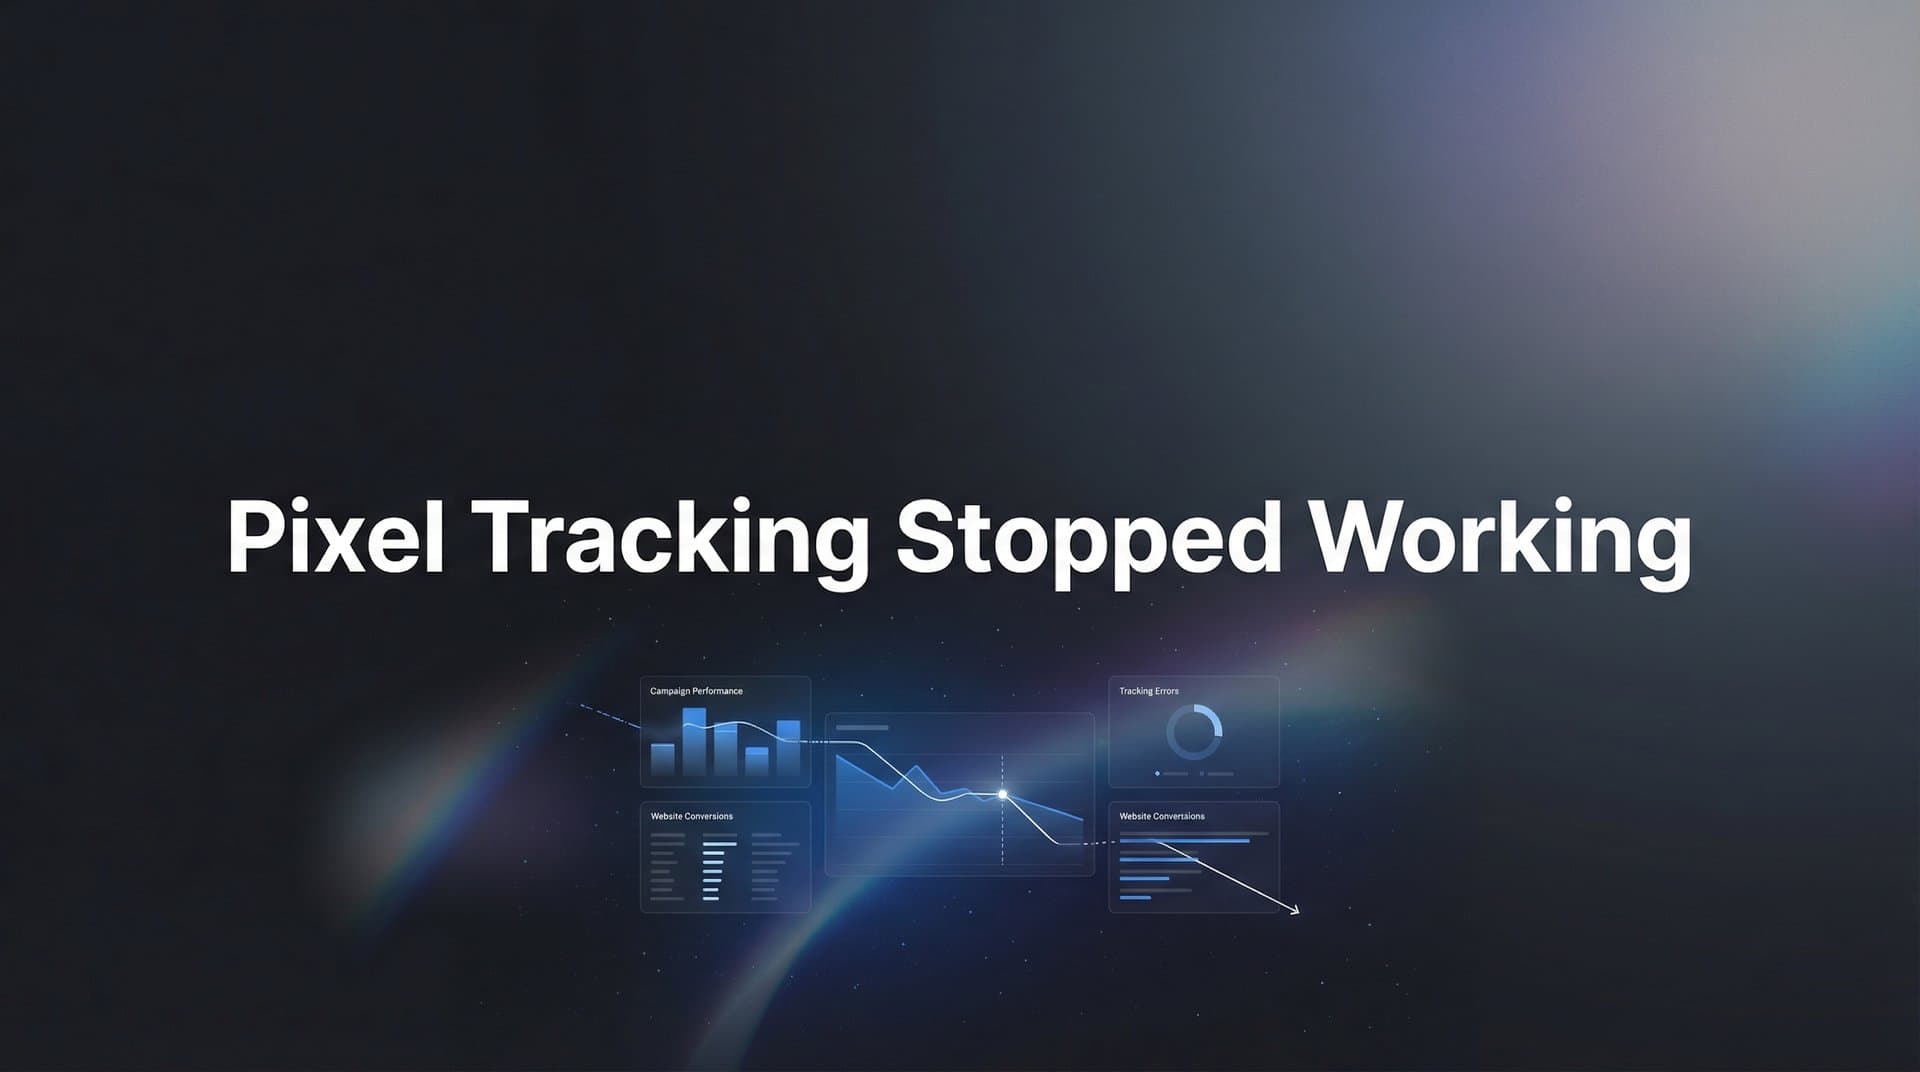
You check your ad dashboard and notice something alarming: conversions have dropped to zero, or the numbers look completely off. Your pixel tracking has stopped working, and every hour it stays broken means wasted ad spend and lost optimization data.
When pixel tracking fails, your ad platforms lose the ability to optimize delivery, attribute conversions, or even measure basic campaign performance. You're essentially flying blind, making budget decisions based on incomplete or outdated information.
This guide walks you through a systematic troubleshooting process to diagnose and fix pixel tracking issues—whether you're dealing with Meta Pixel, Google Ads tags, TikTok Pixel, or any other platform. By the end, you'll know exactly how to identify the root cause, implement the fix, and prevent future tracking failures.
Let's get your data flowing again.
Step 1: Confirm the Tracking Failure and Identify Symptoms
Before diving into fixes, you need to confirm that tracking has actually failed and understand exactly what's broken. Not all tracking issues look the same—sometimes pixels stop firing entirely, other times they fire but don't record conversions, and occasionally they work intermittently.
Start by checking your ad platform's event manager or analytics dashboard. Meta's Events Manager, Google Ads conversion tracking, and TikTok Events Manager all provide real-time visibility into incoming events. Look for error alerts, warning messages, or sudden drops in event volume compared to your baseline.
Next, open your website in a browser and access the developer tools (press F12 or right-click and select "Inspect"). Navigate to the Network tab and filter for requests to your ad platform's domains. For Meta, look for requests to facebook.com/tr. For Google, watch for requests to google-analytics.com or googleadservices.com. Reload the page and complete a test action like adding a product to cart.
If you see the pixel requests firing in the Network tab, your code is executing—the problem lies elsewhere. If you don't see any requests, the pixel code isn't loading or isn't being triggered properly.
Install platform-specific debugging extensions to get more detailed information. Meta Pixel Helper for Chrome shows you which Meta pixels are active on a page, what events they're firing, and any errors in the implementation. Google Tag Assistant provides similar functionality for Google tags and Google Analytics.
Document exactly when the tracking stopped working. Check your website's change log, plugin update history, or recent deployments. Tracking failures often correlate with theme updates, new plugin installations, checkout flow changes, or modifications to your tag management setup. Understanding the timeline helps you identify the likely culprit.
Success indicator: You've determined whether the pixel isn't loading at all, is loading but not firing events, or is firing but events aren't being received by the platform. This diagnosis determines your next troubleshooting steps.
Step 2: Verify Pixel Installation on Your Website
Now that you've confirmed tracking failure, verify that the pixel code is still properly installed on your site. This step catches the most common issues: missing code, incorrect pixel IDs, or implementation errors.
Right-click on your homepage and select "View Page Source." Search for your pixel ID or the platform's tracking domain. For Meta Pixel, search for "fbq" or your pixel ID number. For Google Ads, look for "gtag" or your conversion ID. The base pixel code should be present in the header section of every page.
If you find the code, verify the pixel ID matches your ad account exactly. After account migrations, website redesigns, or agency transitions, it's surprisingly common for old pixel IDs to remain on the site while you're checking a different account's dashboard. A single-digit difference in the ID means your events are going to the wrong account.
For sites using Google Tag Manager, Segment, or other tag management platforms, the troubleshooting process differs slightly. Log into your tag manager, find the pixel tag, and verify it's published (not just saved as a draft). Check that the trigger configuration is correct—tags should typically fire on "All Pages" for the base pixel, with additional triggers for specific conversion events.
Test on multiple pages and in different browsers. Sometimes pixels work on the homepage but fail on checkout pages due to page-specific code conflicts. Clear your browser cache and test in incognito mode to rule out caching issues that might show you an outdated version of your site.
Common pitfall: WordPress theme updates frequently reset customizations to header code. If you've manually added pixel code to your theme files rather than using a plugin or tag manager, theme updates will wipe it out without warning. This is why using a dedicated tag management solution or a pixel plugin is more reliable for long-term tracking stability.
If the pixel code is missing entirely, you'll need to reinstall it. If it's present but with the wrong ID, update it to the correct one. If using a tag manager, verify the tag is published and triggers are firing correctly.
Step 3: Diagnose Browser and Privacy-Related Blocking
Even when pixel code is correctly installed, browser privacy features and ad blockers can prevent tracking from working. This has become increasingly common since Apple introduced App Tracking Transparency with iOS 14.5.
Open an incognito or private browsing window without any browser extensions enabled. Navigate to your website and complete a test conversion. If tracking works in this clean environment but fails in your regular browser, the issue is browser-related rather than a code problem.
Safari's Intelligent Tracking Prevention (ITP) and Firefox's Enhanced Tracking Protection (ETP) actively limit how long cookies can persist and restrict cross-site tracking capabilities. These features don't completely break pixel tracking, but they significantly reduce attribution windows and can prevent pixels from identifying returning visitors.
Check your cookie consent banner implementation. Many websites use consent management platforms that block all tracking scripts until users explicitly opt in. If your consent tool is misconfigured, it might be blocking pixels for all visitors—even those who would have consented if given the option. Test with and without accepting cookies to see if consent settings are causing the failure.
iOS users who haven't granted tracking permission through App Tracking Transparency won't send identifiable data to ad platforms. This isn't something you can "fix" on your end—it's a platform-level privacy restriction. However, understanding this helps you set realistic expectations about tracking coverage. For more solutions, explore pixel tracking alternatives for iOS users that can help recover lost attribution data.
The key distinction here is between technical failures you can fix and privacy-related limitations you need to work around. If tracking works in a clean browser environment, your code is fine—you're dealing with blocking that requires a different solution.
Success indicator: You've determined whether the issue is a technical installation problem or privacy-related blocking. If it's blocking, you'll need to consider server-side tracking solutions that bypass browser-level restrictions entirely.
Step 4: Check Event Configuration and Data Layer Issues
The base pixel might be firing correctly, but conversion events could still fail due to misconfigured parameters or data layer issues. This is especially common after e-commerce platform updates or checkout flow changes.
Review your conversion event configuration in your ad platform's interface. Each event should have the correct parameters defined. For a Purchase event, you need currency, value, and typically content IDs or product information. Missing or incorrectly formatted parameters can cause events to be rejected or recorded without the data needed for optimization.
Open your browser's developer console and inspect the data layer. For Google Tag Manager implementations, type "dataLayer" in the console to see what information is available. For e-commerce sites, verify that purchase data (order total, product IDs, transaction ID) is being pushed to the data layer correctly when someone completes checkout. Understanding event tracking in Google Analytics can help you diagnose these data layer issues more effectively.
Test the entire conversion funnel, not just the final step. Sometimes tracking breaks only on specific pages or events. Add a product to cart and verify the AddToCart event fires. Proceed to checkout and confirm the InitiateCheckout event triggers. Complete a test purchase and check that the Purchase event fires with the correct value.
Look for JavaScript errors in the browser console. Errors in your site's code can prevent pixel scripts from executing properly. If you see red error messages, particularly ones that mention your pixel code or tag manager, those errors might be blocking tracking execution.
Common pitfall: E-commerce platforms like Shopify, WooCommerce, and BigCommerce regularly update how they structure purchase data. An update might change the variable name from "order.total" to "checkout.totalPrice," breaking any custom code that relied on the old structure. After platform updates, always verify that conversion tracking still works end-to-end.
If you find configuration errors, correct the event parameters or data layer implementation. If events are firing but with incorrect values, update the code that passes data to your pixel.
Step 5: Implement the Fix and Verify Data Flow
Based on your diagnosis from the previous steps, you now know what's broken and can implement the appropriate fix. This step is about applying the solution and confirming that data is flowing correctly again.
If the pixel code was missing or had the wrong ID, reinstall or update it. For manual installations, paste the correct code in your site's header. For tag manager implementations, update the pixel ID in your tag configuration and publish the changes. For WordPress sites, consider using official pixel plugins from your ad platform to avoid future theme update issues.
If event parameters were misconfigured, update them to match the required format. Ensure currency codes are in the correct format (USD, not $), values are numeric without currency symbols, and all required fields are populated. Save and publish your changes.
If consent management was blocking pixels, adjust your consent tool settings to properly load tracking scripts for users who accept cookies. Test both the opt-in and opt-out scenarios to ensure the implementation respects user choices while maximizing tracking coverage for consenting users. You may also want to explore pixel tracking alternatives for privacy compliance that balance data collection with regulatory requirements.
Use real-time debugging tools to verify the fix immediately. Meta Pixel Helper should show green checkmarks for successful events. Google Tag Assistant should confirm tags are firing without errors. Watch the Network tab in developer tools to see pixel requests going through successfully.
Complete a test conversion using a small real purchase or lead form submission. Don't rely solely on test mode—verify that the conversion appears in your ad platform's reporting within 20-30 minutes. Check that the conversion value, attribution data, and all parameters are being recorded accurately.
Document what caused the issue and how you fixed it. Create a note in your project management system or documentation wiki. This reference will save you hours of troubleshooting if the same issue occurs after the next website update.
Step 6: Set Up Monitoring to Catch Future Failures Early
Fixing the current tracking failure is important, but preventing future failures is even more valuable. Proactive monitoring catches issues within hours instead of days, minimizing data loss and wasted ad spend.
Configure automated alerts in your ad platforms. Meta Events Manager allows you to set up alerts for significant drops in event volume. Google Analytics can send email alerts when traffic or conversion patterns change dramatically. Set thresholds that reflect your normal traffic patterns—a 50% drop in daily events should trigger an immediate investigation.
Consider implementing server-side tracking as a more resilient backup to browser-based pixels. Meta's Conversions API and Google's Enhanced Conversions send data directly from your server to the ad platform, bypassing browser-level blocking, ad blockers, and privacy restrictions. While server-side tracking requires more technical setup, it provides significantly more reliable data collection. Learn more about Google Analytics vs server-side tracking to understand which approach fits your needs.
Create a pre-update testing checklist for your development team. Before deploying any website changes—theme updates, plugin installations, checkout flow modifications—verify that pixel tracking still works in your staging environment. Test the full conversion funnel and confirm events are firing correctly before pushing changes to production.
Establish a regular tracking audit schedule. Set a recurring calendar reminder to check your pixel implementation weekly or bi-weekly. Review event volumes, test a conversion, and verify that data is flowing correctly. Five minutes of proactive checking can prevent days of data loss. Following best practices for tracking conversions accurately will help you maintain reliable data over time.
Attribution platforms like Cometly provide built-in server-side tracking and real-time data tracking that catches issues before they impact your campaigns. By tracking every touchpoint from ad click through CRM conversion, you get a complete view of the customer journey regardless of browser-level blocking. When tracking issues do occur, you'll know immediately through automated alerts rather than discovering the problem days later when you notice zero conversions.
Your Tracking Recovery Checklist
Let's recap the systematic troubleshooting process that gets your pixel tracking working again:
1. Check your ad platform's event manager for errors and declining event counts
2. Verify pixel code is present on your site and the ID matches your ad account
3. Test in incognito mode without ad blockers to rule out browser-level blocking
4. Review event configuration and data layer to ensure parameters are correct
5. Implement the appropriate fix and verify with a real test conversion
6. Set up monitoring alerts and establish regular tracking audits
Pixel tracking failures are frustrating, but they're almost always fixable once you systematically identify the root cause. The key is moving through the diagnostic steps methodically rather than randomly trying fixes and hoping something works.
The bigger question is whether you want to keep playing whack-a-mole with browser-based tracking, or implement a more resilient server-side solution that captures data regardless of ad blockers and privacy restrictions. Browser-based pixels will continue facing new limitations as privacy regulations evolve and platforms introduce additional tracking restrictions. Understanding what a tracking pixel is and how it works helps you appreciate why these limitations exist and what alternatives are available.
Either way, your campaigns need accurate data to optimize—ad platforms can't improve performance when they can't see which ads drive results. Don't let tracking issues linger. Every day without proper tracking means your campaigns are optimizing based on incomplete information, wasting budget on underperforming ads while potentially pausing your best performers.
Ready to elevate your marketing game with precision and confidence? Discover how Cometly's AI-driven recommendations can transform your ad strategy—Get your free demo today and start capturing every touchpoint to maximize your conversions.


