
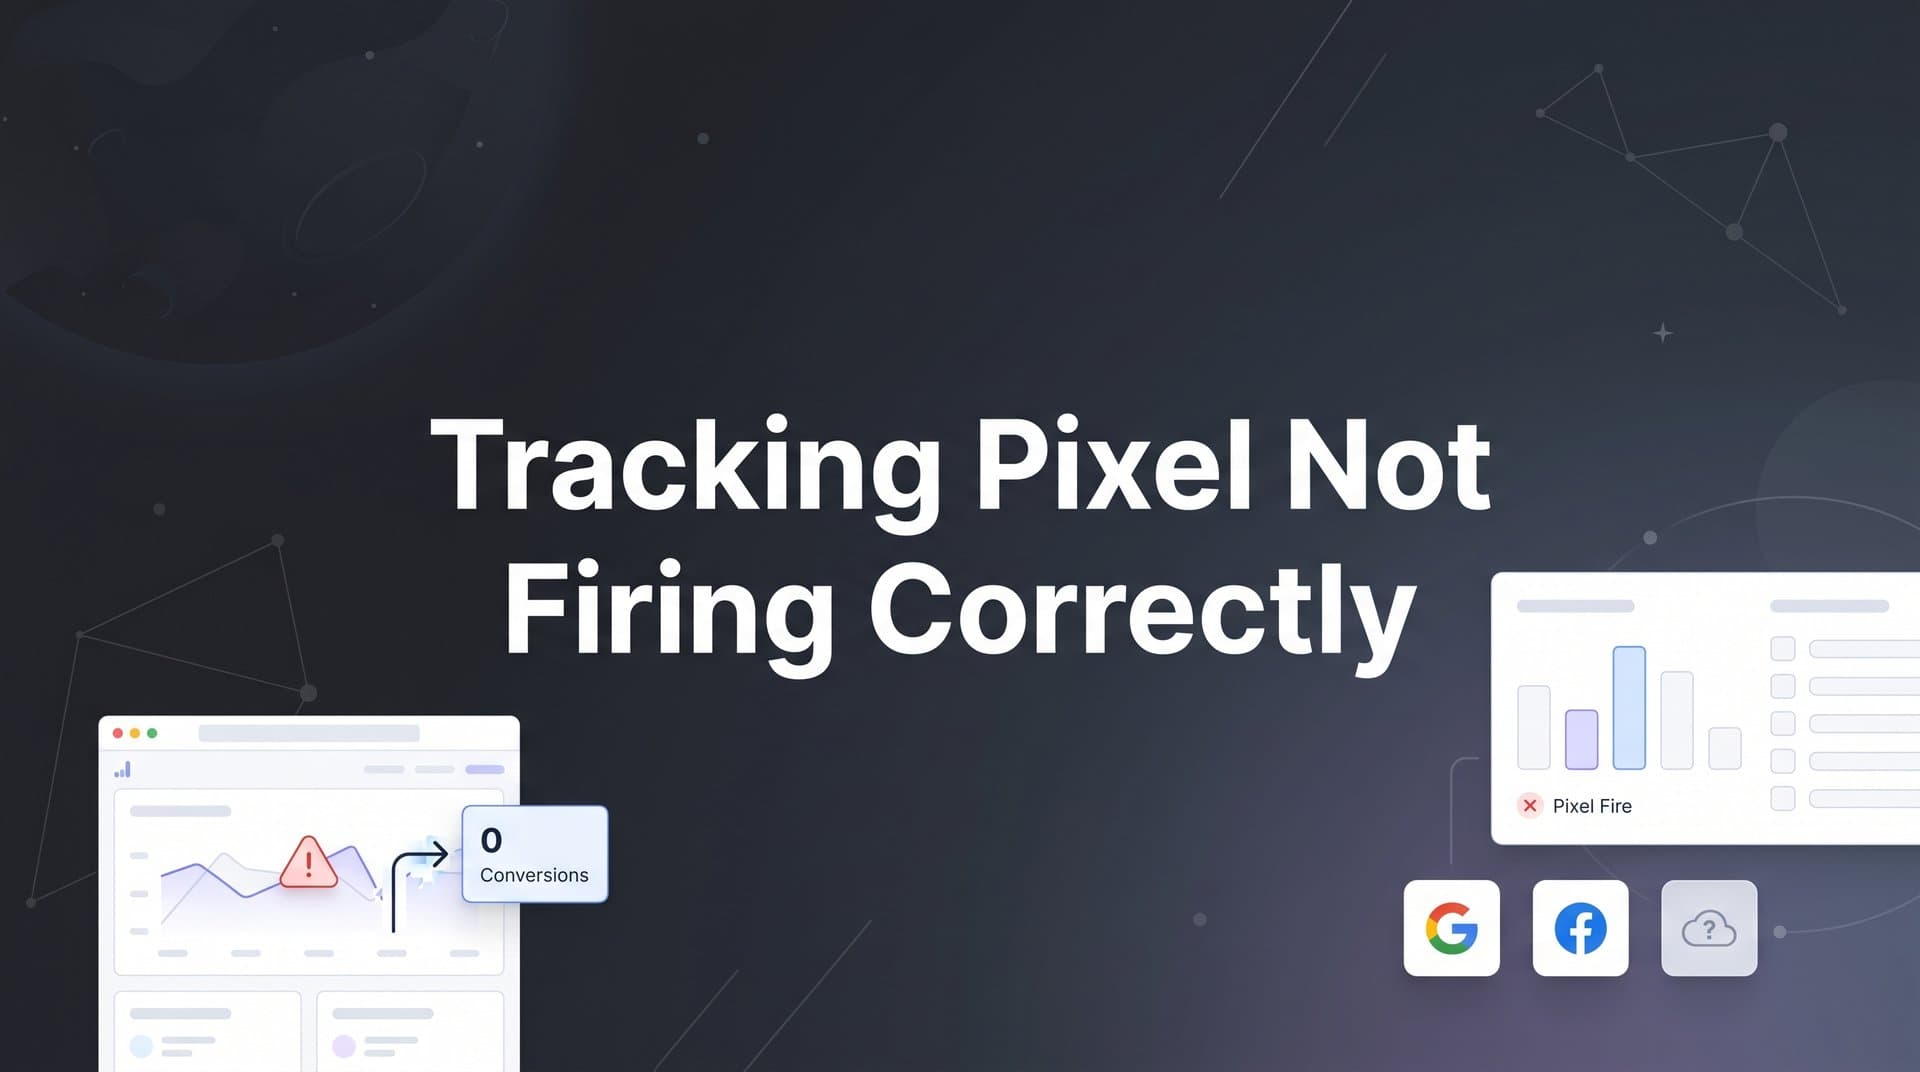
When your tracking pixel is not firing correctly, you are essentially flying blind. Every conversion that goes unrecorded means your ad platforms receive incomplete data, your attribution models break down, and your campaign optimization suffers. You might be spending thousands on ads that appear to underperform simply because the pixel never captured the conversion. Or worse, you could be scaling campaigns based on inflated numbers from duplicate fires.
The good news is that most pixel firing issues follow predictable patterns. With a systematic approach, you can diagnose and resolve them quickly without needing to be a developer or technical expert.
This guide walks you through a clear, repeatable troubleshooting process to identify why your tracking pixel is not firing correctly and get accurate data flowing again. Whether you are dealing with Meta (Facebook) pixels, Google tags, TikTok pixels, or any other platform-specific tracking code, these steps apply universally.
By the end, you will have a reliable framework for diagnosing pixel issues, validating fixes, and ensuring your marketing data stays accurate going forward. Let's get into it.
Step 1: Confirm the Symptoms and Identify Which Pixel Is Failing
Before you start digging into code, you need to know exactly what you are dealing with. Not all pixel problems look the same, and misdiagnosing the symptom leads to wasted troubleshooting time.
Start by distinguishing between three distinct failure modes. First, the pixel is not firing at all, meaning no requests are being sent to the ad platform. Second, the pixel is firing inconsistently, meaning it works sometimes but not others. Third, the pixel is firing but sending incorrect or incomplete data. Each of these points to different root causes, so getting this right upfront matters.
Next, open your ad platform's event management dashboard. In Meta, this is the Events Manager. In Google, check your Tag Manager or GA4's DebugView. In TikTok, head to the Events section of your Ads Manager. Look specifically at which events are showing problems. Is it just the Purchase event? Is the PageView firing but Lead is not? Knowing which events are affected narrows your search considerably.
Then consider the scope of the issue. Ask yourself these questions:
Is it all pages or specific pages? If only your checkout confirmation page is affected, the issue is likely isolated to that page's code or tag configuration.
Is it specific browsers or devices? If mobile users are not tracked but desktop users are, you may be dealing with a browser privacy feature or a responsive page loading issue.
When did it start? A sudden drop in event volume often correlates with a recent site update, a tag manager change, or a new cookie consent configuration.
Document the exact URLs and events where the issue occurs. Write them down. This becomes your troubleshooting target and keeps you focused rather than chasing ghosts across your entire site.
Common red flags to look for: zero conversions recorded in the last 24 to 48 hours when you know sales occurred, a sudden drop in event volume compared to your historical baseline, or a mismatch between the conversion counts in your site analytics versus your ad platform reporting. If you are experiencing these symptoms specifically with Meta, our guide on Facebook Pixel not tracking conversions covers platform-specific diagnostics in more detail.
Step 2: Inspect the Pixel Using Browser Developer Tools
Now that you know which pixel and events are affected, it is time to get eyes on the actual network requests. This step gives you ground truth about whether the pixel is technically sending data at all.
Open Google Chrome (or your preferred browser) and navigate to the page where the pixel should fire. Open Chrome DevTools by pressing F12 or right-clicking and selecting Inspect. Click on the Network tab. Now reload the page while DevTools is open so it captures all network requests from the initial load.
In the filter bar at the top of the Network tab, search for the pixel domain. For Meta, filter for facebook.com/tr. For Google Analytics 4, look for google-analytics.com/g/collect. For TikTok, search for analytics.tiktok.com. If you see a request appear with a 200 HTTP status code, the pixel fired successfully. If you see a 404, a blocked request, or no request at all, you have found your problem.
Alongside DevTools, use platform-specific browser extensions for a faster visual diagnosis. Meta Pixel Helper is a Chrome extension that shows you which pixels are on the page, which events fired, and flags any errors. If you are still unsure about the fundamentals, our article on what a tracking pixel is and how it works provides helpful background context.
While you are in DevTools, check the Console tab as well. JavaScript errors on the page can silently prevent a pixel script from executing. If you see red error messages, especially ones referencing undefined variables or failed script loads, those errors may be blocking your pixel before it ever has a chance to fire.
Finally, check the pixel ID itself. View the page source (right-click, View Page Source) and search for the pixel code. Confirm that the pixel ID embedded in the page matches the ID shown in your ad platform account. A mismatched ID is surprisingly common after account migrations, agency handoffs, or site rebuilds, and it means every event is being sent to the wrong property.
Step 3: Audit Your Tag Manager Configuration and Triggers
If your pixel is installed through a tag management system like Google Tag Manager, the issue often lives in the tag configuration rather than the pixel code itself. Tag managers add a layer of flexibility, but they also add a layer of complexity where things can go wrong quietly.
Start by entering Preview Mode in Google Tag Manager. Click the Preview button in the top right corner of your GTM workspace, then navigate to the affected page. The Tag Assistant panel will show you exactly which tags fired, which tags did not fire, and why. This is one of the most powerful debugging tools available to marketers and it requires zero technical expertise to use.
Look carefully at the triggers associated with your pixel tags. Common trigger misconfigurations include:
Wrong trigger type: A Purchase event tag set to fire on Page View instead of a custom event or DOM Ready trigger will fire on every page load, not just after a purchase. Conversely, a tag set to fire on a custom event that never actually gets pushed to the data layer will never fire at all.
Incorrect trigger conditions: If your trigger has a condition like "Page URL contains /thank-you" but your actual confirmation page URL is /order-confirmation, the tag will never fire on that page.
Tag sequencing issues: Some pixels depend on another tag or script loading first. If the dependency loads after the pixel fires, the pixel may fail or send incomplete data.
One of the most common and damaging issues is duplicate pixel installations. This happens when a pixel is hardcoded directly into the page template and also installed through GTM. The result is that every event fires twice, which inflates your conversion counts and corrupts your ad platform's optimization signals. For a deeper dive into these types of problems, see our guide on conversion tracking pixel issues.
Also verify that the GTM container snippet itself is installed correctly. It should appear in the head section of every page on your site. If the container snippet is missing from certain page templates, none of your GTM-managed tags will fire on those pages.
Step 4: Investigate Common Blockers That Prevent Pixels From Loading
Sometimes the pixel code is installed perfectly, the tag manager is configured correctly, and the pixel still does not fire. This is where external blockers come into play, and they are more common than most marketers realize.
Ad blockers and privacy extensions are the most prevalent culprit. Tools like uBlock Origin and Privacy Badger are widely used and they silently block pixel requests without any visible indication to the user. This means a portion of your visitors, often those who are more technically savvy, are simply invisible to your pixel tracking. You will not see errors. The pixel just does not fire for those users.
Cookie consent banners and Consent Mode are another major factor. If your site uses a consent management platform and a visitor has not yet opted in or has declined tracking, your pixel may be intentionally blocked from firing. This is expected and legally correct behavior in many regions, but it can look like a malfunction if you are not aware of the configuration. Understanding the broader landscape of cookie-based tracking not working anymore helps contextualize why these issues are increasingly common.
Content Security Policy (CSP) headers are a server-level security setting that controls which external scripts your site is allowed to load. If your CSP does not include the pixel domain in its whitelist, the browser will block the pixel script from loading entirely. You will typically see a CSP violation error in the DevTools Console tab. The fix requires your web developer to add the pixel domain to the CSP configuration.
Browser privacy features have become increasingly aggressive. Safari's Intelligent Tracking Prevention (ITP) and Firefox's Enhanced Tracking Protection actively block or limit third-party tracking scripts. These features affect a meaningful segment of your audience and there is no simple workaround at the browser level. Our article on pixel tracking problems on iOS explains how Apple's privacy changes specifically impact your tracking data.
Page load speed and JavaScript execution order can also cause pixel failures. If your page has a JavaScript error earlier in the code, it can halt script execution and prevent the pixel from ever loading. Heavy pages that time out before the pixel script executes are another version of this problem. Check your Core Web Vitals and page speed scores if you suspect this is contributing to the issue.
Step 5: Validate Event Parameters and Data Accuracy
Here is something that catches many marketers off guard: a pixel can fire successfully and still be sending wrong data. The network request goes through, the event shows up in your dashboard, but the values attached to it are incorrect, missing, or null. This creates a different kind of problem because everything looks like it is working until you dig into the actual numbers.
To check event parameters, go back to the Network tab in DevTools and click on the pixel request to expand it. Look at the payload or query string parameters. For a Purchase event, you should see a value parameter with the correct order total, a currency parameter, and any content IDs or product data your setup is configured to send. If you see "value=undefined" or "currency=null," your dynamic variables are not being populated correctly at the time the pixel fires. These kinds of silent failures are a core reason behind pixel tracking accuracy issues that erode campaign performance over time.
Use your ad platform's Test Events tool to validate this in real time. Meta's Events Manager has a Test Events feature where you can enter your website URL and trigger events while watching them arrive live with their full parameter data. GA4 has DebugView for the same purpose. These tools show you exactly what data is being received, not just whether a request was sent.
Pay close attention to event naming. Custom event names are case-sensitive on most platforms. If your tag manager is sending "purchase" but the ad platform expects "Purchase," the event may be received but not matched to your conversion action. This is a small detail that causes significant reporting discrepancies.
Cross-reference a handful of known conversions against what your pixel recorded. Pull a few recent orders from your CRM or order management system and check whether those specific transactions appear in your ad platform's event data. If your attribution tracking is not working as expected, identifying specific missing conversions gives you a concrete test case to debug against rather than working from aggregate numbers alone.
Step 6: Implement Server-Side Tracking as a Reliable Backup
If you have worked through the previous steps and still find gaps in your data, or if you want to build a system that is resilient to the browser-level challenges described in Step 4, server-side tracking is the solution.
Client-side pixels are fundamentally vulnerable. They rely on a browser executing JavaScript, loading third-party scripts, and not having those scripts blocked by an extension, a privacy feature, or a consent setting. Every one of those conditions is outside your control. Understanding the key differences between server-side tracking vs pixel tracking helps clarify why this architectural shift matters so much for data accuracy.
With server-side tracking, conversion data is sent directly from your server to the ad platform's API rather than from the visitor's browser. The user's browser never needs to load a third-party script. Ad blockers cannot intercept the request. Safari's ITP has no effect. Consent mode limitations are handled at the server level with appropriate data handling. The result is a more complete and accurate conversion dataset.
This is exactly where Cometly's server-side tracking capability becomes a practical solution for marketers dealing with persistent pixel issues. Cometly captures every touchpoint from ad clicks to CRM events, giving its AI a complete and enriched view of each customer journey. When browser-based pixels fail or are blocked, the server-side layer continues capturing that data without interruption.
Cometly's Conversion Sync feature takes this a step further by feeding enriched, conversion-ready events back to Meta, Google, and other ad platforms. This improves the quality of the signals those platforms use for targeting and optimization, which directly impacts your ad performance. For marketers exploring options beyond traditional pixels, our overview of conversion tracking beyond pixels outlines the full landscape of modern approaches.
The most effective setup combines both approaches. Run your client-side pixel alongside server-side tracking. When the client-side pixel fires successfully, you get immediate, browser-level data. When it is blocked or fails, the server-side layer fills the gap. The two data streams can be deduplicated using event IDs to prevent double-counting. This redundant architecture is what serious performance marketers use to ensure their data is as complete as possible regardless of the technical environment.
Step 7: Set Up Ongoing Monitoring to Catch Future Pixel Failures Early
Fixing a pixel issue is satisfying. Catching the next one before it costs you money is even better. Pixel failures are not a one-time event. Site updates, tag manager changes, new cookie consent configurations, and platform API changes can all break a working pixel without any warning. Ongoing monitoring is what separates reactive troubleshooting from proactive data management.
Start by setting up automated alerts in your ad platforms. Meta's Events Manager has a Diagnostics tab that flags issues with event quality and volume. Google Ads shows conversion tracking status directly in the interface and will alert you when a conversion action stops recording. Configure these alerts to notify you via email so you hear about problems within hours rather than days.
Schedule a recurring pixel audit, either weekly or biweekly, depending on how frequently your site is updated. Use your browser extensions (Meta Pixel Helper, Google Tag Assistant) and your platform's Test Events tools to run a quick check on your most critical conversion events. If your pixel suddenly stops recording data entirely, our troubleshooting guide for when pixel tracking stopped working provides a focused diagnostic process.
Using a multi-touch attribution platform like Cometly adds another layer of monitoring. Because Cometly tracks both client-side and server-side data, you can compare the two data streams and quickly spot discrepancies that indicate a pixel issue. If your server-side data shows 50 purchases on a given day but your Meta pixel only recorded 30, that gap tells you exactly where to start investigating.
Documentation is underrated in pixel management. Write down your pixel setup including which pixels are installed, which tag manager triggers control them, what the pixel IDs are, and where each event should fire. Store this somewhere your whole team can access. When a new team member needs to troubleshoot, or when you come back to this six months later, that documentation saves hours of reverse engineering.
Finally, build a simple runbook based on the steps in this guide. A runbook is just a documented process that anyone on your team can follow when a tracking pixel is not firing correctly. It does not need to be elaborate. A shared document with the seven steps outlined here, customized with your specific pixel IDs and page URLs, gives your team a repeatable process that produces consistent results.
Putting It All Together
Getting your tracking pixel firing correctly is not a one-time fix. It is an ongoing discipline that directly impacts your ad spend efficiency and your ability to scale campaigns with confidence.
Here is a quick checklist to keep handy the next time you suspect a pixel issue:
1. Identify the exact pixel, event, and pages affected before you touch anything.
2. Inspect pixel requests in browser developer tools and use platform-specific helper extensions to confirm whether requests are being sent.
3. Audit your tag manager triggers, check for duplicate installations, and verify the container snippet is on every page.
4. Rule out ad blockers, consent settings, CSP headers, and browser privacy features as external blockers.
5. Validate that event parameters carry accurate data, not just that the event fired.
6. Layer in server-side tracking to eliminate browser-level blind spots and create a resilient data collection system.
7. Set up monitoring and alerts so you catch the next issue before it costs you meaningful ad spend.
If you want to stop worrying about pixel failures and start trusting your marketing data, Cometly is built for exactly this challenge. With server-side tracking, multi-touch attribution, and AI-powered recommendations, you get a complete picture of what is actually driving revenue across every channel. Get your free demo today and start capturing every touchpoint to maximize your conversions.


