
If you're running paid ads for your Shopify store, you've probably experienced the frustration of mismatched numbers. Your ad platform says you got 50 conversions, Shopify shows 35 orders, and your actual revenue tells a different story entirely. This disconnect isn't just annoying. It's costing you money every single day.
When your conversion data is inaccurate, you can't tell which ads actually drive sales, which means you end up scaling losers and cutting winners. The problem has gotten worse since iOS 14.5 introduced App Tracking Transparency, browser tracking restrictions tightened with Safari's Intelligent Tracking Prevention and Firefox's Enhanced Tracking Protection, and ad blocker usage became mainstream.
But here's the good news: accurate conversion tracking for Shopify is absolutely achievable when you set it up correctly. This guide walks you through the exact steps to capture every conversion, connect your data sources, and finally see which marketing efforts actually generate revenue. By the end, you'll have a tracking setup that gives you confidence in your numbers and clarity on where to invest your ad budget.
Step 1: Audit Your Current Tracking Setup and Identify Gaps
Before you fix your tracking, you need to understand exactly what's broken. Think of this like diagnosing a car problem. You wouldn't start replacing parts randomly. You'd run diagnostics first.
Start by pulling conversion data from every platform you use. Grab the last 30 days of conversion counts from Shopify, Google Analytics, Meta Ads Manager, Google Ads, and any other ad platforms you're running. Put these numbers side by side in a spreadsheet. The discrepancies will be immediately obvious.
You'll likely see patterns emerge. Maybe Meta reports significantly more conversions than Shopify shows orders. Or Google Analytics captures only a fraction of what your ad platforms claim. These gaps tell you where your tracking is failing. Understanding inaccurate conversion tracking data is the first step toward fixing it.
Common culprits include missing conversions that never get tracked, duplicate tracking where the same conversion fires multiple times, and attribution window mismatches where platforms use different time frames to credit conversions. For example, Meta defaults to a 7-day click and 1-day view attribution window, while Google Ads uses a 30-day click window. This alone can create huge reporting differences.
Next, map out your customer journey touchpoints. Document every way customers interact with your brand: paid ads, email campaigns, SMS messages, organic search, social media posts, influencer links. Then check which of these touchpoints are actually being tracked. You'll probably find blind spots where conversions happen but never get attributed.
Use your browser's developer tools to verify pixel firing. Visit your Shopify store, add a product to cart, and complete a test purchase. Open the browser console and network tab to see which tracking pixels fire at each step. You can also use platform-specific tools like Meta's Pixel Helper or Google Tag Assistant to diagnose issues.
Create a baseline report that shows your current tracking accuracy. Calculate the percentage difference between platform-reported conversions and actual Shopify orders. If Meta reports 100 conversions but Shopify only shows 70 orders, you're missing 30% of the picture. This baseline becomes your benchmark for measuring improvement.
Document everything you find. Note which platforms over-report, which under-report, and where you have complete blind spots. This audit gives you a clear roadmap for what needs fixing in the steps ahead.
Step 2: Configure Server-Side Tracking to Capture Lost Conversions
Browser-based tracking pixels are dying. Ad blockers, privacy settings, and browser restrictions block a significant portion of tracking attempts. When someone uses an ad blocker or has tracking prevention enabled, your pixel simply doesn't fire. That conversion happens, but you never see it.
Implementing server-side tracking for Shopify solves this by sending conversion data directly from your server to ad platforms, completely bypassing the browser. Meta's Conversions API and Google's Enhanced Conversions are the two most critical implementations for Shopify stores.
For Meta's Conversions API, you have two main options. If you're using Shopify's native Meta integration, you can enable server-side events through your Shopify admin under Sales Channels. This handles the technical setup automatically. Alternatively, you can use a dedicated attribution platform that connects to both Shopify and Meta's API, giving you more control and enriched data.
The setup process involves generating an access token from your Meta Business Manager, configuring your pixel ID, and mapping Shopify events to Meta's standard event types. Purchase events should include order value, currency, and product details. Add-to-cart and initiate checkout events help Meta's algorithm optimize earlier in the funnel.
Google's Enhanced Conversions works similarly but focuses on hashed customer data. You'll send email addresses, phone numbers, and addresses in encrypted form alongside conversion events. Google matches this data against signed-in users to attribute conversions that pixels miss. For detailed instructions, check out how to set up Google Ads conversion tracking for Shopify.
After configuring server-side tracking, test everything thoroughly. Place multiple test orders using different browsers, devices, and privacy settings. Turn on an ad blocker and complete a purchase. Use Safari with Intelligent Tracking Prevention enabled. Each test order should fire both browser pixel events and server-side events.
Check your Meta Events Manager and Google Ads conversion tracking to verify that server events appear alongside pixel events. You should see both sources reporting the same conversion, which brings us to deduplication.
Deduplication prevents counting the same conversion twice when both your pixel and server event fire successfully. Meta handles this automatically by matching event_id parameters. Make sure your pixel and Conversions API events include identical event_id values for the same conversion. Google uses similar logic with transaction IDs. Without proper deduplication, you'll inflate your conversion counts and make your tracking less accurate than before.
Step 3: Connect Your CRM and Backend Systems for Full-Funnel Visibility
Your Shopify store captures the initial sale, but the customer journey doesn't end there. Refunds, repeat purchases, subscription renewals, and lifetime value all happen after checkout. Without connecting your CRM and backend systems, you're flying blind on what happens post-purchase.
Start by integrating your CRM with Shopify. Whether you use HubSpot, Salesforce, Klaviyo, or another platform, establish a two-way data connection. When someone makes a purchase, their order data should flow into your CRM. When they refund, upgrade, or make a repeat purchase, that information should flow back to your attribution system.
This connection lets you track metrics that actually matter for profitability. A customer who spends $100 initially but refunds isn't as valuable as a customer who spends $80 and makes three repeat purchases. Your ad platforms need to know this difference to optimize properly. The right conversion tracking software for Shopify makes these connections seamless.
Implement a consistent UTM parameter structure across all your campaigns. UTM parameters are the tags you add to URLs that identify traffic sources. Every paid ad, email campaign, and social post should use standardized UTM tags that follow the same naming convention.
Your UTM structure should include source, medium, campaign, content, and term parameters. For example: utm_source=facebook, utm_medium=paid_social, utm_campaign=spring_sale_2026, utm_content=carousel_ad_1. This consistency ensures that when customers click through and eventually convert, you can trace their entire path.
Configure webhooks to send real conversion data back to ad platforms. Shopify webhooks trigger when specific events occur, like order creation, fulfillment, or refund. You can use these webhooks to send conversion events with actual revenue data, not just estimated values.
Map the complete customer journey from first touchpoint through repeat purchases. This means tracking not just which ad they clicked, but also which emails they opened, which retargeting ads they saw, and which organic searches they performed before converting. Multi-system integration makes this possible.
Verify your data flows correctly by tracing a sample customer through your entire system. Create a test customer profile, simulate ad clicks with UTM parameters, complete a purchase, and then watch that data flow through Shopify, your CRM, and back to your ad platforms. Check that each system shows the correct attribution and conversion value.
This full-funnel visibility transforms how you evaluate campaign performance. Instead of judging ads solely on immediate conversions, you can see which campaigns attract high-lifetime-value customers and which bring one-time buyers who refund.
Step 4: Implement Multi-Touch Attribution to See the Complete Picture
Last-click attribution is a lie. It gives 100% credit to the final touchpoint before conversion, completely ignoring everything that happened before. A customer might see your Facebook ad, click a Google search ad, read your email, and then click an Instagram retargeting ad before purchasing. Last-click attribution credits only that final Instagram ad, making it look like a hero while your other channels appear worthless.
Multi-touch attribution distributes credit across all touchpoints in the customer journey. This reveals how your channels work together rather than competing for credit. Dedicated attribution software for Shopify stores makes implementing this approach much easier.
Choose an attribution model that matches your sales cycle. Linear attribution splits credit evenly across all touchpoints. If someone had five interactions before converting, each gets 20% credit. This works well for longer sales cycles where every touchpoint matters equally.
Time-decay attribution gives more credit to touchpoints closer to conversion. The Facebook ad they saw three weeks ago gets less credit than the email they clicked yesterday. This model assumes that recent interactions influence purchase decisions more than older ones.
Position-based attribution (also called U-shaped) gives 40% credit to the first touchpoint, 40% to the last, and splits the remaining 20% among middle interactions. This recognizes that introduction and close are most important while acknowledging that nurture matters too.
Data-driven attribution uses machine learning to analyze thousands of customer journeys and assign credit based on actual conversion patterns. This is the most sophisticated approach but requires substantial conversion volume to work effectively.
Set attribution windows based on your typical customer journey length. If most customers convert within seven days of first interaction, a 7-day window makes sense. If you sell high-consideration products where people research for weeks, extend your window to 30 or 60 days.
Compare platform-reported conversions against your unified attribution data. Meta might claim 100 conversions using last-click attribution, but your multi-touch model might show those conversions actually involved Google, email, and organic search as well. This comparison reveals the true contribution of each channel.
Use these attribution insights to identify undervalued channels. You might discover that Facebook ads rarely get last-click credit but appear in 80% of converting customer journeys as an earlier touchpoint. That channel deserves more budget than last-click attribution suggests.
The complete picture shows you how to allocate budget intelligently. Instead of cutting channels that don't get last-click credit, you invest in the combination of channels that work together to drive conversions.
Step 5: Feed Enriched Conversion Data Back to Ad Platforms
Ad platform algorithms are only as good as the data you feed them. When you send high-quality conversion signals with accurate values and customer information, the algorithms optimize toward profitable outcomes. When you send garbage data, you get garbage results.
Start by including conversion value data with every event you send. Don't just tell Meta that a conversion happened. Tell Meta that a $347 conversion happened. This lets the algorithm optimize for revenue instead of just conversion volume. There's a massive difference between optimizing for any conversion versus optimizing for high-value conversions.
Send customer lifetime value data when available. If your attribution system knows that customers from Instagram typically spend $800 over six months while TikTok customers spend $200, feed that information back to the platforms. This trains the algorithms to find more high-value customers. Following best practices for tracking conversions accurately ensures your data quality stays high.
Set up offline conversion imports for sales that happen outside your website. If customers call to place orders, visit your retail location, or convert through a sales team, those conversions should still be attributed to the marketing touchpoints that generated them. Most ad platforms support offline conversion uploads via CSV or API.
Configure custom conversion events for high-value actions specific to your business. Standard events like purchase and add-to-cart matter, but you might have unique conversion points that predict success. Maybe customers who watch your product video convert at 5x the rate of those who don't. Create a custom event for video views and optimize toward it.
Monitor match rates and event quality scores in your ad platform dashboards. Match rate shows what percentage of your server-side events successfully match to ad interactions. Meta displays this in Events Manager. Low match rates mean your conversion data isn't connecting to ad clicks, which prevents proper optimization.
Event quality scores indicate how useful your conversion data is for optimization. Platforms want recent events, accurate values, and detailed parameters. If your quality score drops, check that you're sending all available customer data, using proper event names, and including conversion values.
The feedback loop is critical. You send conversion data to ad platforms, they optimize based on that data, and you measure whether their optimization actually improves results. This continuous cycle of data sharing and refinement is what turns good campaigns into great ones.
Step 6: Validate Your Setup and Establish Ongoing Monitoring
Your tracking setup is complete, but don't declare victory yet. Run a validation period to ensure everything works as expected under real-world conditions.
Spend seven days comparing your new tracking system against actual Shopify orders. Pull daily reports from each ad platform, your attribution system, and Shopify. Calculate the variance between reported conversions and actual orders. You should see much closer alignment than your initial audit showed.
Some discrepancy is normal and expected. Attribution windows, return policies, and delayed conversions create natural variance. But if you're still seeing 20-30% gaps, something in your setup needs adjustment. Check your server-side tracking configuration, verify webhook connections, and ensure deduplication works correctly. Our guide on inaccurate conversion tracking fix can help troubleshoot persistent issues.
Set up automated alerts for tracking anomalies. Configure notifications when conversion volume drops suddenly, when platform discrepancies exceed acceptable thresholds, or when match rates decline. These early warnings let you fix issues before they corrupt your data and decision-making.
Create a weekly dashboard that compares platform-reported conversions against your unified attribution data. This dashboard becomes your single source of truth for campaign performance. Include metrics like total conversions by channel, revenue attribution, customer acquisition cost, and return on ad spend.
Document your entire tracking setup in a shared resource. Write down which pixels are installed, how server-side tracking is configured, which attribution model you're using, and where data flows between systems. When team members need to troubleshoot issues or new people join, this documentation prevents knowledge loss.
Schedule monthly tracking audits to catch drift before it impacts decisions. Technology changes constantly. Platforms update their tracking requirements, Shopify releases new features, and browser privacy restrictions evolve. Monthly audits ensure your setup adapts to these changes rather than degrading over time.
During these audits, verify that test conversions fire correctly, check match rates haven't declined, review attribution model performance, and confirm all integrations still function. Treat tracking maintenance as seriously as you treat campaign optimization.
Your Path to Tracking Clarity
Getting accurate conversion tracking for your Shopify store requires connecting multiple data sources, implementing server-side tracking, and establishing a unified attribution system. Here's your quick-start checklist: audit your current setup and document discrepancies, configure server-side tracking for each ad platform, connect your CRM and backend systems, implement multi-touch attribution, feed enriched data back to ad platforms, and validate with ongoing monitoring.
The payoff is significant. When you trust your conversion data, you can confidently scale winning campaigns, cut underperformers, and allocate budget based on actual revenue impact rather than guesswork. You'll stop second-guessing whether your numbers are real and start making decisions backed by complete, accurate data.
This tracking foundation transforms your entire marketing operation. Your team aligns around shared metrics. Your ad platforms optimize toward real business outcomes. Your budget flows to channels that actually drive revenue. And you finally get answers to the questions that matter: which ads work, which audiences convert, and where your next dollar should go.
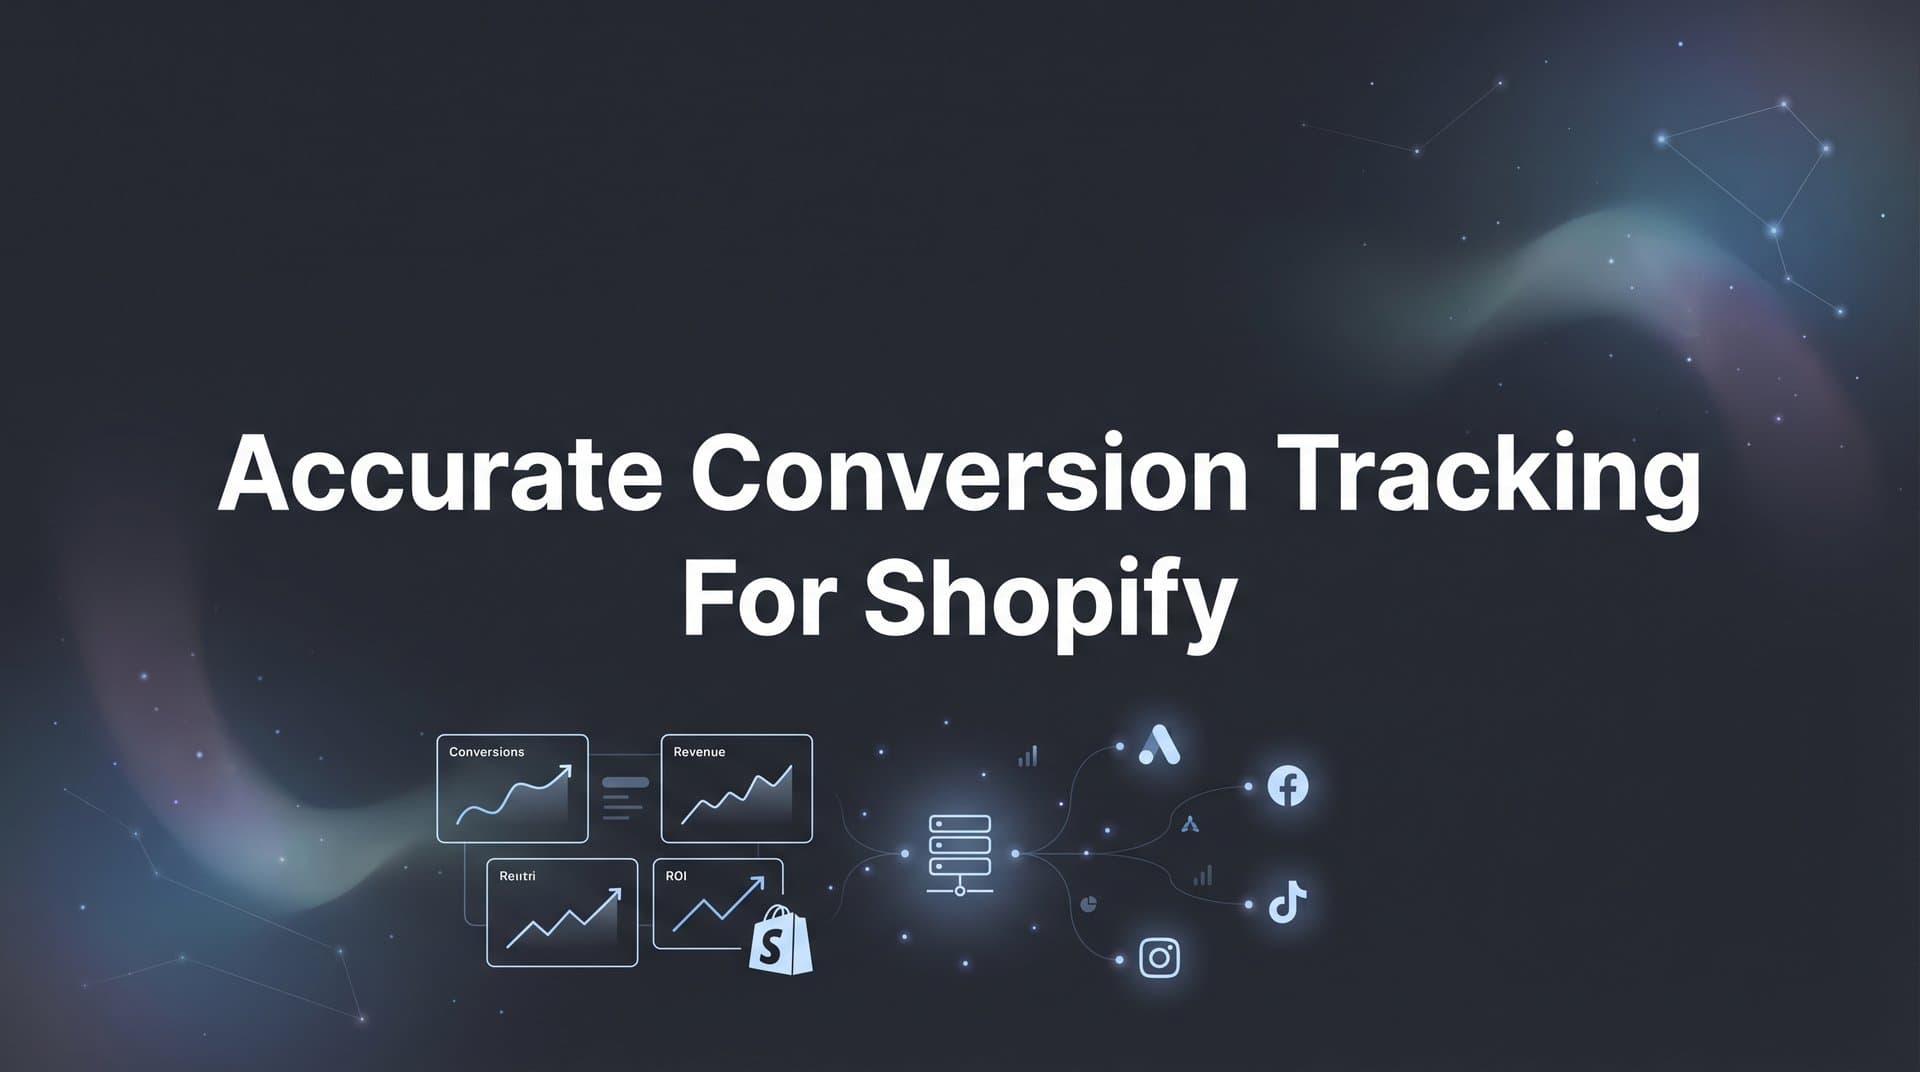
Platforms like Cometly make this process faster by connecting your ad platforms, Shopify, and CRM in one place, giving you real-time attribution data and AI-powered recommendations for optimizing your ad spend. From capturing every touchpoint to feeding better data back to ad platforms, you get the complete picture of what's driving revenue.
Start with step one today. Audit your current tracking and identify the gaps. Within a few weeks, you'll have the tracking accuracy you need to make confident marketing decisions. Ready to elevate your marketing game with precision and confidence? Discover how Cometly's AI-driven recommendations can transform your ad strategy. Get your free demo today and start capturing every touchpoint to maximize your conversions.


