
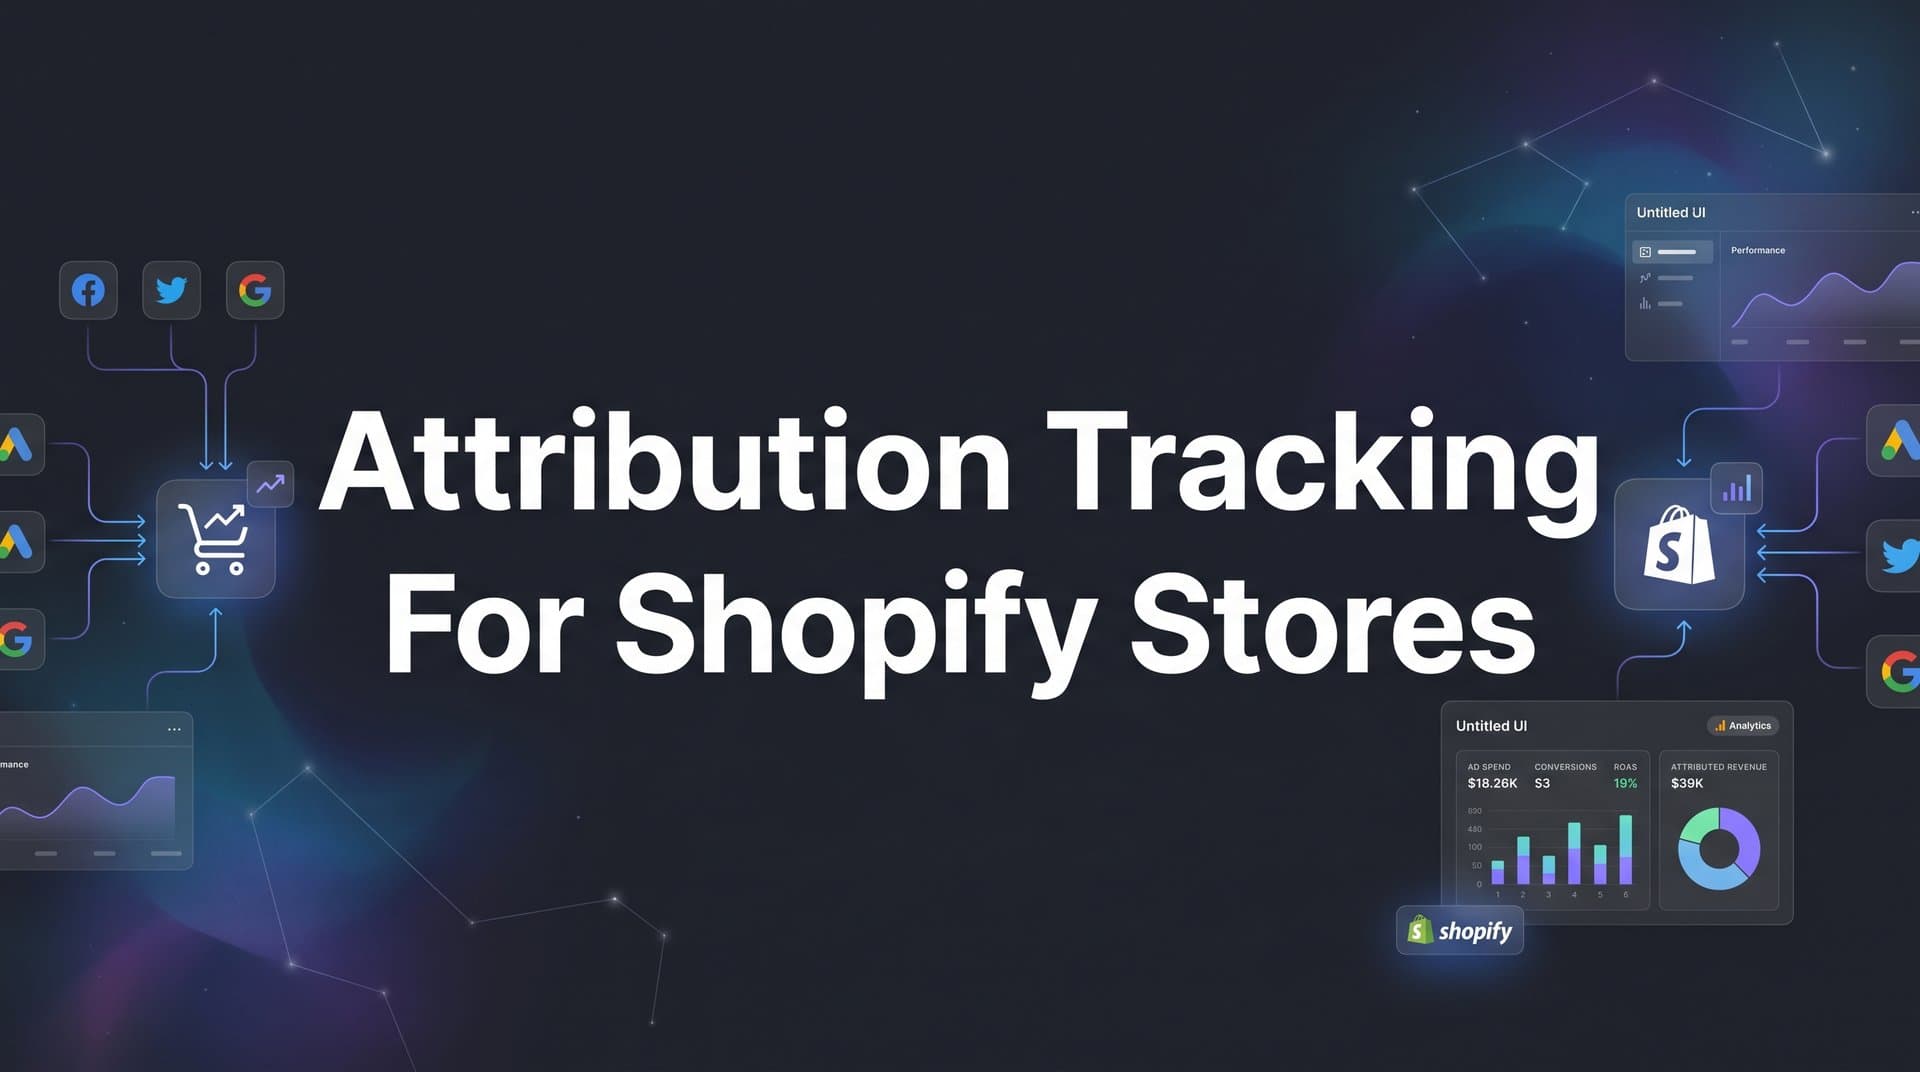
Running a Shopify store means juggling multiple ad platforms, email campaigns, and organic traffic sources. But here's the challenge: when a customer finally makes a purchase, which marketing effort actually deserves the credit?
Without proper attribution tracking, you're essentially flying blind. You might be pouring thousands into Facebook ads that look successful in Ads Manager, only to discover they're mostly taking credit for sales that started from Google search. Or you could be cutting budgets from channels that actually drive your most valuable customers because you can't see their full contribution.
The truth is, most Shopify merchants rely on incomplete data. Native Shopify analytics shows you last-click attribution at best. Ad platforms each claim credit for the same sale. And with iOS privacy changes blocking a significant portion of your tracking pixels, you're missing conversions you actually generated.
This guide walks you through setting up complete attribution tracking for your Shopify store from scratch. You'll learn how to connect your ad platforms correctly, install tracking that actually captures all your conversions, configure server-side tracking to recover lost data, and analyze which campaigns truly drive revenue.
By the end, you'll have a system that shows exactly where your sales come from, so you can double down on what works and cut what doesn't.
Step 1: Audit Your Current Marketing Channels and Data Sources
Before you can fix your attribution tracking, you need to understand what you're currently running and where the gaps exist.
Start by creating a spreadsheet that lists every active marketing channel. Include the obvious ones: Meta (Facebook and Instagram), Google Ads, TikTok, Pinterest. But don't stop there. Add your email marketing platform, any influencer partnerships, affiliate programs, SMS campaigns, and organic social efforts. If you're spending time or money on it, it goes on the list.
For each channel, document what tracking is currently in place. Do you have pixels installed? Are UTM parameters being used consistently? Can you currently see revenue data from this source in any dashboard? Be honest about the gaps. Most Shopify stores discover they have tracking on their main ad platforms but nothing systematic for email, influencers, or organic social.
Next, open your Shopify analytics and compare what you see there to what each ad platform reports. Pull up last week's sales data. Now check Meta Ads Manager for the same period. Then Google Ads. You'll likely notice something frustrating: the numbers don't add up. Meta might claim 50 conversions while Google claims 35, but Shopify only shows 60 total orders. The math doesn't work because each platform uses last-click attribution and takes credit for the same sales. Understanding Shopify reporting and Google Analytics for ad tracking can help you identify these discrepancies.
Document these discrepancies. Note where you see the biggest differences between platform reporting and actual Shopify orders. These gaps represent your attribution blind spots.
Also check your checkout completion rate in Shopify. If you're seeing significant drop-off between cart and purchase, some of that might be tracking issues rather than actual abandoned carts. Customers who use ad blockers or have strict privacy settings might complete purchases that your pixels never register.
Finally, identify your data blind spots completely. Common gaps include: mobile app traffic if you have one, customers who interact with multiple touchpoints before buying, repeat purchases from existing customers, and any offline marketing efforts like events or direct mail.
Success indicator: You should have a complete spreadsheet showing all traffic sources, current tracking status for each, and documented discrepancies between what platforms report versus what Shopify records. This becomes your baseline for measuring improvement.
Step 2: Install Your Attribution Platform and Connect to Shopify
Now that you know what you're tracking, it's time to install a proper attribution solution that gives you cross-platform visibility.
Choose an attribution platform that integrates natively with Shopify. Look for solutions that offer both client-side and server-side tracking capabilities, connect to all your major ad platforms, and provide multi-touch attribution models. The platform should sync directly with your Shopify order data without requiring complex custom development. Explore the best attribution software for Shopify stores to find the right fit for your business.
For most Shopify stores, installation happens in one of two ways: either through a Shopify app from the app store, or by adding a tracking script directly to your theme. App-based solutions are typically easier and don't require touching code. If you're installing a tracking script manually, you'll add it to your theme's header section so it loads on every page.
Here's what correct installation looks like. The tracking pixel needs to fire on every page of your store, not just the homepage. That includes product pages, collection pages, cart, and critically, the checkout and thank you pages. Many merchants install tracking on their main site but forget that Shopify checkout lives on a separate domain, creating a tracking gap right where it matters most.
To verify your pixel fires correctly, use your browser's developer tools. Open the Network tab and navigate through your store as a customer would. You should see tracking events fire when you view products, add items to cart, and complete checkout. Each event should capture the relevant data: product IDs, prices, and order totals.
Next, configure your order data sync. Your attribution platform needs access to your Shopify order information to match conversions back to the marketing touchpoints that drove them. This typically involves granting API permissions through Shopify's admin panel. The platform should pull in order details including revenue, products purchased, customer information, and order timestamps.
Run a test purchase to verify everything works end-to-end. Use a real payment method (you can refund it afterward) because test orders sometimes skip critical tracking steps. Complete the entire checkout process. Then check your attribution dashboard. Within a few minutes, you should see the test order appear with the correct revenue amount, products, and attributed source.
If the test order doesn't show up, check these common issues: tracking script not installed on checkout pages, API permissions not granted correctly, or ad blockers preventing the pixel from firing. Don't move forward until you see test purchases flowing through correctly.
Also verify that your attribution platform captures customer email addresses and order IDs. These identifiers are crucial for matching conversions across multiple sessions and devices. Without them, you can't build accurate customer journey maps.
Success indicator: A test purchase appears in your attribution dashboard within minutes, showing the correct order total, products, and customer information. The conversion is attributed to the correct source based on how you accessed the store during the test.
Step 3: Connect Your Ad Platforms for Cross-Channel Visibility
With your attribution platform installed on Shopify, it's time to connect all your advertising accounts so you can see performance across channels in one place.
Start with Meta Ads Manager since it's typically the largest ad spend for most Shopify stores. In your attribution platform, look for the Meta integration and click to authenticate. You'll be redirected to Facebook where you need to grant specific permissions. Make sure you authorize access to ad account data, campaign information, and conversion events. Don't skip any permission requests or you'll have incomplete data sync.
Select the correct ad account if you manage multiple. Many agencies or brands have several ad accounts, and connecting the wrong one is a common mistake. Double-check the account ID matches the one where you're actually running campaigns.
Next, connect Google Ads. The process is similar: authenticate through Google, grant permissions, and select your ad account. But there's an additional critical step for Google: verify that auto-tagging is enabled. Auto-tagging adds GCLID parameters to your URLs automatically, which allows your attribution platform to match clicks to conversions. Without it, Google Ads data won't attribute correctly. For detailed instructions, see our guide on how to set up Google Ads conversion tracking for Shopify.
To verify auto-tagging in Google Ads, go to Settings, then click Account Settings, and look for Auto-tagging. It should be turned on. If you're also using manual UTM parameters for Google Ads, make sure "Allow manual tagging to override auto-tagging" is unchecked, or you'll create conflicts.
If you're running TikTok ads, connect that account next. TikTok's integration typically requires you to install their pixel separately on Shopify, then link the TikTok Ads Manager account to your attribution platform. Make sure both steps are complete. The same applies to Pinterest: install the Pinterest tag on Shopify if you haven't already, then connect the Ads Manager account.
For each platform connection, verify data is flowing by checking the integration status in your attribution dashboard. Most platforms show a "connected" status and display the date of last data sync. If you see error messages or "disconnected" warnings, click through to re-authenticate.
Here's a critical step many merchants skip: map your conversion events consistently across platforms. If you're tracking "Purchase" events, make sure that's what you call it everywhere. Don't use "Purchase" in Meta, "Conversion" in Google, and "Sale" in TikTok. Inconsistent naming makes cross-platform attribution tracking nearly impossible.
Standardize your event names now. Common events for Shopify stores include: View Content, Add to Cart, Initiate Checkout, and Purchase. Use these exact names across all platforms. If a platform uses different default names, create custom events that match your standard naming convention.
Also verify that conversion values are passing correctly from each platform. When you look at a Purchase event in Meta or Google, it should show the actual order total, not a static value or zero. If conversion values aren't populating, your attribution data will show which channels drive conversions but not which drive revenue, a critical distinction for profitability analysis.
Success indicator: All your active ad platforms show "connected" status in your attribution dashboard, with data syncing successfully. When you view reports, you see campaign data from Meta, Google, and other platforms all in one unified view, with consistent event naming and accurate conversion values.
Step 4: Set Up Server-Side Tracking to Capture Lost Data
Even with perfect pixel installation, browser-based tracking misses a significant portion of conversions. This is where server-side tracking becomes essential for accurate attribution.
Here's why browser tracking fails. iOS privacy features block many tracking pixels by default. Safari's Intelligent Tracking Prevention limits cookie duration to just seven days, meaning any customer journey longer than a week gets lost. Ad blockers prevent pixels from firing entirely. And privacy-focused browsers like Firefox and Brave actively strip tracking parameters from URLs.
The result? You're likely missing 20-40% of your actual conversions in browser-based tracking. Those lost conversions make your ads look less effective than they actually are, leading to poor budget decisions. Implementing server-side tracking for Shopify is the solution to recover this lost data.
Server-side tracking solves this by sending conversion data directly from your server to ad platforms, bypassing browser restrictions entirely. Instead of relying on a pixel that loads in the customer's browser, your Shopify store sends order information from its backend when a purchase completes.
For Shopify stores, server-side tracking typically works through webhooks or native platform integrations. When an order is created in Shopify, a webhook fires that sends order data to your attribution platform, which then forwards it to Meta's Conversions API, Google's enhanced conversions, and other platforms.
To set this up, start with Meta's Conversions API. In your attribution platform, look for the Conversions API or server-side tracking section. You'll need to configure which events should be sent server-side. At minimum, send Purchase events. Many merchants also send server-side events for Initiate Checkout to improve attribution for abandoned cart sequences.
The key to Conversions API is matching parameters. Meta needs to match server events with browser events to understand they represent the same person. This requires sending customer information like email address, phone number, and IP address with each server event. Your attribution platform should handle this automatically by pulling data from Shopify orders, but verify it's configured correctly.
For Google Ads, enable enhanced conversions. This works similarly to Conversions API by sending hashed customer data (email, phone, address) along with conversion events. Enhanced conversions help Google match conversions to ad clicks even when cookies are blocked or deleted.
Set up enhanced conversions through Google Tag Manager or your attribution platform's Google integration. You'll need to configure which customer data fields to send. Google requires at least email address for matching to work effectively.
Here's a critical point: server-side tracking should complement browser tracking, not replace it. You want both firing together. Browser pixels capture click data and session information that servers can't see. Server events capture conversions that pixels miss. Together, they give you complete coverage.
But you need to configure deduplication so the same conversion doesn't get counted twice. Most attribution platforms handle this automatically by using order IDs as unique identifiers. When both a browser pixel and server event report the same order ID, the system counts it once. Verify your platform does this, or you'll inflate your conversion numbers.
Test your server-side setup with another purchase. This time, complete the order with an ad blocker enabled or in Safari with strict privacy settings. The browser pixel might not fire, but you should still see the conversion appear in your attribution dashboard and in Meta Events Manager or Google Ads as a server event.
Check Meta Events Manager specifically. Look at your Purchase event and you should see both "Browser" and "Server" as event sources. If you only see browser events, your Conversions API isn't configured correctly. If you see server events but they're not matched to browser events, check your matching parameters.
Success indicator: Server-side events appear in Meta Events Manager and Google Ads alongside browser events. When you test a purchase with tracking blocked, the conversion still registers through server-side tracking. Your attribution platform shows no duplicate counting, with server events filling gaps where browser tracking fails.
Step 5: Configure UTM Parameters and Tracking Links
UTM parameters are the foundation of accurate source tracking, but only if you use them consistently. A messy UTM strategy creates more confusion than clarity.
Start by creating a UTM naming convention that your entire team will follow. This isn't optional. Without standardized naming, you'll end up with "facebook" and "Facebook" and "fb" all appearing as separate sources in your reports, fragmenting your data.
Here's a practical naming system that works for most Shopify stores. For utm_source, use the platform name in lowercase: facebook, google, tiktok, email, instagram. For utm_medium, use the traffic type: cpc for paid ads, social for organic social, email for email campaigns, affiliate for affiliate links. For utm_campaign, use a descriptive name that identifies the specific campaign: spring_sale_2026 or new_product_launch.
Document this naming convention in a shared spreadsheet or wiki that everyone on your team can access. Include examples for each traffic source. When new team members join or you launch campaigns on new platforms, they should reference this document to ensure consistency. Proper setup is essential for attribution tracking for multiple campaigns.
For your ad platforms, set up UTM parameters at the campaign level. In Meta Ads Manager, use URL parameters to add UTMs to all your ad links. A typical structure looks like: ?utm_source=facebook&utm_medium=cpc&utm_campaign=spring_sale_2026&utm_content=video_ad_1. The utm_content parameter is useful for distinguishing between different ad creatives in the same campaign.
Google Ads auto-tagging handles most tracking automatically through GCLID, but you can still add manual UTM parameters for additional granularity. If you do this, make sure your UTMs don't conflict with auto-tagging. Use utm_campaign to match your Google Ads campaign names for easier reconciliation between Google's reporting and your attribution platform.
For email campaigns, your email platform should allow you to add UTM parameters to all links automatically. In platforms like Klaviyo or Mailchimp, you can set default UTM parameters at the template level. Use utm_source=email and utm_medium=email, then customize utm_campaign for each specific send: welcome_series_email_1 or abandoned_cart_reminder.
Influencer and affiliate tracking requires unique links for each partner. Build these links manually using a UTM builder tool, or better yet, use your attribution platform's link builder if it has one. For an influencer partnership, you might use: utm_source=instagram&utm_medium=influencer&utm_campaign=spring_collab&utm_content=influencer_name. This lets you track each influencer's performance individually.
One common mistake: using spaces or special characters in UTM parameters. Always use underscores or hyphens instead of spaces, and stick to lowercase letters and numbers. "Spring Sale 2026" should become "spring_sale_2026". Special characters can break tracking or create duplicate entries in reports.
Create a master tracking link spreadsheet where you log every campaign link you create. Include columns for the full URL, each UTM parameter, the campaign start date, and who created it. This becomes your reference for understanding what each traffic source represents when you analyze data later.
Test your UTM links before launching campaigns. Click through each link and verify it reaches the correct page on your Shopify store. Then check your attribution platform to confirm the UTM parameters appear correctly in real-time traffic data. A broken or misconfigured link can waste your entire campaign budget with no way to track results.
Success indicator: All your traffic sources appear in attribution reports with clear, consistent naming. When you filter by utm_source=facebook, you see all Facebook traffic together, not split across multiple variations. Your tracking link spreadsheet documents every campaign with complete UTM parameters, making it easy to trace any traffic source back to its origin.
Step 6: Define Your Attribution Model and Conversion Windows
Attribution models determine how credit gets distributed across the touchpoints in a customer's journey. Choosing the right model is critical because it fundamentally changes which channels appear successful.
Let's break down the main attribution models and when to use each one. First-touch attribution gives 100% credit to the first interaction a customer had with your brand. This model is useful for understanding which channels are best at introducing new customers to your store. If you're focused on top-of-funnel awareness and customer acquisition, first-touch shows you which campaigns are bringing in fresh traffic.
Last-touch attribution does the opposite, giving all credit to the final touchpoint before purchase. This is what Shopify's native analytics uses, and it's what most ad platforms report. Last-touch is useful for understanding which channels are best at closing sales, but it completely ignores the nurturing that happened before that final click.
Linear attribution distributes credit equally across all touchpoints in the customer journey. If someone saw a Facebook ad, clicked a Google search result, and then came back through an email link before purchasing, each touchpoint gets one-third credit. Linear attribution gives you a more balanced view of how channels work together, but it treats awareness and conversion touches as equally valuable, which isn't always accurate. Understanding marketing attribution for ecommerce stores helps you select the right model for your business.
Data-driven attribution uses machine learning to assign credit based on which touchpoints statistically increase conversion probability. This is the most sophisticated model, but it requires significant conversion volume to work effectively. If you're generating fewer than 400-500 conversions per month, you probably don't have enough data for algorithmic attribution to be reliable.
For most Shopify stores, a multi-touch model like linear or position-based attribution provides the most actionable insights. Position-based (also called U-shaped) gives 40% credit to the first touch, 40% to the last touch, and distributes the remaining 20% among middle touches. This acknowledges that both discovery and closing matter while still accounting for the nurturing journey in between.
Choose your model based on your sales cycle and customer behavior. If you sell low-cost impulse items where customers typically buy on first visit, last-touch makes sense. If you sell higher-priced products where customers research extensively before buying, multi-touch attribution is essential to understand the full journey.
Next, configure your conversion window. This determines how long after an ad interaction you'll still count a conversion as attributed to that ad. The standard is 7 days for clicks and 1 day for views, but this might not match your actual customer behavior.
Look at your Shopify analytics to understand your typical purchase timeline. If customers often browse for weeks before buying, a 7-day window will miss most of your conversions. Consider extending to 14 or even 30 days for click-through conversions. For view-through conversions (when someone sees but doesn't click your ad, then later purchases), keep the window shorter, typically 1-7 days, since view-through attribution is less reliable.
Different products require different windows. If you sell fashion items with seasonal trends, customers might buy quickly, so a shorter window works. If you sell furniture or electronics where customers compare options extensively, you need longer windows to capture the full decision journey.
Configure these settings in your attribution platform's model settings. Most platforms let you compare different models side by side, which is incredibly valuable. Set up multiple attribution views: one with last-touch for quick tactical decisions, and one with multi-touch for strategic planning.
Success indicator: Your attribution model reflects how customers actually buy from you. When you compare last-touch versus multi-touch reports, you see meaningful differences that reveal which channels drive awareness versus which close sales. Your conversion window captures the majority of your customer journey without being so long that attribution becomes unreliable.
Step 7: Analyze Reports and Optimize Your Ad Spend
With complete attribution tracking in place, you can finally see which marketing efforts actually drive revenue. Now comes the critical part: using that data to optimize.
Start by reviewing your cross-channel performance report. This should show all your marketing channels side by side with attributed conversions and revenue. Look for discrepancies between what ad platforms report and what your attribution system shows. These gaps reveal where platforms are overclaiming credit. Leveraging marketing analytics for ecommerce stores gives you the insights needed to make smarter decisions.
For example, you might see Meta claiming 100 conversions in Ads Manager, but your attribution platform shows only 65 conversions properly attributed to Meta when accounting for the full customer journey. Those 35 conversions were likely influenced by Meta ads but actually closed through other channels. This is crucial information for budget allocation.
Compare each channel's attributed revenue to its cost. Calculate true ROAS (return on ad spend) based on attributed conversions, not platform-reported conversions. You might discover that a channel reporting 3x ROAS in its native dashboard actually delivers 2x when you account for multi-touch attribution. That's still profitable, but it changes your scaling decisions.
Look for underperforming campaigns that appear successful in native dashboards. These are campaigns taking credit for conversions they didn't actually drive. Common culprits include retargeting campaigns that claim credit for customers who were already going to buy, or branded search campaigns that intercept customers already looking for your store by name.
Identify your true revenue drivers by filtering for first-touch attribution. Which channels are best at bringing new customers into your funnel? These deserve investment even if their last-touch performance looks weak, because they're doing the hard work of customer acquisition.
Then switch to last-touch attribution to see which channels are best at closing sales. These channels might not be great at discovery, but they're effective at converting warm traffic. Your strategy should feed customers from strong first-touch channels into strong last-touch channels.
Use your attribution data to reallocate budget. If multi-touch attribution reveals that TikTok is driving 30% of first touches but you're only spending 15% of budget there, that's an opportunity to scale. If branded search is taking credit for conversions that attribution shows actually came from other channels, consider reducing that budget.
Review your data weekly for tactical optimizations like pausing underperforming ad sets or scaling winning campaigns. Do monthly deep dives for strategic decisions like shifting budget between channels or testing new platforms. Attribution data becomes more valuable over time as you build historical trends and can spot patterns.
Pay special attention to customer journey paths. Most attribution platforms show you the sequence of touchpoints that led to conversions. You might discover that customers who see a Facebook ad, then click a Google search result, convert at higher rates than those who only interact with one channel. This insight lets you build coordinated cross-channel strategies instead of treating each platform in isolation.
Look at your highest-value customers specifically. Filter your attribution reports to show only orders above a certain threshold, like $200 or $500. Do these high-value customers come from different channels than average customers? If premium buyers consistently start their journey through organic social or influencer content, that tells you where to invest for customer lifetime value, not just immediate conversions.
Success indicator: You have a clear view of ROAS by channel based on attributed conversions, not platform-reported numbers. You've identified at least 2-3 campaigns that appeared successful but were actually taking credit for conversions driven by other channels. You've reallocated at least 10-15% of budget based on attribution insights, moving money from overcredited channels to undervalued ones.
Your Complete Attribution System is Live
You now have complete attribution tracking for your Shopify store. Let's verify everything is working correctly.
Quick checklist: All your ad platforms are connected and syncing data to your attribution platform. Server-side tracking is capturing conversions that browser pixels miss, giving you complete coverage even with iOS privacy restrictions and ad blockers. UTM parameters are applied consistently across all campaigns, creating clean, organized data in your reports. Your attribution model is configured to match your actual customer journey, whether that's simple last-touch or sophisticated multi-touch analysis.
Review your attribution data weekly to spot trends and catch any tracking issues early. Monthly, do deeper analysis to inform budget allocation decisions. As your store grows and you add new marketing channels, your attribution system becomes even more valuable, helping you understand how everything works together rather than evaluating each channel in isolation.
The real power of attribution tracking isn't just seeing where sales come from. It's understanding the complete customer journey so you can optimize every touchpoint. You'll know which channels are best at introducing new customers, which content nurtures consideration, and which campaigns close sales. That knowledge lets you scale the channels that actually drive revenue while cutting waste from underperformers.
Your attribution data will reveal insights you couldn't see before. You might discover that customers who interact with both paid social and organic search convert at 3x the rate of single-channel visitors. Or that email campaigns don't drive many first purchases but are critical for repeat orders. These insights transform how you allocate budget and plan campaigns.
Start by auditing your attribution reports this week. Look for the biggest discrepancies between platform-reported conversions and attributed conversions. Those gaps represent your biggest opportunities for optimization. Then make one budget reallocation based on what you discover. Even small shifts based on accurate data compound into significant performance improvements over time.
Ready to elevate your marketing game with precision and confidence? Discover how Cometly's AI-driven recommendations can transform your ad strategy—Get your free demo today and start capturing every touchpoint to maximize your conversions.


