
You're spending thousands on ads, but do you actually know which campaigns are driving revenue? Without proper conversion tracking, you're essentially flying blind—making budget decisions based on incomplete data and missing the insights that could transform your marketing performance. Whether you're struggling with iOS tracking limitations, dealing with cross-platform attribution headaches, or simply unsure if your current setup is capturing everything it should, this guide walks you through the entire conversion tracking setup process. By the end, you'll have a system that tracks every meaningful action across your customer journey, from first ad click to final purchase. Let's turn your tracking chaos into clarity.
Step 1: Define Your Conversion Events and Goals
Before you install a single pixel or write a line of code, you need absolute clarity on what you're actually tracking. This isn't about measuring everything that moves—it's about identifying the specific actions that signal business value.
Start with your primary conversions: the money moments. These are purchases, demo bookings, qualified lead submissions, trial sign-ups, or whatever action directly ties to revenue in your business. Every marketing dollar you spend should ultimately drive one of these outcomes.
But here's where most marketers stop too soon. You also need micro-conversions—the breadcrumb trail that leads to those primary events. Think add-to-cart actions, pricing page views, calculator tool uses, or form starts. These intermediate steps reveal where prospects engage and where they drop off, giving you optimization levers beyond just the final conversion.
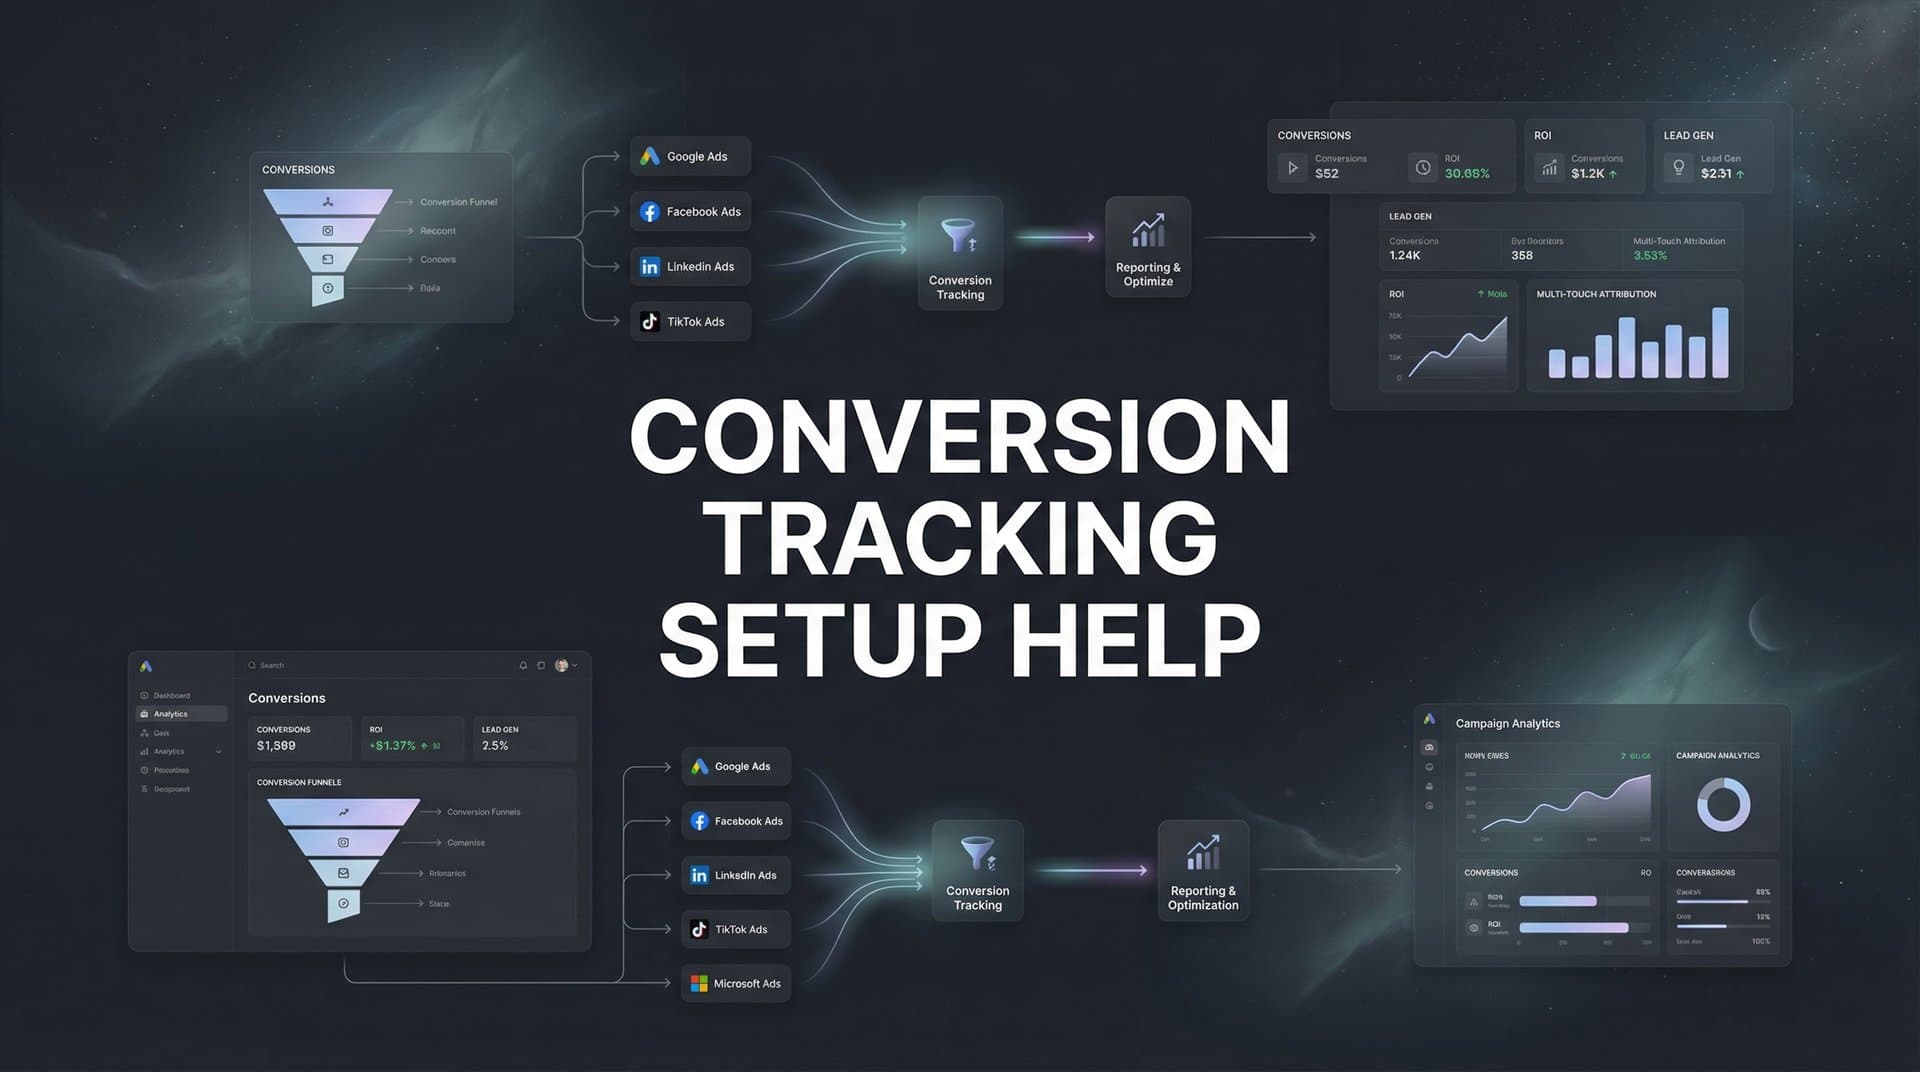
Now comes the critical part: assigning conversion values. If you're in e-commerce, this is straightforward—track the actual purchase amount. For lead generation, you'll need to estimate based on your close rate and average deal size. A demo request that closes at 30% with a $10,000 average contract value has a $3,000 expected value. This math matters because ad platforms use these values to optimize toward revenue, not just volume.
Document your conversion hierarchy in a shared spreadsheet that your entire team can reference. List each conversion event, its business purpose, its assigned value, and where it occurs in the customer journey. This becomes your single source of truth.
Success indicator: You can explain to anyone on your team exactly what each conversion event represents and why it matters to the business. No ambiguity, no "we track that because we always have" explanations.
One more thing: resist the temptation to track vanity metrics as conversions. Page views and social follows might feel good, but if they don't correlate with revenue, they'll just muddy your optimization efforts. Stay ruthlessly focused on actions that actually predict business outcomes.
Step 2: Prepare Your Technical Foundation
Think of this step as building the foundation before you construct the house. Rush through it, and everything you build on top will be unstable.
Begin with an honest audit of your current tracking setup. Open your website in an incognito browser and use a tag inspection tool to see what's actually firing. You'll probably discover redundant pixels, deprecated tracking codes, and scripts that haven't worked in months. Clean house before adding anything new.
Next, set up Google Tag Manager as your central control hub. Yes, you could hardcode pixels directly into your site, but that creates a maintenance nightmare. GTM lets you manage all your tracking tags from one interface, test changes before they go live, and update tracking without developer involvement for every single change.
Here's what that setup looks like: Install the GTM container code on every page of your site (in the header and body sections). Then configure your data layer—a JavaScript object that holds information about user actions and page details. This is where you'll push conversion data that your tracking tags can access.
Your data layer should capture key details at conversion moments: event name, conversion value, transaction ID, product details, user ID if available, and any custom parameters relevant to your business. A clean data layer structure looks like this in practice—when someone completes a purchase, your site pushes an object containing all relevant transaction details to the data layer, which GTM then reads and sends to your various tracking platforms.
Now verify your site can actually fire events at the critical moments. Test button clicks, form submissions, purchase confirmations, and page transitions. Use GTM's preview mode to watch events fire in real-time as you navigate your site. If events aren't firing when they should, you'll need to work with your development team to add the appropriate triggers.
Success indicator: You can see events firing correctly in GTM preview mode for every conversion action you defined in Step 1. The data layer contains all the information you need to pass to tracking platforms.
This foundation work feels tedious, but it's what separates marketers with reliable data from those constantly troubleshooting tracking issues. Build it right once, and you'll thank yourself every time you need to add a new tracking tag or update an existing one.
Step 3: Install Platform-Specific Tracking Pixels
Now that your foundation is solid, it's time to deploy the tracking pixels for each ad platform you're using. Each platform has its own pixel with specific setup requirements, but the principles remain consistent.
Start with Meta Pixel if you're running Facebook or Instagram ads. Install the base pixel code through GTM, then configure specific conversion events. The critical upgrade here: implement Conversions API alongside your pixel. This server-side component sends conversion data directly from your server to Meta, bypassing browser limitations that cause data loss. Together, pixel and Conversions API create redundancy—if one misses a conversion, the other catches it. For detailed guidance, check out our guide on accurate Facebook conversion tracking.
For Google Ads, set up conversion tracking through your Google Ads account. Generate your conversion tracking tag, add it to GTM, and configure it to fire on your conversion events. Enable enhanced conversions, which hashes and sends first-party customer data (email, phone, address) to improve matching accuracy. This helps Google attribute conversions even when cookies are blocked or deleted.
If you're advertising on LinkedIn, install the LinkedIn Insight Tag through GTM and set up conversion tracking in Campaign Manager. For TikTok, deploy the TikTok Pixel and configure your conversion events. Our resource on the best tools for tracking TikTok ads can help you optimize that setup. The pattern repeats for each platform: base tracking code plus specific conversion events tied to your business goals.
Here's the workflow in GTM: Create a new tag for each platform's pixel, set it to fire on all pages (for the base code) or specific conversion pages (for conversion events), and configure variables to pass the right data from your data layer to each platform. Use GTM's built-in tag templates when available—they simplify configuration and reduce errors.
After installing each pixel, test it immediately using the platform's debugging tools. Meta Events Manager shows you which events are firing and what data they're receiving. Google Tag Assistant verifies your Google Ads conversion tracking tags are working correctly. Don't assume installation worked—verify it.
Success indicator: Each platform's debugging tool confirms your pixel is active, firing on the correct pages, and receiving complete conversion data. You can see test conversions appear in real-time in each platform's interface.
One critical detail: make sure your conversion event names are consistent across platforms. If you call it "Purchase" in Meta but "Transaction" in Google Ads, you'll create confusion when analyzing cross-platform performance. Standardize your naming conventions now.
Step 4: Implement Server-Side Tracking for Accurate Data
Here's the uncomfortable truth: browser-based tracking alone misses a significant portion of your conversions. Ad blockers, privacy settings, and iOS restrictions create blind spots in your data. Server-side tracking fills those gaps.
Traditional pixel tracking works like this: a user clicks your ad, lands on your site, and a JavaScript pixel fires in their browser to record the conversion. But if they're using an ad blocker, have strict privacy settings, or are on iOS with tracking prevention enabled, that pixel never fires. You spent money on the ad, got the conversion, but have no data showing it happened.
Server-side tracking changes the game. Instead of relying solely on browser pixels, your server sends conversion data directly to ad platforms. When someone completes a purchase, your backend system captures all the transaction details and transmits them to Meta, Google, and other platforms through their server-side APIs. No browser involvement means no browser-based blocking.
Setting this up requires technical work. You'll need to configure your server to send HTTP requests to each platform's conversion API whenever a conversion occurs. For Meta, that's the Conversions API. For Google, it's enhanced conversions and offline conversion imports. Each platform has specific requirements for data format, authentication, and event parameters. Understanding first-party data tracking is essential for making this work effectively.
This is where attribution platforms like Cometly become invaluable. Rather than building and maintaining server-side connections to every ad platform yourself, Cometly handles the technical implementation automatically. It captures conversion data from your site and CRM, enriches it with additional touchpoint information, and sends it to all your ad platforms through their respective server-side APIs. You get comprehensive tracking without the development overhead.
The impact of server-side tracking extends beyond just capturing more conversions. Ad platform algorithms optimize based on the conversion data they receive. When you feed them more complete, accurate data through server-side connections, their machine learning models make better decisions about who to target and how much to bid. Better data in means better performance out.
Success indicator: You can compare conversion counts between client-side pixels and server-side tracking and see that server-side captures additional conversions that pixels missed. Your ad platforms receive conversion data even for users with ad blockers or tracking restrictions.
Step 5: Connect Your CRM and Revenue Data
Most conversion tracking stops at the form submission or initial purchase. That's a mistake because the real value often happens afterward—in the CRM, during the sales process, and in the final revenue numbers.
Integrate your CRM system (HubSpot, Salesforce, Pipedrive, or whatever you use) with your tracking infrastructure. This connection lets you track what happens after the initial conversion: Did the lead qualify? Did they book a demo? Did they close into a customer? What was the actual deal size?
This closed-loop tracking transforms your attribution from "which ad generated a form fill" to "which ad generated $50,000 in revenue." The difference matters enormously when you're making budget allocation decisions. You might discover that one campaign generates tons of cheap leads that never close, while another generates fewer leads that convert at 10x the rate. Implementing offline conversion tracking bridges this critical gap.
Set up your CRM to send conversion events back to your ad platforms as deals progress through your pipeline. When a lead becomes an opportunity, fire a conversion event. When they close, fire another with the actual revenue amount. Use each platform's offline conversion import features—Meta's Offline Conversions, Google's Offline Conversion Imports, LinkedIn's Conversion Tracking API.
For e-commerce businesses, revenue tracking is more straightforward but equally important. Make sure your conversion tracking passes the actual transaction value, not just a binary "purchase occurred" signal. Your ad platforms need to see that one customer spent $50 while another spent $500 so they can optimize toward high-value purchasers.
Attribution platforms excel at this integration work. Cometly connects directly to your CRM and automatically syncs deal stage changes, revenue data, and customer lifecycle events back to your ad platforms. It maintains the connection between the original ad click and the final revenue outcome, even when weeks or months pass between them. This enriched data gives ad platform algorithms the signals they need to find more high-value customers. Learn more about lead generation attribution tracking to maximize your pipeline visibility.
Success indicator: You can trace a specific customer from their initial ad click through every touchpoint in your CRM to their final revenue contribution. Your ad platforms show actual revenue attributed to campaigns, not just lead counts or initial conversion values.
Don't underestimate how much this changes your optimization strategy. When you can see that Campaign A generates leads worth $100 on average while Campaign B generates leads worth $1,000, your budget allocation decisions become obvious.
Step 6: Validate and Test Your Entire Tracking Setup
You've built the system—now prove it actually works. Validation isn't optional because broken tracking corrupts every decision you make based on that data.
Start with manual test conversions. Go through your entire conversion funnel as a real customer would: click an ad (or simulate one with UTM parameters), browse your site, and complete each conversion action you're tracking. Understanding UTM tracking and how UTMs help your marketing is crucial for proper testing. Watch what happens in real-time using GTM preview mode, platform debugging tools, and your analytics dashboard. Every conversion you complete should appear in every system that's supposed to track it.
Run tests through multiple paths. Test on desktop and mobile. Test with ad blockers enabled. Test on iOS devices with tracking restrictions active. Test while logged in and logged out. Each scenario might reveal different tracking gaps. Our guide on cross-device conversion tracking methods covers these multi-device scenarios in depth.
Compare conversion counts across platforms to identify discrepancies. Your Google Analytics conversion count won't perfectly match your Google Ads count, which won't perfectly match your Meta count. Some variation is normal due to different attribution windows and counting methodologies. But major discrepancies (like 50% differences) signal problems that need fixing conversion tracking gaps.
Check your attribution windows align with your actual sales cycle. If you're selling enterprise software with a 60-day sales cycle, a 7-day attribution window will miss most of your conversions. Adjust windows in each platform to match reality—typically 28 days for view-through and 90 days for click-through in B2B, shorter for e-commerce.
Create a monitoring dashboard that consolidates key tracking health metrics. Track daily conversion volumes by source, compare conversion rates across platforms, and set up alerts for sudden drops that might indicate tracking failures. Use tools like Google Analytics, your attribution platform, or a custom dashboard that pulls from multiple sources.
Success indicator: Test conversions appear correctly in all platforms within minutes of completion. Conversion counts across platforms fall within expected variance ranges. You have automated alerts that notify you immediately if tracking breaks.
Schedule regular tracking audits—monthly at minimum. Websites change, platforms update their tracking requirements, and small issues compound over time. Catching problems early prevents weeks of corrupted data.
Putting It All Together
With these six steps complete, you now have conversion tracking that captures the full customer journey—not just the last click. Your quick-reference checklist: conversion events defined and valued, technical foundation prepared, platform pixels installed, server-side tracking implemented, CRM connected for revenue data, and everything validated through testing.
The difference between marketers who scale profitably and those who waste budget often comes down to tracking accuracy. When you can see exactly which ads and channels drive revenue, optimization decisions become straightforward. You're no longer guessing which campaigns to scale or cut—the data shows you. Following best practices for tracking conversions accurately ensures you maintain this advantage.
But accurate tracking is just the foundation. The real power comes from using that data to make smarter decisions. Review your attribution data weekly. Look for patterns in what's working. Test hypotheses about audience segments, messaging, and channel mix. Let the data guide your strategy, not your assumptions.
Start by auditing your current setup against this guide. Identify which steps you've completed and where gaps exist. Fix the biggest issues first—typically server-side tracking implementation and CRM integration deliver the most immediate impact. Then work through the remaining gaps systematically.
Remember that tracking accuracy directly impacts your ad platform algorithms. Meta, Google, and other platforms use the conversion data you send them to optimize who they target and how much they bid. Incomplete or inaccurate data leads to poor optimization decisions. Complete, accurate data—especially enriched with CRM and revenue information—helps algorithms find your best customers.
Ready to elevate your marketing game with precision and confidence? Discover how Cometly's AI-driven recommendations can transform your ad strategy—Get your free demo today and start capturing every touchpoint to maximize your conversions.


