LinkedIn Ads is one of the most powerful channels for B2B SaaS companies targeting decision-makers, but it is also one of the hardest to measure accurately. The platform's longer sales cycles, multi-touch buyer journeys, and limited native reporting make it genuinely difficult to connect ad spend directly to pipeline and closed revenue.
Most marketing teams fall back on last-click attribution inside LinkedIn Campaign Manager. The problem is that last-click reporting misrepresents LinkedIn's true contribution almost every time. LinkedIn typically operates as a top-of-funnel or mid-funnel touchpoint, warming up decision-makers long before they ever convert. When you only credit the final click, LinkedIn looks like it underperforms, and budget gets reallocated to channels that appear to close deals but actually just show up last.
The result is poor budget decisions based on incomplete data. You end up underfunding the channel that is actually driving awareness and pipeline, while overfunding channels that benefit from LinkedIn's groundwork.
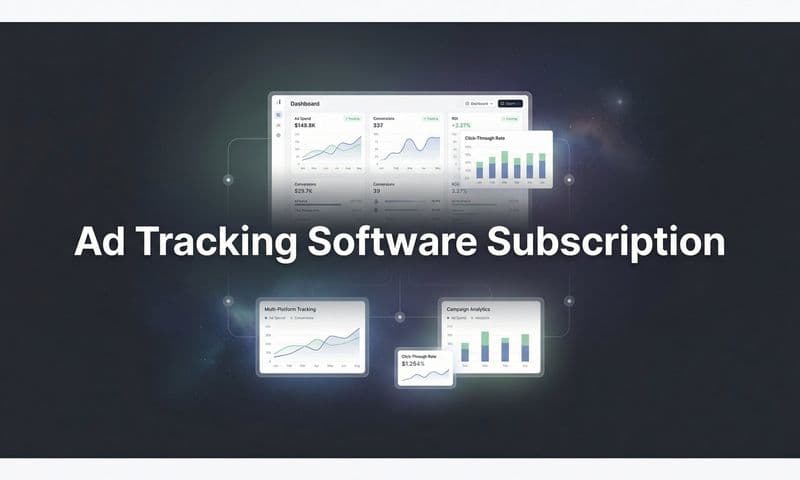
This guide walks you through a complete LinkedIn ads attribution tracking setup. You will cover UTM parameters and pixel installation, server-side conversion tracking, multi-touch attribution modeling, and CRM revenue connection. By the end, you will have a reliable system that shows exactly which LinkedIn campaigns, audiences, and creatives are driving qualified leads and real revenue for your business, not just clicks and form fills.
Each step builds on the last, so work through them in order. Let's get into it.
Step 1: Set Up UTM Parameters for Every LinkedIn Campaign
UTM parameters are the foundation of LinkedIn attribution tracking. Without them, your analytics platform has no way to identify which campaigns, ad sets, or creatives are driving traffic and conversions. UTMs are the thread that connects a LinkedIn click to a lead record, a pipeline opportunity, and ultimately closed revenue.
There are five UTM parameters to understand. Each captures a different dimension of your campaign data:
utm_source: Identifies the traffic source. For LinkedIn, always use linkedin.
utm_medium: Identifies the marketing channel type. Use paid-social to distinguish LinkedIn ads from organic LinkedIn traffic.
utm_campaign: Identifies the specific campaign. Use a consistent naming convention that reflects your campaign structure, such as the campaign objective or target audience segment.
utm_content: Identifies the specific ad or creative. This is where you differentiate between ad variations within the same campaign.
utm_term: Typically used for keyword tracking in search campaigns. For LinkedIn, you can use it to capture audience segment names or targeting criteria if relevant.
A recommended LinkedIn UTM structure looks like this: utm_source=linkedin&utm_medium=paid-social&utm_campaign=q3-enterprise-demo&utm_content=cto-carousel-v1. The key is consistency. Every campaign, ad set, and ad should follow the same naming pattern so your analytics data stays clean and comparable.
Here's where LinkedIn makes this easier at scale. LinkedIn's dynamic URL parameters let you auto-populate values using macros. For example, {campaignId} automatically inserts the LinkedIn campaign ID, and {adId} inserts the specific ad ID. Using these macros reduces manual errors and ensures every ad is tagged correctly, even as you scale to dozens of campaigns.
A practical example of a dynamic UTM string: utm_source=linkedin&utm_medium=paid-social&utm_campaign={campaignId}&utm_content={adId}. You can later map campaign IDs back to campaign names in your attribution platform.
The most common mistake at this stage is inconsistent naming. If one campaign uses utm_source=LinkedIn and another uses utm_source=linkedin, your analytics platform treats them as two separate sources. That fragments your data and makes cross-campaign comparison unreliable. Understanding what UTM tracking is and how it helps your marketing can prevent these costly mistakes from the start.
Success indicator: Every LinkedIn ad URL populates campaign source and medium data in your analytics tool upon click. Check this by clicking a test ad link and confirming the UTM values appear in your analytics platform's traffic source report.
Step 2: Install and Verify the LinkedIn Insight Tag
The LinkedIn Insight Tag is a JavaScript pixel that tracks page visits, conversion events, and audience behavior across your website. It is the foundation of LinkedIn's native tracking and is required for retargeting, conversion reporting, and audience building inside Campaign Manager.
To install it, log into LinkedIn Campaign Manager and navigate to Account Assets, then select Insight Tag. LinkedIn will provide a JavaScript snippet that you copy and place on your website.
You have two main installation methods:
Direct page implementation: Paste the Insight Tag snippet into the <head> section of every page on your website. Most website builders and CMS platforms have a global header section where you can add this once and have it fire across all pages.
Google Tag Manager setup: If your team uses GTM, create a new Custom HTML tag, paste the Insight Tag code, and set the trigger to fire on all pages. This approach gives you more control and makes future updates easier without touching your site's code directly.
Once installed, verify the tag is working correctly using the LinkedIn Insight Tag Helper Chrome extension. Install the extension, navigate to your website, and the helper will confirm whether the tag is firing and show you the account ID it is associated with. This is the fastest way to catch installation errors before they cost you days of missing data.
You can also verify tag status directly in Campaign Manager. Navigate back to Account Assets and Insight Tag. The status should update to Active within 24 hours of installation once LinkedIn detects traffic from your domain.
One important limitation to understand at this stage: browser-based pixel tracking is becoming less reliable. Ad blockers, browser privacy restrictions, and the continued reduction of third-party cookie support all reduce the percentage of conversions that the Insight Tag can capture. For B2B audiences who are often more technically sophisticated and more likely to use ad blockers, this signal loss can be significant.
This is why server-side tracking, covered in Step 4, is an essential complement to the Insight Tag rather than an optional add-on. Reviewing LinkedIn Ads analytics best practices can help you understand the full scope of what native tracking can and cannot capture.
Success indicator: The Insight Tag status shows as Active in LinkedIn Campaign Manager within 24 hours of installation.
Step 3: Configure LinkedIn Conversion Events
With the Insight Tag live, the next step is defining what counts as a conversion. LinkedIn's native conversion tracking lets you tell the platform which actions on your website represent meaningful business outcomes, so it can optimize ad delivery toward users who are most likely to take those actions.
To create conversion events, go to Account Assets in Campaign Manager and select Conversions. Click Create a Conversion and walk through the setup.
For B2B SaaS companies, the most relevant conversion types to configure include:
Demo requests: The most direct signal of purchase intent. Tag the thank-you page or confirmation event that fires after a demo form is submitted.
Free trial signups: If your product has a self-serve trial, this is a high-value conversion event that indicates strong product interest.
Lead form completions: Includes both LinkedIn's native LinkedIn Lead Gen Forms and external forms on your website such as contact or content download forms.
For a plain-English breakdown, read our explainer on what is cost per lead form completion.
Key page visits: Pricing page views or specific product page visits can serve as micro-conversion signals, particularly useful for remarketing audiences.
When configuring each conversion, you will set an attribution window. LinkedIn offers several options: 1-day, 7-day, and 30-day click-through windows, as well as view-through windows. The default is 30-day click and 7-day view.
Here's the problem with the default settings for most B2B SaaS companies. A 30-day click window means LinkedIn claims credit for any conversion that happens within 30 days of a user clicking an ad, even if the user had dozens of other touchpoints in between. A 7-day view-through window means LinkedIn also claims credit for conversions from users who merely saw an ad without clicking. This combination routinely overcounts LinkedIn's contribution.
Align your attribution windows with your actual sales cycle. If your average time from first touch to conversion is 14 days, a 7-day click window may be more appropriate. If your sales cycle runs 60 to 90 days, the window settings matter less for lead-level conversions but become critical when you are measuring pipeline and revenue.
It is also worth noting that LinkedIn's native conversion tracking is a starting point, not a complete attribution picture. It tells you how many conversions LinkedIn claims credit for, but it does not show you where LinkedIn fits in the broader multi-channel journey. That requires the attribution setup covered in Step 5.
Success indicator: Conversion events appear in Campaign Manager reports within 48 to 72 hours of setup, and conversion counts align reasonably with what you are seeing in your analytics platform.
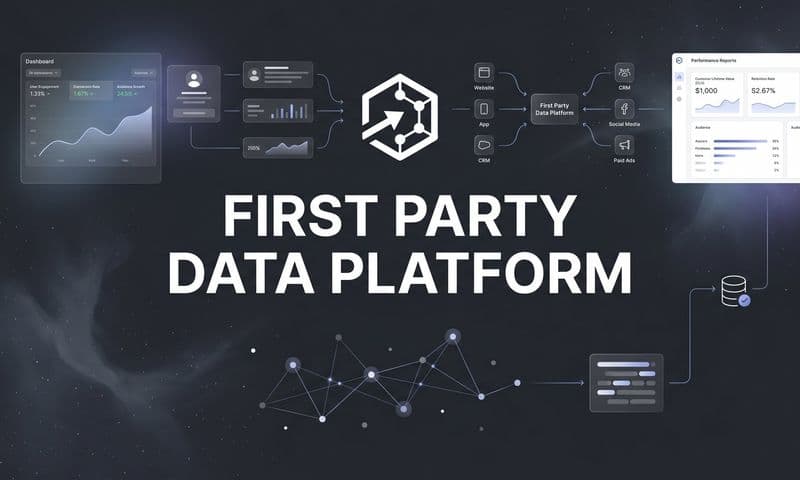
Step 4: Implement Server-Side Tracking for First-Party Data Accuracy
Browser-based pixel tracking alone is no longer sufficient for accurate B2B attribution. Ad blockers are widely used by the technical and professional audiences that B2B SaaS companies target on LinkedIn. Browser privacy restrictions have tightened significantly, and third-party cookie support continues to erode. The result is that a meaningful portion of conversions simply never get recorded by the Insight Tag.
Server-side tracking solves this by sending conversion events directly from your server to LinkedIn's Conversions API, bypassing the browser entirely. Because the event originates from your server rather than the user's browser, ad blockers and privacy settings cannot intercept it. Understanding why server-side tracking is more accurate helps clarify why this step is non-negotiable for B2B teams.
To set up the LinkedIn Conversions API, navigate to Account Assets in Campaign Manager and select Conversions API. LinkedIn will walk you through generating an access token and connecting your event source. You will then map your conversion events to the corresponding LinkedIn conversion actions you created in Step 3.
When sending events via the Conversions API, you can include first-party data signals to improve match rates. For B2B audiences, the most valuable signals to pass include:
Hashed email addresses: The primary matching identifier LinkedIn uses to connect events to user profiles.
First name, last name, and company name: Professional identifiers that improve match accuracy for B2B audiences.
Job title and LinkedIn profile URL: Additional signals that LinkedIn can use to match events to its member database.
B2B audiences tend to produce stronger Conversions API match rates than consumer audiences because LinkedIn members' professional information is more consistent and up to date. Passing enriched first-party data significantly improves the quality of your attribution signal.
One critical technical requirement: event deduplication. Because you are now sending events via both the Insight Tag (browser) and the Conversions API (server), LinkedIn will receive two signals for the same conversion. To prevent double-counting, assign a unique event ID to each conversion and pass the same event ID in both the pixel event and the server-side event. LinkedIn uses this ID to deduplicate and count the conversion only once.
Managing the Conversions API directly requires engineering resources and ongoing maintenance. Platforms like Cometly handle server-side event sending automatically, enriching conversion events with CRM data before syncing them back to LinkedIn. This removes the technical overhead and ensures your LinkedIn attribution data stays accurate without requiring constant manual intervention.
Success indicator: Server-side events appear in the LinkedIn Conversions API dashboard with a match rate above 40 percent. Higher match rates indicate that LinkedIn is successfully connecting your conversion events to member profiles.
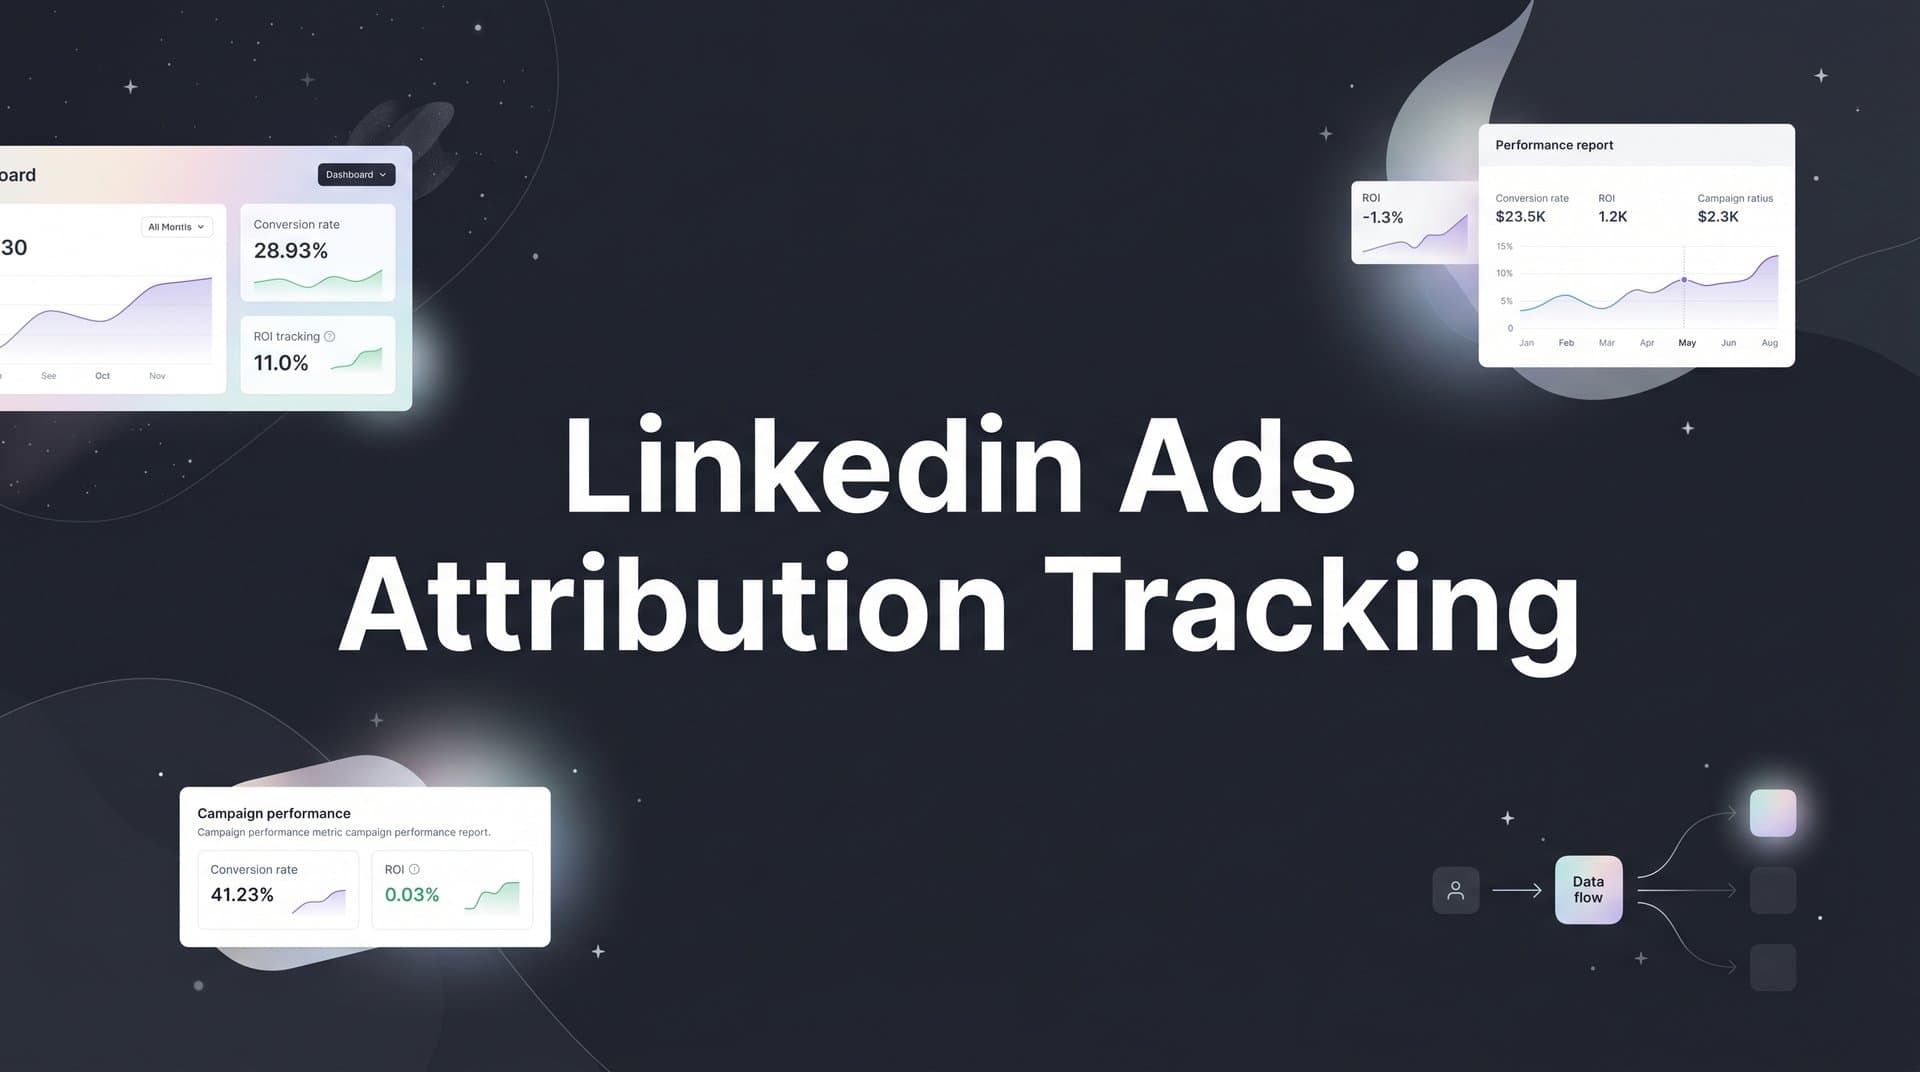
Step 5: Connect LinkedIn Data to a Multi-Touch Attribution Model
LinkedIn's native attribution is last-touch by default. That means LinkedIn only gets credit when it is the final touchpoint before a conversion. In long B2B buying cycles where LinkedIn often drives the first meaningful interaction with a brand, this model consistently undervalues the channel's actual contribution.
Think about a typical B2B SaaS buyer journey. A decision-maker sees a LinkedIn Sponsored Content ad, clicks through, reads a blog post, and leaves. Two weeks later, they search Google for your product name, click a branded search ad, and request a demo. In a last-touch model, Google Search gets all the credit. LinkedIn gets none, even though it initiated the entire journey.
Multi-touch attribution distributes credit across all touchpoints in the buyer journey, giving LinkedIn appropriate recognition for the role it actually played. The three most commonly used models are:
Linear attribution: Distributes credit equally across all touchpoints. Simple to understand and avoids over-crediting any single channel.
Time decay attribution: Gives more credit to touchpoints closer to the conversion. Useful for shorter sales cycles where recent interactions matter more.
Data-driven attribution: Uses machine learning to assign credit based on which touchpoints statistically correlate with conversions. Requires sufficient conversion volume to produce reliable results.
To implement multi-touch attribution for LinkedIn, you need a centralized attribution tracking setup that aggregates data from LinkedIn Campaign Manager, your CRM, and other ad channels using the UTM data you configured in Step 1. This is where your UTM consistency from Step 1 pays off. Clean, consistent UTM data makes it possible to stitch together the full customer journey across channels.
Cometly aggregates LinkedIn touchpoints alongside Google Ads, Meta, and other channels to build a unified customer journey view. You can see exactly where LinkedIn appears in the path to conversion, whether that is as the first touch, a mid-funnel nurture point, or a final consideration driver before a demo request.
Critically, this setup lets you map LinkedIn interactions to CRM pipeline stages: MQL, SQL, opportunity created, and closed-won revenue. Instead of reporting LinkedIn performance in terms of lead volume, you can report it in terms of pipeline influence and revenue contribution. That is the metric that matters for B2B SaaS growth teams making budget decisions.
The choice of attribution model should reflect your actual sales motion. If your team's goal is to drive top-of-funnel awareness, a linear or first-touch model may better represent LinkedIn's value. If your focus is on closing deals, time decay or data-driven models may be more appropriate.
For a deeper exploration of attribution model options and how to choose the right one for your business, explore Cometly's resources on marketing attribution models.
Success indicator: LinkedIn campaigns appear with attributed pipeline value and revenue in your attribution dashboard, not just lead counts.
Step 6: Integrate LinkedIn Attribution with Your CRM and Revenue Data
Lead counts are a vanity metric for B2B SaaS teams. What actually matters is which LinkedIn campaigns drove qualified opportunities and closed revenue. To answer that question, you need to connect your LinkedIn attribution data to your CRM and revenue systems.
The connection works like this: when a lead submits a demo request or trial signup, your attribution platform captures the UTM parameters from their LinkedIn click and stores them alongside the lead record. As that lead progresses through your CRM pipeline from MQL to SQL to opportunity to closed-won, the original LinkedIn campaign data travels with it.
To set this up, connect your CRM (HubSpot, Salesforce, or similar) to your attribution platform. The integration should pass deal stage updates and revenue data back to your attribution system so you can see which LinkedIn campaigns influenced deals at every stage of the funnel.
Key steps in the CRM integration process include:
Map UTM fields in your CRM: Ensure your CRM captures and stores UTM parameters at lead creation. Many CRMs do not do this by default. You may need to add hidden form fields or use a JavaScript snippet to pass UTM values into lead records automatically.
Connect pipeline stages to attribution: Configure your attribution platform to pull deal stage data from your CRM so you can segment LinkedIn attribution by funnel stage, not just by conversion event.
Sync revenue data: For B2B SaaS companies using subscription billing, connecting your payment processor to your attribution platform closes the loop completely. Cometly's Stripe revenue integration is a practical example of this: it connects subscription revenue data directly to the ad campaigns that influenced each customer, eliminating manual reporting and giving you a real-time view of LinkedIn ROAS.
With this setup in place, you can calculate true LinkedIn ROAS using the formula: total attributed revenue divided by LinkedIn ad spend. But more importantly, you can calculate cost per opportunity and cost per closed deal by campaign, audience, and creative. These metrics tell you far more about LinkedIn's efficiency than cost per lead ever could. Platforms built for customer attribution tracking make this level of revenue visibility achievable without custom engineering work.
For example, a campaign targeting VP-level buyers might generate fewer leads than a campaign targeting managers, but if the VP campaign produces twice as many closed deals at a higher contract value, the VP campaign is clearly the better investment. You can only see that with CRM and revenue data connected to your attribution system.
Success indicator: Your attribution dashboard shows LinkedIn campaign-level data including cost per opportunity, cost per closed deal, and attributed revenue alongside ad spend.
Step 7: Analyze Performance and Optimize LinkedIn Campaigns with Attribution Data
You now have a complete LinkedIn attribution tracking stack. The final step is putting that data to work. Attribution data is only valuable if it drives better decisions, so here is how to move from data collection to active optimization.
Start with the metrics that matter most for B2B SaaS LinkedIn campaigns:
Cost per opportunity by campaign: Which campaigns are generating qualified pipeline, not just leads? This is your primary efficiency metric.
Cost per closed deal by audience segment: Which LinkedIn targeting segments (job titles, company sizes, industries) produce buyers, not just prospects?
Pipeline attribution by campaign and creative: Which ad formats and messages are influencing deals across the funnel, including deals where LinkedIn was not the final touch?
Revenue attribution by ad creative: Which specific ads are connected to the highest contract values? This tells you which messaging resonates with your highest-value buyers.
Use audience-level attribution data to make targeting decisions. A common finding for B2B SaaS teams is that the audience segments generating the most leads are not the same as the segments generating the most revenue. Director-level targets might produce high lead volume, but C-suite or VP-level targets might produce smaller lead volumes with significantly higher deal values. Attribution data makes this visible and actionable. Exploring SaaS LinkedIn Ads strategies can surface additional targeting approaches worth testing once your attribution data is flowing.
At the creative level, look beyond click-through rates. An ad with a lower CTR might be driving more downstream pipeline than a high-CTR ad that attracts the wrong audience. Revenue-level attribution data lets you optimize for what actually matters: qualified pipeline and closed revenue.
Cometly's AI recommendations surface high-performing campaigns and flag underperforming spend automatically. Instead of manually reviewing every campaign, you get clear signals about where to increase budget and where to pull back, based on pipeline and revenue data rather than surface-level engagement metrics.
There is one more optimization lever that many teams overlook: feeding enriched conversion data back to LinkedIn's Campaign Manager. When LinkedIn's algorithm receives high-quality conversion signals, including downstream CRM events like opportunity created and closed-won, it can optimize ad delivery toward users who are more likely to become actual customers rather than just leads. Server-side events sent through the Conversions API, enriched with CRM data, give LinkedIn's algorithm the signal quality it needs to improve targeting over time.
Success indicator: Budget reallocation decisions are driven by pipeline and revenue data. You are shifting spend toward campaigns and audiences with the lowest cost per closed deal, not the lowest cost per lead.
Putting It All Together
A complete LinkedIn ads attribution tracking setup is not a single tool or a one-time configuration. It is a stack of connected layers, each one building on the last to give you an accurate, complete picture of LinkedIn's contribution to your revenue.
Here is a quick-reference checklist to confirm your setup is complete:
UTM parameters: Applied consistently to all LinkedIn ads using a standardized naming convention, with dynamic macros enabled for scale.
LinkedIn Insight Tag: Verified as Active in Campaign Manager using the Insight Tag Helper extension.
Conversion events: Configured in Campaign Manager with attribution windows aligned to your actual sales cycle, covering key B2B conversion actions.
Server-side tracking: LinkedIn Conversions API live with event deduplication enabled and first-party data signals passing to improve match rates.
Multi-touch attribution: LinkedIn campaign data connected to a centralized attribution platform with a model that reflects your sales motion.
CRM and revenue integration: Deal stage and revenue data flowing back to your attribution platform so you can report on cost per opportunity, cost per closed deal, and attributed revenue.
Ongoing optimization: Campaign performance reviewed using pipeline and revenue metrics, with enriched conversion data feeding back to LinkedIn's algorithm.
Each of these layers addresses a real gap in LinkedIn's native reporting. Together, they give you the data confidence to make budget decisions based on what is actually driving revenue, not what LinkedIn's last-touch dashboard says.
Cometly brings all of these layers together in a single platform built specifically for B2B SaaS teams. From server-side event tracking and multi-touch attribution to CRM integration and AI-driven optimization recommendations, Cometly gives you a single source of truth for your LinkedIn and cross-channel marketing performance.
Ready to see exactly which LinkedIn campaigns are driving your pipeline and revenue? Get your free demo today and start capturing every touchpoint across the full buyer journey.