
You've just launched a campaign with a healthy budget, optimized targeting, and compelling creative. Days later, you check your dashboard and see... nothing. Zero conversions tracked. Or worse—conversions are trickling in at numbers that don't match your actual sales data.
When tracking pixels don't fire correctly, you're flying blind. Ad platforms can't optimize toward conversions they can't see. Your attribution reports become fiction. Budget flows to campaigns that might not even be working, while genuinely profitable channels go unnoticed and underfunded.
The stakes are real. Without accurate pixel data, Meta's algorithm can't learn which audiences convert. Google Ads can't bid effectively. TikTok can't scale your winners. You're essentially asking these platforms to optimize with one hand tied behind their back.
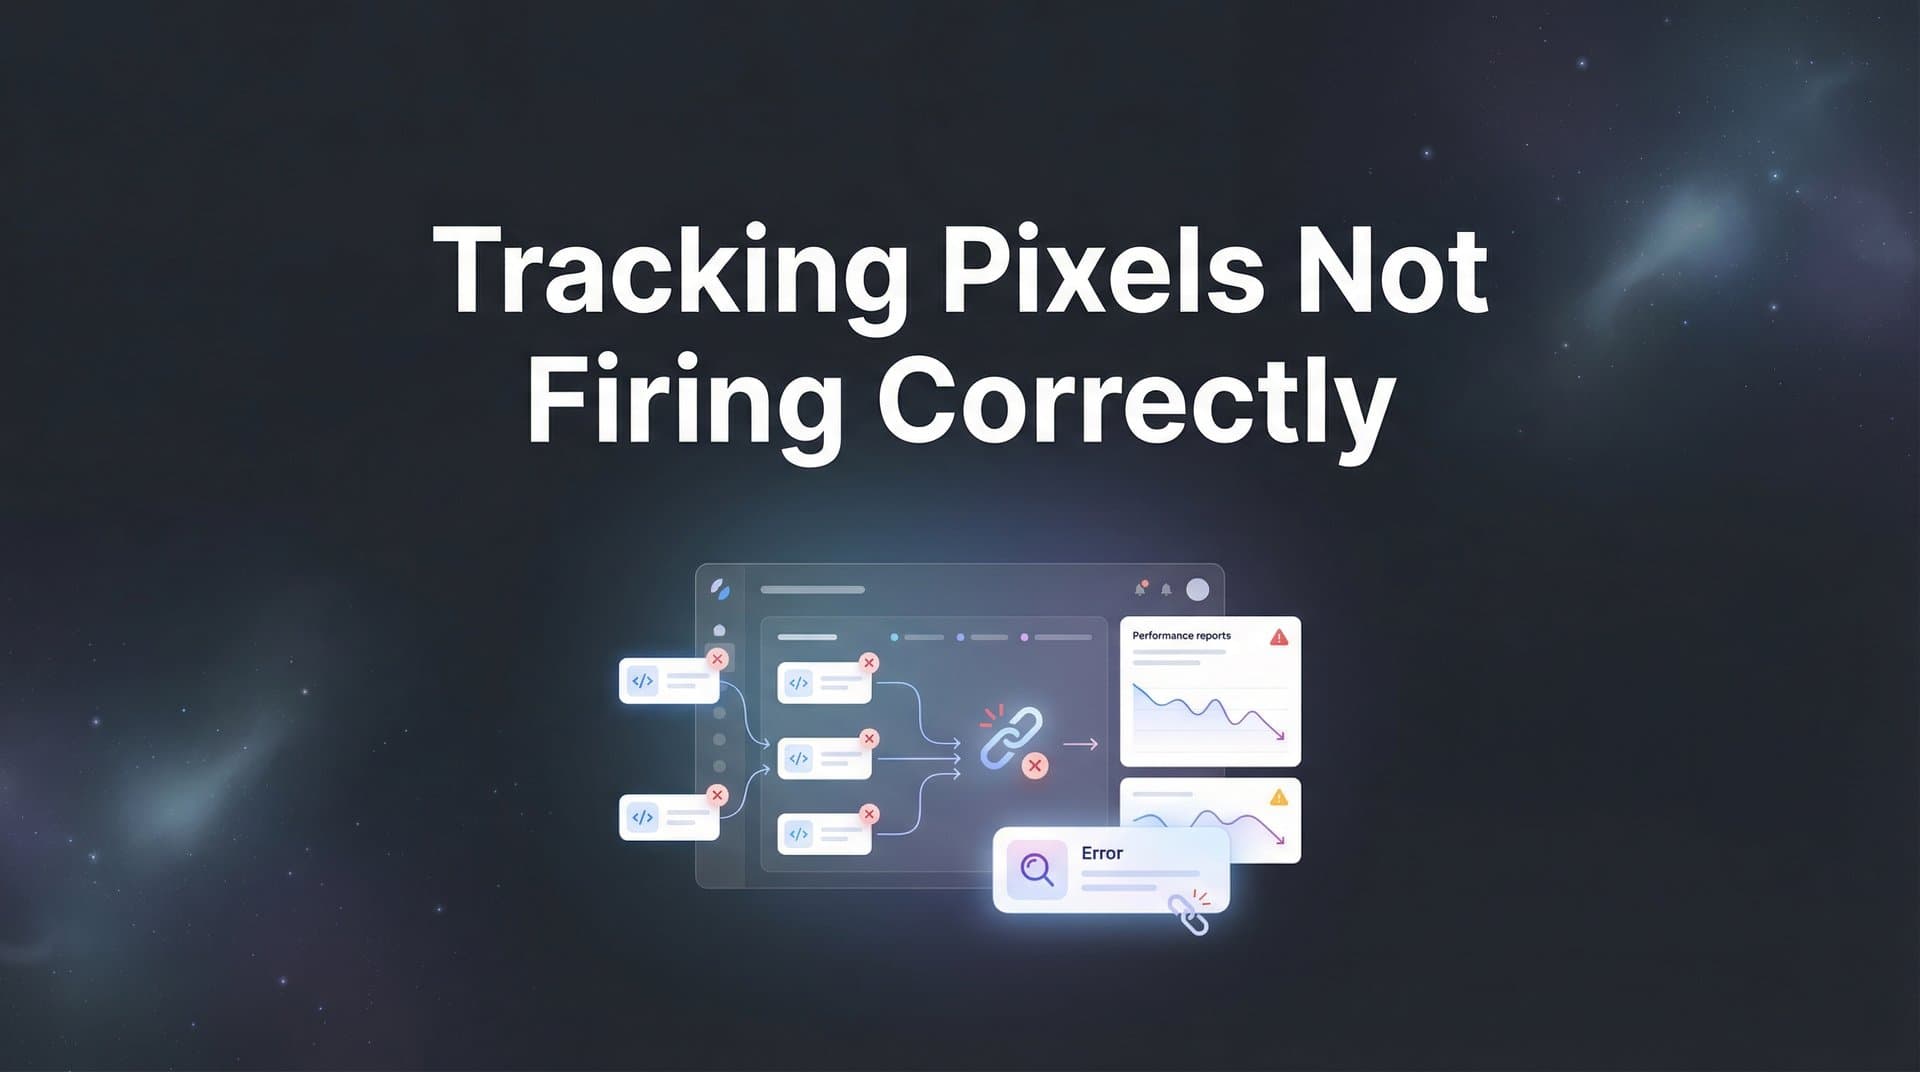
But here's the good news: most pixel firing issues follow predictable patterns. Browser developer tools, platform debugging extensions, and systematic testing can reveal exactly where things break down. This guide walks you through a seven-step troubleshooting framework that addresses the most common culprits—from installation errors to JavaScript conflicts to the growing challenge of ad blockers and privacy tools.
By the end, you'll have a reliable process for diagnosing and fixing tracking issues across Meta, Google, TikTok, and other platforms. You'll also understand why server-side tracking has become essential for marketers who need consistent, accurate conversion data regardless of browser settings or user privacy tools.
Let's get your tracking back on track.
Step 1: Verify the Pixel Is Actually Installed on Your Pages
Before diving into complex debugging, confirm the fundamentals. Is your pixel code actually present on the pages where it needs to fire? This sounds obvious, but installation oversights are surprisingly common—especially on sites with multiple developers or frequent template changes.
Start by opening the page where your pixel should be installed. Right-click anywhere on the page and select "View Page Source" (or press Ctrl+U on Windows, Cmd+Option+U on Mac). This displays the raw HTML code that browsers receive.
Now search for your pixel ID. For Meta pixels, press Ctrl+F (Cmd+F on Mac) and search for "fbq" or your specific pixel ID number. For Google tags, search for "gtag" or your measurement ID (starts with G- or AW-). For TikTok, look for "ttq" and your pixel ID.
The pixel base code should appear in the head section of your HTML, typically between the opening and closing head tags. This ensures it loads before the page content renders. If you can't find your pixel ID anywhere in the source code, the pixel simply isn't installed on that page. Understanding what a tracking pixel is and how it works can help you identify what to look for in your code.
Check multiple pages across your site—homepage, product pages, cart, checkout, and thank-you page. Pixels often get missed during site updates or when new page templates are created. Each conversion-critical page needs the base pixel code.
Watch for duplicate installations: If your pixel ID appears multiple times on the same page, you've got duplicates. This happens when developers add pixels manually while a tag manager also fires them, or when different team members each "fix" the installation. Duplicate pixels can inflate event counts and confuse attribution.
Verify proper code structure: Pixel code is JavaScript, which means syntax matters. Missing closing script tags, misplaced quotation marks, or incomplete code snippets will prevent execution. The code should be complete and properly formatted—compare it against the official pixel code from your ad platform's setup instructions.
Success indicator: Your pixel ID appears exactly once in the page source of every intended page, with complete, properly formatted code in the head section. If this checks out, move to the next step. If not, reinstall the pixel correctly before proceeding with further troubleshooting.
Step 2: Use Platform Debugging Tools to Test Pixel Fires
Finding pixel code in your source confirms installation, but it doesn't prove the pixel actually fires when users take actions. Platform-specific debugging tools let you see pixel activity in real time as you navigate your site and trigger events.
For Meta pixels, install the Meta Pixel Helper Chrome extension. It's free, official, and essential for anyone running Facebook or Instagram ads. Once installed, the extension icon appears in your browser toolbar. Navigate to any page with your Meta pixel, and click the icon to see pixel activity. For a deeper dive into Meta's tracking system, explore our guide on Facebook tracking pixels.
A green checkmark means the pixel fired successfully. The extension shows which events triggered—PageView, ViewContent, AddToCart, Purchase, or custom events. Click each event to see the parameters passed with it, like content IDs, values, and currency.
Yellow warnings indicate issues that won't necessarily break tracking but should be addressed—things like duplicate events or missing recommended parameters. Red errors mean the pixel failed to fire properly, often due to code errors or misconfiguration.
For Google tags, use the Tag Assistant extension (the newer version) or Tag Assistant Companion. These tools work similarly to Meta Pixel Helper but for Google Ads conversion tracking, Google Analytics 4, and other Google tags. Install the extension, enable it, and refresh your page to see which tags fire. You can learn more about event tracking in Google Analytics to understand what events should be firing.
Tag Assistant color-codes its feedback: green means tags are working, blue provides informational messages, yellow flags warnings, and red indicates errors. Click any tag to see detailed information about what data it's sending.
Test specific conversion events: Don't just check if the base pixel loads. Navigate through actual user journeys. Add products to cart. Submit lead forms. Complete a test purchase. Watch the debugging tool as you perform each action—the corresponding event should fire immediately.
For purchase events, verify that the transaction value and currency appear correctly. For add-to-cart events, check that product IDs match your catalog. For lead events, confirm that form field data passes through as expected.
Test across different scenarios: Try both desktop and mobile. Test different product types if you're in e-commerce. Submit forms with various field combinations. The goal is to confirm consistent pixel firing across all the ways real users might interact with your site.
Document what you find: If certain events fire while others don't, that narrows down the problem. If events fire on some pages but not others, you've identified where to focus. If events fire but with incorrect parameters, you know the installation works but the data layer needs attention.
Success indicator: Debugging tools show green checkmarks for all expected events, with correct parameters populated for each. Events fire consistently across different pages and user actions. If you're seeing errors or missing events, the next steps will help you identify why.
Step 3: Check for JavaScript Errors Blocking Execution
Pixels are JavaScript code. When other JavaScript errors exist on your page, they can prevent your pixel code from executing—even if the pixel is correctly installed. One broken script can break everything that comes after it.
Open your browser's developer console to see what's happening under the hood. Press F12 on Windows or Cmd+Option+I on Mac, then click the "Console" tab. Refresh the page and watch for error messages as it loads.
Errors appear in red text, usually with a file name and line number indicating where the problem occurred. Common issues include syntax errors (typos in code), undefined variables (code referencing things that don't exist), and failed resource loads (scripts that couldn't download).
Not every error breaks pixel tracking. Some errors relate to unrelated scripts or third-party tools that don't affect your pixels. The key question: do errors appear before your pixel code executes? Scripts generally run in the order they appear in your HTML, so errors earlier in the page can prevent later scripts from running.
Look for pixel-specific errors: Search the console output for references to your pixel. For Meta, look for "fbq" in error messages. For Google, search for "gtag" or "dataLayer". If you see errors mentioning these, your pixel code itself has problems.
Common pixel-related errors include calling pixel functions before the base code loads, passing incorrect parameter formats (like text where numbers are expected), or referencing data layer variables that don't exist.
Test script loading order: If your pixel code appears in the page source but the console shows it's undefined when other scripts try to use it, there's a loading sequence problem. Your pixel base code needs to load before any code that triggers events.
This often happens when event tracking code is hard-coded into button onclick handlers or form submission scripts, but those elements load before the pixel base code initializes. The solution is either moving the pixel base code higher in your HTML or ensuring event tracking waits for pixel initialization.
Isolate problematic scripts: If you suspect another script is interfering with your pixel, try temporarily disabling other JavaScript on the page. Most tag managers let you pause specific tags. If disabling another tag suddenly makes your pixel work, you've found a conflict that needs resolving.
Check for syntax errors in custom code: If you've added custom event tracking code or modified pixel snippets, review that code carefully. A single missing bracket, misplaced comma, or incorrect quotation mark can break JavaScript execution. Compare your code against official examples from the ad platform's documentation.
Success indicator: The console shows no errors when your page loads and when conversion events should fire. Your pixel functions (fbq, gtag, etc.) are defined and accessible. If you call them manually in the console (like typing "fbq('track', 'PageView')" and pressing Enter), they execute without errors.
Step 4: Diagnose Ad Blocker and Privacy Tool Interference
You've verified installation, tested with debugging tools, and confirmed no JavaScript errors. But events still aren't reaching your ad platform consistently. The likely culprit? Client-side blocking by ad blockers, privacy extensions, or browser privacy features.
This is one of the most frustrating tracking challenges marketers face today. Users increasingly employ tools specifically designed to prevent tracking pixels from firing. Popular ad blockers like uBlock Origin, Privacy Badger, and AdBlock Plus actively block requests to ad platform domains. Browser features like Safari's Intelligent Tracking Prevention and Firefox's Enhanced Tracking Protection do the same.
The result: your pixel code might be perfectly installed and error-free, but it simply can't send data because the browser or an extension blocks the network request.
Test in incognito mode with extensions disabled: Open a private/incognito browser window, which typically runs without extensions. Navigate through your site and test conversion events. If pixels fire correctly in incognito but not in your regular browser, extensions are the problem.
Now enable your regular extensions one by one in incognito mode (most browsers let you do this in extension settings). Test after enabling each one to identify which extension blocks your pixels. This helps you understand what your users might be experiencing.
Understand the scope of the problem: The challenge isn't just that some users block tracking—it's that those users are often your most valuable audience segments. Privacy-conscious users tend to be more educated, higher-income, and more skeptical of advertising. Losing tracking data on these users skews your attribution toward less valuable segments.
Testing on your own browser with ad blockers disabled doesn't reflect reality for a significant portion of your audience. Your pixel might fire perfectly for you while failing for many actual customers. This is a common reason why paid ad tracking stops working even when everything appears correctly configured.
Recognize the limitations of client-side tracking: Traditional tracking pixels are client-side solutions. They run in the user's browser, which means they're subject to whatever blocking mechanisms that browser employs. As privacy regulations tighten and browsers implement more aggressive tracking prevention, client-side pixels become increasingly unreliable.
You can't "fix" ad blockers in the traditional sense. Users have the right to block tracking, and trying to circumvent their choices raises ethical issues. The solution isn't to break through their defenses—it's to implement tracking methods that don't rely solely on client-side code.
Consider server-side tracking as the solution: When conversion events are captured and sent from your server rather than the user's browser, ad blockers can't interfere. The user's browser never makes requests to ad platform domains. Instead, your server communicates directly with ad platforms through their APIs. Learn more about why server-side tracking is more accurate than traditional pixel-based methods.
This is why platforms like Cometly have become essential for accurate attribution. By capturing conversion events server-side and syncing them to ad platforms, you get complete conversion data regardless of browser settings, ad blockers, or privacy tools.
Success indicator: You understand which portion of your audience uses blocking tools and how that affects your data. You've tested in various browser configurations and know where client-side tracking fails. You recognize that reliable conversion tracking requires server-side solutions, not just fixing client-side pixels.
Step 5: Validate Event Parameters and Data Layer Configuration
Your pixel fires, events appear in debugging tools, and the console shows no errors. But are you sending the right data with each event? Missing or incorrect parameters can make your conversion tracking technically functional but practically useless.
Ad platforms need specific information to optimize effectively. A purchase event without a value is just noise—the algorithm can't prioritize high-value conversions. An add-to-cart event without content IDs can't inform dynamic ad creative. Parameters transform generic events into actionable optimization signals.
Check required parameters for each event type: Purchase events need value and currency at minimum. E-commerce events typically require content IDs (product SKUs or identifiers) so platforms can understand what products drive conversions. Lead events should include lead quality indicators when possible.
Open your debugging tool and trigger a conversion event. Look at the parameters passed with it. For a purchase event, you should see something like: value: 49.99, currency: 'USD', content_ids: ['SKU123'], content_type: 'product'.
If you see "undefined" or empty strings where values should appear, your data layer isn't populating correctly. If you see static test values like "0" or "test" on your live site, someone forgot to replace placeholder code with dynamic variables.
Understand data layer configuration in tag managers: If you're using Google Tag Manager or similar tools, your pixel events likely pull data from a data layer—a JavaScript object that stores information about the page and user actions.
Common data layer issues include variables that aren't defined on certain pages, variables that fire before the data populates, or incorrect variable names that don't match what your tags expect. In GTM, check your Variables section to see what each variable returns. Use Preview mode to watch variables populate in real time.
Test dynamic value population: Don't just test once. Complete multiple test purchases with different product combinations and price points. The value parameter should change to match each transaction. Content IDs should reflect the actual products purchased. Following best practices for tracking conversions accurately ensures your data remains reliable.
Submit lead forms with different information. If you're passing form field data as parameters, verify that each field maps correctly. Email addresses should appear in email parameters, phone numbers in phone parameters, and so on.
Test across different page types and user journeys: Your homepage might have perfect data layer setup while product pages don't. Desktop might work while mobile fails. New user journeys might populate data differently than returning customer flows.
Navigate through various paths users might take. Start from different traffic sources. Use different devices. The goal is confirming that parameters populate correctly regardless of how users arrive or what actions they take.
Verify currency and value formats: Values should be numbers, not strings. Currency should be three-letter ISO codes like USD, EUR, or GBP. Content IDs should match the format your product catalog uses. Small format mismatches can prevent ad platforms from properly attributing conversions or matching them to catalog items.
Success indicator: Debugging tools show all required parameters for each event type, with correct, dynamic values that change based on actual user actions. No undefined variables, no placeholder text, no static test values. Parameters match the formats specified in ad platform documentation.
Step 6: Confirm Events Reach the Ad Platform
Your pixel fires, parameters look correct, and debugging tools show green checkmarks. But the final test is whether events actually reach your ad platform and appear in reporting. There can be a disconnect between client-side firing and server-side receipt.
For Meta pixels, navigate to Events Manager in your Facebook Business account. Find your pixel and click to view its event activity. You should see recent events listed with timestamps, event names, and parameter details. Our guide on Facebook attribution tracking covers how to interpret this data effectively.
Check the "Activity" section to see events received in the last 20 minutes. If you just completed a test purchase, that event should appear here within a few minutes. If it doesn't, something is preventing the event from reaching Meta's servers—even though it fired in your browser.
Review match quality metrics: In Meta Events Manager, look at the "Event Match Quality" score for your pixel. This indicates how well Meta can match your event data to Facebook user profiles. Higher match quality leads to better attribution and optimization.
Low match quality often means you're not passing enough customer information parameters—things like email, phone number, first name, last name, city, state, and zip code. These parameters help Meta connect conversions to specific users, which improves both attribution accuracy and ad targeting.
For Google Ads, check your conversion tracking status in the Tools menu under Conversions. Each conversion action should show a status indicator. "Recording conversions" means it's working. "No recent conversions" might indicate a problem, or might just mean you haven't had conversions recently.
Click into individual conversion actions to see recent conversion data. Google typically shows conversions within a few hours, though initial setup can take up to 24 hours to start reporting.
Understand reporting delays: Ad platforms don't report conversions instantly. Meta typically shows events in Events Manager within minutes but might take hours to attribute them to specific ads in campaign reporting. Google Ads can take several hours for conversions to appear in campaign data.
Don't panic if you completed a test conversion and don't see it in campaign reports immediately. Check the platform's event debugging tools first—Events Manager for Meta, conversion tracking status for Google. If events appear there, they'll eventually flow into campaign reporting.
Identify discrepancies between tools and platforms: Sometimes debugging tools show events firing perfectly, but those events never reach the ad platform. This usually indicates network-level blocking—corporate firewalls, VPNs, or DNS-level ad blocking that prevents requests from reaching ad platform servers.
If this is happening, you'll see successful pixel fires in browser tools but zero events in platform dashboards. This is another scenario where server-side tracking becomes essential—server requests typically aren't subject to the same network restrictions as client-side browser requests.
Compare expected volume to actual volume: If you're getting some conversions but fewer than expected, partial blocking might be occurring. Some users' events reach the platform while others don't. This creates attribution gaps that skew your optimization.
Look at your actual sales or leads from other sources (your CRM, payment processor, or database) and compare to what your ad platform reports. Significant discrepancies indicate that many conversions aren't being tracked, even if some are. Using marketing analytics software for revenue tracking can help you identify these gaps.
Success indicator: Events appear in your ad platform's event tracking tools (Events Manager, conversion tracking status) with volumes that match your actual business activity. Match quality metrics are strong. Events flow into campaign reporting within expected timeframes. The conversion counts in your ad platform align reasonably with your actual sales or lead data.
Step 7: Implement Server-Side Tracking for Reliable Data Collection
You've worked through six steps of troubleshooting, fixed what you can fix, and optimized your client-side pixel setup. But if you're still seeing data gaps, inconsistent tracking, or conversions that don't reach ad platforms, it's time to acknowledge a fundamental reality: client-side tracking alone is no longer sufficient for accurate attribution.
Server-side tracking represents a paradigm shift in how conversion data flows to ad platforms. Instead of relying on JavaScript code in users' browsers, server-side tracking captures conversion events on your server or in your CRM, then sends that data directly to ad platforms through their server-to-server APIs.
Why server-side tracking bypasses browser-level issues: When conversion data originates from your server, it never touches the user's browser. Ad blockers can't interfere because there's no client-side request to block. Browser privacy features don't apply because the data transmission happens entirely between servers.
This means you capture every conversion regardless of browser settings, ad blocker usage, or privacy extensions. The data you collect reflects reality, not just the subset of users who allow client-side tracking. Our server-side tracking implementation guide walks through the technical setup process.
How platforms like Cometly capture comprehensive conversion data: Modern attribution platforms implement server-side tracking by integrating directly with your website backend, e-commerce platform, or CRM. When a conversion occurs—a purchase, a lead submission, a signup—your system records it and sends the data to the attribution platform.
Cometly captures every touchpoint across the customer journey, from initial ad click through CRM events and final conversion. This creates a complete view of what's actually driving revenue, not just what client-side pixels managed to track.
Because the data comes from your server, it's inherently more accurate. You're recording actual business events (real purchases, actual leads) rather than relying on pixel fires that may or may not correspond to completed transactions.
The role of conversion sync in ad platform optimization: Capturing accurate conversion data is only half the equation. That data needs to flow back to your ad platforms so their algorithms can optimize effectively. This is where conversion sync becomes critical.
Conversion sync takes the enriched conversion data from your server-side tracking and feeds it back to Meta, Google, TikTok, and other ad platforms through their APIs. These platforms receive complete, accurate conversion information—including conversions that client-side pixels missed.
The result is better optimization. Meta's algorithm sees all conversions, not just the ones from users who allow tracking. Google Ads can bid more effectively because it has complete data. Your ROAS calculations reflect reality rather than partial data.
Additional benefits of server-side tracking: Beyond solving pixel firing issues, server-side tracking improves match rates—the percentage of conversions that ad platforms can attribute to specific users. When you send customer information directly from your server, you can include more accurate email addresses, phone numbers, and other identifiers.
Client-side pixels often capture incomplete or inaccurate customer information because they rely on form field data or cookie information. Server-side tracking uses the actual customer data stored in your system, which is typically more complete and accurate. This approach also supports first-party data tracking strategies that remain effective as third-party cookies disappear.
You also gain flexibility in what data you send. Want to send customer lifetime value with each conversion? Easy with server-side tracking. Want to include custom parameters that matter to your business? You control the data structure. Client-side pixels limit you to predefined event types and parameters.
Implementation considerations: Server-side tracking requires technical integration between your systems and your attribution platform. For e-commerce, this typically means installing a plugin or connecting your platform's API. For lead generation, it might involve webhook integrations or CRM connections.
The technical lift is real but manageable, especially with platforms designed for this purpose. Cometly, for example, offers integrations with major e-commerce platforms, CRMs, and marketing tools, simplifying the implementation process.
Success indicator: You're capturing every conversion regardless of browser settings or ad blockers. Your ad platforms receive complete, accurate conversion data through server-to-server connections. Match quality metrics improve because you're sending richer customer information. Your attribution reports finally reflect the full picture of what's driving revenue, giving you confidence in your optimization decisions.
Your Complete Troubleshooting Checklist
Tracking pixel issues will continue to emerge as browsers evolve, privacy regulations expand, and ad platforms update their systems. Having a systematic troubleshooting process helps you diagnose and resolve issues quickly rather than guessing at solutions.
Here's your quick-reference checklist for when tracking problems arise:
Installation verification: Check page source for pixel code presence on all conversion-critical pages. Confirm no duplicates exist. Verify proper code structure and placement in the head section.
Debugging tool testing: Install platform-specific debugging extensions. Test all conversion events by actually performing the actions. Verify events fire with correct parameters across different pages and scenarios.
JavaScript error checking: Open browser console and look for errors. Identify whether errors occur before pixel execution. Check for pixel-specific errors mentioning fbq, gtag, or other pixel functions. Verify script loading order.
Ad blocker diagnosis: Test in incognito mode with extensions disabled. Identify which extensions block tracking. Understand the scope of client-side blocking in your audience. Consider server-side alternatives.
Parameter validation: Confirm all required parameters pass with each event. Check data layer configuration in tag managers. Test dynamic value population across different scenarios. Verify correct formats for currency, value, and content IDs.
Platform receipt confirmation: Check Events Manager or conversion tracking status in ad platforms. Review match quality metrics. Compare platform-reported conversions to actual business data. Understand and account for reporting delays.
Server-side implementation: Evaluate whether client-side tracking meets your accuracy needs. Implement server-side tracking for comprehensive conversion capture. Set up conversion sync to feed enriched data back to ad platforms.
The reality is that pixel troubleshooting has become more complex as privacy protections increase and tracking prevention becomes more sophisticated. What worked reliably two years ago may not work today. What works today may not work next year.
This is why forward-thinking marketers are moving toward server-side tracking solutions. Rather than constantly fighting browser restrictions and ad blocker updates, server-side tracking provides a stable foundation for accurate attribution regardless of client-side changes. Explore how ad tracking tools can help you scale ads using this more reliable data.
Cometly's approach addresses this challenge head-on. By capturing every touchpoint from ad clicks through CRM events, you get a complete view of the customer journey. The platform's AI analyzes this comprehensive data to identify which campaigns actually drive revenue, not just which ones managed to fire a pixel successfully.
The conversion sync feature then feeds this enriched, accurate data back to Meta, Google, and other platforms. Your ad algorithms optimize based on reality rather than partial information. You make budget decisions with confidence because your attribution reflects actual business outcomes.
Tracking pixel issues are frustrating, but they're also a signal that it's time to evolve beyond client-side tracking. The marketers who adapt to server-side solutions now will have a significant competitive advantage as browser restrictions continue tightening and privacy regulations expand.
Ready to eliminate tracking pixel headaches while improving ad platform optimization? Discover how Cometly's server-side tracking and AI-driven recommendations can give you complete, accurate attribution data that drives better marketing decisions. Get your free demo and start capturing every touchpoint to maximize your conversions.


