
Every click on your Facebook ads tells a story—but without proper tracking, you're reading with the lights off. Facebook tracking pixels are the foundation of effective paid advertising, connecting what happens on your ads to what happens on your website. When set up correctly, they enable you to track conversions, build powerful retargeting audiences, and optimize your campaigns based on real customer actions.
Yet many marketers either skip this crucial step or implement it incorrectly, leaving significant performance gains on the table.
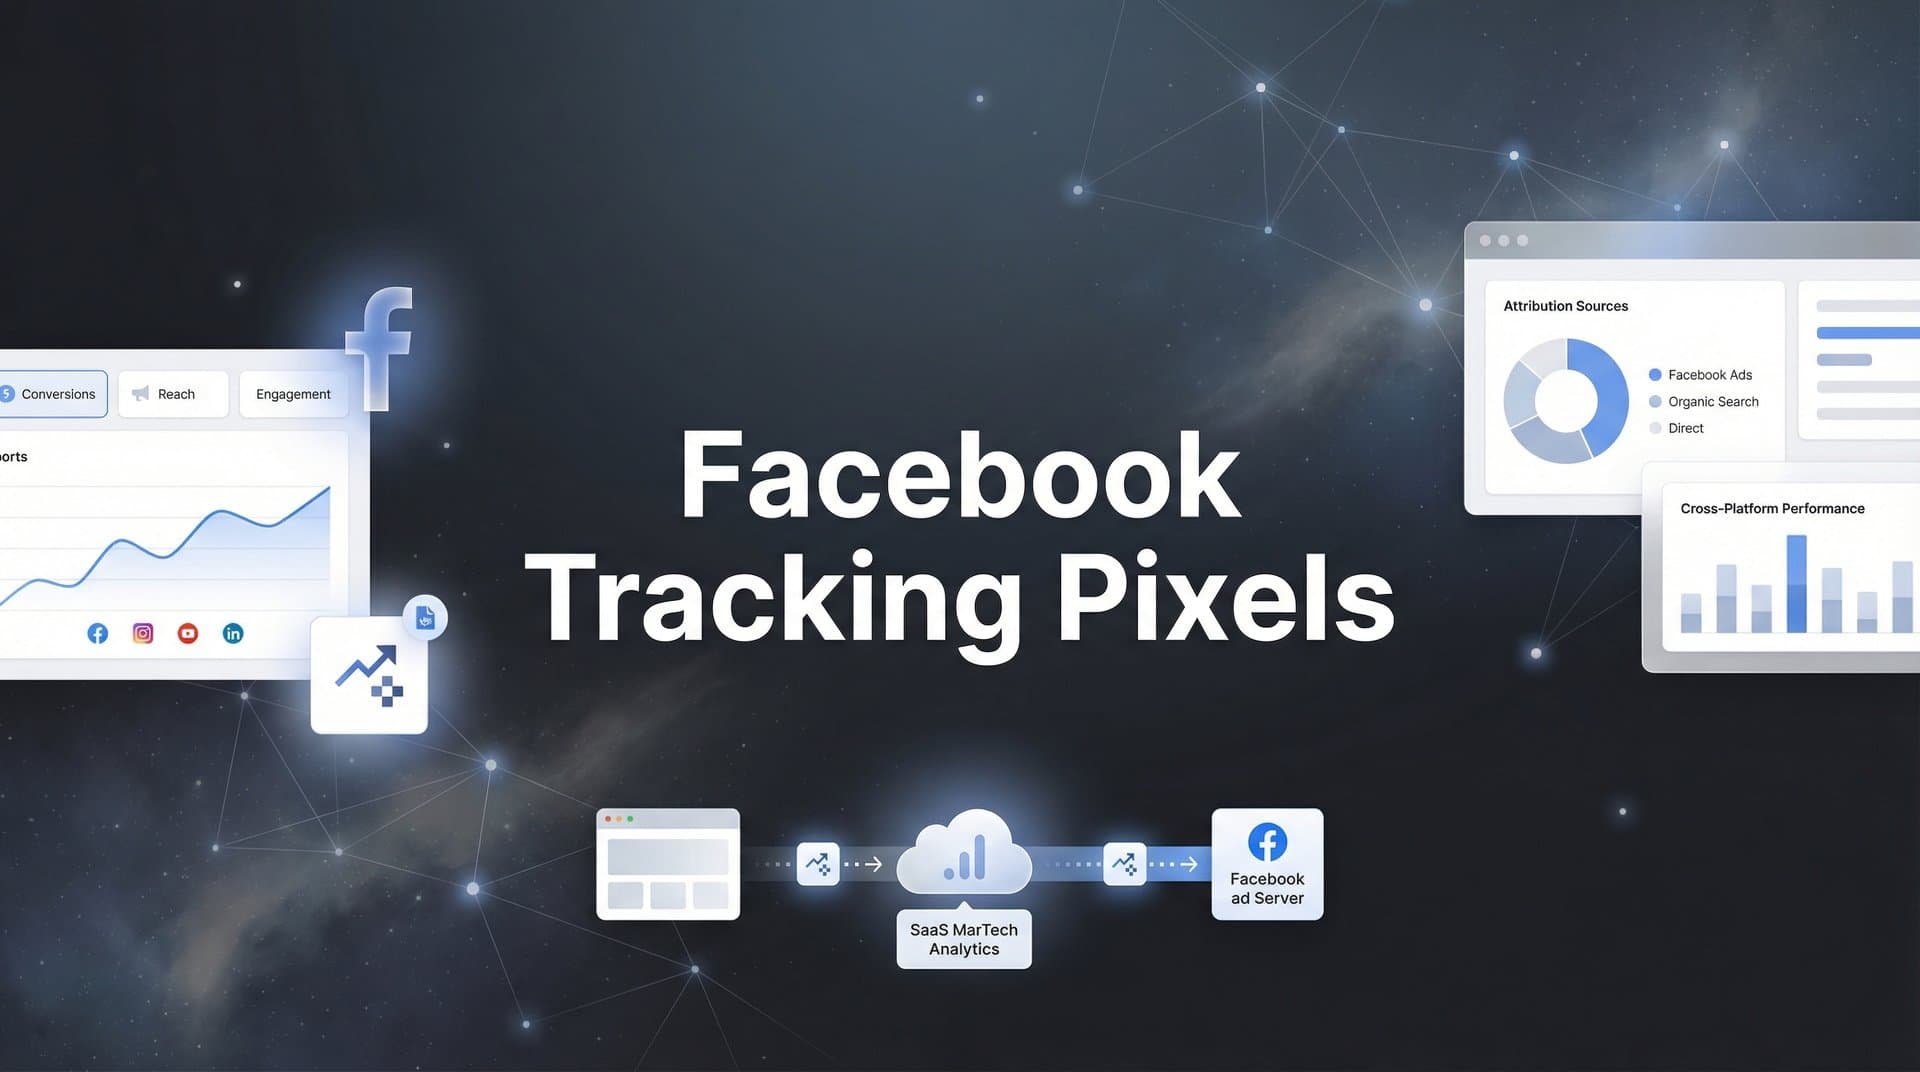
This guide walks you through the complete process of setting up Facebook tracking pixels, from creating your first pixel to verifying it's capturing the data you need. Whether you're launching your first campaign or auditing an existing setup, you'll have a fully functional tracking system by the end.
Step 1: Create Your Meta Pixel in Events Manager
Your tracking journey begins in Meta Events Manager, the command center for all your Facebook and Instagram conversion data. This is where you'll create the pixel that becomes your data collection foundation.
Start by navigating to your Meta Business Suite and selecting Events Manager from the menu. If you're setting up tracking for the first time, you'll see a clean slate ready for your first data source.
Click the green "Connect Data Sources" button and select "Web" from the options. Meta will prompt you to choose between Meta Pixel and Conversions API—select Meta Pixel for now. You'll add the Conversions API in a later step, but the pixel comes first.
Name your pixel clearly and strategically. Use a naming convention that makes sense for your business structure: "CompanyName - Website" works well for most setups. If you manage multiple brands or websites, include the specific site name to avoid confusion down the line.
Important: The standard practice is one pixel per website. Don't create separate pixels for different campaigns or ad accounts—all your tracking should flow through a single pixel. This keeps your data clean and your audiences accurate.
Once created, Meta assigns you a unique Pixel ID—a string of numbers that identifies your tracking code. Copy this ID immediately and save it somewhere accessible. You'll need it for installation, troubleshooting, and connecting third-party tools.
Why does this matter so much? Without a properly configured pixel, Facebook operates blind. The platform can't learn which users convert, which audiences respond best, or how to optimize your ad delivery. Every conversion you miss is a signal Facebook's algorithm doesn't receive—and that directly impacts your campaign performance. Understanding Facebook pixel tracking fundamentals is essential before diving into implementation.
Think of your pixel as the bridge between your advertising spend and your business results. Get this foundation right, and everything else becomes easier.
Step 2: Install the Base Pixel Code on Your Website
With your pixel created, it's time to install the tracking code on your website. This is where many marketers stumble, but you have several installation paths depending on your technical comfort level and website platform.
Manual Installation: If you have direct access to your website code, Meta provides a JavaScript snippet that goes in the head section of every page. Copy the base code from Events Manager, open your website's header template file, and paste the code between the opening and closing head tags. The code must appear on every page—not just your homepage or conversion pages.
This method gives you complete control but requires basic HTML knowledge and access to your site files.
Google Tag Manager Installation: For marketers who prefer a more flexible approach, Google Tag Manager offers powerful tracking management without touching your website code directly. Create a new Custom HTML tag in your GTM container, paste your pixel code, and set the trigger to fire on "All Pages." This ensures the pixel loads site-wide while keeping all your tracking code organized in one platform.
Tag Manager also makes it easier to add conversion events later without repeatedly editing your website code. You can learn more about event tracking in Google Analytics to complement your Facebook pixel setup.
Platform-Specific Integrations: If you're running on Shopify, WordPress, Wix, or Squarespace, you're in luck. These platforms offer native Facebook pixel integrations that handle installation automatically. In Shopify, navigate to your Online Store settings and paste your Pixel ID in the Facebook Pixel field. WordPress users can install the official Facebook for WordPress plugin and connect their pixel through the settings panel.
These integrations often include automatic event tracking for common actions like purchases and form submissions, saving you significant setup time.
Here's the critical mistake to avoid: installing the base code on only some pages. Many marketers add the pixel exclusively to their conversion pages, thinking that's where tracking matters most. Wrong. The base pixel code must fire on every single page of your website.
Why? Because Facebook builds audiences based on page visits, time on site, and browsing behavior—not just conversions. If your pixel only fires on your thank-you page, you can't retarget people who viewed your product pages, read your blog posts, or spent time exploring your services. You're leaving money on the table by ignoring everyone who didn't convert on their first visit.
After installation, give the pixel a few minutes to start collecting data. You won't see results immediately, but within 15-20 minutes, you should see your first PageView events appearing in Events Manager.
Step 3: Configure Standard Events for Key Conversions
Installing the base pixel code gives you PageView tracking automatically—but that's just the beginning. To unlock the real power of Facebook advertising, you need to track specific conversion events that matter to your business.
Facebook provides standard events designed to capture the most common business actions: Purchase, Lead, AddToCart, InitiateCheckout, CompleteRegistration, ViewContent, Search, and others. These aren't arbitrary categories—they're the signals Facebook's algorithm uses to optimize your campaigns for the outcomes you actually care about.
Start by identifying which events align with your business goals. E-commerce businesses typically focus on Purchase, AddToCart, and InitiateCheckout. Lead generation companies prioritize Lead and CompleteRegistration. Service businesses might emphasize ViewContent and Contact events.
Each event requires additional code placed on the specific pages or triggered by specific actions. For a Purchase event, you'll add code to your order confirmation page that fires only after a successful transaction. For a Lead event, you'll trigger the code when someone submits your contact form.
Here's what a Purchase event looks like in practice:
Basic Event Code: The event name tells Facebook what action occurred, while parameters provide crucial context. Always include value and currency parameters for purchase events—this data helps Facebook optimize for revenue, not just conversion volume. The content_id parameter identifies which products were purchased, enabling product-specific retargeting and catalog ads.
The more parameters you include, the richer your data becomes. Content_type, content_name, and num_items give Facebook additional signals to work with. Think of parameters as the difference between telling Facebook "someone bought something" versus "someone bought three specific products worth $127." Following best practices for tracking conversions accurately ensures your data remains reliable.
Installation methods vary by platform. Manual installations require adding event code to specific page templates or thank-you pages. Google Tag Manager users create separate tags for each event with appropriate triggers. Platform integrations often handle standard events automatically—Shopify, for example, tracks Purchase, ViewContent, and AddToCart events without additional configuration once your pixel is connected.
How do you know if it's working? Events should appear in Events Manager within minutes of triggering. Make a test purchase or submit a test lead form, then check your Events Manager dashboard. You'll see the event listed with a timestamp, event parameters, and source information.
The success indicator isn't just seeing events appear—it's seeing them with complete, accurate parameter data. An event without value and currency parameters is technically firing, but it's not giving Facebook the information it needs to optimize effectively.
Step 4: Set Up the Conversions API for Server-Side Tracking
Browser-based pixel tracking was sufficient five years ago. Today, it's only half the solution. iOS 14.5 introduced App Tracking Transparency, requiring users to opt in to tracking—and most don't. Add browser privacy features, ad blockers, and cookie restrictions, and you're missing a significant portion of your actual conversions.
This is where the Conversions API changes everything.
Server-side tracking sends conversion data directly from your web server to Facebook, completely bypassing browser-based limitations. When a customer converts, your server communicates that event to Facebook's servers—no browser involvement required. This means you capture conversions that browser-based tracking misses entirely.
The impact is substantial. Many businesses see 20-40% more conversions tracked after implementing server-side tracking, not because they're generating more conversions, but because they're finally seeing the ones that were always there. Understanding how to sync conversion data to Facebook Ads is critical for maximizing this capability.
Implementation Options: Your path to server-side tracking depends on your technical resources and platform. Native integrations exist for major e-commerce platforms—Shopify's Facebook channel includes built-in Conversions API support. WordPress users can leverage plugins that handle server-side event sending. These solutions require minimal technical knowledge and typically involve connecting your pixel and configuring event mapping.
For custom websites or more complex setups, you'll need developer involvement. The Conversions API requires server-side code that captures conversion events and sends them to Facebook's endpoints with proper authentication. Meta provides comprehensive documentation and SDKs for PHP, Python, Node.js, and other languages.
Zapier offers a middle-ground solution for businesses without developer resources. You can create Zaps that trigger on specific actions—like a new CRM entry or form submission—and send that data to Facebook's Conversions API. It's not as real-time as native integration, but it's significantly better than browser-only tracking.
Event Deduplication: Here's a critical technical detail: when you run both pixel and Conversions API, you risk counting the same conversion twice. Facebook doesn't automatically know that the browser event and the server event represent the same purchase.
The solution is event deduplication using event_id parameters. Assign each conversion a unique identifier—typically an order ID or transaction ID—and include this event_id in both your pixel event and your Conversions API event. Facebook uses this ID to recognize duplicate events and count them only once.
Without event deduplication, your conversion numbers become inflated, your cost-per-conversion appears artificially low, and your optimization suffers because Facebook thinks it's performing better than reality. This is a common cause of inaccurate Facebook pixel tracking that many advertisers overlook.
This is where comprehensive attribution platforms like Cometly become invaluable. Rather than managing pixel and API separately, Cometly captures every touchpoint across your entire customer journey—from initial ad click through CRM events—and feeds enriched, deduplicated data back to Meta. You're not just tracking conversions more accurately; you're giving Facebook's algorithm a complete picture of which users actually convert and what their journey looked like.
The result? Better targeting, more efficient optimization, and campaigns that scale based on real customer behavior rather than incomplete data.
Step 5: Verify Your Pixel Installation and Test Events
Installation is complete, events are configured, and you're ready to launch campaigns. But how do you know everything is actually working? Verification isn't optional—it's the difference between confident campaign launches and expensive mistakes.
Start with the Meta Pixel Helper Chrome extension. This free tool from Facebook sits in your browser and shows you exactly which pixels are firing on any page you visit. Install the extension, navigate to your website, and click the Pixel Helper icon. You'll see your pixel ID, which events are firing, and whether any errors exist.
The Pixel Helper provides real-time debugging as you browse your site. Visit your product pages—you should see ViewContent events. Add items to your cart—AddToCart events should fire. Proceed to checkout—InitiateCheckout should appear. Complete a test purchase—the Purchase event should fire with correct value and currency parameters.
Any issues show up immediately. Common errors include duplicate pixels (someone installed the code twice), missing parameters on conversion events, or pixels that fire on some pages but not others. The Pixel Helper color-codes these issues: green means everything's working, yellow indicates warnings, and red signals errors that need immediate attention.
Events Manager Test Events: For more controlled testing, use the Test Events tool in Events Manager. This feature lets you simulate conversions and verify they're being received correctly before real customers trigger them. You can test both browser events and Conversions API events, ensuring your entire tracking infrastructure works as intended.
Generate a test event code in Events Manager, add it to your browser session using the Pixel Helper, then perform actions on your website. Each action appears in the Test Events interface within seconds, showing you exactly what data Facebook received.
Check the event parameters carefully. Is the value parameter present and correct? Does the currency match your business location? Are content_ids populating with actual product identifiers? These details matter—incomplete parameters mean Facebook can't optimize effectively.
Event Match Quality Score: Navigate to the Data Sources section of Events Manager and check your Event Match Quality score. This metric shows how well your customer information parameters match Facebook user profiles. Scores range from Poor to Great, with higher scores enabling better ad targeting and measurement.
Improve your score by sending additional customer information parameters: email, phone, first name, last name, city, state, zip code, and country. Facebook hashes this data for privacy, then uses it to match conversions to specific users. Better matching means more accurate attribution and more effective campaign optimization. Implementing first-party data tracking significantly improves your match quality scores.
Aim for a Good or Great rating. Poor ratings indicate you're missing critical customer data that would help Facebook connect conversions to ad interactions.
Complete Journey Testing: Finally, test the entire user experience from ad click to conversion. Create a test campaign with minimal budget, click your own ad, navigate through your website, and complete a conversion. Then verify that conversion appears in your Events Manager with the correct attribution to your test campaign.
This end-to-end test confirms that your tracking captures the complete customer journey, not just isolated events. If conversions appear but aren't attributed to the correct campaigns, you have an attribution issue that needs resolution before scaling spend.
Step 6: Create Custom Conversions and Audiences
With your pixel tracking accurately, you unlock powerful optimization and retargeting capabilities that transform campaign performance. Custom conversions and audiences turn raw tracking data into actionable campaign tools.
Custom Conversions: These allow you to track specific outcomes using URL rules instead of additional code. Let's say you want to track newsletter signups separately from contact form submissions, but both use the Lead event. Create a custom conversion that fires when someone reaches your newsletter thank-you page URL. Now you can optimize campaigns specifically for newsletter signups without modifying your pixel code.
Custom conversions are particularly valuable for businesses with multiple conversion types. An education company might track "Free Guide Downloads," "Webinar Registrations," and "Course Enrollments" as separate custom conversions, even though they all technically use the Lead event. This granularity enables campaign optimization for specific outcomes rather than generic "leads." For B2B companies, mastering lead generation attribution tracking becomes essential for measuring true campaign impact.
Assign values to your custom conversions based on their worth to your business. If newsletter subscribers typically generate $15 in lifetime value while webinar attendees generate $50, assign those values to the respective custom conversions. Facebook's algorithm can then optimize for revenue potential, not just conversion volume.
Retargeting Audiences: Your pixel data becomes the foundation for sophisticated audience building. Create audiences based on specific behaviors: people who viewed products but didn't purchase, visitors who abandoned their carts, customers who bought in the past 30 days, or users who spent more than three minutes on your pricing page.
The more granular your audiences, the more relevant your retargeting becomes. Instead of showing the same ad to everyone who visited your website, you can show cart abandoners a discount code, recent purchasers complementary products, and engaged browsers social proof and testimonials.
Time-based audience windows matter significantly. A 7-day website visitor audience captures high-intent users while they're still considering your offer. A 180-day purchaser audience helps you re-engage past customers with new products or seasonal promotions. Layer these audiences strategically to match your sales cycle and customer behavior patterns.
Lookalike Audiences: Once you've collected sufficient conversion data, Facebook can identify patterns among your best customers and find new users who match those patterns. Create lookalike audiences from your purchasers, high-value customers, or most engaged users.
Start with a 1% lookalike—the most similar users to your source audience—and expand to 2-5% as you scale. Lookalike audiences based on actual purchasers typically outperform interest-based targeting because they're built on real behavioral data rather than demographic assumptions.
The quality of your lookalike audiences depends entirely on the quality of your source data. This is where accurate Facebook conversion tracking becomes crucial. If you're missing 30% of your conversions due to tracking gaps, your lookalike audiences are built on incomplete data—and they'll underperform accordingly.
Why does all this matter? Because Facebook's algorithm is only as good as the data you feed it. Better data means the platform can identify higher-quality prospects, optimize delivery more effectively, and scale your campaigns profitably. When you combine accurate pixel tracking with strategic audience building, you're giving Facebook everything it needs to find more customers who look and act like your best ones.
Your Tracking Foundation Is Complete
Let's recap your Facebook tracking pixel setup checklist: pixel created and ID saved in Events Manager, base code installed site-wide to capture all visitor behavior, standard events configured for your key conversion actions, Conversions API connected for server-side tracking that bypasses browser limitations, installation verified using Pixel Helper and Test Events, and custom audiences built for strategic retargeting.
With these elements in place, you're capturing the data Facebook needs to optimize your campaigns effectively. Your pixel fires on every page, your conversion events track the actions that matter, and your server-side tracking fills the gaps that browser-based tracking misses.
But here's the reality: tracking is just the beginning. The real value comes from analyzing this data to understand which ads and touchpoints actually drive revenue. Facebook's attribution window shows you last-click data, but your customers rarely convert on their first interaction. They see your ad, visit your website, read reviews, compare competitors, and eventually purchase—sometimes days or weeks later. Understanding Facebook attribution tracking helps you connect these complex customer journeys.
For marketers running campaigns across multiple platforms—Facebook, Google, TikTok, email, and more—connecting your Facebook pixel data with comprehensive attribution gives you the complete picture of your customer journey, from first click to final purchase. Implementing cross-platform tracking ensures you capture every touchpoint regardless of where customers interact with your brand. You stop guessing which channels deserve credit and start making decisions based on actual revenue impact.
That complete visibility is what separates profitable scaling from expensive guesswork. When you can see every touchpoint, you know which campaigns to expand, which audiences to prioritize, and where your budget generates the highest return.
Ready to elevate your marketing game with precision and confidence? Discover how Cometly's AI-driven recommendations can transform your ad strategy—Get your free demo today and start capturing every touchpoint to maximize your conversions.


