If you are running paid ads across multiple channels and still guessing which ones actually drive pipeline and revenue, you have an attribution problem. And for B2B SaaS teams, that problem is expensive.
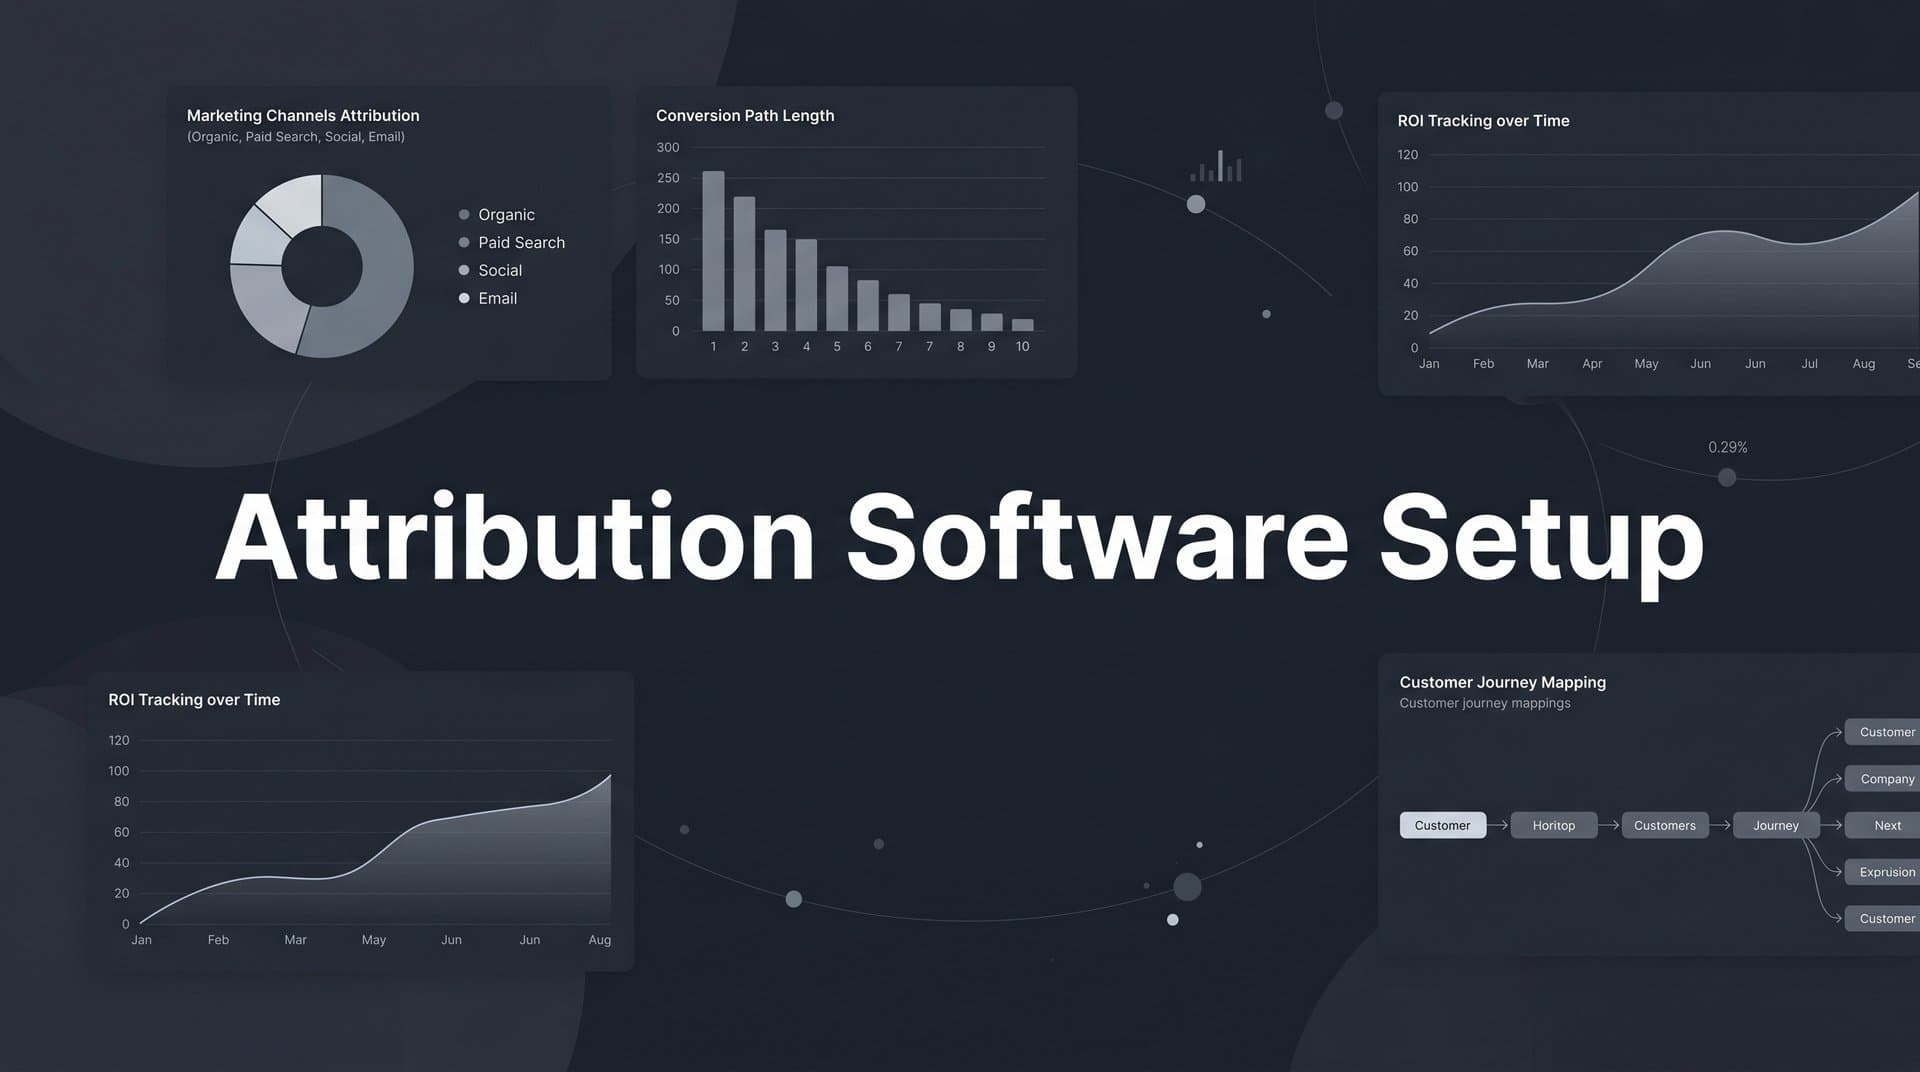
Attribution software setup is the process of connecting your ad platforms, website, CRM, and conversion events into a single system that tells you exactly where your customers come from and which touchpoints influenced their decision to buy. It sounds straightforward, but most teams either skip critical steps or stop halfway through, which means their data looks functional but quietly misleads them.
Here is the reality of B2B attribution: long sales cycles, multiple decision-makers, and complex buyer journeys mean that last-click attribution or platform-native reporting will almost always give you an incomplete picture. You will over-invest in channels that look good on paper, and you will cut campaigns that are quietly driving pipeline because they never get credit under a last-click model.
This guide walks you through the exact steps to set up attribution software correctly. From defining your conversion goals to validating data accuracy and making your first optimization decisions based on real attribution data, each step builds on the last. Whether you are setting up attribution for the first time or rebuilding a broken tracking stack, these steps will help you build a reliable, scalable foundation.
By the end, you will have a working attribution system that connects every ad click to revenue, gives your team a single source of truth, and feeds better data back to ad platforms like Meta and Google to improve targeting and campaign performance. Let's get into it.
Step 1: Define Your Conversion Goals and Funnel Stages
Before you touch any software, you need to map out every stage of your funnel from first ad click to closed-won revenue. This is not a technical step. It is a strategic one, and skipping it is the single most common reason attribution setups produce incomplete or misleading data.
Start by listing every conversion event that matters to your business. For most B2B SaaS teams, this includes form submissions, demo bookings, free trial signups, MQL handoffs, SQL conversions, opportunity creation, and closed deals. Each of these is a data point your attribution system needs to capture.
As you build this list, separate your micro-conversions from your macro-conversions. Micro-conversions are the early-stage actions, things like a lead form fill or a content download, that signal interest but do not represent revenue. Macro-conversions are the revenue events: a closed deal, a paid subscription, or a contract signed. Your attribution model needs both layers to capture the full buyer journey, not just the top of the funnel.
Next, document where each conversion event lives. Some events fire on your website. Others live in your CRM. If you use a payment processor like Stripe, your revenue events live there. If you use a scheduling tool like Calendly for demo bookings, that event originates in a third-party system. Every event source needs to be mapped before you start connecting integrations, because you cannot track what you have not accounted for.
Common pitfall: Many teams focus exclusively on website events and never connect CRM-level data. This means their attribution stops at the lead stage and never connects to pipeline or revenue. You end up optimizing for lead volume rather than deal quality, which is a fundamentally different and often counterproductive objective.
Practical tip: Build a simple spreadsheet with three columns: the event name, where it fires, and which team owns it. Marketing owns top-of-funnel events. Sales ops typically owns CRM events. Finance or product owns revenue events. Getting alignment across these teams early prevents gaps later.
Success indicator: You have a written list of every conversion event, the system it lives in, and the team responsible for it. This document becomes the blueprint for every integration and configuration step that follows.
Step 2: Connect Your Ad Platforms and Data Sources
Now that you know what you need to track, it is time to connect the systems that hold your data. Log into your attribution platform and work through each ad channel you actively run: Meta Ads, Google Ads, LinkedIn Ads, TikTok Ads, and any others. Connect them using native integrations where available so that spend, impressions, clicks, and campaign structure flow in automatically.
Most modern attribution platforms, including Cometly, offer one-click integrations with major ad platforms. These pull in your campaign hierarchy, including campaigns, ad sets, and individual ads, so you can see performance at every level without manual data exports. This is the foundation of your attribution reporting, so take the time to verify that each connection is active and pulling data correctly.
Next, connect your CRM. This is the step that separates lead-level attribution from revenue attribution. When your CRM is connected, your attribution platform can match ad touchpoints to deal stages, pipeline value, and closed revenue. Without this connection, you are only seeing half the picture.
If you use Stripe or another payment processor, integrate it as well. This pulls actual revenue data alongside ad spend, which means you can calculate true return on ad spend based on closed deals rather than estimated deal values from your CRM. For B2B SaaS teams with subscription revenue, this connection is particularly valuable because it ties ad performance directly to monthly or annual recurring revenue.
Before moving forward, verify that UTM parameters are consistently applied across all active campaigns. UTMs are the connective tissue between your ad platforms and your attribution data. If a campaign is running without proper UTM tags, or if your naming conventions are inconsistent, attribution will break at the source and you will end up with a large portion of your traffic landing in an "unknown" or "direct" bucket.
Practical tip: Create a UTM naming convention document and share it across your entire marketing team. Define the exact format for source, medium, campaign, content, and term parameters, and make it a required step in your campaign launch checklist. This single habit prevents more attribution gaps than almost any technical fix.
Success indicator: Within 24 hours of connecting your integrations, your attribution dashboard shows data flowing in from every active ad channel and your CRM. Campaign spend, clicks, and lead data are all visible in one place.
Step 3: Install Tracking and Set Up Server-Side Events
Connecting your ad platforms pulls in spend and campaign data. But to track what happens after someone clicks your ad, you need tracking installed on your website and, critically, server-side event tracking configured for your most important conversion events.
Start by installing the attribution tracking pixel or JavaScript snippet on your website. This is typically placed in the site header or deployed via a tag manager like Google Tag Manager. The pixel captures user behavior on your site: page views, button clicks, form interactions, and other on-site events that contribute to the customer journey.
Here is where many teams stop, and it is a significant mistake. Pixel-only tracking has real limitations in 2026. Browser privacy restrictions, iOS privacy changes, and ad blockers all reduce the reliability of browser-based tracking. Depending on your audience and traffic sources, pixel-only setups can miss a meaningful portion of your conversions, which distorts your attribution data and underreports the performance of your campaigns.
This is why server-side tracking is now considered a best practice for accurate conversion measurement. Server-side event tracking works by sending conversion data directly from your server to ad platforms via their Conversion APIs, completely bypassing browser limitations. The data travels server-to-server, which means it is not affected by browser settings, ad blockers, or cookie restrictions.
For Meta, this means configuring the Meta Conversion API (CAPI) so that events like lead form submissions and purchases are sent server-to-server. For Google, you configure Enhanced Conversions to send hashed first-party data alongside your standard conversion tags. Both setups require some technical configuration, but most attribution platforms, including Cometly, handle this through their server-side infrastructure so you do not need to build it from scratch.
Once both pixel and server-side tracking are running simultaneously, you need to enable event deduplication. Without deduplication, the same conversion event will be counted twice: once from the browser pixel and once from the server event. This creates inflated conversion counts and throws off your attribution data. Most attribution tracking platforms handle deduplication automatically when configured correctly, but you need to confirm it is active rather than assuming it is.
Common pitfall: Skipping server-side setup means you are likely under-reporting conversions by a significant margin. This makes your campaigns look less effective than they actually are, which can lead to budget cuts in channels that are genuinely performing well.
Success indicator: Your attribution platform shows both browser and server events firing for your key conversion events, deduplication is active, and you are not seeing duplicate conversion spikes in your reporting.
Step 4: Choose and Configure Your Attribution Model
Your attribution model determines how credit for a conversion is distributed across the touchpoints in a buyer's journey. This is one of the most consequential configuration decisions you will make, because the model you choose directly shapes how you evaluate channel performance and where you allocate budget.
The most common attribution models are first-touch, last-touch, linear, time-decay, and data-driven. Each tells a different story. First-touch gives all credit to the first interaction, which highlights which channels create initial awareness. Last-touch gives all credit to the final interaction before conversion, which tends to favor bottom-of-funnel channels like branded search or retargeting. Linear distributes credit equally across all touchpoints. Time-decay gives more credit to touchpoints closer to the conversion. Data-driven uses machine learning to assign credit based on the actual influence each touchpoint had on the outcome.
For B2B SaaS teams with long sales cycles, last-touch attribution is particularly misleading. A prospect might discover your product through a LinkedIn awareness campaign, engage with a retargeting ad two weeks later, and then convert through a branded search three weeks after that. Under last-touch, Google gets all the credit. Under a multi-touch attribution model, you see the full contribution of each channel.
Configure your chosen model in your attribution platform settings and apply it consistently across all reporting views. Most platforms let you set a default model while also allowing you to run comparisons, which is exactly what you should do.
Running multiple models side by side is one of the most valuable exercises in attribution analysis. When you switch from last-touch to linear and watch how credit shifts between channels, you start to see which channels are systematically undervalued and which ones are getting more credit than they deserve. This comparison often changes budget allocation decisions significantly.
Practical tip: Do not commit to a single attribution model permanently. Treat model comparison as an ongoing analytical tool rather than a fixed rule. Your business model, sales cycle length, and channel mix all influence which model is most useful at any given time.
Success indicator: Your attribution platform displays data under at least two attribution models simultaneously, and you can clearly see how credit shifts between channels when you switch between them.
Step 5: Map the Full Customer Journey to Revenue
This is where attribution software setup moves from functional to genuinely powerful. Connecting ad touchpoints to lead events is useful. Connecting them all the way through to closed-won revenue is what drives real budget decisions.
Use your CRM integration to pull deal stages and revenue data into your attribution platform. When this connection is active, you can see which campaigns influenced pipeline creation, which ones contributed to opportunities that progressed through your sales funnel, and which ones are consistently associated with deals that actually close. This is a fundamentally different view of performance than what your ad platforms show you natively.
Set up pipeline attribution reporting within your platform. This view should show you, at the campaign or channel level, how much pipeline value each source has generated, not just how many leads. A campaign that generates 50 leads with an average deal value of $5,000 is performing very differently from a campaign that generates 20 leads with an average deal value of $25,000, even though the first one looks better under a pure lead-volume metric.
Connect your revenue attribution data from Stripe or your billing system so that closed deals are matched back to the original ad touchpoints that started the journey. This closes the loop completely. You are no longer estimating the revenue impact of your campaigns. You are measuring it directly.
This step often produces insights that reshape channel strategy entirely. A LinkedIn campaign might generate fewer leads than a Google campaign but produce significantly higher deal values because it reaches a more senior or more relevant audience. Without revenue attribution, you would never see this. You would optimize toward the channel driving more leads and inadvertently shift budget away from the channel driving more revenue.
Common pitfall: Stopping attribution at the lead stage and never closing the loop to revenue means you will consistently optimize for volume rather than quality. This is one of the most common and most costly mistakes in B2B paid advertising.
Success indicator: Your attribution dashboard shows a clear path from ad spend to pipeline value to closed revenue, with touchpoint data attached to each deal in your CRM.
Step 6: Validate Your Data Before Making Decisions
You have connected your integrations, installed tracking, configured your attribution model, and mapped your customer journey to revenue. Before you make a single budget decision based on this data, you need to validate it. Setup errors compound quickly, and acting on inaccurate attribution data leads to costly misallocations that are difficult to unwind.
Start by cross-referencing your attribution platform's conversion counts against your CRM records, ad platform dashboards, and Google Analytics. You are not looking for perfect alignment across every number. You are looking for major discrepancies that signal a tracking problem. If your attribution platform shows 40 demo bookings in a given week and your CRM shows 65, something is broken and you need to find it before proceeding.
Next, verify that UTM parameters are passing correctly through the full click path. The best way to do this is to click a live campaign ad yourself and confirm that the source, medium, and campaign values appear correctly in your attribution reports. This sounds basic, but it catches a surprising number of issues, including destination URL errors, redirect stripping, and landing page parameter handling problems.
Use your attribution platform's event testing or debug tools to verify that server-side events are firing correctly. Most platforms provide a real-time event stream or a debug mode where you can trigger a test conversion and confirm it is being received and attributed properly.
Look specifically for three types of data quality problems. Over-counting happens when the same conversion fires multiple times due to missing deduplication. Under-counting happens when events are not firing at all, often due to a pixel placement issue or a broken integration. Misattribution happens when conversions are assigned to the wrong source, typically because UTM parameters are missing or overwritten somewhere in the click path.
Run a two-week validation period where you compare attribution data to known ground truth from your CRM before fully trusting the output for budget decisions. Two weeks gives you enough data to identify patterns and catch intermittent issues that might not show up in a single day of testing. Comparing your setup against a dedicated attribution platform versus Google Analytics can also reveal significant gaps in what each system captures.
Practical tip: Document your validation findings. Write down what you checked, what you found, and what you fixed. This baseline record becomes invaluable later when something changes in your tracking stack, because you have a reference point to compare against rather than starting from scratch.
Success indicator: Attribution conversion counts are within an acceptable variance range of your CRM records, UTM parameters are passing correctly, and no major source discrepancies exist across your reporting systems.
Step 7: Act on Attribution Insights and Feed Better Data Back to Ad Platforms
Your attribution system is set up and validated. Now it needs to drive decisions, because attribution software that sits unused is just an expensive dashboard.
Start by using your attribution data to make your first optimization decisions. Look at which campaigns are driving the highest-quality pipeline, not just the most leads. Identify channels where cost per opportunity or cost per closed deal is significantly lower than others. Shift budget toward what is working at the revenue level, not just the lead level. This is the shift that separates teams who use attribution strategically from teams who treat it as a reporting tool.
Use your attribution platform's AI-driven recommendations to surface high-performing ads and underperforming campaigns across every channel. Cometly's AI layer analyzes performance patterns across your entire attribution dataset and flags opportunities that would be difficult to identify manually, particularly when you are running campaigns across multiple platforms simultaneously.
One of the most impactful things you can do with your server-side setup is send enriched conversion events back to Meta and Google. Ad platforms optimize toward the signals they receive. If you are only sending lead events back to Meta, their algorithm will optimize for leads. If you send revenue-level events, including deal stage progressions and closed-won data, their machine learning will optimize toward the audience profiles most likely to become actual customers. This feedback loop improves targeting quality over time and reduces wasted spend on leads that never convert.
Set up regular attribution reporting cadences to keep your team aligned. Weekly reviews at the campaign level let you catch performance shifts quickly and make tactical adjustments. Monthly reviews at the channel level are better suited for strategic budget allocation decisions. Both cadences matter, and both should be anchored to attribution data rather than platform-native reporting.
Use your multi-touch attribution data to advocate for channels that contribute early in the funnel but rarely get credit under last-click models. LinkedIn awareness campaigns, content-driven search traffic, and top-of-funnel display campaigns often show up as significant contributors under linear or first-touch models but appear nearly invisible under last-click. Attribution data gives you the evidence to defend these investments.
Common pitfall: Setting up attribution and then only reviewing it quarterly means you lose the compounding benefit of faster optimization cycles. The teams that get the most value from attribution are the ones who build it into their weekly workflow, not the ones who treat it as a quarterly audit.
Success indicator: You have made at least one budget or creative decision based on attribution data, and you are actively sending server-side conversion events back to your ad platforms to improve their optimization signals.
Your Attribution Setup Checklist
Here is a summary of every step covered in this guide, formatted as a reference checklist you can use to track your progress and identify any gaps in your current setup.
Step 1: Define conversion goals. Map every funnel stage, list all conversion events, separate micro from macro-conversions, and document where each event fires and who owns it.
Step 2: Connect ad platforms and data sources. Integrate every active ad channel, connect your CRM, integrate your payment processor, and verify UTM consistency across all campaigns.
Step 3: Install tracking and server-side events. Deploy your tracking pixel, configure Conversion API or server-side tracking for key events, and enable event deduplication.
Step 4: Choose and configure your attribution model. Select a primary model, apply it consistently across reporting, and run at least one additional model for comparison.
Step 5: Map the full customer journey to revenue. Connect CRM deal data, set up pipeline attribution reporting, and integrate your payment processor to close the loop to closed-won revenue.
Step 6: Validate your data. Cross-reference conversion counts, test UTM parameter passing, verify server-side events, and run a two-week validation period before making budget decisions.
Step 7: Act on insights and feed data back. Make optimization decisions based on revenue attribution, use AI recommendations, send enriched events back to ad platforms, and establish regular reporting cadences.
Attribution setup is not a one-time project. It is an ongoing system that improves as more data flows through it. The foundation you build in these seven steps becomes more valuable over time as your attribution platform accumulates journey data, refines its models, and surfaces increasingly precise insights about what is actually driving your revenue.
Cometly handles every layer of this setup in one platform: pixel tracking, server-side events, CRM integration, multi-touch attribution models, AI-driven recommendations, and full revenue attribution from first ad click to closed-won deal. If you are building this stack from scratch or rebuilding a broken one, starting with a platform purpose-built for B2B SaaS attribution removes significant complexity from the process.
Teams that invest in accurate attribution gain a compounding advantage. Every optimization decision builds on better data, which produces better results, which generates more data to optimize from. Ready to build that foundation? Get your free demo and see how Cometly simplifies attribution software setup for B2B SaaS teams.