
You have spent months perfecting your online course. The content is polished, the sales page converts, and your webinar funnel feels dialed in. You launch your ads, and the traffic starts flowing. Leads come in. Webinar registrations pile up. But when you check your ad platform's dashboard, the numbers do not make sense. Facebook says you got 15 purchases. Stripe shows 23. Google Analytics reports 18. Which number is real? Which ads actually drove those sales?
This is the reality for most info product sellers. Unlike ecommerce stores with straightforward "add to cart" flows, info products involve complex funnels. Someone might click your ad on Monday, register for a webinar on Wednesday, watch the replay on Friday, and buy your course the following Tuesday after three reminder emails. Traditional pixel-based tracking loses the thread somewhere along that journey, leaving you guessing which marketing efforts actually work.
Without accurate conversion tracking, you cannot scale profitably. You might be pouring budget into campaigns that generate clicks but zero revenue, while starving the ads that quietly drive your best customers. You need a tracking system that captures every step of your funnel, connects purchases back to their original traffic sources, and gives you reliable data across all your marketing platforms.
This guide shows you exactly how to build that system. You will learn how to map your entire sales funnel, install tracking correctly across every page, configure conversion events that reflect real revenue, implement server-side tracking to overcome browser limitations, and validate your setup so you can trust your data. By the end, you will know precisely which campaigns drive actual sales and how to optimize based on facts rather than guesses.
Step 1: Map Your Info Product Sales Funnel and Define Conversion Events
Before installing a single tracking pixel, you need a clear picture of every step in your customer journey. Pull out a spreadsheet or whiteboard and map the entire path from first click to final purchase.
Start with your traffic sources. Where do people first encounter your offer? Paid ads on Facebook, Google, YouTube? Organic social posts? Email campaigns? List every entry point.
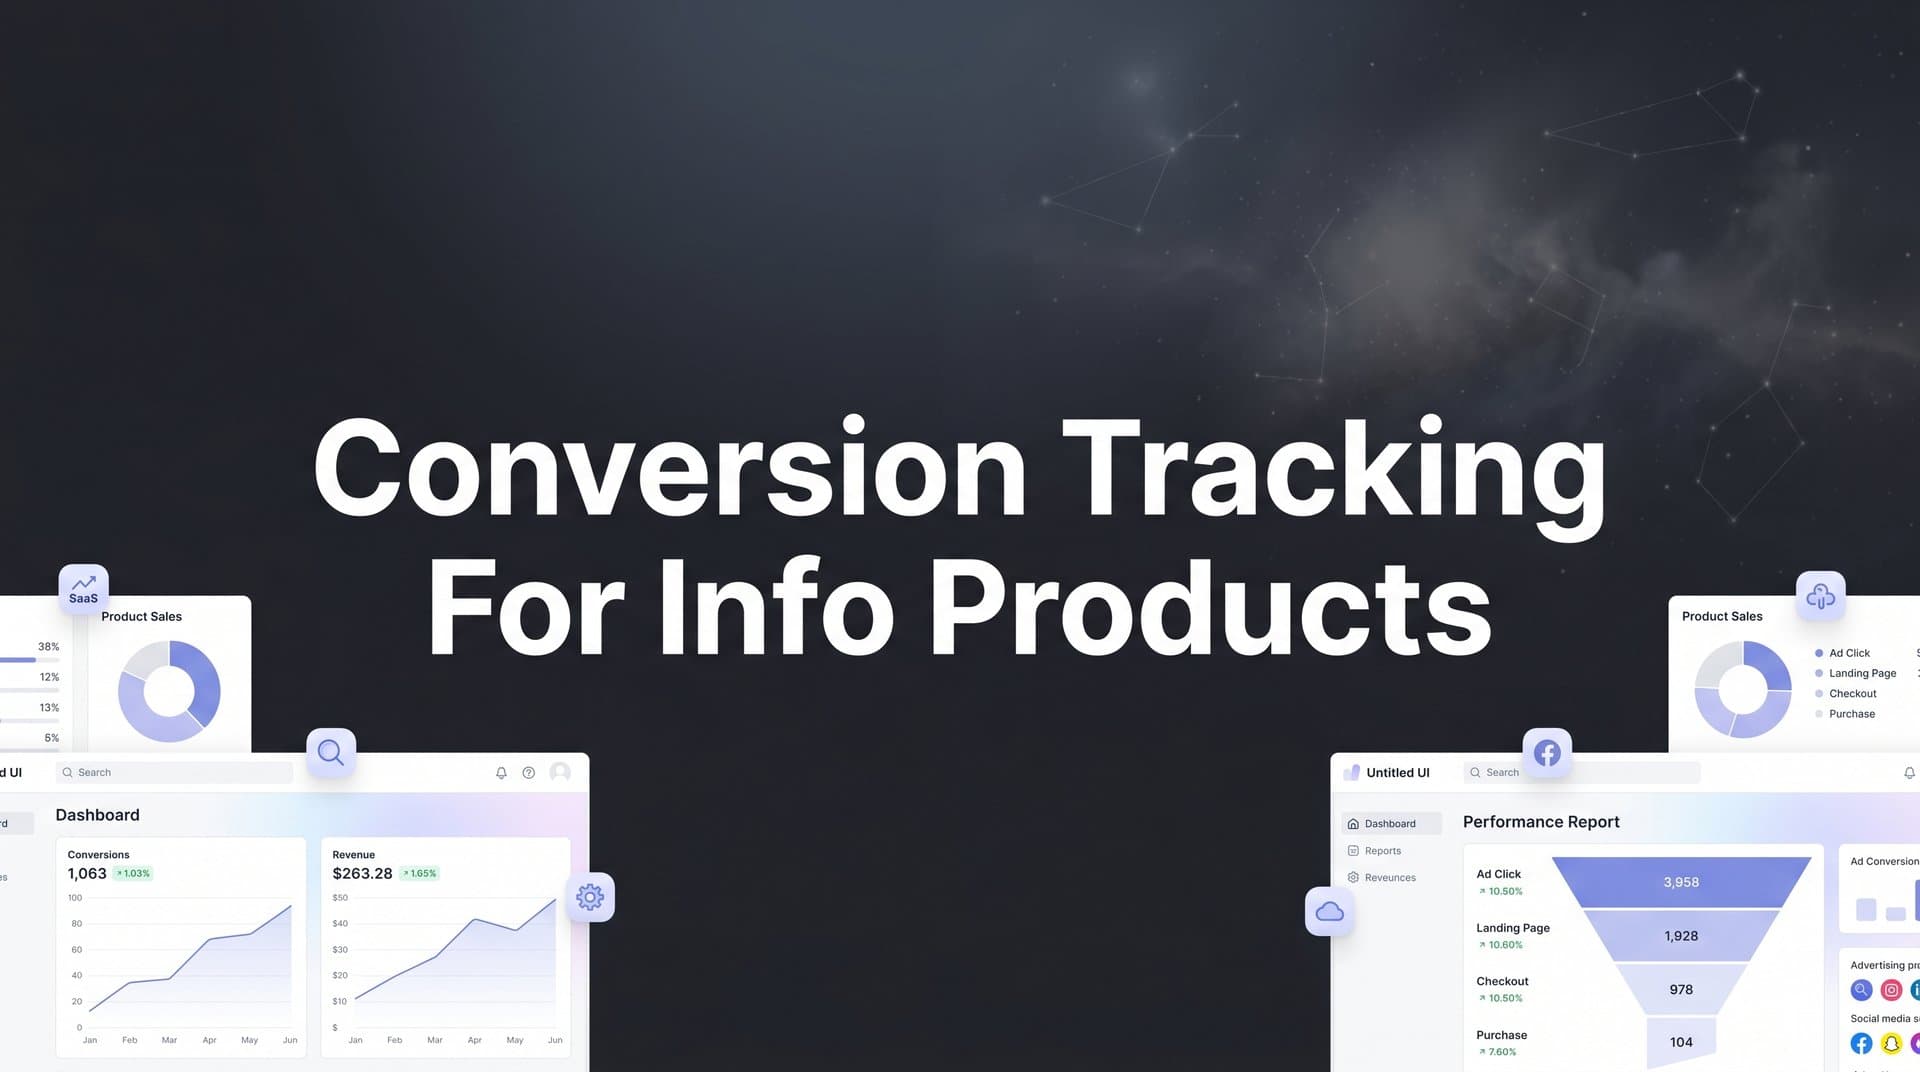
Next, document each page or interaction in your funnel. A typical info product funnel might include: landing page for lead magnet, thank you page after opt-in, webinar registration page, webinar confirmation page, live or automated webinar, sales page, checkout page, order confirmation page, upsell page, and final thank you page. Your funnel might be simpler or more complex, but write down every single step.
Now comes the critical part: defining your conversion events. These are the specific actions you want to track and measure. Split them into two categories.
Micro-conversions are steps that move people closer to a purchase but do not generate revenue directly. Examples include lead magnet downloads, webinar registrations, email list sign-ups, free trial starts, and sales page views. These matter because they help you understand where people drop off and which traffic sources generate engaged leads. Understanding conversion tracking for lead generation helps you optimize these early funnel stages.
Macro-conversions are revenue-generating actions. For info products, this typically means course purchases, coaching program sign-ups, membership subscriptions, and upsell acceptances. These are your money events, the ones that determine profitability.
Pay special attention to payment variations. If you offer payment plans, you need to decide how to track value. Will you count the total course price at purchase, or track each payment installment separately? If you offer a $997 course with a three-payment option, does the initial conversion show $997 or $332? Document this decision clearly because inconsistent value tracking will ruin your return on ad spend calculations.
Free trials present another challenge. Someone might start a trial today but not convert to paid for 14 days. You need events for both trial start and paid conversion, with clear naming that distinguishes the two.
Create a naming convention for your events and stick to it religiously. Use clear, descriptive names that anyone on your team can understand. Instead of "Event1" and "Event2", use names like "Lead_Magnet_Download", "Webinar_Registration", "Course_Purchase", and "Upsell_Accepted". Include the product name if you sell multiple info products: "SEO_Course_Purchase" versus "Email_Course_Purchase".
This mapping exercise might take an hour, but it saves weeks of confusion later. You will reference this document constantly as you configure tracking tools, troubleshoot issues, and analyze campaign performance.
Step 2: Install Base Tracking Pixels on Your Funnel Pages
With your funnel mapped, you are ready to install tracking pixels. These are small pieces of code that fire when someone visits a page or completes an action, sending data back to your ad platforms.
Start with the Meta Pixel if you run Facebook or Instagram ads. Log into Meta Events Manager, create a pixel for your business, and copy the base pixel code. This code needs to go in the header section of every page in your funnel. That means your landing pages, opt-in pages, webinar pages, sales pages, checkout pages, thank you pages, and any upsell or downsell pages. For detailed guidance on Facebook pixel setup, explore conversion tracking tools for Facebook Ads.
If you run Google Ads, you need the Google Ads tag (formerly called the conversion tracking tag). Access this through your Google Ads account under Tools & Settings, then Measurement. Like the Meta Pixel, this base tag goes on every page.
Installing pixels manually on every page is tedious and error-prone. This is where Google Tag Manager becomes essential. GTM acts as a container that holds all your tracking codes in one place. You install the GTM container code once on your site, then manage all your pixels through the GTM interface without touching your site code again.
Set up GTM by creating a free account, generating your container code, and adding it to your website header. Then add your Meta Pixel and Google Ads tag as tags within GTM. Configure triggers so these tags fire on all pages. This centralized approach makes it far easier to add new tracking tools, update existing ones, or troubleshoot issues.
After installing pixels, verify they work before moving forward. For Meta Pixel, install the Meta Pixel Helper Chrome extension. Visit each page in your funnel and check that the extension shows a green checkmark, confirming the pixel fires correctly. For Google Ads, use Google Tag Assistant or the Preview mode in Google Tag Manager to verify tag firing.
If you use a course platform like Teachable, Kajabi, Thinkific, or Podia, pixel installation can be tricky. These platforms often have specific fields for adding tracking codes, but they might not give you full access to all pages. Check your platform's documentation for pixel installation instructions. Some platforms offer native integrations with ad platforms that simplify tracking setup.
Single-page applications and checkout tools like ThriveCart or SamCart require extra attention. Because these tools load content dynamically without full page refreshes, standard pixel installations might not fire on every step. Look for platform-specific integration options or consult their support documentation to ensure pixels trigger correctly at each funnel stage.
Step 3: Configure Purchase and Lead Events in Your Ad Platforms
Base pixels tell ad platforms that someone visited your pages, but they do not specify what actions people took or what those actions are worth. That is where event configuration comes in.
In Meta Events Manager, you will set up standard events that align with your conversion goals. For info product funnels, the most important standard events are Lead (for opt-ins and webinar registrations), CompleteRegistration (for account creation or trial starts), and Purchase (for actual course sales).
Click "Add Events" in Events Manager and choose "From the Pixel". Select the page where the conversion happens, like your thank you page after purchase. Choose "Purchase" as the event type. This is where event parameters become critical.
Every Purchase event must include a value parameter that reflects the actual amount paid. If someone buys your $497 course, the value should be 497. If they choose a payment plan with an initial charge of $197, you need to decide whether to track the first payment or the total value. Most marketers track total value to accurately calculate return on ad spend, but document your choice and stay consistent.
Include the currency parameter as well. If you sell in US dollars, set currency to "USD". This matters for international campaigns where you might sell in multiple currencies.
For variable-pricing products or offers with multiple tiers, use dynamic values. Instead of hardcoding "$497" into your Purchase event, pass the actual transaction amount from your checkout system. This requires some technical setup, often involving your developer or using your course platform's integration features, but it ensures accuracy when you have multiple products or pricing options. If you sell online courses, getting this configuration right is essential for accurate ROAS calculations.
Beyond standard events, you will likely need custom conversions for info-product-specific actions. Maybe you want to track webinar attendance separately from registration, or measure how many people watch at least 50% of your webinar. Create custom conversions in Events Manager based on URL rules or event parameters that match these specific scenarios.
In Google Ads, the process is similar. Navigate to Tools & Settings, then Conversions. Create a new conversion action, choose "Website" as the source, and select "Purchase" as the category. Set the conversion value based on your pricing structure. Google Ads also allows you to import conversions from Google Analytics if you prefer to manage events there.
After configuring events, test them before launching campaigns. Meta provides a Test Events tool in Events Manager. Visit your funnel pages and complete test conversions while watching the Test Events interface. You should see each event fire in real time with the correct parameters. If values show as zero or events do not appear, you have a configuration problem to fix.
Google Ads offers similar testing through Tag Assistant. Run through your funnel in preview mode and verify that conversion tags fire at the right moments with accurate values.
Do not skip this testing phase. Launching campaigns with broken tracking wastes budget and generates useless data. Spend 30 minutes testing now to save hours of troubleshooting later.
Step 4: Implement Server-Side Tracking for Accurate Data Collection
Pixel-based tracking has a fundamental problem: it relies entirely on the visitor's browser. When someone uses an ad blocker, enables iOS privacy protections, or browses in private mode, your pixels do not fire. You lose the conversion data completely, even though the sale happened.
Research shows that browser-based tracking can miss a significant portion of conversions due to these privacy measures. For info product sellers targeting privacy-conscious audiences or iOS users, the data gaps can be substantial. You might be running profitable campaigns while your ad platform reports them as losers because it cannot see half the conversions.
Server-side tracking solves this problem by sending conversion data directly from your server to ad platforms, bypassing the browser entirely. When someone completes a purchase, your payment processor or course platform sends that information to your server, which then forwards it to Meta, Google, and other ad platforms through their server-side APIs.
For Meta, this means implementing the Conversions API (CAPI). Instead of relying solely on the pixel in someone's browser, your server sends purchase data directly to Meta's servers. Even if the pixel was blocked, Meta still receives the conversion information.
Setting up CAPI typically requires technical implementation. If you use Stripe for payment processing, you can configure webhooks that trigger when a payment succeeds. These webhooks send transaction data to your server, which formats it according to Meta's CAPI requirements and posts it to Meta's endpoint. Many course platforms now offer built-in CAPI integrations that handle this automatically.
Google Ads has a similar feature called offline conversion tracking. You upload conversion data directly to Google Ads, matching conversions to clicks using the GCLID (Google Click Identifier). This requires capturing the GCLID when someone clicks your ad and storing it through the entire funnel until purchase, then including it when you report the conversion to Google.
The key technical challenge is event deduplication. If you use both pixel tracking and server-side tracking, the same purchase might get reported twice, once from the browser pixel and once from your server. This inflates your conversion numbers and makes your campaigns look more profitable than they actually are. Understanding how to handle duplicated conversion tracking across platforms is critical for data accuracy.
Prevent this by assigning each conversion a unique event ID. When the pixel fires, it includes this ID. When your server sends the same conversion via CAPI, it includes the identical ID. Meta recognizes the duplicate and counts the conversion only once. Implement this deduplication from the start to maintain data accuracy.
Server-side tracking also improves data quality beyond just capturing more conversions. You can send additional customer information like email addresses, phone numbers, and lifetime value directly from your secure server, enriching the data ad platforms use for optimization and audience building. This helps algorithms identify patterns and find more customers who look like your best buyers.
If server-side implementation sounds complex, consider using a marketing attribution platform that handles the technical details for you. These tools connect to your payment systems and ad platforms, automatically sending server-side conversion data while managing deduplication and data formatting.
Step 5: Connect Your CRM and Payment Systems for Full-Funnel Visibility
Ad platform tracking tells you about clicks and conversions, but it does not show you the complete customer journey. To understand how someone moved from initial click through multiple touchpoints to final purchase, you need to connect your CRM, email platform, and payment systems into a unified tracking setup.
Start by ensuring UTM parameters persist through your entire funnel. UTM parameters are the tags you add to your ad URLs to track traffic sources, like utm_source=facebook and utm_campaign=webinar_promo. When someone clicks your ad, these parameters should follow them through every page until they purchase.
The problem is that many checkout systems and course platforms strip URL parameters during redirects. Someone clicks your ad with full UTM tracking, but by the time they reach the checkout page, those parameters are gone. When they complete the purchase, you cannot connect that sale back to the original ad.
Solve this by storing UTM parameters in cookies or hidden form fields. When someone first lands on your site, capture the UTM parameters and save them in a first-party cookie. Then, as they move through your funnel, read those parameters from the cookie and pass them along. When they reach your checkout or CRM, include the UTM parameters so you know exactly which campaign drove that customer.
For ad platforms with click IDs (Facebook's fbclid, Google's gclid), the same principle applies. Capture these IDs on first click and persist them through the entire journey. These IDs are essential for server-side conversion reporting because they tell ad platforms exactly which click led to which purchase.
Integrate your email marketing platform into your tracking setup. If you use tools like ConvertKit, ActiveCampaign, or Klaviyo, connect them to your ad platforms so you can track email-driven conversions back to the original traffic source. Someone might click your ad, join your email list, receive a nurture sequence, and purchase a week later from an email link. Without proper integration, that sale looks like it came from email when it really came from your ad.
Payment processor integration is equally important. Connect Stripe, PayPal, or your course platform's payment system to your tracking tools. This ensures every transaction gets recorded with accurate values, including any taxes, fees, or discounts applied at checkout.
Track refunds and chargebacks explicitly. Info products often have refund rates, and if you do not account for refunds in your tracking, your profitability calculations will be wrong. Configure your payment system to send refund events back to your ad platforms. Meta and Google both support refund tracking that adjusts your conversion values accordingly.
For subscription-based info products or membership sites, lifetime value tracking becomes essential. A $47 monthly membership might seem less valuable than a $497 course purchase, but if the average member stays for 12 months, that membership is actually worth $564. Set up tracking that measures not just initial purchase value but total customer value over time. Learn more about conversion tracking for subscription businesses to maximize your membership revenue insights.
Many CRM platforms offer native integrations with ad platforms. Explore these built-in connections before building custom solutions. HubSpot, Salesforce, and similar tools can sync conversion data directly to Meta and Google, simplifying your tracking setup while maintaining accuracy.
Step 6: Validate Your Tracking Setup and Troubleshoot Common Issues
You have installed pixels, configured events, implemented server-side tracking, and connected your systems. Now comes the most important step: validating that everything actually works.
Run test purchases through every path in your funnel. If you offer multiple products, test each one. If you have payment plans and one-time payments, test both. If you run webinar funnels and evergreen funnels, test each variation. Go through the complete customer journey as if you were a real buyer.
As you complete each test purchase, monitor your tracking tools in real time. Watch Meta Events Manager's Test Events feature to confirm the Purchase event fires with the correct value. Check Google Ads conversion tracking to verify the conversion appears. Look at your analytics platform to ensure the transaction was recorded. Compare the numbers across all platforms.
Expect some discrepancies between platforms. Ad platforms use different attribution windows and counting methods, so perfect alignment is rare. But the numbers should be close. If Meta shows 10 purchases, Google shows 11, and your payment processor shows 25, you have a serious tracking problem. Following best practices for tracking conversions accurately helps minimize these gaps.
Common issues to watch for include missing event parameters. You might see Purchase events firing, but with values of zero. This usually means your dynamic value passing is not configured correctly. Check your event setup and ensure the value parameter pulls from the actual transaction amount.
Incorrect event values are another frequent problem. If your $497 course shows up as a $4.97 purchase in your ad platform, you likely have a decimal or currency formatting issue. Review your event configuration and fix the value format.
Timezone mismatches can create confusion when comparing reports. Your ad platform might use UTC while your analytics uses your local timezone. A purchase that happened at 11 PM your time might appear in tomorrow's data in your ad platform. Document which timezone each tool uses so you can account for these differences.
Delayed server events sometimes cause temporary discrepancies. Server-side conversions might take a few minutes to appear in ad platform reports, while pixel-based events show up instantly. If you see gaps, wait 10-15 minutes and check again before assuming something is broken.
After validating test purchases, compare your tracking data against your actual revenue for a week or two. At the end of each week, check your payment processor's total revenue and compare it to the sum of Purchase event values in your ad platforms. They should match closely. If they are significantly different, investigate why.
Document your entire tracking setup in a shared document. Include which pixels are installed where, how events are configured, what naming conventions you use, which UTM parameters you track, and how you handle refunds and payment plans. This documentation becomes invaluable when troubleshooting issues, onboarding team members, or scaling your tracking to new products.
Set up a regular validation schedule. Once a month, run test purchases and compare platform data against actual revenue. Tracking setups can break when you update your website, change course platforms, or modify your funnel. Regular validation catches problems before they cost you significant budget.
Your Tracking Foundation Is Set
You now have a conversion tracking system that captures the full complexity of your info product funnel. Unlike the fragmented, unreliable data you started with, you can now see exactly which campaigns generate real revenue, which traffic sources bring your best customers, and where people drop off in your funnel.
Run through this final checklist to confirm your setup is complete. Your entire funnel should be mapped with all conversion events clearly defined and documented. Tracking pixels must be installed and verified on every page, from landing pages through final thank you pages. Purchase events should be configured with dynamic values that reflect actual transaction amounts. Server-side tracking needs to be active and properly deduplicated to capture conversions that browser-based tracking misses. Your CRM, email platform, and payment systems should be connected with UTM parameters and click IDs persisting through the entire customer journey. Finally, test purchases must be validated across all platforms to confirm data accuracy.
With reliable tracking in place, you can shift from guessing to knowing. Instead of wondering which ads work, you will see exactly which campaigns drive profitable sales. Instead of spreading budget across everything hoping something works, you can double down on what actually converts. Instead of relying on vanity metrics like clicks and impressions, you can optimize for revenue and customer lifetime value.
The next level is analyzing your attribution data across multiple touchpoints. Most info product customers interact with several marketing channels before buying. They might click a Facebook ad, watch a YouTube video, receive email reminders, and visit your site directly before finally purchasing. Understanding how these touchpoints work together helps you allocate budget more effectively and avoid cutting campaigns that play important supporting roles in your funnel.
Ready to elevate your marketing game with precision and confidence? Discover how Cometly's AI-driven recommendations can transform your ad strategy. Get your free demo today and start capturing every touchpoint to maximize your conversions.


