
Running paid ads across Meta, Google, TikTok, and other platforms without unified tracking is like flying blind with your marketing budget. You see clicks and impressions in each platform's dashboard, but you can't tell which channels actually drive purchases versus which ones just take credit.
Picture this: Meta reports 50 conversions, Google claims 40, and TikTok says they drove 30—but your actual sales total only 60. Someone's taking credit for conversions they didn't drive, and you're making budget decisions based on inflated numbers.
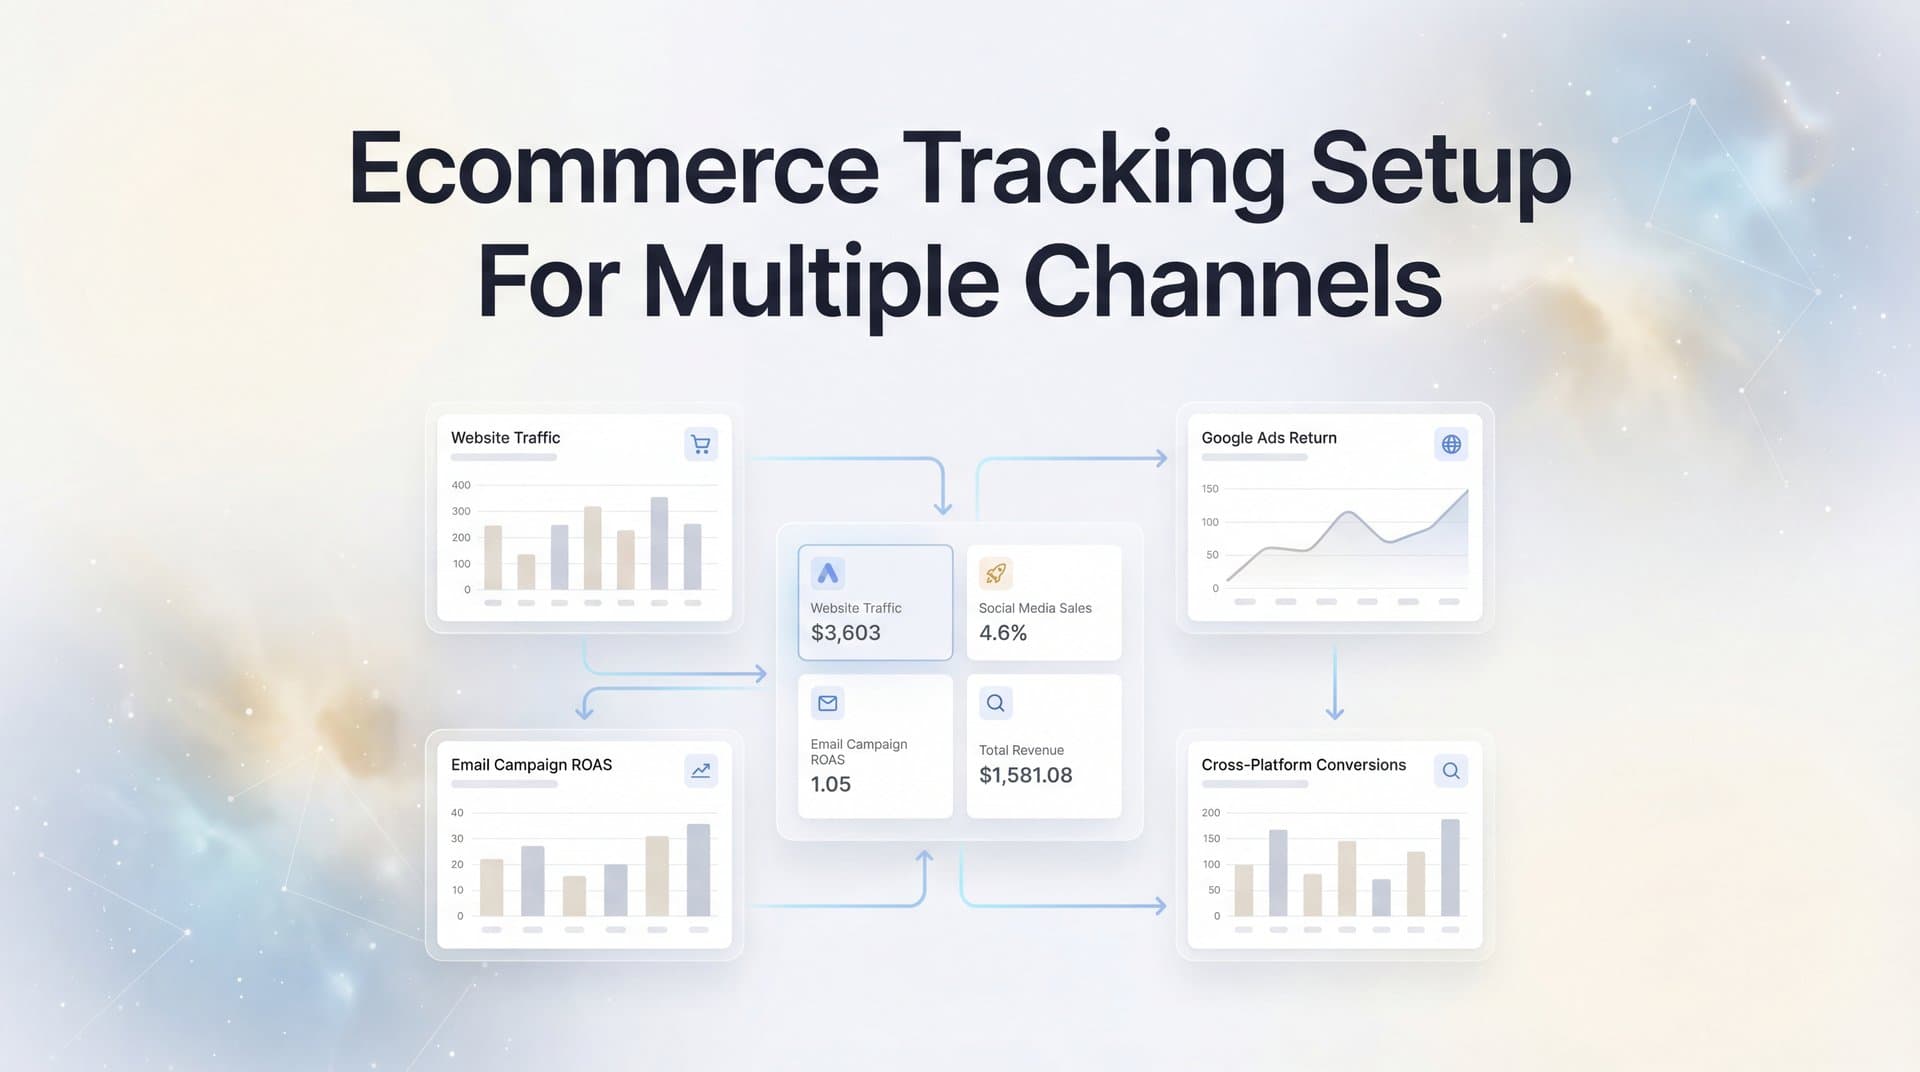
This guide walks you through setting up comprehensive ecommerce tracking that connects all your advertising channels to real revenue data. By the end, you'll have a system that captures every touchpoint from first ad click to final purchase, giving you the clarity to confidently scale winning campaigns and cut wasteful spend.
Whether you're managing tracking for the first time or fixing a fragmented setup, these steps will help you build a foundation for accurate, actionable marketing data. No more guessing which channels deserve more budget. No more scaling campaigns that look good in platform dashboards but don't actually drive profit.
Let's build a tracking system that shows you exactly what's working.
Step 1: Audit Your Current Tracking Setup and Identify Gaps
Before you can fix your tracking, you need to know what's actually broken. Most marketers discover they have pixels firing inconsistently, events missing entirely, or multiple tracking codes conflicting with each other.
Start by documenting every advertising channel you're currently running. Make a simple spreadsheet with columns for platform name, whether you have tracking installed, what events are firing, and any known issues. Include Meta Ads, Google Ads, TikTok Ads, Pinterest, email campaigns, and any other traffic sources where you're spending money.
Check Your Current Pixel Installation: Open your website in Chrome, right-click anywhere, select "Inspect," and navigate to the Network tab. Reload your homepage and look for pixel requests. You should see calls to Meta's pixel, Google's gtag, TikTok's pixel, and any other tracking codes you've installed.
Test Key Conversion Events: Walk through your purchase funnel as a customer would. Add products to cart, proceed to checkout, and complete a test purchase. Watch your browser's developer tools to confirm each tracking event fires at the right moment. Common events to verify include page views, view content, add to cart, initiate checkout, and purchase. Understanding event tracking in Google Analytics can help you verify these events are firing correctly.
Many marketers discover their tracking breaks down at specific points. iOS users might not trigger pixel events due to App Tracking Transparency restrictions. Ad blockers prevent pixels from loading entirely. Cross-device journeys—where someone clicks an ad on mobile but purchases on desktop—often go untracked because cookies don't follow users across devices.
Identify Attribution Gaps: Look at your platform dashboards and compare reported conversions to your actual sales data from your ecommerce platform. If Meta says you had 100 conversions but Shopify shows 80 orders from all sources combined, you've got serious attribution inflation. That gap represents decisions you're making with bad data. Many businesses encounter common pitfalls of Shopify tracking that contribute to these discrepancies.
Create a prioritized list of what needs fixing. Start with the basics: Are purchase events firing reliably? Is revenue data being captured accurately? Can you trace individual customers from ad click to purchase? These fundamentals matter more than fancy multi-touch attribution models.
Success indicator: You have a complete spreadsheet showing which platforms are tracked, which events fire correctly, where tracking fails, and what data you're currently missing. This becomes your roadmap for the remaining steps.
Step 2: Configure Server-Side Tracking as Your Foundation
Browser-based pixels worked fine five years ago. In 2026, they're increasingly unreliable. iOS privacy changes block tracking by default. Ad blockers prevent pixels from loading. Cookie restrictions limit how long you can track users. If you're relying only on client-side tracking, you're missing a significant portion of your conversions.
Server-side tracking solves these problems by sending conversion data directly from your server to advertising platforms, bypassing browser limitations entirely. When a purchase happens on your site, your server immediately notifies Meta, Google, and other platforms—regardless of whether the customer's browser allowed pixels to fire.
Connect Your Ecommerce Platform: Most modern ecommerce platforms support server-side tracking integrations. In Shopify, you can install apps that handle server-side events automatically. For WooCommerce stores, implementing server-side tracking for WooCommerce offers similar reliability improvements. BigCommerce has native webhooks that trigger when orders complete.
The setup typically involves generating API credentials from your advertising platforms, then adding those credentials to your ecommerce platform's tracking configuration. For Meta, you'll need your Pixel ID and Conversions API Access Token. For Google, you'll configure Enhanced Conversions with your Google Ads account credentials.
Map Critical Events: Configure your server-side tracking to send the events that matter most for optimization. At minimum, you need purchase events with accurate revenue values. Many marketers also send add-to-cart and initiate-checkout events to help ad platforms optimize for users likely to convert.
Include as much customer data as possible in your server-side events. Email addresses, phone numbers, and customer names help platforms match conversions back to the right ad clicks. This matching is crucial—without it, platforms can't attribute conversions correctly or use that data to improve targeting. Leveraging first-party data tracking ensures you capture this information reliably.
Test With Real Transactions: Don't assume your server-side tracking works just because you configured it. Place actual test orders and verify that conversion events appear in your advertising platform dashboards. Check that revenue values match exactly. Confirm that events fire within seconds of purchase completion, not hours later.
Server-side tracking isn't perfect—it can't capture every attribution signal that client-side pixels provide. The ideal setup combines both: client-side pixels capture rich behavioral data and attribution signals, while server-side tracking ensures conversions get reported even when pixels fail. This redundancy dramatically improves data accuracy.
Success indicator: You can place a test order, and within minutes, you see that purchase event appear in Meta Events Manager, Google Ads conversions, and any other platforms you're tracking. The revenue value matches your order total exactly, and the event includes customer matching data like email address.
Step 3: Connect All Advertising Platforms to Your Central Tracking Hub
Having tracking on individual platforms is a start, but it creates fragmented data. Meta tells you one story, Google tells you another, and TikTok claims credit for conversions the other two already counted. You need a unified view that shows you the complete customer journey across every touchpoint.
This is where a central attribution platform becomes essential. Rather than logging into five different dashboards to piece together performance, you connect all your advertising accounts to one system that tracks the entire journey from first click to final purchase. Choosing the right software for tracking marketing attribution is critical for this step.
Integrate Your Ad Platforms: Connect Meta Ads, Google Ads, TikTok Ads, Pinterest Ads, and any other channels where you're running campaigns. Most attribution platforms use OAuth connections that grant read access to your ad account data without requiring you to share passwords. The integration pulls in your ad spend, impressions, clicks, and platform-reported conversions automatically.
Standardize UTM Parameters: Consistent UTM tagging is critical for accurate source attribution. Create a naming convention and stick to it religiously. Use utm_source for the platform (facebook, google, tiktok), utm_medium for the ad type (cpc, paid-social, display), and utm_campaign for your campaign name.
Many marketers make UTM tagging more complicated than necessary. You don't need ten different parameters. Focus on the basics: source, medium, and campaign. Make sure every single ad you run includes these parameters, and make sure they're spelled consistently. "Facebook" and "facebook" will show up as different sources in your reports.
Set Up Conversion APIs: Beyond just tracking conversions in your attribution platform, you need to send that data back to your advertising platforms to improve their optimization algorithms. Meta's Conversions API, Google's Enhanced Conversions, and TikTok's Events API all allow you to feed enriched conversion data back into their systems. A proper conversion tracking setup ensures this data flows correctly.
This creates a powerful feedback loop. Your attribution platform captures accurate conversion data that includes proper source attribution. It then sends that data back to each ad platform, helping their algorithms understand which ads and audiences actually drive purchases. Over time, this improves targeting and reduces wasted spend.
Configure Event Matching: For conversion APIs to work effectively, they need to match conversions back to specific ad clicks. This requires sending customer information—email addresses, phone numbers, IP addresses—that platforms can hash and match against their user data. The more matching parameters you include, the higher your match rate and the more accurate your attribution becomes.
Success indicator: You can log into one dashboard and see performance data from all your advertising channels side by side. You can click on any conversion and see the complete journey—which ad they clicked, what they did on your site, and whether they purchased. Your ad platforms show improved match rates in their conversion API diagnostics.
Step 4: Link Your CRM and Sales Data to Complete the Revenue Picture
Most attribution tracking stops at the initial purchase. But if you're selling products with repeat purchases, subscriptions, or high-value contracts, that first transaction is just the beginning. You need to track the complete customer lifecycle to understand which channels drive valuable customers versus one-time buyers.
Connecting your CRM completes the revenue picture. Now you can see not just which ad drove the first purchase, but which channels consistently bring in customers who stick around, buy repeatedly, and generate meaningful lifetime value. Implementing customer attribution tracking helps you understand these long-term patterns.
Integrate Your CRM Platform: Whether you're using HubSpot, Salesforce, Pipedrive, or another system, connect it to your attribution platform. This integration typically syncs customer records, deal stages, and revenue data. When someone moves from lead to customer, your attribution system can trace that back to their original traffic source. For HubSpot users specifically, setting up HubSpot attribution tracking streamlines this process significantly.
The key is ensuring customer records in your CRM match up with the user data in your attribution system. Email address is usually the primary identifier. When someone fills out a lead form or makes a purchase, their email gets recorded in both systems, allowing you to connect their ad interactions with their full customer journey.
Map Customer Lifecycle Stages: Set up your tracking to recognize different stages of customer value. A lead is different from a trial user, which is different from a paying customer, which is different from a high-value repeat buyer. By tracking these stages, you can identify which channels excel at each part of your funnel.
You might discover that TikTok drives tons of cheap leads but few convert to paying customers, while Google Search brings fewer leads but they close at higher rates. Without lifecycle tracking, you'd only see that TikTok drives more volume and might over-invest there. Understanding lead generation attribution tracking helps you identify these patterns early.
Track Actual Revenue Values: Make sure your attribution system captures real order values, not just conversion counts. A channel that drives 100 purchases at $20 each performs very differently than one that drives 50 purchases at $100 each. Revenue-based attribution shows you which channels drive profit, not just activity. Platforms focused on marketing attribution with revenue tracking make this process seamless.
For subscription businesses, this becomes even more critical. Track not just initial subscription value but ongoing monthly recurring revenue. Attribute renewals and upgrades back to the original acquisition source. This shows you which channels bring customers who stick around versus those who churn quickly.
Success indicator: You can pull up any customer in your system and see their complete journey—from the first ad they clicked, through every website visit and interaction, to their current status in your CRM and total revenue generated. You can segment customers by acquisition channel and compare lifetime value across sources.
Step 5: Validate Your Multi-Channel Attribution Data
Setting up tracking is one thing. Trusting that it's accurate is another. Many marketers implement sophisticated attribution systems only to discover their data is riddled with errors—duplicate conversions, missing events, or wildly incorrect revenue values.
Validation isn't a one-time task. It's an ongoing process of testing, comparing, and monitoring to ensure your data remains reliable as your business evolves and platforms change their tracking methods.
Run Controlled Test Purchases: Place test orders through each of your advertising channels. Click a Meta ad, complete a purchase, and verify that conversion appears correctly attributed to Meta in your system. Do the same for Google, TikTok, and other channels. Check that revenue values match exactly and that the customer journey shows all the touchpoints you expect.
Test different scenarios: mobile purchases versus desktop, users who clear cookies between sessions, customers who use ad blockers. Each scenario might reveal tracking gaps you need to address.
Compare Platform Data Against Your Attribution System: Pull conversion reports from Meta, Google, and other platforms. Compare those numbers to what your attribution system reports. Some discrepancy is normal—platforms use different attribution windows and models—but massive differences indicate problems. Understanding the differences between Google Analytics vs attribution platforms helps you interpret these discrepancies correctly.
If Meta reports 200 conversions but your attribution system only shows 150 from Meta, investigate why. Are events not firing? Is server-side tracking configured incorrectly? Are conversions being attributed to the wrong source due to UTM parameter issues?
Check for Duplicate Conversions: One common error is counting the same purchase multiple times because both client-side and server-side tracking fire, or because multiple pixels claim the same conversion. Your attribution platform should deduplicate these automatically, but verify it's working correctly by looking at individual purchase records.
Set Up Monitoring Alerts: Configure alerts that notify you when tracking breaks. If your daily conversion volume suddenly drops by 50%, you need to know immediately—not three weeks later when you're analyzing monthly reports. Most attribution platforms can alert you when key metrics deviate significantly from normal patterns.
Success indicator: Your tracked conversion counts match your actual sales within a reasonable variance (typically 5-10% due to attribution window differences). You can explain any discrepancies. Your monitoring system alerts you within hours if tracking fails, not days or weeks later.
Step 6: Use Your Unified Data to Optimize Channel Performance
Now comes the payoff. With accurate multi-channel tracking in place, you can finally make confident decisions about where to invest your marketing budget. No more guessing based on inflated platform metrics. No more scaling campaigns that look good in dashboards but don't drive real profit.
Analyze True ROAS Across Channels: Look at your attribution data to calculate actual return on ad spend for each channel. Divide total revenue generated by total ad spend, using your unified attribution data rather than platform-reported numbers. This shows you which channels genuinely drive profit. The right ecommerce tracking app for boosting ROAS makes this analysis straightforward.
You might discover that Meta's dashboard reports a 4x ROAS, but your attribution system shows it's actually 2.5x because Meta was claiming credit for conversions other channels drove. That's still profitable, but it changes how aggressively you should scale Meta versus other channels.
Identify Attribution Inflation: Compare what each platform claims it drove versus what your attribution system shows. Platforms naturally want to claim credit for as many conversions as possible—it makes their performance look better. But when you add up all the conversions every platform claims, the total often exceeds your actual sales by 50-100% or more.
Your attribution system cuts through this inflation by assigning credit based on actual customer journeys. It shows you which channel deserves credit for the first touch, which ones assisted, and which one closed the deal. This clarity transforms your decision-making.
Feed Better Data to Ad Algorithms: Use your enriched conversion data to improve ad platform optimization. When you send back accurate purchase events with proper customer matching, platforms can identify patterns in who converts and target similar users more effectively. This creates a virtuous cycle where better data leads to better targeting, which leads to better results.
The conversion sync capabilities in modern attribution platforms automatically handle this feedback loop. They continuously send accurate conversion data back to Meta, Google, and other platforms, helping their algorithms learn and improve without any manual work from you.
Make Confident Budget Decisions: With verified performance data, you can reallocate budget from underperforming channels to winners. If your data shows Google Search drives purchases at 5x ROAS while TikTok delivers 1.5x ROAS, you know where to invest more aggressively. Learning how to scale Facebook ads becomes much easier when you have accurate attribution data guiding your decisions.
You can also identify which campaigns within each channel perform best. Maybe Meta carousel ads drive better results than single-image ads. Maybe certain audience segments consistently outperform others. Your unified data reveals these patterns so you can double down on what works.
Success indicator: You can confidently answer questions like "Which channel should get more budget?" and "Which campaigns should we scale?" based on verified data rather than gut feel. Your ROAS improves over time as you systematically shift spend toward genuinely profitable channels and away from those that just look good in platform dashboards.
Putting It All Together
Let's recap the framework that transforms fragmented tracking into a unified system that actually shows you what's working:
Your Quick Setup Checklist: First, audit your current tracking and document every gap. Second, implement server-side tracking as your foundation for reliable conversion capture. Third, connect all advertising platforms to a unified attribution hub. Fourth, link your CRM to track complete customer lifecycle value. Fifth, validate data accuracy with test purchases and ongoing monitoring. Sixth, use your unified data to make confident optimization decisions.
With this system in place, you'll finally see which channels genuinely drive revenue—not just which ones claim credit. You'll stop wasting budget on campaigns that look good in isolation but don't contribute to actual profit. You'll scale with confidence because you're making decisions based on verified data rather than platform-inflated metrics.
The technical complexity of multi-channel attribution is real. Setting up server-side tracking, configuring conversion APIs, integrating CRM data, and maintaining accuracy across multiple platforms requires significant time and expertise. Many marketers spend weeks or months building and debugging these systems.
Tools like Cometly can accelerate this entire process by handling the technical complexity automatically. From server-side tracking and conversion sync to AI-powered optimization recommendations, attribution platforms eliminate the manual work of connecting all your data sources. You get the unified view and accurate attribution without spending months on implementation.
Ready to stop guessing and start scaling based on real data? Your next step is implementing this framework yourself or exploring an attribution platform that does the heavy lifting for you. Either way, the clarity you gain from accurate multi-channel tracking transforms how you allocate budget, which campaigns you scale, and ultimately, how much profit your marketing generates.
Ready to elevate your marketing game with precision and confidence? Discover how Cometly's AI-driven recommendations can transform your ad strategy—Get your free demo today and start capturing every touchpoint to maximize your conversions.


