
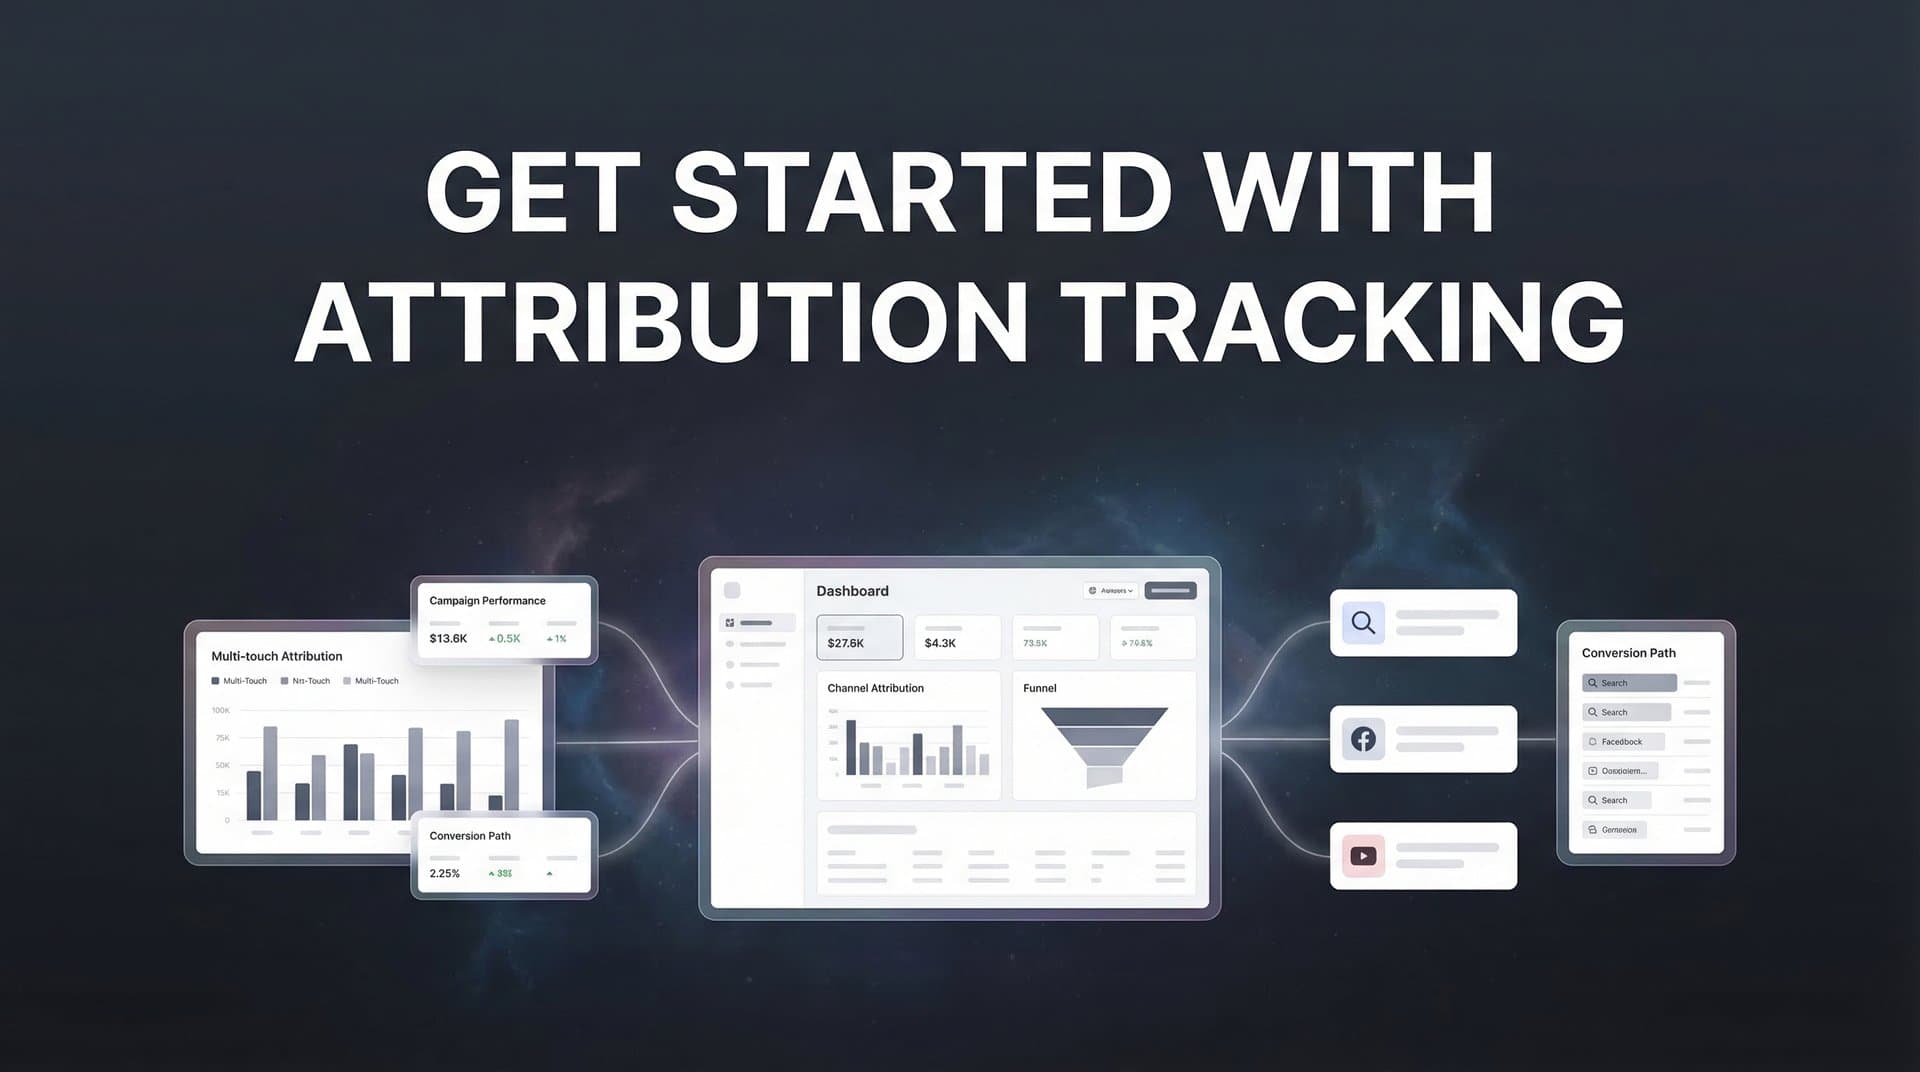
You're spending thousands on Meta ads, Google campaigns, and LinkedIn sponsorships. Your dashboard shows clicks, impressions, and conversions. But when your CFO asks which campaigns actually drive revenue, you're piecing together spreadsheets and making educated guesses. Sound familiar?
This isn't just frustrating—it's expensive. Without clear attribution tracking, you're flying blind. You might be pouring budget into channels that look good on paper but deliver little actual revenue. Or worse, you could be underinvesting in the campaigns that quietly drive your best customers.
Attribution tracking changes this. It maps the complete customer journey from that first ad click through every touchpoint until they become a paying customer. You'll finally see which campaigns deserve more budget and which ones are just burning cash.
The challenge? Setting up attribution tracking feels overwhelming. You're dealing with multiple ad platforms, each with its own tracking pixel. iOS privacy changes have made client-side tracking unreliable. Your CRM sits disconnected from your ad data. And nobody on your team has done this before.
This guide walks you through the entire process, step by step. We'll start with auditing what you have, then build a complete attribution system that connects your ads to actual revenue. No technical background required—just follow each step in order.
By the end, you'll have working attribution tracking that shows exactly which marketing dollars generate returns. Let's get started.
Step 1: Audit Your Current Marketing Stack and Data Sources
Before you build anything new, you need to understand what you already have. Think of this like taking inventory before renovating a kitchen—you need to know which appliances work, which are broken, and what's missing entirely.
Start by listing every advertising platform where you're currently spending money. Open a spreadsheet and document each one: Meta Ads, Google Ads, LinkedIn Campaign Manager, TikTok Ads, Twitter Ads—whatever you're using. Next to each platform, note whether you have their tracking pixel installed on your website. Don't assume it's there just because you're running ads. Check your website's code or tag manager to confirm.
Now look at your CRM. Are you using HubSpot, Salesforce, Pipedrive, or something else? Document how leads currently enter your CRM. Do they come from form submissions? Zapier integrations? Manual imports? Understanding this flow matters because you'll need to enhance it with HubSpot attribution tracking or similar CRM-integrated solutions.
Here's where it gets important: identify every conversion event that matters to your business. These aren't just form fills. Think through your entire funnel:
Top of Funnel: Newsletter signups, content downloads, webinar registrations
Middle of Funnel: Demo requests, free trial signups, consultation bookings
Bottom of Funnel: Purchases, contract signatures, closed deals
For each conversion event, note where it happens (which page or system) and whether you're currently tracking it. Many marketers discover they're tracking the easy stuff—like form submissions—but missing the revenue events that actually matter.
Finally, identify your tracking gaps. Where do you lose visibility? Common blind spots include: phone calls from ads, offline conversions that start online, cross-device journeys where someone clicks an ad on mobile but converts on desktop, and the gap between when someone becomes a lead and when they become a customer.
Take an hour to build this complete inventory. You should finish with a clear picture of your current state: which platforms you're using, how data flows into your CRM, which conversion events you're tracking, and where you're currently blind. This becomes your roadmap for everything that follows.
Step 2: Define Your Attribution Goals and Key Conversion Events
Attribution tracking can measure almost anything. That's both its strength and its trap. Without clear goals, you'll drown in data that doesn't drive decisions.
Start by defining what success actually means for your business. If you're in e-commerce, success might be purchases and revenue. For B2B SaaS, it could be demo bookings or free trial signups. For agencies, maybe it's qualified lead submissions. The key is connecting your attribution goals to outcomes that impact your bottom line, not vanity metrics that just look good in reports.
Here's a framework that works: map your funnel stages and identify the critical conversion event at each level. Let's say you run a B2B software company. Your funnel might look like this:
Awareness Stage: Blog visits, content downloads (tracked but not prioritized for attribution)
Consideration Stage: Demo requests, free trial signups (high priority—these are qualified leads)
Decision Stage: Closed deals, contract value (highest priority—this is actual revenue)
Now decide between tracking micro-conversions versus macro-conversions. Micro-conversions are small actions like email signups or PDF downloads. Macro-conversions are major business events like purchases or signed contracts. Your sales cycle length determines which matters more.
Short sales cycles (e-commerce, direct response) can focus heavily on macro-conversions. You run an ad, someone buys within days, attribution is straightforward. But long sales cycles (enterprise B2B, high-ticket services) need both. You'll track the demo request as a micro-conversion to optimize ad performance quickly, while also tracking the eventual closed deal months later to understand true ROI.
Here's the critical part: align everything with actual business outcomes, not platform metrics. Click-through rate doesn't pay your bills. Cost per lead only matters if those leads convert to customers. Revenue per ad dollar spent—that's what matters. Understanding marketing attribution platforms for revenue tracking helps you focus on metrics that actually move the needle.
Create a prioritized list of 3-5 conversion events ranked by business impact. For most businesses, this looks something like: (1) Revenue/Closed Deals, (2) Qualified Lead Submissions, (3) Product Signups/Demos, (4) Key Engagement Actions, (5) Initial Interest Signals. Focus your attribution tracking on these events first. You can always add more later, but starting with too many conversion events creates confusion instead of clarity.
Write down your top conversion events and the specific business value each represents. This becomes your north star for the entire attribution setup.
Step 3: Implement Tracking Infrastructure Across Your Website
Now you're building the foundation that makes attribution possible. This step is technical, but you don't need to be a developer—you just need to be methodical.
Start with Google Tag Manager if you're not already using it. GTM lets you install and manage all your tracking pixels from one central location instead of editing website code every time you add a new platform. Set up a free GTM account, install the container code on every page of your website, and verify it's working using the GTM preview mode.
Next, install the base tracking pixels from each ad platform you're using. In GTM, add tags for Meta Pixel, Google Ads conversion tracking, LinkedIn Insight Tag, and any other platforms from your Step 1 audit. Each platform provides specific installation instructions—follow them carefully. The key is installing the base pixel on every page, not just conversion pages. This lets platforms track the full user journey.
Here's where most marketers stop, and where you need to go further: implement server-side tracking. Since iOS 14.5 and increasing browser privacy protections, client-side pixels (the JavaScript code that runs in someone's browser) miss significant data. Server-side tracking sends conversion data directly from your server to ad platforms, bypassing browser restrictions.
Platforms like Meta and Google now offer Conversions API and Enhanced Conversions specifically for this. Setting these up requires some technical work—you might need developer help or a platform that handles this automatically. But the data accuracy improvement is worth it. Many marketers see 20-30% more conversions captured with server-side tracking compared to pixel-only setups.
Now configure UTM parameters consistently across all campaigns. UTMs are those tags at the end of URLs (like ?utm_source=facebook&utm_campaign=spring_sale) that tell you where traffic came from. Create a standardized naming convention and stick to it religiously. Understanding the difference between UTM tracking vs attribution software helps you leverage both approaches effectively.
Add tracking to every conversion point on your website. This means:
Forms: Track both form views and form submissions as separate events
Checkout pages: Track when someone reaches checkout and when they complete purchase
Thank-you pages: This confirms a conversion happened and often triggers platform conversion pixels
Button clicks: Track clicks on key CTAs like "Start Free Trial" or "Book a Demo"
Finally—and this is critical—test everything before you launch campaigns. Use GTM's preview mode to trigger each conversion event and confirm it fires correctly. Check that data appears in your ad platform dashboards. Send test conversions through your entire funnel and verify they show up where they should. Catching tracking issues now saves you from wasting ad spend on campaigns you can't properly measure.
When you can trigger a test conversion and see it appear in Meta Ads Manager, Google Ads, and your analytics platform within minutes, you're ready to move forward.
Step 4: Connect Your Ad Platforms to Your CRM
This is where attribution tracking transforms from interesting data into business intelligence. Your ad platforms know about clicks and website conversions. Your CRM knows about leads, opportunities, and closed deals. Connecting them reveals which ads drive actual revenue, not just form fills.
Start by integrating your ad platforms with your CRM. Most modern CRMs offer native integrations with major ad platforms. In HubSpot, you can connect Facebook Ads and Google Ads directly through the integrations marketplace. Salesforce has similar connectors. If your CRM doesn't have native integrations, you'll need a middleware tool like Zapier or a dedicated attribution platform to bridge the gap.
The goal is passing UTM parameters and click IDs from your ads into your CRM records. When someone clicks your Facebook ad and fills out a form, you want that lead record in your CRM to include: utm_source=facebook, utm_campaign=[your campaign name], utm_content=[your ad name], and the Facebook Click ID (fbclid). This data becomes the thread you follow back from revenue to specific ads.
Configure your forms to capture and pass this data. Hidden form fields work well—they automatically grab UTM parameters from the URL and submit them along with the visible form data. Most form builders support this functionality. Just make sure your CRM is set up to receive and store these fields on contact records.
Now set up offline conversion tracking—this is the reverse flow that completes the loop. When a lead in your CRM closes as a customer, you want to send that conversion event back to your ad platforms. This tells Facebook, Google, and other platforms which ads drove actual revenue, not just cheap clicks.
Here's why this matters beyond reporting: ad platform algorithms use conversion data to optimize delivery. If you only tell Facebook about form submissions, it optimizes for people who fill out forms—regardless of whether they become customers. But if you send closed deal conversions back to Facebook, the algorithm learns to find people who actually buy. Your cost per acquisition might increase slightly, but your cost per customer decreases significantly because you're attracting better-qualified leads.
Configure conversion sync to feed this enriched data back to ad platforms. Most attribution platforms and some CRM integrations handle this automatically. You define which CRM events count as conversions (like "Opportunity Won" or "Deal Closed"), and the system sends those events back to the originating ad platform with the associated click ID. For attribution tracking for lead generation, this closed-loop reporting is essential.
Test this integration thoroughly. Create a test lead, move it through your pipeline to closed-won status, and verify that conversion appears in your ad platform within 24-48 hours. The lag is normal—offline conversions don't appear instantly like website conversions do.
When you can look at a closed deal in your CRM and see exactly which ad, campaign, and keyword drove it—and when that same conversion appears in your ad platform's reporting—you've successfully connected the dots from ad spend to revenue.
Step 5: Choose and Configure Your Attribution Model
You're tracking everything. Data is flowing. Now you need to decide how to distribute credit across the multiple touchpoints in each customer journey. This is where attribution models come in.
Let's break down the main options. First-touch attribution gives all credit to the first interaction—the initial ad click or website visit that started the journey. Last-touch attribution gives all credit to the final touchpoint before conversion. Linear attribution splits credit equally across all touchpoints. Time-decay attribution gives more credit to touchpoints closer to conversion. And data-driven attribution uses machine learning to assign credit based on actual conversion patterns.
Which one should you use? It depends on your business reality, not which model sounds most sophisticated. Understanding the various attribution tracking methods helps you make an informed decision.
E-commerce with short sales cycles (someone sees an ad, clicks, buys within days) often works well with last-touch attribution. The purchase decision happens quickly, so the final touchpoint genuinely deserves most credit. First-touch can help you understand which channels generate initial awareness, but for budget allocation decisions, last-touch tells you what's closing sales.
B2B with long sales cycles (someone sees your ad, downloads content, attends a webinar, requests a demo, then closes three months later) needs multi-touch attribution. That journey involved multiple meaningful interactions. First-touch tells you what generates awareness, but ignores the nurture campaign that actually closed the deal. Last-touch gives all credit to the demo request, ignoring the Facebook ad that started everything. Multi-touch models show the full picture. For software companies specifically, attribution tracking for SaaS companies requires this nuanced approach.
Here's practical advice: start with a simpler model to establish baselines. Implement last-touch attribution first. Get comfortable analyzing that data and making decisions based on it. Then layer in first-touch or linear attribution as a comparison view. This lets you see how credit shifts between models without overwhelming yourself with complexity from day one.
Configure your attribution platform or analytics tool to apply your chosen model consistently. In Google Analytics, you can compare different models in the attribution reports. Dedicated attribution platforms let you switch between models with a dropdown menu. The key is using the same model consistently when making budget decisions—don't optimize based on last-touch one week and first-touch the next, or you'll chase your tail.
Set your attribution window carefully. This is how far back you look for touchpoints. A 7-day click window means conversions get attributed to ad clicks that happened within the past 7 days. Longer sales cycles need longer windows—30 days or even 90 days for enterprise B2B. Shorter cycles can use 7-day or 14-day windows. Match your window to your actual sales cycle length.
You'll know your attribution model is working when your reports show credit distribution that makes sense for your business. If you're B2B with a 60-day sales cycle and 100% of revenue is attributed to a single last-touch interaction, something's wrong. If you're e-commerce and credit is spread across 15 touchpoints for a $30 impulse purchase, your model is overcomplicated.
Step 6: Validate Your Data and Troubleshoot Common Issues
Attribution tracking is only valuable if the underlying data is accurate. This step is about building trust in your numbers before you make budget decisions based on them.
Start by comparing attributed conversions against your source of truth—usually your CRM and financial records. Pull a report of all closed deals from last month. Now pull your attribution report for the same period. Do the numbers match? They won't be perfect—some variance is normal—but they should be close.
If your attribution platform shows 50 closed deals but your CRM shows 75, you have a problem. Common causes include: conversions happening through channels you're not tracking (like direct phone calls), leads that converted without clicking any tracked ads (organic or direct traffic), or tracking implementation gaps where some conversion events aren't being captured.
Check for discrepancies between platform-reported conversions and your attribution tool. Facebook might report 100 conversions while your attribution platform shows 85 from Facebook. This happens because platforms use different attribution windows and models. Facebook's default is 7-day click and 1-day view, which is more generous than most attribution platforms. Some variance is expected, but large gaps (more than 20-30%) suggest tracking issues. When your attribution tracking is not working properly, these discrepancies become even more pronounced.
Identify and fix common problems systematically. Duplicate tracking is frequent—you might have conversion pixels firing twice, inflating your numbers. Check your tag manager and make sure each conversion event has only one tag firing per action. Missing UTMs are another classic issue—some campaigns lack proper UTM parameters, so conversions appear as "direct" traffic instead of attributed to the correct source. Audit your active campaigns and fix any missing UTM tags.
Broken conversion pixels happen when website changes accidentally remove tracking code. Test each conversion point monthly to confirm pixels still fire correctly. Cross-domain tracking gaps occur when users move between different domains you own (like from yoursite.com to checkout.yoursite.com or app.yoursite.com). Configure cross-domain tracking in Google Analytics and your tag manager to maintain the tracking thread across domains.
Set up regular data quality checks. Monthly, compare attributed revenue against actual closed revenue. The variance should be less than 10%. If it's higher, investigate. Look for patterns—are certain channels consistently over or under-attributed? Are specific conversion events missing from attribution reports? These patterns point you toward the source of data quality issues. Understanding common attribution tracking challenges helps you anticipate and prevent these problems.
Create a simple dashboard that shows: total attributed conversions vs. total actual conversions, attributed revenue vs. actual revenue, and conversion counts by channel compared to CRM source data. Review this monthly. When the numbers align closely, you can trust your attribution data to guide budget decisions.
Step 7: Build Your First Attribution Dashboard and Take Action
You've built the infrastructure. Now you need to turn that data into decisions. This final step is about creating visibility and using attribution insights to improve campaign performance.
Create a dashboard that shows performance by channel, campaign, and ad with attributed revenue. The key metrics to include: ad spend by source, attributed conversions by source, attributed revenue by source, return on ad spend (ROAS), and cost per attributed customer. Organize this hierarchically—start with channel-level view (Facebook, Google, LinkedIn), then drill into campaigns within each channel, then into individual ads.
Most attribution platforms and analytics tools have dashboard builders. If you're using Google Analytics, the Multi-Channel Funnels and Attribution reports provide this view. If you're using a dedicated attribution platform, they typically include pre-built dashboard templates. Customize these to match the conversion events and metrics you defined in Step 2.
Set up views that compare different attribution models. Create one dashboard section showing last-touch attribution, another showing first-touch, and a third showing linear or time-decay. This comparison reveals important insights. If a channel looks amazing in last-touch but terrible in first-touch, it's good at closing deals but not generating new interest. If a channel dominates first-touch but barely appears in last-touch, it creates awareness but doesn't close—you might need better nurture campaigns for leads from that source.
Now comes the valuable part: identify your top-performing and underperforming campaigns based on attributed ROI. Forget what the platforms tell you. Facebook might report a 5x ROAS, but if your attribution tracking shows those conversions rarely turn into paying customers, the real ROAS is much lower. Trust your attribution data over platform-reported metrics when they conflict.
Make your first optimization decision based on this data. Look for clear winners and losers. If your LinkedIn campaign shows a 10x ROAS while your Facebook campaign shows 2x ROAS, the decision is obvious—shift budget from Facebook to LinkedIn. Start with a 20% budget reallocation. Move money from your worst-performing campaigns to your best-performing ones. Monitor the results over the next two weeks. Learning how to improve ROAS with better tracking accelerates this optimization process.
This is where attribution tracking pays for itself. Most marketers discover they're significantly over-investing in channels that generate cheap clicks but few customers, while under-investing in channels that drive real revenue. Even a single budget reallocation based on attribution data can improve overall ROAS by 30-50%.
Set a weekly review cadence. Every Monday, look at your attribution dashboard. Check which campaigns drove the most attributed revenue last week. Look for new winners to scale and new losers to pause or adjust. This becomes your primary decision-making tool for campaign attribution tracking and optimization.
As you get comfortable with the basics, layer in more sophisticated analysis. Compare customer lifetime value by acquisition channel. Analyze attribution by customer segment. Test different attribution windows to see how they change your conclusions. But start simple—channel-level attributed ROAS is enough to drive significant improvements.
Putting It All Together
You now have a working attribution tracking system that connects ad clicks to real revenue. Let's confirm you've completed everything:
✓ All ad platforms and CRM documented with current tracking status
✓ Conversion events defined and prioritized by business impact
✓ Tracking pixels and server-side tracking installed across your website
✓ CRM integrated with ad platforms, passing UTM data and click IDs
✓ Attribution model selected, configured, and applied consistently
✓ Data validated against actual revenue with acceptable variance
✓ Dashboard built showing attributed performance by channel and campaign
If you've checked all seven boxes, you're ahead of most marketers. You have visibility into which marketing efforts actually drive business results, not just which ones generate activity.
The real value comes from using this data consistently. Review your attribution reports weekly. Make budget decisions based on attributed ROAS, not platform-reported metrics. Compare attribution models monthly to understand how credit shifts across your funnel. Let the data guide your optimization decisions instead of gut feel or vanity metrics.
As your campaigns scale and your needs become more sophisticated, the manual setup you've built here can become limiting. Managing multiple integrations, reconciling data across platforms, and maintaining tracking infrastructure takes time away from actually optimizing campaigns. This is where dedicated attribution platforms become valuable—they automate the technical complexity and provide AI-powered recommendations for optimization.
Ready to elevate your marketing game with precision and confidence? Discover how Cometly's AI-driven recommendations can transform your ad strategy—Get your free demo today and start capturing every touchpoint to maximize your conversions.
The foundation you've built today gives you the visibility to make smarter marketing decisions. Now use it. Your CFO will thank you when you can finally answer which campaigns drive revenue with data instead of guesses.


