Most Google Ads campaigns are optimized around online actions: form fills, clicks, and page visits. But for many businesses, the real revenue happens offline. A lead submits a form, a sales rep follows up, and weeks later a deal closes. Without connecting that offline outcome back to the original ad click, Google's algorithm is flying blind and so are you.
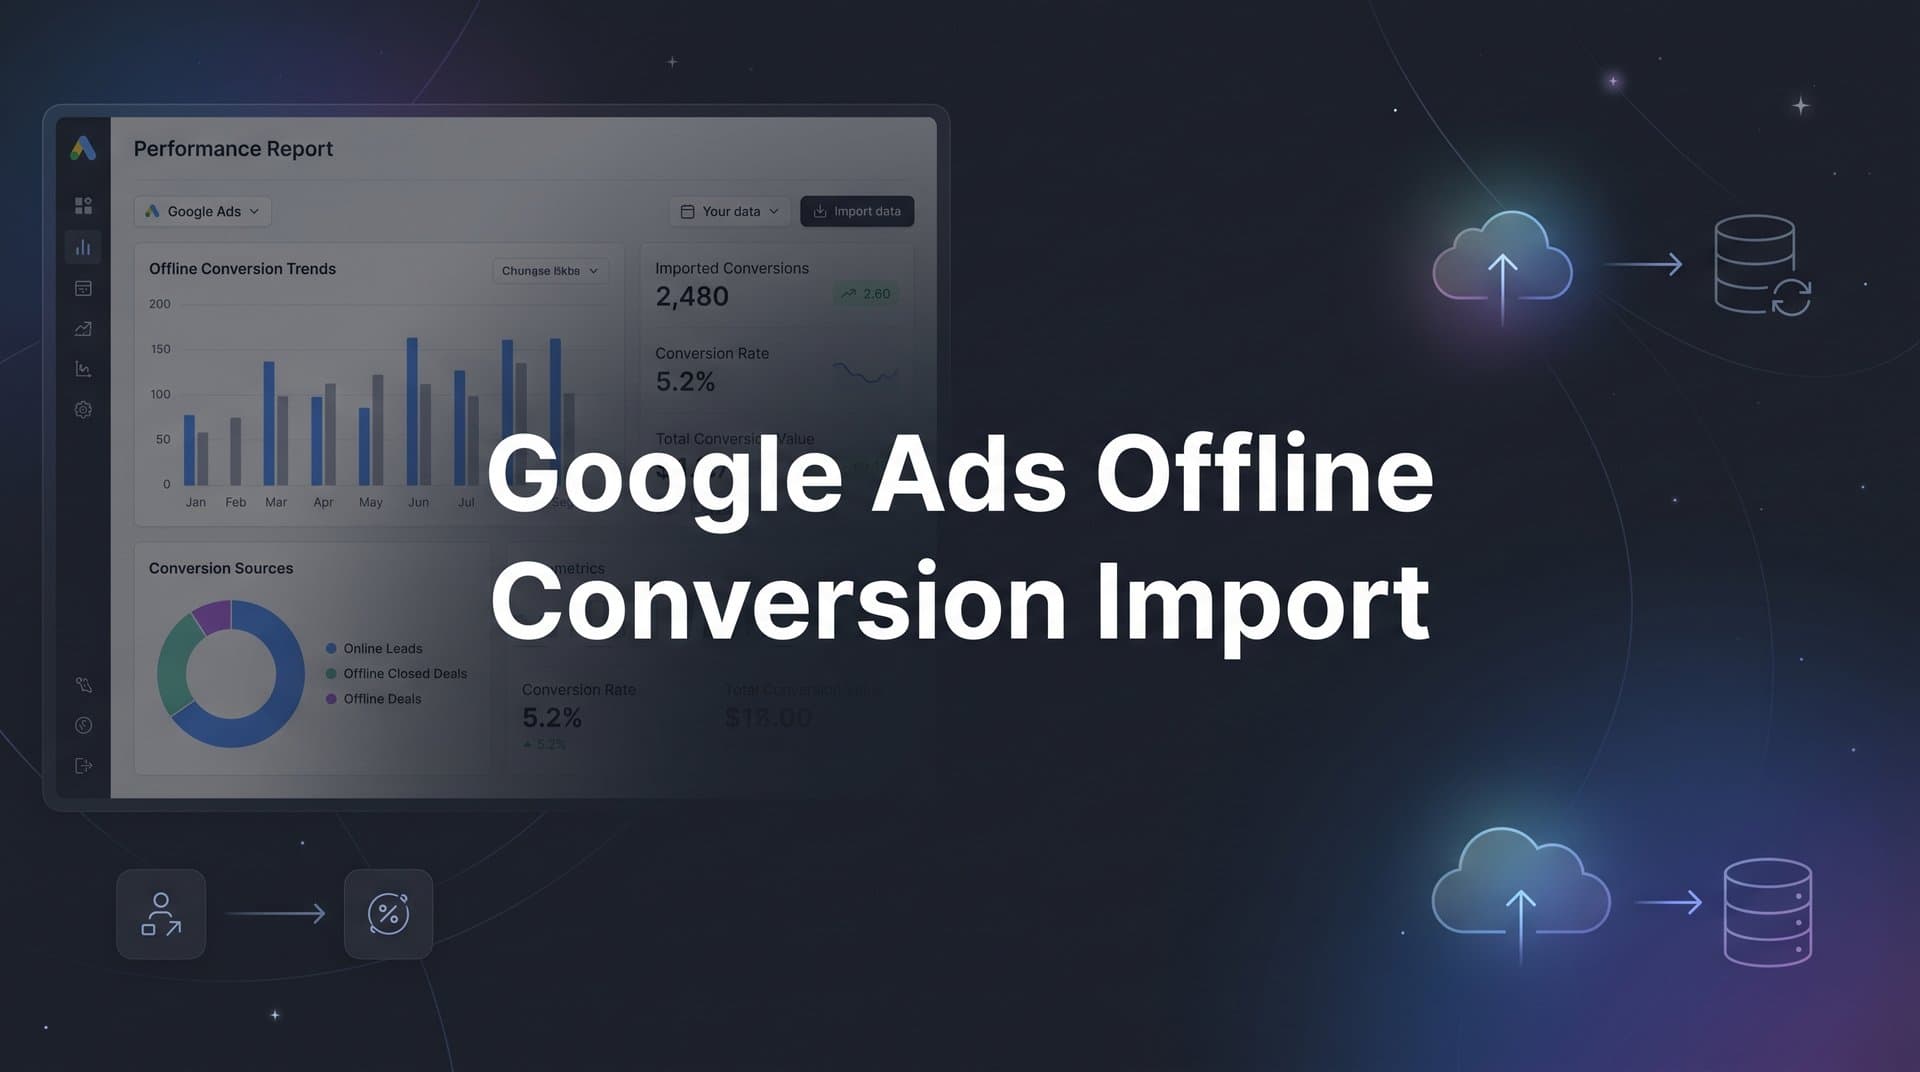
Google Ads offline conversion import solves this by letting you feed closed deals, phone sales, and CRM-verified conversions back into your campaigns. The result is smarter bidding, better targeting, and a clearer picture of which ads are actually driving revenue.
This is especially critical for B2B SaaS teams, high-ticket service businesses, and lead generation campaigns where the gap between a click and a closed deal can span days or even weeks. When Smart Bidding only sees form fills, it optimizes for form fills. Feed it closed revenue, and it starts optimizing for what actually matters.
This guide walks you through every step of the setup process, from enabling click ID tracking to uploading your first conversion file and verifying the results. By the end, you will have a working offline conversion import setup that connects your Google Ads clicks to real-world revenue and gives Google's algorithm the signal it needs to improve.
Step 1: Enable Auto-Tagging and Capture Google Click IDs
Everything in the Google Ads offline conversion import process depends on one thing: the Google Click ID, or GCLID. This is a unique identifier that Google automatically appends to your landing page URL whenever someone clicks your ad. It looks something like this in your URL: ?gclid=abc123xyz. That string is the bridge between an ad click and every conversion you will ever import.
Before any of this works, auto-tagging must be enabled at the account level. Here is how to check and enable it.
1. Log in to your Google Ads account and click the settings gear icon in the top right corner.
2. Select Account Settings from the dropdown menu.
3. Scroll down to the Auto-tagging section and confirm the checkbox is enabled. If it is not, enable it and save.
Once auto-tagging is active, every ad click will generate a unique GCLID appended to your landing page URL as a query parameter. You can verify this is working by clicking one of your own ads and inspecting the URL in your browser. You should see gclid= followed by a long alphanumeric string.
The 90-Day Window: GCLIDs have a maximum lifespan of 90 days. Any offline conversion you attempt to import after 90 days from the original click will not be attributed. This means your import process must happen within that window, which is why a regular upload cadence matters so much.
Critical Timing Requirement: You must capture and store the GCLID at the exact moment the lead event occurs. You cannot go back and retrieve it later. If a lead submits a form and you do not capture the GCLID in that moment, that conversion will never be importable.
Watch Out for URL Redirects: One of the most common pitfalls is a URL redirect that strips the GCLID parameter before it reaches your landing page. If your ads point to a redirect URL that forwards to a final destination, test whether the GCLID survives the redirect chain. Many redirect setups drop query parameters by default, which silently breaks your entire Google Ads conversion tracking setup.
To test this, click an ad, copy the final landing page URL, and confirm the gclid parameter is still present. If it is missing, you will need to configure your redirect to pass through query parameters.
Step 2: Store GCLIDs in Your CRM or Lead Database
Capturing the GCLID on your landing page is only half the battle. The real challenge is making sure that value travels with the lead record all the way into your CRM, where it can be matched to a conversion outcome later.
The most reliable method for web-based lead capture is using a hidden form field that automatically pulls the GCLID value from the URL and submits it alongside the rest of the form data. Here is how that works in practice.
On your landing page, add a hidden input field to your form with an ID like gclid_field. Then use a small JavaScript snippet to read the gclid parameter from the current page URL and populate that hidden field before the form is submitted. When the visitor hits submit, the GCLID travels with their name, email, and phone number directly into your CRM or database.
The JavaScript logic is straightforward: parse the URL query string, find the gclid parameter, and write its value into the hidden field. Many form builders like Gravity Forms, Typeform, and Webflow support hidden fields natively, making this relatively simple to implement.
Setting Up Your CRM Custom Field: Once the GCLID is being submitted with your forms, you need a place to store it in your CRM.
In HubSpot: Navigate to Settings > Properties > Contact Properties and create a new single-line text field named something like "Google Click ID" or "GCLID." Map your form's hidden field to this property so it populates automatically on submission.
In Salesforce: Create a custom text field on the Lead object. Work with your Salesforce admin to ensure the field is mapped from your web-to-lead form or your form integration tool.
In other CRMs: Most modern CRMs support custom fields. The key is ensuring the GCLID value flows from the form submission into a dedicated, queryable field on the lead or contact record.
Test the Full Flow: Before going live, run a complete test. Click one of your actual Google Ads, fill out the landing page form with test data, and then check the resulting lead record in your CRM. Confirm the GCLID field is populated with the value from the URL. If it is blank, something in the chain is broken and you need to debug before proceeding.
Common Pitfall: Some form builders do not support hidden fields, or they strip URL parameters before populating fields. If your current form tool does not support this, consider switching to a more flexible builder or using Google Tag Manager to intercept the GCLID and pass it through a data layer before the form submission fires. Every lead record without a GCLID is a conversion that can never be imported, which is why understanding what offline conversions are and how they flow through your system is essential before building this infrastructure.
The completeness of your GCLID capture directly determines the completeness of your offline conversion data.
Step 3: Create an Offline Conversion Action in Google Ads
With GCLID capture in place, the next step is telling Google Ads what kind of offline conversion you plan to import. This is done by creating a new conversion action specifically for offline imports.
Here is how to set it up step by step.
1. In Google Ads, navigate to Goals > Conversions > Summary and click the blue plus button to create a new conversion action.
2. Select Import as the conversion source.
3. Choose CRMs, files, or other data sources, then select Track conversions from clicks.
4. Click Continue to proceed to the configuration screen.
Naming Your Conversion Action: Give your conversion action a clear, descriptive name that distinguishes it from your online conversions. Names like "Closed Won Deal," "Qualified Sales Call," or "Signed Contract" work well. This name must exactly match what you put in your upload file later, so choose something you will remember and type consistently.
Setting Conversion Value: If your deals have a consistent average value, you can set a fixed conversion value here. If deal sizes vary significantly, leave the value set to "Use different values for each conversion" and plan to include variable values in your upload file. For most B2B teams, variable values are more accurate and give Smart Bidding better signal quality.
Setting the Conversion Window: This is where your typical sales cycle length matters. Google allows conversion windows up to 90 days for click-based conversions. If your average deal closes within 30 days of the first touch, set it to 30 days. If your cycle is longer, push it to 60 or 90 days. This window must be long enough to capture your real sales timeline.
Attribution Model Selection: For offline conversions, data-driven attribution is generally the best choice if you have sufficient volume, because it distributes credit across the touchpoints that actually influenced the conversion. Understanding the importance of attribution models in marketing helps clarify why this selection matters so much for longer sales cycles. Avoid last-click for offline imports since it ignores the earlier touchpoints that often do the heavy lifting in longer sales cycles.
Important: After saving, your new conversion action will show a status of "Unverified." This is normal. It will remain unverified until you complete your first successful upload. Do not mark this conversion as a primary conversion goal yet. Wait until you have confirmed the import is working correctly before using it as a bidding signal.
Step 4: Prepare and Format Your Conversion Upload File
Google Ads has specific formatting requirements for offline conversion uploads. Getting this right is critical because a single formatting error can cause your entire file to be rejected, not just the problematic row.
Required Columns: Your CSV file must include these columns in this order:
Google Click ID: The GCLID value captured at the time of the lead event. This is the matching key that ties the conversion back to the original ad click.
Conversion Name: The exact name of the conversion action you created in Step 3. It must match character for character, including capitalization.
Conversion Time: The date and time the conversion occurred, formatted as yyyy-MM-dd HH:mm:ss timezone. For example: 2026-05-10 10:00:00 +0000. The timezone offset is required and must be accurate.
Conversion Value: The monetary value of the conversion. This column is optional but highly recommended for Target ROAS bidding. Use a numeric value without currency symbols.
Conversion Currency: The three-letter currency code, such as USD, EUR, or GBP. Required if you are including conversion values.
A sample row would look like this: abc123xyz, Closed Won Deal, 2026-05-10 10:00:00 +0000, 5000, USD
Exporting from Your CRM: Filter your CRM for leads that have reached your conversion milestone, such as a status of "Closed Won" or "Qualified Call Completed." Then filter further to include only records where the GCLID field is populated and where the conversion date falls within 90 days of the lead creation date. Export this filtered list and format it to match the column structure above.
Timezone Formatting: This is where many uploads fail. The timezone offset must follow the format +0000 or -0500 with no colon between hours and minutes. Using formats like UTC or EST will cause errors. Always use the numeric offset.
Start Small: Before uploading hundreds of records, prepare a test batch of five to ten conversions. This lets you catch formatting issues without wasting time debugging a large file. Once your test batch uploads cleanly, you can scale up to your full dataset. If you find your data is inconsistent or incomplete, a marketing campaign tracking spreadsheet can help you organize and audit your conversion records before each upload.
Common Pitfall: Missing required columns or mismatched conversion action names are the top causes of upload failures. Double-check that your column headers match exactly what Google expects. Even an extra space in a header can cause the upload to fail.
Step 5: Upload the Conversion File to Google Ads
With your formatted file ready, it is time to upload it to Google Ads and let the system process your offline conversions.
1. In Google Ads, navigate to Goals > Conversions > Uploads.
2. Click the blue plus button to start a new upload.
3. Select your formatted CSV file and click Upload and preview.
Google will validate your file and display a preview showing how many rows it recognized successfully and how many contain errors. Review this preview carefully before confirming the upload.
Common Error Messages and What They Mean:
"Click ID not found": This means the GCLID in your file either expired (older than 90 days), was mistyped during capture, or never existed in Google's system. Check the original lead record to confirm the GCLID was captured correctly.
"Invalid date format": Your Conversion Time column is not formatted correctly. Go back to your file and verify every date follows the yyyy-MM-dd HH:mm:ss +0000 format exactly.
"Conversion action not found": The conversion name in your file does not match any conversion action in your account. Check for typos or capitalization differences between your file and the conversion action name in Google Ads.
After a successful upload, conversions will typically appear in your Google Ads reports within three to five hours. You can check the status of your upload at any time by returning to the Uploads screen and reviewing the upload history log.
Building a Regular Upload Cadence: For most businesses, a weekly or monthly upload schedule works well. Weekly uploads keep Smart Bidding data fresh and reduce the risk of approaching the 90-day GCLID expiration window. Set a recurring calendar reminder to export from your CRM and upload to Google Ads on a consistent schedule.
Automating for Scale: Manual uploads are a good starting point, but they introduce human error and require ongoing effort. For higher-volume teams, Google Ads supports scheduled uploads via SFTP, where you can drop a formatted file into a connected folder and Google will pick it up automatically. For teams that need real-time or near-real-time sync, the Google Conversion API enables fully automated conversion uploads triggered directly from your CRM or data pipeline. Platforms like Cometly handle this automation natively, syncing enriched conversion data back to Google without requiring manual file preparation or uploads.
Step 6: Verify the Import and Optimize Smart Bidding
Uploading the file is not the finish line. You need to confirm the data landed correctly and then use it to improve your bidding strategy.
Confirming Attribution in Your Reports: Navigate to the Conversions report in Google Ads and look for the conversion action you created. After a successful upload, you should see the conversion count increase and the conversions attributed to specific campaigns, ad groups, and keywords. If the count is not changing, revisit your upload history for errors or check whether the conversion action is set to include conversions in reporting.
Checking Attribution by Campaign: Use the Attribution report under Goals > Attribution to see which campaigns and keywords are driving the most offline revenue. This is where the real insight lives. You may find that a campaign generating modest form fills is actually responsible for a disproportionate share of closed deals. That is the kind of signal that changes budget allocation decisions.
When to Switch to Smart Bidding: Google recommends having a consistent flow of conversions before relying on Smart Bidding strategies like Target CPA or Target ROAS. For most campaigns, aiming for at least 30 to 50 offline conversions per month gives the algorithm enough signal to learn effectively. If your volume is lower, give it more time before switching bidding strategies, and consider combining offline conversions with online micro-conversions as supplementary signals during the learning period. Using AI ads optimization tools alongside your offline data can accelerate this learning phase significantly.
Making the Switch: Once you have sufficient volume, update your campaign bidding strategy to Target CPA or Target ROAS and set your offline conversion action as the primary conversion goal. This tells Google's algorithm to optimize ad delivery specifically for the outcomes that drive real revenue, not just top-of-funnel form fills.
Spot-Checking Against CRM Data: Periodically compare your Google Ads offline conversion count against your CRM revenue data. If there is a significant gap between what your CRM shows as closed deals and what Google Ads is attributing, you likely have a GCLID capture issue on some portion of your leads. This comparison is one of the most useful quality checks in the entire process.
For teams who want to close this loop automatically, platforms like Cometly capture every touchpoint from ad click through CRM event, sync enriched conversion data back to Google in real time, and surface AI-driven recommendations on which campaigns to scale based on actual revenue outcomes. Instead of manually managing the upload cycle and cross-referencing spreadsheets, the entire offline conversion tracking feedback loop runs continuously in the background.
Your Offline Conversion Import Checklist
Before you consider your setup complete, run through this checklist to confirm every piece is in place.
Auto-tagging enabled: Verified in Google Ads Account Settings, and GCLIDs are appearing in landing page URLs.
GCLID capture on landing pages: Hidden form fields are pulling the gclid parameter from the URL and submitting it with every lead form.
CRM custom field configured: A dedicated GCLID field exists on your lead or contact records and is populating correctly on new submissions.
Offline conversion action created: Named clearly, with the right conversion window, value settings, and attribution model selected in Google Ads.
Upload file formatted correctly: CSV includes all required columns with proper date formatting and exact conversion action name matching.
Test batch uploaded successfully: A small batch of five to ten conversions processed without errors, and the conversions appear in your Google Ads reports.
Regular upload schedule established: Weekly or monthly uploads are scheduled and assigned to a responsible team member or automated.
The quality of your offline conversion data directly determines the quality of Smart Bidding decisions. Businesses with longer sales cycles benefit most from this setup because online-only tracking massively underreports true ad ROI. A campaign that looks break-even based on form fills alone might be your highest-performing revenue driver once closed deals are factored in.
Manual uploads work and are a perfectly valid starting point. But for accuracy and consistency at scale, automation is the long-term solution. Cometly handles the full attribution loop: capturing GCLIDs, tracking the customer journey through your CRM, syncing enriched conversion data back to Google automatically, and delivering AI-powered recommendations on which campaigns to scale. Ready to automate your offline conversion sync and get a complete view of your marketing funnel? Get your free demo and see how Cometly turns your CRM data into smarter Google Ads performance.