
You've spent thousands on ads across Meta, Google, and TikTok. You know some campaigns are working better than others. But when your CEO asks which channel actually drives revenue, you're stuck piecing together data from five different dashboards, none of which agree on the numbers.
This is the reality for most marketers running multi-channel campaigns without proper attribution tracking. The solution isn't just signing up for an attribution platform—it's setting it up correctly from the very first step.
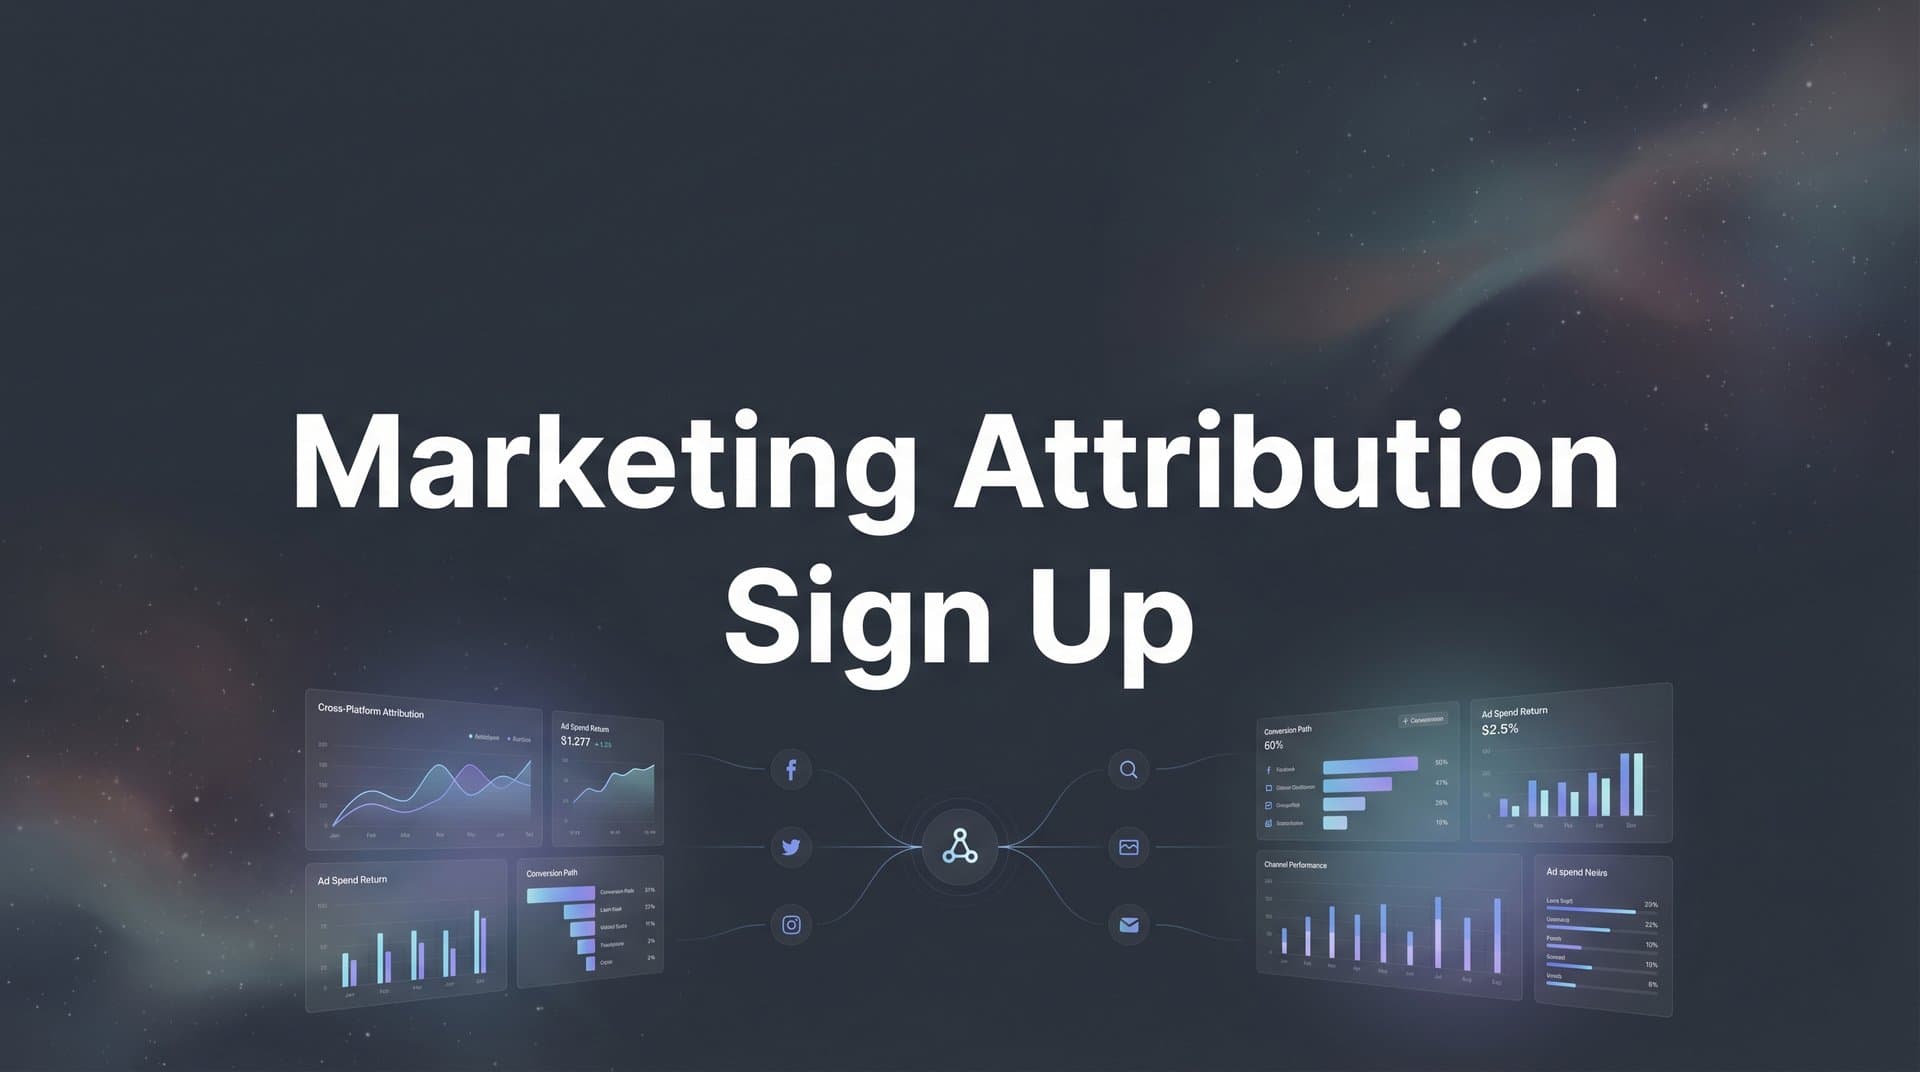
Getting accurate marketing attribution data starts with one critical step: signing up for the right platform and configuring it correctly from day one. Many marketers rush through the signup process, only to realize weeks later that they missed key setup steps that compromise their data accuracy.
This guide walks you through the complete marketing attribution sign up process, from choosing your platform to verifying your first tracked conversions. Whether you're running campaigns across Meta, Google, TikTok, or multiple platforms simultaneously, you'll learn exactly how to set up attribution tracking that captures every touchpoint in your customer journey.
By the end of this guide, you'll have a fully configured attribution system ready to show you which ads and channels actually drive revenue.
Step 1: Evaluate Your Attribution Needs Before Signing Up
Before you click that signup button, take thirty minutes to map out exactly what you need from your attribution system. This upfront planning prevents the frustration of realizing your chosen platform can't connect to your key tools.
Start by listing every ad platform where you currently spend money. Write down Meta Ads, Google Ads, TikTok Ads, LinkedIn Ads, Microsoft Ads—whatever you're using. Don't forget smaller platforms like Pinterest or Reddit if you run campaigns there. This list determines which integrations you'll need to prioritize during setup.
Next, document your existing tech stack. What CRM do you use? HubSpot? Salesforce? Pipedrive? What about your website platform—Shopify, WordPress, custom-built? Do you already use Google Analytics or Google Tag Manager? Your attribution platform needs to play nicely with all these tools, so knowing what you have prevents compatibility surprises later.
Now define your attribution goals with specificity. Are you primarily tracking leads from paid ads? Do you need to connect those leads all the way to closed revenue? Maybe you're an e-commerce brand that needs to see the complete path from first ad click to purchase. Different goals require different setup configurations, and understanding what a marketing attribution model entails helps clarify your options.
Consider your sales cycle length. If you're a B2B SaaS company where prospects research for 60 days before buying, you need multi-touch attribution that captures every interaction along that journey. If you sell impulse-buy products where people convert within hours, simpler last-click attribution might suffice.
Think about your customer behavior patterns. Do people discover you on mobile Instagram but purchase later on desktop? That's cross-device tracking territory. Do they click multiple ads from different platforms before converting? You'll need an attribution model that credits all those touchpoints, not just the last one.
Success indicator: You have a clear written list of all platforms to connect, your current tech stack components, and specific attribution goals. This document becomes your setup roadmap.
Step 2: Create Your Attribution Platform Account
With your requirements mapped out, navigate to your chosen attribution platform's website and locate the signup page. Most platforms offer multiple plan tiers—starter, professional, enterprise—based on ad spend volume or number of conversions tracked. Choose the tier that matches your current scale, knowing you can upgrade as you grow.
The signup form typically asks for your business information. Enter your company name exactly as it appears in your business registration. Add your primary website URL—this is crucial because the platform uses it to generate your tracking code and validate your domain ownership. Provide a business email address rather than a personal one, as this account will receive important notifications about tracking issues or data syncs.
When creating your password, use a password manager to generate a strong, unique credential. Marketing attribution platforms access sensitive business data including ad spend, revenue, and customer information. A compromised account could expose all of it.
Enable two-factor authentication immediately if the platform offers it during signup. This adds a second verification layer beyond your password, typically through an authenticator app or SMS code. It's a small step that prevents unauthorized access even if your password leaks.
After submitting the form, check your email for the verification message. Click the confirmation link to activate your account. Some platforms require email verification before you can access any features, while others let you explore the dashboard first.
Once verified, log into your new account. You'll typically land on a welcome screen or setup wizard that guides you through the initial configuration steps. Don't skip this wizard—it often handles critical setup tasks like timezone configuration and currency settings that are harder to change later. Reviewing the best software for tracking marketing attribution can help you understand what features to expect.
Success indicator: You can log into your attribution dashboard, see a welcome or setup wizard screen, and your account shows as verified and active.
Step 3: Install Tracking Code on Your Website
Your attribution platform needs to see what happens on your website—every page view, form submission, and purchase. That requires installing tracking code in your site's header. This is where many marketers get nervous, but the process is more straightforward than it seems.
Inside your attribution dashboard, navigate to the tracking code section. It might be labeled "Installation," "Tracking Setup," or "Pixel Code." You'll find a JavaScript snippet that looks like a block of code wrapped in script tags. This is your unique tracking pixel.
Copy this entire code snippet. Now you have two installation paths depending on your website setup. If you use Google Tag Manager, create a new Custom HTML tag, paste your tracking code, and set it to fire on all pages. This method is cleaner because you can manage all your tracking scripts from one place without touching your website code directly.
If you don't use GTM, you'll add the code directly to your website header. For WordPress, this typically means installing a header/footer plugin or adding it to your theme's header.php file. For Shopify, paste it into the theme.liquid file in the head section—and consider exploring Shopify marketing attribution tools for platform-specific solutions. For custom websites, add it to your global header template before the closing head tag.
Here's what many marketers miss: server-side tracking. Browser-based tracking alone isn't enough anymore. iOS privacy features and browser extensions block traditional pixels, creating blind spots in your data. Server-side tracking sends conversion data from your server directly to your attribution platform, bypassing browser restrictions.
Setting up server-side tracking usually involves configuring a webhook or API connection between your website backend and the attribution platform. The exact steps vary by platform, but most provide detailed documentation. For e-commerce platforms like Shopify, this often means installing a dedicated app that handles server-side events automatically.
After installing both client-side and server-side tracking, open your website in a browser and navigate through a few pages. Then return to your attribution dashboard and look for a "connection status" indicator. It should change from "pending" to "connected" or "receiving data" within a few minutes.
Success indicator: Your attribution dashboard shows your website as connected with a green status indicator, and you can see page view events appearing in real-time as you browse your site.
Step 4: Connect Your Ad Platforms
Now that your website tracking is live, connect the ad platforms where you spend money. This integration pulls in ad spend data, campaign names, and click information that your attribution system matches with website conversions.
Start with Meta Ads since it's typically the largest spend channel for most businesses. In your attribution dashboard, find the integrations or connections section and select Meta. Click the connect button, which redirects you to Facebook's authorization page. Log in with the Facebook account that has admin access to your ad account.
Facebook will show you what permissions the attribution platform is requesting—typically access to view ad campaigns, ad spend, and performance metrics. Review these permissions and click authorize. You'll redirect back to your attribution dashboard, where Meta should now appear as connected.
Repeat this process for Google Ads. Click the Google Ads integration, authorize with your Google account that manages your ad campaigns, and grant the necessary permissions. The attribution platform needs read access to your campaign data, not the ability to make changes, so review the permissions carefully. Understanding channel attribution in digital marketing revenue tracking helps you maximize the value of these connections.
For TikTok Ads, LinkedIn Ads, or Microsoft Ads, the process follows the same OAuth pattern. Each platform has its own authorization flow, but they all work similarly: click connect, log in, authorize, and confirm the connection back in your attribution dashboard.
After connecting each platform, verify that data is syncing correctly. Navigate to your campaigns view or ad spend dashboard. You should see your active campaigns listed with current spend data. If campaigns appear but spend shows as zero, the connection might need additional permissions or a manual refresh.
Some attribution platforms let you connect multiple ad accounts from the same platform. If you manage ads for multiple brands or run separate accounts for different product lines, add each one individually following the same authorization process.
Success indicator: Your attribution dashboard displays active campaigns from each connected ad platform with accurate daily spend amounts that match what you see in the native ad platforms.
Step 5: Integrate Your CRM and Revenue Data
Ad clicks and website visits tell part of the story. But if you can't connect those interactions to actual revenue, you're still guessing which campaigns work. This is where CRM integration transforms attribution from interesting data into actionable intelligence.
In your attribution platform's integrations section, locate your CRM—HubSpot, Salesforce, Pipedrive, or whichever system you use. Click to connect and follow the authorization flow, similar to how you connected ad platforms. Your CRM integration typically requires admin-level permissions because it needs to read contact records, deal stages, and revenue data.
Once connected, the critical step is mapping your CRM stages to attribution events. Your CRM probably has stages like "Lead," "Marketing Qualified Lead," "Sales Qualified Lead," "Opportunity," and "Closed Won." Tell your attribution platform which stages matter for tracking. For B2B companies, understanding attribution for B2B marketing campaigns is essential for proper stage mapping.
For example, you might map "Marketing Qualified Lead" as a conversion event, "Opportunity Created" as a pipeline event, and "Closed Won" as your revenue event. This mapping lets your attribution system track not just who clicked your ad, but whether they became a qualified lead, entered your sales pipeline, and ultimately generated revenue.
Revenue tracking is where attribution becomes powerful. Configure your platform to pull the deal value from your CRM's "Amount" or "Deal Value" field. Now when someone moves to "Closed Won," your attribution system knows not just that they converted, but exactly how much revenue to attribute back to their marketing touchpoints.
Many modern attribution platforms offer conversion sync functionality. This sends enriched conversion data back to your ad platforms. When someone becomes a qualified lead or closes a deal, that event syncs to Meta and Google, feeding their machine learning algorithms better data about what a valuable conversion looks like. Enable this feature and select which CRM stages should trigger sync events.
Set up your conversion value mapping carefully. If you're B2B with varying deal sizes, sync the actual deal value. If you're e-commerce with consistent order values, you might use average order value or actual purchase amounts depending on your business model.
Success indicator: CRM contacts appear in your attribution timeline with their complete journey from first ad click through multiple touchpoints to closed revenue, with accurate dollar amounts displayed.
Step 6: Configure Your Attribution Model Settings
Your tracking is live, platforms are connected, and data is flowing. Now you need to tell your attribution system how to distribute credit across the customer journey. This is where attribution models come in.
Navigate to your attribution settings or model configuration section. You'll see several model options. Last-touch attribution gives 100% credit to the final interaction before conversion—simple but ignores everything that happened before. First-touch credits only the initial interaction—useful for understanding awareness channels but blind to what actually closes deals.
Linear attribution splits credit evenly across all touchpoints. If someone clicked a Facebook ad, then a Google ad, then came through organic search before converting, each interaction gets 33% credit. This acknowledges the full journey but doesn't weight more influential touchpoints.
Data-driven or multi-touch attribution uses algorithms to assign credit based on how much each touchpoint statistically influenced the conversion. This is the most sophisticated approach but requires enough conversion volume for the algorithm to identify patterns. A comprehensive multi-touch marketing attribution platform guide can help you understand these nuances.
Choose the model that matches your business reality. For e-commerce with short sales cycles, last-touch might suffice. For B2B with 60-day sales cycles and multiple touchpoints, multi-touch or data-driven models reveal which channels assist versus close.
Set your attribution lookback window next. This determines how far back the system looks to connect touchpoints to conversions. A 7-day window works for impulse purchases. B2B companies with longer sales cycles need 30, 60, or even 90-day windows to capture the full journey.
Define your primary conversion events. What counts as a conversion you want to track? Form submissions? Trial signups? Purchases? Add calls? Select these events so your attribution reports focus on what matters to your business goals.
If your customers research on mobile but convert on desktop, enable cross-device tracking. This uses probabilistic matching or logged-in user data to connect the same person across devices, preventing you from thinking they're two separate customer journeys.
Success indicator: Your attribution dashboard displays data using your selected model, the lookback window captures your typical sales cycle, and conversion events appear correctly categorized in your reports.
Step 7: Verify Your Setup and Run a Test Conversion
Everything looks connected in your dashboard, but the only way to know if it actually works is to run a complete test from ad click to conversion. This verification step catches configuration issues before they corrupt weeks of data.
Open an incognito browser window and navigate to one of your live ad campaigns. Click through the ad to land on your website. Browse a few pages to generate touchpoint data, then complete a conversion action—fill out a lead form, start a trial, or make a test purchase if you're e-commerce.
Now switch back to your attribution dashboard and navigate to the real-time events or recent conversions section. Within a few minutes, you should see your test journey appear. Check that it captured the ad click with the correct campaign name, source platform, and ad creative. Verify it tracked your page views on the website. Confirm it recorded the conversion event with the right type and value.
If you enabled conversion sync to send data back to your ad platforms, log into Meta Ads Manager or Google Ads and check the conversions column. Your test conversion should appear there within 10-30 minutes, proving the sync is working bidirectionally. Understanding attribution marketing tracking helps you interpret these results correctly.
Look for any discrepancies. Does the campaign name match what you see in Meta? Is the conversion value correct? Did it attribute the conversion to the right source? Small mismatches now indicate configuration issues that will compound over time.
Test a second scenario: click through a different ad platform, maybe Google instead of Meta, and complete another conversion. This verifies that all your platform connections work, not just one. If you have CRM integration, create a test contact that moves through your pipeline stages and confirm those events appear in your attribution timeline.
Common issues at this stage include tracking codes firing on some pages but not others, CRM events not syncing due to field mapping errors, or conversion values appearing as zero because revenue fields aren't connected properly. Fix these now before real customer data starts flowing.
Success indicator: You can click an ad, convert on your website, and see the complete journey appear in your attribution dashboard with accurate source data, and the conversion syncs back to your ad platform within 30 minutes.
Your Attribution System Is Live
Let's recap what you've accomplished. You evaluated your attribution needs and documented every platform and goal. You created your account with proper security measures. You installed tracking code on your website with server-side backup for accuracy. You connected all your active ad platforms so spend data flows automatically. You integrated your CRM to track revenue, not just clicks. You configured your attribution model and lookback window to match your sales cycle. And you verified the entire system works end-to-end with test conversions.
Your marketing attribution system is now ready to capture every touchpoint and show you exactly which ads drive revenue. The setup phase is complete, but the real value comes in the weeks ahead as data accumulates and patterns emerge.
Start by reviewing your attribution reports weekly. Look for campaigns that generate lots of clicks but few conversions—those need optimization or budget cuts. Identify channels that assist conversions even if they don't get last-click credit—those deserve more investment than last-click data suggests. Watch for customer journey patterns like "people who see both Meta and Google ads convert at higher rates than those who see only one."
Use these insights to reallocate budget toward your highest-performing channels and campaigns. When you spot a winning campaign, scale it. When you identify underperformers, pause them. This is the power of proper attribution—confident decisions backed by complete data instead of guesswork based on incomplete platform reporting.
As your data matures over the next 30-60 days, you'll gain even deeper insights into what actually drives revenue for your business. The customer journey patterns that emerge will reshape how you think about channel strategy, budget allocation, and campaign optimization.
Ready to elevate your marketing game with precision and confidence? Discover how Cometly's AI-driven recommendations can transform your ad strategy—Get your free demo today and start capturing every touchpoint to maximize your conversions.


