Most marketing teams can tell you how many clicks a campaign generated. Far fewer can tell you how much revenue it actually produced. That gap is where budget gets wasted and growth stalls.
Tracking revenue attribution by campaign closes that gap by connecting every ad dollar spent to the pipeline and closed revenue it influenced. For B2B SaaS companies running paid campaigns across multiple channels, this visibility is not optional. It is the foundation of every smart budget decision.
Without it, you are scaling campaigns based on vanity metrics like impressions and click-through rates rather than the only metric that matters: revenue. You might be pouring budget into a LinkedIn campaign that generates impressive engagement but produces zero closed deals, while a quieter Google Search campaign is quietly driving your highest-value customers. You would never know the difference without proper attribution in place.
The good news is that setting up revenue attribution by campaign is entirely achievable, even for teams that are starting from scratch or working with a broken tracking setup. It requires the right infrastructure, a consistent process, and the willingness to connect data across systems that often live in silos.
This guide walks you through a practical, sequential process to do exactly that. By the end, you will know how to connect your ad platforms to your CRM and revenue data, choose the right attribution model for your business, and build a reporting view that shows exactly which campaigns are driving pipeline and closed-won revenue.
Whether you are just getting started with attribution or looking to upgrade a setup that is giving you incomplete data, these steps will give you a clear path forward. Let's get into it.
Step 1: Define What Revenue Attribution Means for Your Business
Before you touch a single tracking setting, you need to get clear on what you are actually trying to measure. This sounds obvious, but skipping this step is one of the most common reasons attribution setups fail. Teams end up tracking the wrong events and drawing conclusions that lead them in the wrong direction.
Start by clarifying the difference between three types of attribution that often get conflated:
Lead attribution tells you which campaign generated a form fill, demo request, or trial signup. It is the most common form of tracking and the easiest to set up, but it stops at the top of the funnel.
Pipeline attribution connects campaign touchpoints to opportunities created in your CRM. This tells you which campaigns are generating qualified interest, not just raw leads.
Closed revenue attribution goes all the way to the deal. It connects campaign touchpoints to won deals and actual revenue. This is the level of attribution that drives meaningful budget decisions.
Next, identify the specific conversion events that matter for your business. For most B2B SaaS companies, this includes form fills, demo requests, trial signups, opportunities created in the CRM, and deals closed. Each of these events represents a different stage in the funnel, and you want visibility across all of them, not just the first one.
Decide which revenue metric you are attributing to campaigns. Are you working with monthly recurring revenue, annual contract value, deal value at close, or lifetime value? The answer shapes how you structure your reporting and which integrations you need.
Finally, map your sales cycle length. In B2B SaaS, the gap between an ad click and a closed deal can range from a few weeks to several months. Understanding this lag is critical because it means a campaign you ran in January might not show revenue attribution until March or April. If you are evaluating campaign performance without accounting for this lag, you will consistently undervalue top-of-funnel campaigns.
Step 2: Audit and Standardize Your Campaign Tracking Structure
UTM parameters are the foundation of campaign attribution. Without a consistent naming convention across all your ad platforms, your data becomes fragmented and unreliable. This is the step where many teams discover that their historical data is essentially unusable because different team members have been building UTM strings differently for months.
Start by auditing your current UTM setup across Google Ads, Meta, and LinkedIn. Pull a sample of campaign URLs from each platform and check whether they include all five standard parameters: utm_source, utm_medium, utm_campaign, utm_content, and utm_term. Look for inconsistencies in naming, capitalization, and formatting. Even small differences like "Google" versus "google" or "paid-search" versus "paid_search" will create separate entries in your analytics data.
Once you understand the current state, establish a standardized naming convention that your entire team follows going forward. Here is a simple framework to work from:
utm_source: The platform driving traffic (google, meta, linkedin)
utm_medium: The channel type (cpc, paid-social, email)
utm_campaign: The campaign name using a consistent format (q2-2026-brand-awareness)
utm_content: The specific ad or creative variation (headline-a, video-30s)
utm_term: The keyword or audience segment for search campaigns
Create a shared UTM naming document that lives in a place everyone on your team can access. Include examples, rules for formatting, and a list of approved values for each parameter. This prevents the data fragmentation that comes from individuals making their own naming decisions.
Also check for tracking gaps. Direct traffic, dark social, and untagged campaigns are common sources of attribution loss. If a significant portion of your traffic is landing with no UTM data, you are missing attribution for those sessions entirely. A structured approach to tracking marketing campaigns helps you close these gaps before they compound.
The success indicator here is simple: every paid campaign URL should have complete, consistent, and parseable UTM parameters before it goes live. No exceptions.
Step 3: Set Up Server-Side Conversion Tracking
Here is something that often surprises marketing teams: your pixel-based tracking is probably missing a meaningful portion of your conversions. Browser-based pixels rely on the user's browser to fire the tracking event, and that process is increasingly interrupted by ad blockers, browser privacy restrictions, and iOS privacy changes that limit third-party cookie tracking.
The solution is server-side tracking. Instead of relying on the browser to send conversion data to ad platforms, you send it directly from your server. This approach is more reliable, more accurate, and less vulnerable to the privacy and browser restrictions that degrade pixel performance. Understanding why server-side tracking is more accurate is essential before you begin implementation.
For Meta campaigns, this means implementing the Conversions API (CAPI). For Google campaigns, it means setting up Enhanced Conversions. Both tools allow you to send first-party conversion data directly from your server to the ad platform, bypassing the browser entirely.
When you implement server-side tracking, you will notice your event match quality scores improve. In Meta Events Manager, this is shown as a score that reflects how well your conversion events are being matched to actual Meta users. Higher match quality means better optimization signals for Meta's algorithm, which translates to better targeting and lower costs over time.
The more powerful application for B2B SaaS is connecting CRM events as offline conversions. When a lead becomes an opportunity in your CRM, or when a deal closes, that event can be sent back to your ad platforms as an offline conversion signal. This tells Google and Meta not just that someone filled out a form, but that the person who clicked your ad eventually became a paying customer.
This closes the loop between your ad spend and your actual revenue outcomes, and it gives the ad platform's algorithm the signal it needs to find more people like your best customers rather than just optimizing for form fills. Learn more about how to track offline conversions to complete this loop effectively.
The success indicator: your event match quality scores improve in Meta Events Manager and Google Ads, and your CRM conversion events are flowing back to your ad platforms as offline conversions.
Step 4: Connect Your Ad Platforms, CRM, and Revenue Data
This is where the infrastructure comes together. The goal of this step is to get your ad spend data, CRM data, and revenue data flowing into a single unified view so you can see the full picture in one place rather than toggling between five different dashboards.
Start with your ad platforms. Pull Google Ads, Meta, and LinkedIn into a central attribution platform. Each platform has its own reporting interface, but looking at them in isolation makes it impossible to compare performance across channels or understand the full customer journey.
Next, connect your CRM. Whether you are using HubSpot, Salesforce, or another platform, the integration should allow lead and deal data to flow into your attribution system. This is what enables you to map campaign touchpoints to deal stages. You want to be able to answer questions like: which campaigns are generating the most opportunities, and which campaigns are influencing deals that actually close?
If you use Stripe or another payment processor, integrate it as well. This pulls actual revenue figures into your attribution view rather than relying on estimated deal values from your CRM. The difference matters because estimated deal values are often wrong, and actual payment data gives you the ground truth on what campaigns are worth.
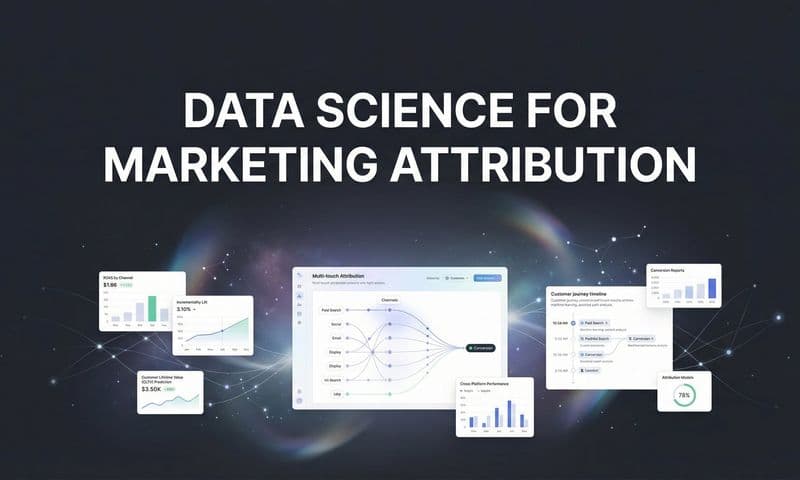
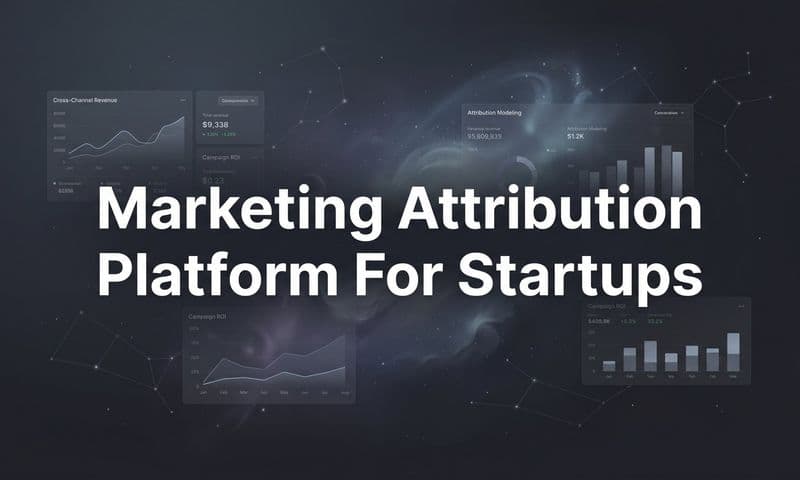
Platforms like Cometly are built specifically for this kind of integration work. With 70+ native integrations, you can connect your ad platforms, CRM, and Stripe data without manual data stitching or custom engineering. The result is a single source of truth where ad spend and closed-won revenue appear side by side, attributed to the campaigns that influenced them.
Map your CRM deal stages to campaign touchpoints as part of this setup. Define which stage counts as a pipeline event and which stage counts as a revenue event. This mapping is what allows your B2B revenue attribution software to credit campaigns accurately across the full sales cycle.
The success indicator: ad spend data and CRM revenue data appear in a single unified view, and you can trace a closed deal back to the campaign touchpoints that influenced it.
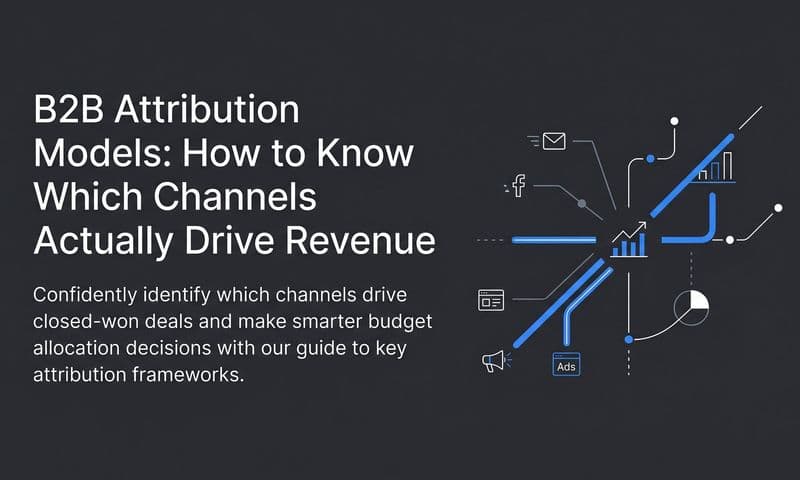
Step 5: Choose and Apply the Right Attribution Model
Attribution models determine how credit is distributed across the touchpoints in a customer journey. There is no single correct model for every business, which is why understanding the tradeoffs matters more than picking a favorite.
Here is a clear breakdown of the main models and when each one is most useful:
First-touch attribution gives 100% of the credit to the first campaign touchpoint. This is useful for understanding which campaigns are generating awareness and bringing new prospects into your funnel. If you want to know which campaigns are best at creating demand, first-touch gives you that answer.
Last-touch attribution gives 100% of the credit to the final touchpoint before conversion. This is useful for identifying which campaigns are closing deals. If a prospect clicked a retargeting ad right before booking a demo that turned into a closed deal, last-touch credits that retargeting campaign.
Linear attribution distributes credit equally across all touchpoints in the customer journey. If a prospect interacted with four campaigns before closing, each campaign gets 25% of the credit. This model is better for long B2B sales cycles where multiple campaigns genuinely contributed to the outcome.
Time decay attribution gives more credit to touchpoints that occurred closer to the conversion event. The logic is that the campaigns a prospect engaged with right before closing were more influential than campaigns they saw months earlier.
Data-driven attribution uses machine learning to assign credit based on actual conversion patterns across your touchpoints. Rather than applying a fixed rule, it analyzes which touchpoints appear more frequently in journeys that convert and weights them accordingly. This is the most sophisticated model and requires sufficient conversion volume to work well.
The most important recommendation here is to run multiple models side by side rather than relying on any single one. First-touch and last-touch together give you a view of which campaigns open and close deals. Linear and time decay give you a more balanced picture of the full journey. A detailed comparison of attribution models can help you determine which combination fits your sales cycle best.
The success indicator: you can explain why a campaign deserves budget based on its attributed revenue across multiple models, not just because it generated clicks or leads.
Step 6: Build a Campaign Revenue Attribution Dashboard
Data without a clear reporting view is just noise. This step is about turning all the infrastructure you have built into a dashboard your team actually uses to make decisions.
Your campaign revenue attribution dashboard should include, at minimum: campaign name, ad spend, attributed pipeline, attributed revenue, cost per acquisition, and return on ad spend calculated from actual revenue data. These are the metrics that connect marketing activity to business outcomes, and they should be visible at a glance.
Structure the dashboard so you can segment by channel, campaign, ad set, and ad creative. This layered view lets you identify what is working at each level. A channel might look strong overall, but when you drill into the ad set level, you might find that two ad sets are driving all the results while the others are burning budget.
Include a ROAS column that uses actual closed revenue rather than estimated conversion values. This is the number that tells you whether a campaign is genuinely profitable, not just whether it generates activity. Tracking closed-won revenue at the campaign level is what separates meaningful reporting from vanity metrics.
Set up automated reporting on a weekly cadence. Attribution data should not be something your team checks once a month when it is time to justify budget. Weekly reviews create a feedback loop that allows you to catch underperforming campaigns early and reallocate budget before significant spend is wasted.
Cometly's AI-powered insights can surface high-performing campaigns and flag underperformers automatically, which is particularly useful when you are managing large campaign sets across multiple channels. Instead of manually scanning rows of data, the platform highlights where your attention should go.
The success indicator: your team can answer the question "which campaign drove the most revenue this month?" in under two minutes, without exporting data or building a custom report.
Step 7: Use Attribution Data to Optimize and Scale Campaigns
Building the attribution infrastructure is only valuable if you act on what it tells you. This final step is where the investment pays off.
Start by shifting budget toward campaigns with the highest attributed revenue and strongest return on ad spend. These are the campaigns that have proven they can drive pipeline and closed deals, not just traffic. Scaling them is a lower-risk decision because you have the data to support it.
On the other side of that equation, pause or restructure campaigns that generate clicks but show no pipeline or revenue attribution. These are the campaigns that look productive in platform dashboards but are not contributing to business outcomes. Attribution data makes them visible, and that visibility gives you the confidence to reallocate that budget elsewhere.
Use attribution data to inform creative decisions as well. Look at which ad angles, messages, and formats correlate with high-value conversions. If a specific creative variation consistently appears in the journeys of your highest-revenue customers, that is a signal worth acting on. Scale that creative and use it as a reference point for future production.
Feed enriched conversion data back to Meta and Google to improve their algorithmic targeting. When you send CRM and revenue events back to ad platforms as offline conversions, you are giving their AI better signals to work with. Over time, this improves audience targeting and bidding efficiency because the platform is optimizing toward your actual revenue outcomes rather than surface-level conversion events. Using the right ad tracking tools to scale with accurate data makes this feedback loop far more effective.
Establish a monthly attribution review process where your team formally evaluates budget allocation based on revenue data. This does not have to be a long meeting. It should be a structured 30-minute session where you look at attributed revenue by campaign, compare models, and make explicit decisions about where budget goes next month.
The success indicator: your cost per acquired customer decreases over time as you scale what works and cut what does not. Attribution data makes that process systematic rather than intuitive.
Putting It All Together
Tracking revenue attribution by campaign is not a one-time setup. It is an ongoing practice that compounds over time. Each week you run attribution data, you build a clearer picture of which campaigns deserve more investment and which ones are quietly draining your budget.
The steps in this guide give you the infrastructure to make those decisions with confidence: a clean tracking structure, server-side conversion data, connected ad and CRM systems, the right attribution model, and a dashboard that translates all of it into revenue-focused insights.
Cometly brings all of these pieces together in one platform built specifically for B2B SaaS marketing teams. From capturing every touchpoint across the customer journey to connecting ad spend directly to closed-won revenue in Stripe, it gives your team the single source of truth you need to scale campaigns with precision. The AI-powered insights layer means you are not just looking at data, you are getting recommendations on where to act.
Use this checklist to track your progress as you work through the setup:
Define your revenue attribution events and metrics. Clarify which conversion events matter and which revenue figure you are attributing to campaigns.
Standardize UTM parameters across all campaigns. Create a shared naming convention and audit existing campaigns for consistency.
Implement server-side tracking and CAPI connections. Set up Meta Conversions API and Google Enhanced Conversions to improve match quality and capture offline conversions.
Integrate ad platforms, CRM, and payment data. Connect all your data sources into a single attribution platform.
Select and compare attribution models. Run first-touch, last-touch, and multi-touch models side by side to get a complete picture.
Build a revenue attribution dashboard. Create a reporting view that shows campaign spend alongside attributed pipeline and closed revenue.
Review and reallocate budget based on attributed revenue. Establish a weekly and monthly cadence for acting on what the data shows.
Ready to stop guessing and start making budget decisions backed by real revenue data? Get your free demo today and see how Cometly connects every ad touchpoint to the revenue it drives.