If your Google Ads campaigns are generating clicks but you are struggling to understand which ones actually drive revenue, your attribution settings are likely the problem. Attribution settings in Google Ads determine how credit is assigned to the touchpoints in a buyer's journey before a conversion happens.
For B2B SaaS companies running multiple campaigns across search, display, and YouTube, getting this wrong creates a cascade of problems. Your bidding algorithms optimize against incomplete data. Budget decisions are based on misleading signals. High-performing campaigns get cut while underperformers survive because the data says so.
The root cause is almost always attribution configuration that was never properly set up in the first place.
This guide walks you through every step of configuring Google Ads attribution settings correctly, from choosing the right attribution model for your conversion actions to validating that your data is flowing accurately. By the end, you will know exactly how to set up attribution that reflects how your buyers actually behave, not just what Google's default settings capture.
You will also learn how to layer a dedicated attribution platform on top of Google Ads data to get the full cross-channel picture that Google alone cannot provide. Because for most B2B SaaS buyers, the journey does not begin and end inside Google's ecosystem, and your measurement approach needs to reflect that reality.
Let's start with what Google Ads attribution settings actually do before touching a single configuration.
Step 1: Understand What Google Ads Attribution Settings Actually Control
Before you change anything, you need a clear mental model of how attribution settings work inside Google Ads. Many teams assume attribution is configured at the account or campaign level. It is not. Attribution settings in Google Ads operate at the conversion action level, which means each individual conversion action can have its own attribution model.
This is actually a useful design. It gives you granular control over how credit is assigned across different types of conversions. A demo request and a free trial sign-up can use different models if your data supports it.
Google Ads currently offers six attribution models:
Last Click: Assigns 100% of conversion credit to the final ad click before the conversion. Simple, but it ignores everything that happened before.
First Click: Assigns 100% of credit to the first ad interaction. Useful for understanding awareness-driving campaigns, but equally incomplete on its own.
Linear: Distributes credit evenly across all touchpoints in the conversion path. Works well as a diagnostic tool to understand the full journey.
Time Decay: Weights more recent touchpoints more heavily. Designed for shorter sales cycles where recency matters most.
Position-Based: Assigns 40% of credit to the first and last touchpoints each, with the remaining 20% distributed across the middle interactions. A strong choice for B2B SaaS because it acknowledges both the awareness moment and the decision moment.
Data-Driven Attribution (DDA): Google's machine learning model that uses your account's actual conversion path data to assign fractional credit. This is the current default for most accounts with sufficient conversion volume.
Here is why this matters beyond just reporting: your Smart Bidding strategies, including Target CPA, Target ROAS, and Maximize Conversions, are calibrated directly against whichever attribution model is active on your primary conversion actions. If your model is misaligned with how your buyers actually behave, your bidding algorithms are working with distorted inputs from day one.
The most common pitfall at this stage is assuming everything is set correctly because the account is running and converting. Many teams have never audited their individual conversion actions and have no idea which model each one uses. Understanding which attribution model best fits your campaigns is the foundation of any accurate measurement strategy.
Success indicator: You can open your Google Ads account right now, navigate to your conversion actions, and confirm exactly which attribution model each one is using. If you cannot do that yet, the next step is where you start.
Step 2: Audit Your Existing Conversion Actions Before Changing Anything
Do not touch your attribution models until you have a complete picture of what you are working with. Changing models without auditing first is like adjusting a recipe without knowing what ingredients are already in the pot.
Start by navigating to Tools and Settings > Measurement > Conversions in your Google Ads account. This gives you a full list of every conversion action that exists in the account, active or paused.
Look at the Attribution Model column for each action. Note any inconsistencies. It is common to find a mix of Last Click, Data-Driven, and unreviewed defaults across different actions, especially in accounts that have been running for a few years with multiple people making changes.
Next, identify which conversion actions are set as primary versus secondary. Primary conversions feed Smart Bidding directly. Secondary conversions are observation-only and do not influence bidding. This distinction matters enormously. If a low-quality conversion action is set as primary, your bidding strategy is optimizing for the wrong signal.
Check for duplicate conversion actions. This is one of the most damaging and most common configuration errors in Google Ads accounts. A typical scenario: someone sets up a Google tag to fire on a thank-you page, and someone else imports the same event from GA4 into Google Ads as a separate conversion action. Both are active, both are set as primary, and the account is now double-counting every conversion. Attribution data becomes unreliable, and bidding algorithms receive inflated signals.
While you are in this audit, check your conversion windows. The default click-through conversion window in Google Ads is 30 days. For B2B SaaS companies where evaluation cycles often run longer, this means a meaningful portion of conversions influenced by your ads are never attributed back to those campaigns. We will address this specifically in Step 4.
Also note whether your conversion tracking is tag-based, imported from Google Analytics 4, or using enhanced conversions. Understanding the source of each conversion action helps you identify where gaps or overlaps might exist.
Success indicator: You have a clean, documented list of all conversion actions in the account. Each one has a confirmed purpose, a confirmed attribution model, and a confirmed primary or secondary status. Duplicates have been identified and flagged for removal.
Step 3: Select the Right Attribution Model for Your Conversion Actions
Now that you know what you have, you can make informed decisions about which attribution model belongs on each conversion action. The right choice depends on your conversion volume, your sales cycle, and what you are trying to optimize for.
Start with Data-Driven Attribution for high-volume actions. DDA is the recommended model for accounts that meet Google's minimum threshold, which requires sufficient conversions and ad interactions in the past 30 days. Google's support documentation outlines the specific thresholds, which are subject to change. When your account qualifies, DDA uses your actual conversion path data to assign fractional credit rather than applying a fixed rule. This makes it the most accurate model available within Google Ads because it reflects your specific buyer behavior rather than a generic assumption.
If your account does not meet the DDA threshold, use Position-Based attribution. For B2B SaaS, this is the strongest rules-based alternative. It assigns 40% of credit to the first touchpoint and 40% to the last, with the remaining 20% distributed across the middle. This acknowledges both the campaign that introduced your brand and the campaign that drove the final decision, which aligns well with how most B2B buyers actually behave during an extended evaluation period.
Avoid Last Click attribution for primary conversion actions. Last Click systematically undervalues upper-funnel campaigns. Brand awareness ads, competitor comparison campaigns, and educational content ads all play a role in moving buyers through the funnel. When Last Click gets all the credit, those campaigns look like they are not performing, and they get cut. The result is a funnel that dries up from the top while you over-invest in bottom-of-funnel keywords that only convert because of the earlier touchpoints you eliminated.
Linear attribution is useful as a diagnostic model. If you want to understand the full path buyers take before converting, switching a conversion action to Linear temporarily can reveal which touchpoints are consistently present across conversion paths. Use it for analysis, not as a permanent bidding signal. Reviewing a detailed comparison of attribution models can help you decide which approach fits your account's specific needs.
Time Decay is rarely the right choice for B2B SaaS. It weights recent touchpoints more heavily, which makes sense for short-cycle purchases but distorts data for deals that take weeks or months to close. The ad that introduced a buyer to your product three months ago deserves more credit than Time Decay gives it.
To change the model, click on a conversion action, select Edit Settings, and find the Attribution Model dropdown. Make the change, save it, and note the date. Do not make multiple model changes simultaneously across different conversion actions. Change one at a time so you can isolate the impact on bidding performance.
Success indicator: Your primary conversion actions are using DDA if eligible, or Position-Based if not. You have documented the change date for each modification so you can evaluate performance shifts accurately.
Step 4: Configure Conversion Windows to Match Your Sales Cycle
Attribution model selection gets most of the attention, but conversion window configuration is equally important for B2B SaaS companies. A conversion window defines how far back Google looks when crediting an ad click for a conversion. If a buyer clicks your ad, spends six weeks evaluating your product, and then converts, a 30-day window means that conversion is never attributed to the ad that started the journey.
Google Ads allows you to set click-through conversion windows of 1, 7, 14, 30, 60, or 90 days. The default is 30 days, which is appropriate for e-commerce and short sales cycles. For most B2B SaaS companies, it is not appropriate.
The right conversion window is not a guess. It should come from your CRM data. Pull a report on your closed deals from the past six to twelve months and calculate the median time from first touchpoint to closed-won. If most deals close within 60 days of first interaction, set your window to 60 days. If your average sales cycle runs longer, use the 90-day maximum that Google Ads allows.
To update this, go inside each conversion action, click Edit Settings, and find the Click-Through Conversion Window field. Adjust it to match your sales cycle data.
For display and video campaigns, you also need to configure view-through conversion windows. These track conversions that happen after someone sees your ad but does not click it. Set these conservatively. View-through attribution can easily over-attribute conversions to brand awareness impressions that were not actually influential in the decision. A 1-day or 7-day view-through window is a reasonable starting point for most B2B accounts.
Engaged-view conversion windows apply specifically to video campaigns and track conversions after a viewer watches a meaningful portion of your ad without clicking. These should also be set conservatively to avoid inflating video campaign performance metrics.
One practical note: when you extend a conversion window, you will likely see a temporary increase in reported conversions as historical data gets re-attributed. This is expected. It is not a sign that your campaigns suddenly improved. It is a sign that you are now capturing conversions that were always happening but were previously invisible to your tracking. Understanding common attribution challenges in marketing analytics can help you interpret these shifts without drawing the wrong conclusions.
Success indicator: Your click-through conversion window matches the median time from first ad click to closed deal in your CRM. You have set view-through and engaged-view windows conservatively to avoid over-attribution on awareness campaigns.
Step 5: Enable Enhanced Conversions to Improve Attribution Accuracy
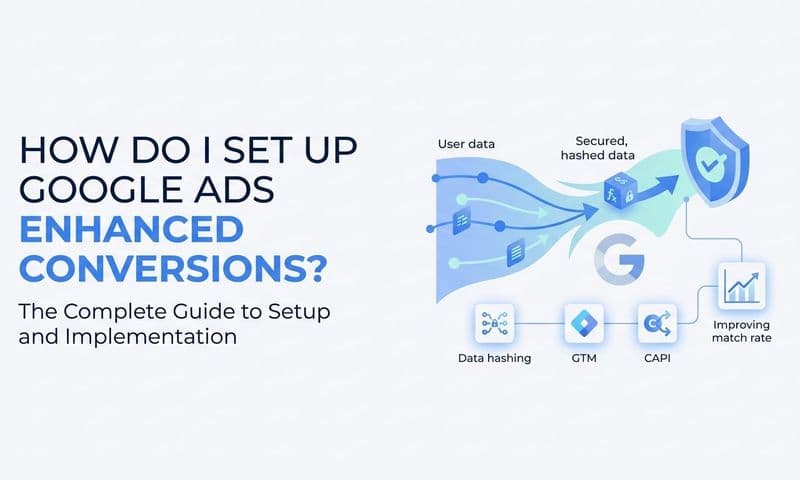
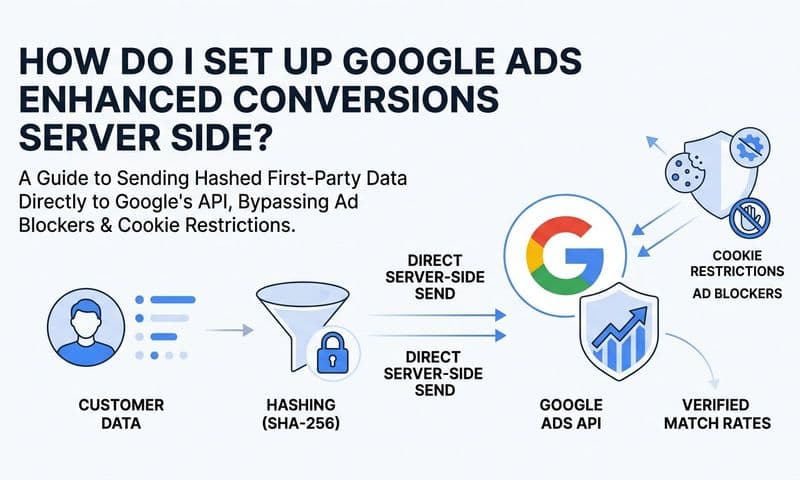
Even with the right attribution model and conversion windows in place, standard pixel-based tracking has a reliability problem. Browser privacy changes, ad blockers, and the ongoing reduction of third-party cookie support mean that a portion of your conversions are simply not being captured by your Google tag. Enhanced conversions are how you close that gap.
Enhanced conversions work by supplementing your existing conversion tags with hashed first-party data. When a visitor fills out a form on your site, their email address (or phone number or name) is hashed using SHA-256 and sent to Google alongside the standard conversion event. Google then uses that hashed data to match the conversion to a signed-in Google user, even when cookie-based tracking would have missed it entirely.
This does not replace your existing Google tag. It works alongside it, filling in the gaps that cookie deprecation creates.
To enable enhanced conversions, navigate to your Conversions list, select a conversion action, click Edit Settings, and scroll to the Enhanced Conversions section. You will see two implementation options: automatic detection and manual implementation via Google Tag Manager.
Automatic detection tells Google to scan your page for customer data fields and map them automatically. It is faster to set up but less reliable. Google may map the wrong fields or miss data entirely, and you will not know unless you test it.
Manual implementation via Google Tag Manager gives you precise control. You create a variable that captures the hashed email value from your form submission and pass it through the conversion tag. This approach requires more setup time but produces more accurate results. For a complete walkthrough of the implementation process, the enhanced conversions Google Ads setup guide covers every configuration step in detail.
For B2B SaaS, enhanced conversions are most valuable on your highest-intent pages: demo request forms, free trial sign-up pages, and contact forms. These are the moments where email addresses are collected and where attribution accuracy matters most for bidding and budget decisions.
After implementation, always validate using Tag Manager's preview mode before pushing to production. Incorrect field mapping is the most common pitfall here. Automatic detection in particular can silently map the wrong data, which means you think enhanced conversions are working when they are not.
Success indicator: The Enhanced Conversions column in your conversion action shows data flowing. Match rates are visible in the Diagnostics section of your conversion action settings. You have validated the implementation in Tag Manager preview mode before relying on the data.
Step 6: Validate Attribution Data and Connect It to Revenue
Configuration is not complete until you have validated that the data flowing through your attribution setup actually reflects reality. This step is where most teams stop short, and it is where the most expensive mistakes get made.
After making attribution changes, run a 14 to 30 day validation period before making any major bidding adjustments. Smart Bidding needs time to recalibrate to the new conversion signals. Changing bids aggressively while the algorithm is still adjusting introduces unnecessary volatility.
During this period, use the Attribution Reports inside Google Ads, found under Measurement > Attribution, to review top conversion paths and assisted conversion data. Look at how many touchpoints typically precede a conversion in your account. If buyers are regularly interacting with three, four, or five ads before converting, that context should inform how you evaluate campaign performance across the funnel.
The most important validation step is cross-referencing Google Ads reported conversions against your CRM. Pull the number of leads or pipeline opportunities created during the same period and compare them to what Google Ads is reporting. A significant gap between the two is a signal that your tracking has holes. Common causes include form submissions that fire without a thank-you page redirect, JavaScript errors that prevent the conversion tag from loading, or conversion actions that are misconfigured to fire on the wrong event. Knowing how to fix attribution discrepancies in data is essential before you trust any downstream reporting.
Here is where you also need to confront an important limitation: Google Ads attribution is scoped entirely to Google-owned touchpoints. It cannot show you how a LinkedIn ad, an organic search visit, a direct email interaction, or a referral from a partner site contributed to the same conversion. For B2B SaaS buyers who research across multiple channels over weeks or months, this means Google Ads attribution is inherently a partial view.
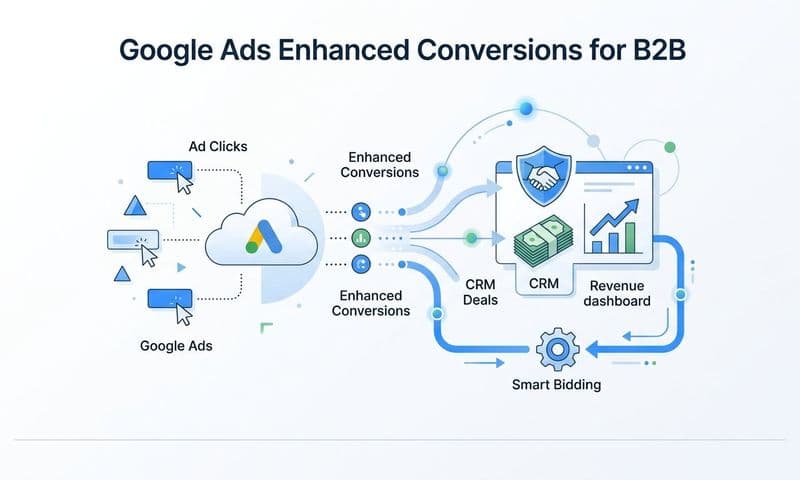
This is where a dedicated attribution platform like Cometly adds critical value. Cometly connects your Google Ads data, CRM, and other ad channels into a single attribution layer so you can see the full customer journey, not just the Google portion of it. When you can see that a buyer first clicked a LinkedIn ad, then engaged with two Google search ads, then converted through a branded search, you make fundamentally different budget decisions than when you only see the final Google click.
Cometly's cross-channel attribution captures every touchpoint from first ad click to closed-won revenue. That cross-channel context is what Google Ads attribution alone cannot provide, and for B2B SaaS teams running campaigns across multiple channels, it is the difference between optimizing a slice of the funnel and optimizing the whole thing.
Success indicator: Your Google Ads conversion data and CRM pipeline data are within a reasonable variance after the validation period. You have identified and resolved any tracking gaps. You have a cross-channel view that shows how Google fits into the broader buyer journey alongside your other channels.
Putting It All Together
Configuring Google Ads attribution settings correctly is one of the highest-leverage actions a B2B SaaS marketing team can take. The right attribution model, accurate conversion windows, and enhanced conversions give Google's Smart Bidding algorithms the data quality they need to optimize effectively. When the inputs are accurate, the outputs improve across every dimension: bidding efficiency, budget allocation, and campaign-level decision making.
But Google Ads attribution only tells part of the story. It shows you what happens within Google's ecosystem, not how Google fits into the full buyer journey alongside LinkedIn, organic search, email, and other channels. That is the gap a platform like Cometly is built to close.
Use this checklist to confirm your configuration is complete:
Audit all existing conversion actions and remove or consolidate duplicates before making any model changes.
Apply Data-Driven Attribution to high-volume primary conversion actions, or Position-Based if your account does not yet meet the DDA threshold.
Set conversion windows based on your actual CRM data, not the default 30-day setting that was designed for shorter sales cycles.
Enable enhanced conversions on your key lead capture pages and validate the implementation in Tag Manager preview mode before relying on the data.
Validate against CRM records after 30 days to identify any remaining tracking gaps and confirm that reported conversions align with actual pipeline created.
Layer cross-channel attribution to see the full picture of how Google Ads fits alongside your other channels in driving pipeline and revenue.
When your attribution data is accurate, every budget decision, bidding strategy, and campaign optimization becomes more reliable. You stop guessing and start making decisions grounded in how your buyers actually behave.
Ready to go beyond Google's native attribution and see the full customer journey from first touchpoint to closed revenue? Get your free demo and see how Cometly connects every channel into a single source of truth for your marketing data.