
Your Meta ads dashboard shows 50 conversions. Your Google Analytics shows 38. Your CRM recorded 42 actual sales. Which number do you trust when deciding where to invest your next $10,000?
This isn't just a reporting headache. It's a fundamental problem with how modern tracking works.
Browser-based tracking is crumbling under the weight of privacy updates, ad blockers, and cookie restrictions. iOS 14.5 alone wiped out visibility for millions of advertisers overnight. Safari blocks third-party cookies by default. Firefox does the same. Even Chrome is phasing them out.
The result? You're making budget decisions based on incomplete data.
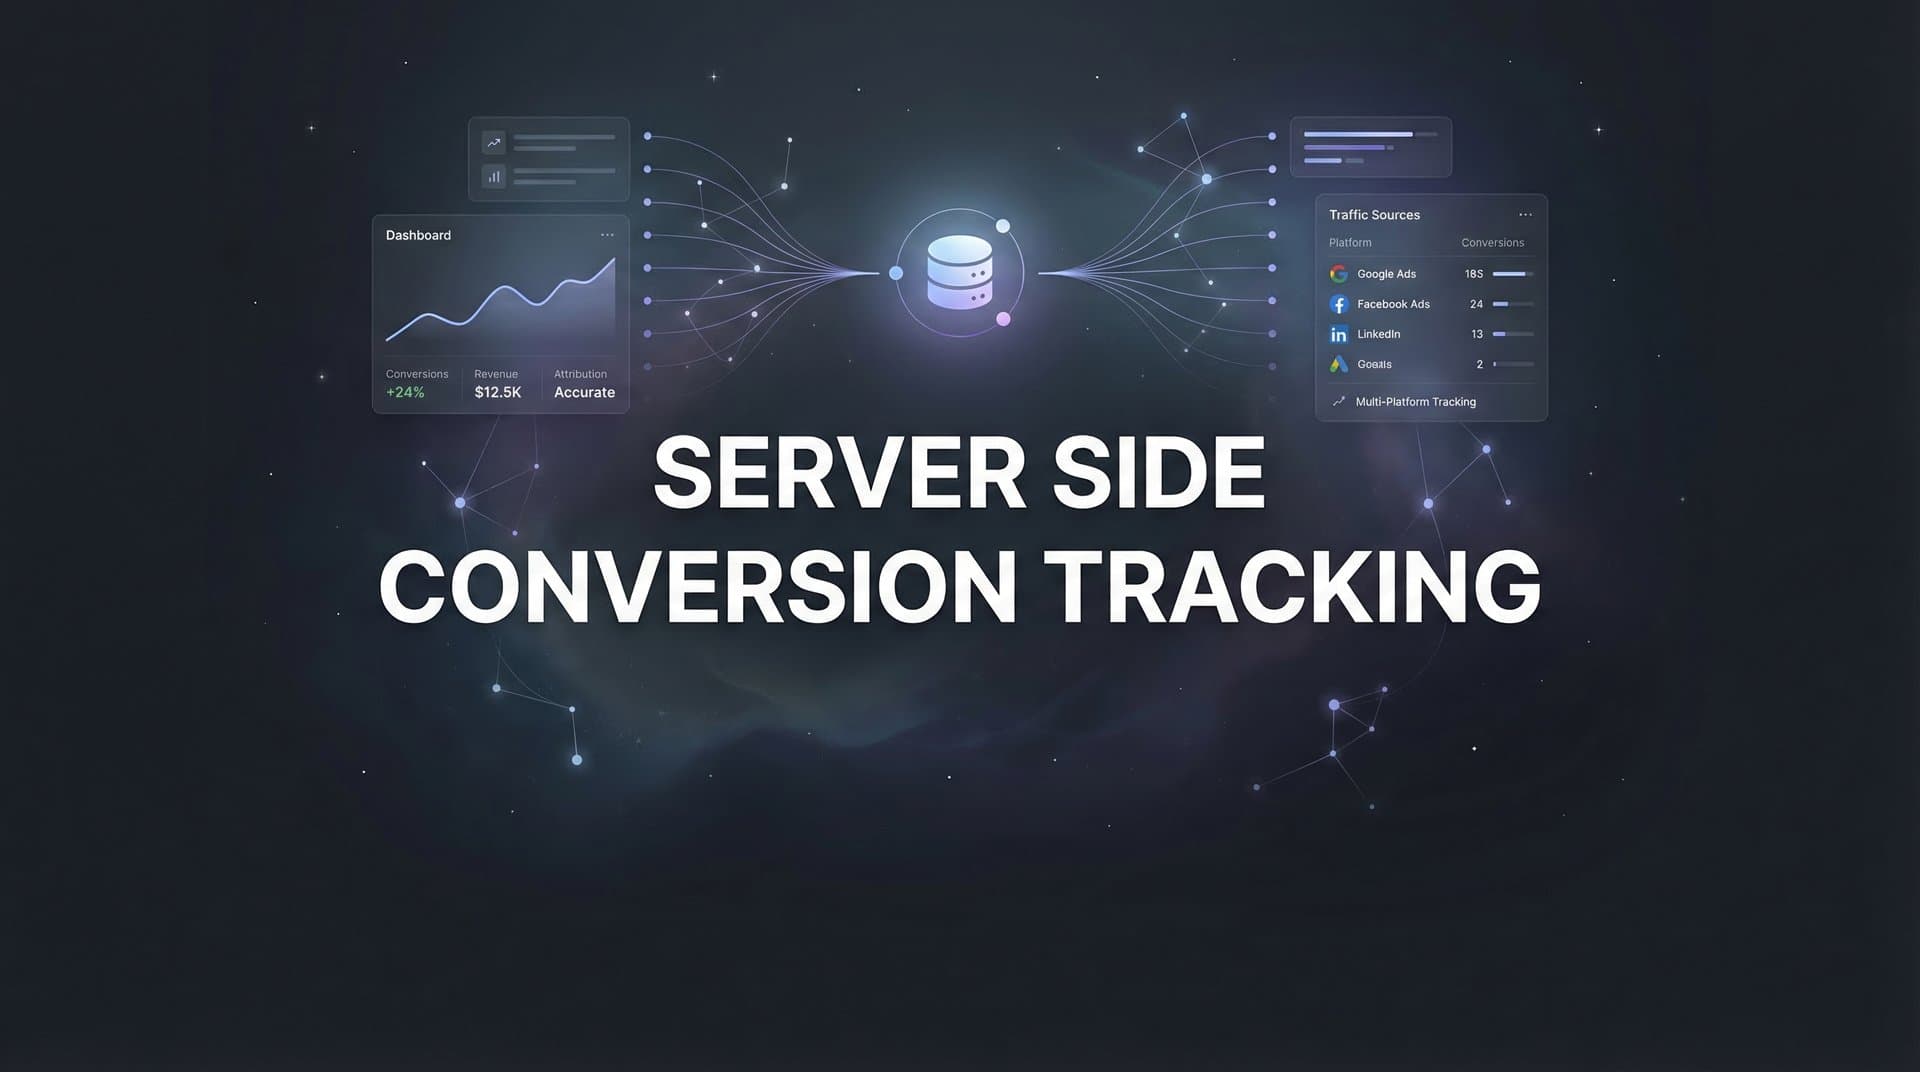
Server side conversion tracking solves this by bypassing the browser entirely. Instead of relying on pixels and cookies that users can block, your server sends conversion data directly to ad platforms. The conversion happens on your backend, gets recorded in your system, and flows straight to Meta, Google, TikTok, or wherever you're running campaigns.
No browser required. No cookies to block. No iOS restrictions to navigate.
This guide walks you through the complete implementation process. You'll learn how to audit your current tracking gaps, choose the right technical approach, configure your server environment, connect each ad platform, and validate everything works correctly. Whether you're running a single platform or managing campaigns across Meta, Google, and TikTok simultaneously, these steps will help you capture the conversion data you're currently losing.
Let's start with understanding exactly what you're missing right now.
Step 1: Audit Your Current Tracking Setup and Identify Gaps
Before implementing any new tracking system, you need to understand where your current setup fails. This baseline measurement becomes your proof that server side tracking actually works.
Start by comparing conversion numbers across three sources: your ad platforms, your analytics tool, and your actual backend system (CRM, payment processor, or database). Pull data from the last 30 days and create a simple spreadsheet with columns for each source.
Ad Platform Data: Log into Meta Ads Manager, Google Ads, and any other platforms you use. Record the total conversions each platform reports for your key events—purchases, leads, signups, or whatever matters most to your business.
Analytics Data: Check Google Analytics or your analytics platform for the same conversion events during the same timeframe. Understanding the differences between Google Analytics vs server side tracking helps you interpret these discrepancies correctly.
Backend Reality: This is your source of truth. Pull actual transaction data from your CRM, e-commerce platform, or database. Count real customers, real purchases, real revenue.
The discrepancies tell you exactly what you're losing. If Meta reports 100 conversions but your backend shows 150 actual sales, you're missing 33% of your conversion data. That gap represents invisible performance that's hurting your optimization.
Now document which specific conversion events need server-side tracking. Focus on events that happen after a user leaves your website or takes action in your app. Common examples include qualified leads marked in your CRM, completed purchases processed by your payment system, subscription renewals, and high-value actions like demo bookings or contract signings.
Pay special attention to mobile traffic. Filter your analytics by device and compare iOS conversion rates to Android and desktop. iOS traffic typically shows significantly lower conversion rates due to App Tracking Transparency restrictions, even when actual conversions occur at similar rates. This gap represents real conversions that browser tracking can't see.
Create a simple tracking gap document that lists each conversion event, the current tracking method, the discrepancy percentage, and the estimated monthly value of missing data. This becomes your business case for implementation and your benchmark for measuring success.
Step 2: Choose Your Server Side Implementation Method
You have three main paths for implementing server side conversion tracking. Each has different technical requirements, costs, and complexity levels.
Direct API Integration: This approach means building custom code that sends conversion data from your server directly to each ad platform's API. You control everything—data formatting, timing, and logic. The downside? You're responsible for maintaining separate integrations for Meta Conversions API, Google Ads API, TikTok Events API, and every other platform you use. Each has different authentication requirements, event parameter formats, and debugging processes.
Direct integration makes sense if you have dedicated development resources, run campaigns on just one or two platforms, and need highly customized tracking logic. Most marketing teams don't fit this profile.
Google Tag Manager Server-Side: GTM Server-Side acts as a middle layer between your website and ad platforms. Instead of tags firing directly from browsers, they send data to a server container you control. That container then forwards events to ad platforms. This approach gives you more control than browser-based tracking while simplifying some technical complexity.
However, GTM Server-Side requires setting up cloud infrastructure (typically Google Cloud Platform), configuring server containers, managing hosting costs, and building custom tag templates for each platform. You still need technical expertise to implement and maintain the system.
Marketing Attribution Platforms: Tools like Cometly handle the entire server-side implementation for you. They provide pre-built connections to major ad platforms, automatically format conversion data correctly for each API, and manage the technical infrastructure. Reviewing the top server side tracking platforms can help you evaluate your options.
This approach eliminates the development burden and maintenance overhead. Instead of building and maintaining separate integrations for each platform, you connect once and the attribution platform manages everything. The platform also provides multi-touch attribution analysis, showing which touchpoints across all channels contributed to each conversion.
Consider your technical resources honestly. If you have a development team with bandwidth to build and maintain custom integrations, direct API integration gives you maximum control. If you want some control without full custom development, GTM Server-Side offers a middle ground. If you need to implement quickly across multiple platforms without extensive development resources, an attribution platform simplifies the entire process.
Most marketers choose attribution platforms because they solve multiple problems simultaneously: server-side tracking implementation, cross-platform data unification, and attribution analysis. Rather than building infrastructure to send data, you focus on using that data to make better decisions.
Step 3: Configure Your Server Environment and Data Layer
Regardless of which implementation method you choose, you need a proper data layer that captures the information required for accurate conversion tracking. Think of your data layer as the foundation that everything else builds on.
Your data layer needs to capture three categories of information: user identifiers, conversion details, and attribution parameters.
User Identifiers: Server side tracking works by matching conversion events back to specific users. You need to collect and hash personally identifiable information according to each platform's requirements. This typically includes email addresses (hashed using SHA-256), phone numbers (formatted and hashed), customer IDs from your system, and any platform-specific identifiers like Facebook Browser ID or Google Click ID.
Hash this data on your server before sending it to ad platforms. Never send plain text email addresses or phone numbers through APIs. Most platforms provide specific hashing requirements in their documentation.
Conversion Details: Capture the specifics of each conversion event. For purchases, this means order ID, product details, revenue amount, currency, and transaction timestamp. For leads, capture lead quality indicators, source information, and any custom parameters relevant to your business. For subscriptions, include plan type, billing frequency, and lifetime value indicators.
Structure this data consistently across all conversion events. If you use different field names or formats for the same information across different events, matching and deduplication becomes nearly impossible. Following best practices for tracking conversions accurately ensures your data remains clean and actionable.
Attribution Parameters: Preserve the marketing touchpoint information that connected the user to your business. This includes UTM parameters from the original click, referrer information, landing page URLs, and any campaign-specific identifiers. Store this data when the user first arrives, then associate it with conversion events that happen later.
If you're implementing direct API integration or GTM Server-Side, you'll need to set up server infrastructure to collect and process this data. This typically means deploying a cloud container or server endpoint that receives events from your website or app, enriches them with additional data from your backend systems, and forwards them to ad platforms.
Privacy compliance is non-negotiable. Implement proper consent management that respects user privacy choices. Only send hashed identifiers for users who have provided appropriate consent. Explore privacy compliant conversion tracking methods to ensure your implementation meets regulatory requirements.
Store attribution data securely. Use encrypted connections for all data transmission. Implement access controls so only authorized systems and personnel can access conversion data. Set data retention policies that balance attribution accuracy with privacy requirements.
Step 4: Connect Your Ad Platforms via Server-Side APIs
With your data layer configured, you're ready to connect ad platforms and start sending server-side conversion data. Each platform has specific requirements and authentication processes.
Meta Conversions API Setup: Log into Meta Events Manager and navigate to your pixel. Under Settings, find the Conversions API section and generate an access token. This token authenticates your server requests. Store it securely—never expose it in client-side code or commit it to public repositories.
Configure your server to send POST requests to Meta's Conversions API endpoint. Each request includes your pixel ID, access token, and an array of conversion events. Each event needs user data (hashed email, phone, etc.), custom data (purchase amount, product details), and event metadata (timestamp, event source URL, action source set to "website" or "server").
Test your integration using Meta's Test Events tool in Events Manager. Send a test conversion and verify it appears with all expected parameters. Meta shows you exactly which fields were received and flags any issues with data formatting or missing parameters.
Google Ads Enhanced Conversions: Enhanced conversions send hashed first-party data alongside conversion events to improve matching accuracy. Enable enhanced conversions in your Google Ads account under conversion settings. For a comprehensive walkthrough, consult our Google conversion tracking complete guide.
Generate API credentials through Google Cloud Console. You'll need to enable the Google Ads API and create OAuth credentials. Configure your server to send conversion adjustments that include hashed user identifiers (email and phone) along with conversion details.
For offline conversions (events that happen outside your website), set up offline conversion imports. This requires capturing Google Click ID (GCLID) when users first click your ads, storing it with user records, then sending it back with conversion data when those users convert.
TikTok Events API: Access TikTok Events Manager and generate a server-side access token. TikTok's API structure is similar to Meta's—you send POST requests containing event arrays with user data, event properties, and attribution parameters.
TikTok requires specific event naming conventions. Use their standard event names (CompletePayment, SubmitForm, etc.) rather than custom names to ensure proper optimization.
Conversion Sync Features: If you're using an attribution platform like Cometly, conversion sync automatically feeds enriched conversion data back to ad platforms. Rather than manually configuring each API connection, you connect your ad accounts once and define which conversion events to sync. The platform handles formatting, deduplication, and delivery for all platforms simultaneously.
This approach ensures consistent data formatting across platforms and eliminates the technical burden of maintaining multiple API integrations. When you add a new ad platform or modify conversion events, you update settings once rather than rebuilding integrations.
Step 5: Map Conversion Events and Customer Journey Touchpoints
Accurate attribution requires mapping your entire customer journey, not just final conversions. This step connects every meaningful touchpoint from first click to closed deal.
Start by listing every conversion event that matters to your business. Don't limit yourself to purchases. Include lead form submissions, demo bookings, trial signups, qualified lead status changes in your CRM, closed deals, and any other event that indicates campaign success.
For each event, define the trigger condition. A purchase might trigger when your payment processor confirms a transaction. A qualified lead might trigger when your sales team marks a lead as meeting specific criteria in your CRM. A subscription renewal might trigger when your billing system processes a recurring payment.
CRM Integration: Connecting CRM events to ad platform attribution is crucial for B2B companies and any business with a sales process. When a lead becomes qualified, that information should flow back to the ad platforms that drove that lead. When a deal closes, the revenue should be attributed to the campaigns that generated that customer.
Set up webhooks or API connections between your CRM and your server-side tracking system. When lead status changes or deals close, send those events through your server-side tracking with the same user identifiers and attribution parameters you captured at the initial conversion.
This creates a complete attribution loop. Ad platforms don't just see that someone filled out a form—they see which form fills actually became customers and generated revenue. This higher-quality signal dramatically improves campaign optimization.
Event Deduplication: When you run both browser-based tracking and server-side tracking simultaneously (which is recommended), you need deduplication logic to prevent counting the same conversion twice. Understanding server side tracking vs pixel tracking helps you implement proper deduplication strategies.
When ad platforms receive events with the same event ID from both sources, they automatically deduplicate and count it once. Generate these event IDs on your backend when conversions occur, then pass them to both tracking methods.
Set up your deduplication logic to prefer server-side data when both sources report the same conversion. Server-side data is more reliable and includes additional context from your backend systems.
Multi-Touch Attribution: Map the complete journey from first touchpoint to final conversion. When a user clicks a Meta ad, visits from Google search, clicks a retargeting ad, and then purchases, all three touchpoints contributed to that conversion. Addressing cross device conversion tracking solutions ensures you capture the full journey even when users switch devices.
Store attribution data at each touchpoint. When the final conversion occurs, send the complete journey history along with the conversion event. This enables proper credit distribution across all contributing channels rather than giving all credit to the last click.
Step 6: Test, Validate, and Launch Your Server Side Tracking
Implementation without validation is guesswork. Before trusting your new tracking system with real budget decisions, verify everything works correctly.
Start with platform debugging tools. Meta's Test Events tool shows exactly which events your server sends and highlights any parameter issues. Google's conversion tracking status page indicates whether enhanced conversions are receiving data properly. TikTok's Events Manager includes a diagnostic tab that displays recent server events.
Send test conversions through your system and verify they appear in each platform's debugging interface within a few minutes. Check that all expected parameters are present—user identifiers, conversion values, product details, and attribution parameters.
Data Comparison Testing: Run your new server-side tracking in parallel with existing browser-based tracking for at least two weeks. Compare the numbers daily. Server-side tracking should show higher conversion counts than browser-based tracking, especially for iOS traffic and users with ad blockers. This validates why server side tracking is more accurate for your specific setup.
Pull conversion data from your backend system and compare it against both tracking methods. Server-side numbers should match your backend reality much more closely than browser-based tracking. If they don't, investigate why conversions aren't being captured or sent properly.
Check for common issues: missing user identifiers that prevent proper matching, incorrect event parameter formatting that platforms reject, authentication errors that prevent API calls from succeeding, and timing delays between when conversions occur and when events are sent.
Troubleshooting Common Problems: If events aren't appearing in platform debugging tools, verify your access tokens are correct and haven't expired. Check that your server can reach platform API endpoints (firewall rules sometimes block outbound connections). Review your event formatting against platform documentation—even small parameter name differences can cause rejection. Our guide on server side tracking setup challenges covers the most frequent obstacles and solutions.
If events appear but show low match rates, improve your user identifier collection. Collect email addresses at more touchpoints. Implement phone number collection where appropriate. Ensure you're hashing data correctly using the exact format each platform requires.
If you see duplicate conversions despite deduplication logic, verify you're generating and sending consistent event IDs from both browser and server sources. Check that event names match exactly between sources—"Purchase" and "purchase" are treated as different events.
Gradual Rollout Strategy: Don't immediately switch all campaign optimization to server-side data. Start by using server-side tracking for reporting and analysis while keeping browser-based tracking active for campaign optimization. This parallel operation lets you build confidence in the data accuracy.
After two weeks of parallel operation with matching data, enable server-side events for campaign optimization. Monitor performance closely for the first week. Ad platform algorithms need time to adjust to the new, more complete data signal.
Expect a brief adjustment period where performance metrics may fluctuate as algorithms recalibrate. This is normal. The algorithms are learning to optimize based on more accurate conversion data, which ultimately improves performance.
Putting It All Together
With server side conversion tracking properly configured, you've eliminated the blind spots that browser-based tracking creates. Your ad platforms now receive conversion data that reflects reality—not just the subset of conversions that browsers can see.
This higher-quality signal transforms how ad platform algorithms optimize your campaigns. Meta's algorithm sees which creative and targeting combinations drive actual purchases, not just trackable purchases. Google's smart bidding adjusts based on complete conversion data. TikTok's optimization improves when it knows which videos generate real business results.
The impact extends beyond individual platform performance. With accurate data flowing from your backend systems to ad platforms, you can confidently scale winning campaigns. The attribution gaps that previously made scaling feel risky disappear when you know exactly which ads drive revenue.
Here's your implementation checklist: Audit your current tracking setup and document the gaps between ad platform reporting and backend reality. Choose your implementation method based on technical resources and complexity requirements. Configure your server environment and data layer to capture user identifiers, conversion details, and attribution parameters. Connect each ad platform via their server-side API with proper authentication and event formatting. Map all conversion events including CRM status changes and implement deduplication logic. Test thoroughly using platform debugging tools and parallel operation before full deployment.
The ongoing benefit compounds over time. As you capture more accurate conversion data, ad platform algorithms optimize more effectively. As optimization improves, your cost per acquisition decreases and return on ad spend increases. As performance improves, you can scale with confidence knowing your data reflects reality.
For marketers managing campaigns across multiple platforms, the technical complexity of maintaining separate server-side integrations for each channel becomes overwhelming. Cometly streamlines this entire process by handling server-side connections, conversion sync, and multi-touch attribution in one platform. Rather than building and maintaining custom integrations, you connect your ad accounts and CRM once. Cometly captures every touchpoint across all channels, sends enriched conversion data back to each platform via server-side APIs, and provides AI-driven recommendations based on complete attribution data.
Ready to elevate your marketing game with precision and confidence? Discover how Cometly's AI-driven recommendations can transform your ad strategy—Get your free demo today and start capturing every touchpoint to maximize your conversions.


