
Every dollar you spend on advertising should be traceable to a result. Yet many marketing teams launch campaigns without a proper ad conversion tracking setup, leaving them guessing which ads actually drive revenue and which ones burn through budget with nothing to show for it.
Without reliable tracking, you are flying blind. You cannot optimize bids, refine audiences, or justify spend to stakeholders when you have no idea what is actually working. That is a frustrating position to be in, especially when the fix is more straightforward than most people assume.
Here is the reality: setting up conversion tracking does not require a developer on speed dial or weeks of configuration. Whether you are running campaigns on Google, Meta, TikTok, or all three simultaneously, the core process follows a predictable pattern. You define what counts as a conversion, install the right tracking mechanisms, verify the data, and connect everything so you can see the full customer journey from first click to closed deal.
This guide walks you through the entire ad conversion tracking setup process in six clear steps. By the end, you will have accurate, real-time conversion data flowing from your ad platforms into a system you can actually trust, giving you the confidence to scale what works and cut what does not.
One more thing worth noting before we dive in: the tracking landscape has shifted significantly in recent years. Browser privacy changes, iOS restrictions, and the ongoing deprecation of third-party cookies have made traditional pixel-based tracking less reliable than it once was. This guide accounts for that reality and covers server-side tracking as part of a modern, durable setup.
Let us get into it.
Step 1: Define Your Conversion Events and Goals
Before you touch a single tag or pixel, you need to get clear on what you are actually trying to measure. This step sounds obvious, but skipping it is one of the most common reasons tracking setups produce noisy, misleading data.
Start by identifying the specific actions that matter to your business. These might include purchases, form submissions, demo bookings, phone calls, app installs, or free trial signups. The key is to anchor your conversion events to outcomes that have real business value, not just activity for the sake of it.
From there, it helps to distinguish between two categories of conversions.
Macro conversions are the revenue-generating actions at the bottom of your funnel: a completed purchase, a signed contract, a booked demo. These are your primary goals and the ones that should drive bidding decisions inside your ad platforms.
Micro conversions are the engagement signals that happen earlier in the journey: adding a product to cart, downloading a lead magnet, watching a video past a certain threshold, or signing up for an email list. These matter because they feed your ad platform algorithms with richer behavioral data, even when a final purchase has not happened yet.
Map each conversion event to a stage in your funnel. This gives you the ability to measure progression, not just final outcomes. If you know that a specific percentage of people who book a demo eventually close as customers, you can use demo bookings as a meaningful optimization signal even in campaigns that are not directly tied to revenue.
Assign values to your conversions wherever possible. For ecommerce, this is straightforward: use the actual transaction value. For lead generation, estimate value by dividing your average deal size by your lead-to-close rate. This turns lead conversions into a proxy for revenue, which makes your conversion tracking setup far more intelligent.
One common pitfall to avoid: tracking too many low-value events. When you flood your ad platforms with signals from every minor interaction, you clutter your data and confuse the algorithms that use conversion data to optimize delivery. Start with two to four high-priority conversions per campaign objective and build from there once your setup is stable.
The output of this step should be a simple document listing each conversion event, its funnel stage, its assigned value, and whether it is a primary or secondary optimization goal. This becomes your reference point for everything that follows.
Step 2: Install Tracking Pixels and Tags on Your Website
With your conversion events defined, the next task is getting the tracking infrastructure in place on your website. This is where the technical side begins, but it is more manageable than it looks.
A tracking pixel is a small piece of code that loads when a user visits a page or takes an action on your site. It sends data back to the ad platform, telling it that a specific event occurred. Think of it as a signal flare: every time someone completes a conversion, the pixel fires and the platform records it. You can learn more about how pixels work in detail through resources on tracking pixel fundamentals.
The recommended approach for managing multiple tracking tags is Google Tag Manager (GTM). Instead of hardcoding each platform's pixel directly into your site's source code, GTM acts as a container that holds all your tags in one place. You install GTM once, and from that point forward you can add, edit, or remove tracking tags through a browser-based interface without touching the underlying code. This is cleaner, faster, and far less risky than editing site files directly.
Here is how to approach the installation for the three major platforms:
Meta Pixel: In Meta Events Manager, generate your Pixel ID and create a new GTM tag using the Meta Pixel template. Set the base pixel to fire on all pages, then create separate tags for specific conversion events like Purchase or Lead, triggered by the relevant page views or button clicks.
Google Ads Tag: In Google Ads, navigate to Tools, then Conversions, and create a new conversion action. Google will provide a Global Site Tag and an event snippet. In GTM, add the Global Site Tag as a tag that fires on all pages, then add event-specific snippets triggered by your defined conversion actions.
TikTok Pixel: In TikTok Events Manager, create a pixel and use the TikTok Pixel GTM template or manual installation. The process mirrors Meta and Google: base tag on all pages, event tags on conversion-specific triggers.
Now, here is where modern tracking diverges from the traditional approach. Browser-based pixels have become less reliable as privacy restrictions tighten. iOS changes have limited how effectively pixels can track users across apps and browsers. Third-party cookie deprecation is reducing the data available to client-side tracking scripts. The result is that pixel-only setups increasingly undercount conversions.
Server-side tracking addresses this by sending conversion data directly from your server to the ad platform, bypassing browser limitations entirely. Instead of relying on a pixel firing in a user's browser, your server captures the conversion event and transmits it through a secure API connection. This approach is more durable, more accurate, and less susceptible to ad blockers or browser restrictions.
Before moving to the next step, verify your installation. Use the Meta Pixel Helper Chrome extension to confirm your Meta Pixel is firing on the right pages. Use Google Tag Assistant to verify your Google tags. Check that base tags fire on every page and that event tags fire only on the correct trigger conditions. Catching a misconfigured tag now saves hours of troubleshooting later.
Step 3: Configure Conversion Actions Inside Each Ad Platform
Installing pixels gets the data flowing. Configuring conversion actions tells each ad platform exactly what to do with that data. This step happens inside each platform's native interface and requires some deliberate decisions that will shape how your performance numbers look.
In Google Ads, go to Tools, then Conversions, and select New Conversion Action. You will choose the conversion source (website, app, phone calls, or import), then define the event. For website conversions, you will specify the action category (purchase, lead, page view, etc.), assign a value, and set your conversion window. For a detailed walkthrough, see our guide on Google Ads conversion tracking.
In Meta Events Manager, you can set up standard events (predefined actions like Purchase, Lead, or AddToCart) or custom conversions based on specific URL rules or event parameters. Standard events are generally preferred because they integrate more cleanly with Meta's optimization algorithms.
In TikTok Events Manager, the workflow is similar: create a conversion event, assign it to the relevant pixel event, and configure your optimization settings.
Across all three platforms, you will need to make three key configuration decisions.
Conversion windows: This determines how long after an ad interaction a conversion can be credited to that ad. A 7-day click window means any conversion within seven days of a click gets attributed to the ad. A 1-day view-through window means a conversion within 24 hours of seeing (but not clicking) an ad gets attributed. Longer windows capture more conversions but can inflate numbers by crediting ads for organic activity. Choose windows that reflect your actual sales cycle. For a deeper dive, read about conversion window attribution and how it impacts your data.
Counting method: For ecommerce, count every conversion because each purchase is a separate revenue event. For lead generation, count one conversion per user to avoid counting duplicate form submissions from the same person as multiple leads.
Attribution settings: Each platform has its own default attribution model. Google Ads defaults to data-driven attribution where available. Meta uses a combination of click and view attribution. Understand what each platform is using so you can interpret the numbers correctly.
A critical pitfall here: mismatched conversion windows across platforms make cross-channel comparison nearly impossible. If Google is using a 30-day click window and Meta is using a 7-day click window, their reported conversion numbers are not comparable. Standardize your windows wherever your sales cycle allows it, and document the settings you have chosen so future audits are easier.
Step 4: Implement UTM Parameters for Cross-Channel Clarity
Pixels tell ad platforms what happened. UTM parameters tell your analytics tools where visitors came from and which specific campaign, ad set, or creative drove them there. Both are essential, and they serve different purposes in your tracking stack.
UTM parameters are tags you append to your destination URLs. When someone clicks a tagged link, the parameters are captured by your analytics platform and stored alongside the session data. This lets you filter and segment traffic by source, campaign, and creative without relying solely on each ad platform's self-reported data. Our detailed guide on UTM tracking and how it helps your marketing covers the fundamentals thoroughly.
There are five standard UTM parameters to know:
utm_source: Identifies the platform driving the traffic. Examples: google, meta, tiktok, linkedin.
utm_medium: Identifies the marketing channel. Examples: cpc, paid-social, email, organic.
utm_campaign: Identifies the specific campaign. Examples: spring-promo-2026, demo-request-q2.
utm_term: Used primarily for paid search to capture the keyword that triggered the ad.
utm_content: Differentiates between ads or creatives within the same campaign. Examples: video-ad-1, carousel-blue, headline-variant-a.
The most important thing about UTM parameters is consistency. If one campaign uses "Meta" as the source and another uses "meta" and a third uses "Facebook," your analytics tool will treat these as three separate traffic sources. Your reports become fragmented and unreliable. Establish a naming convention document before you launch any campaigns and enforce it across your team.
UTMs also serve a critical function beyond analytics: they connect ad clicks to downstream CRM data. When a lead submits a form, the UTM parameters from their session can be captured and stored in your CRM alongside their contact record. This means you can trace a lead from the specific ad that first brought them to your site all the way through to a closed deal, giving you a true revenue attribution picture rather than just a conversion count.
For deeper guidance on building a UTM framework, explore resources on UTM tracking best practices and naming conventions to ensure your data stays clean as your campaign volume grows.
Step 5: Connect Your Ad Platforms, CRM, and Attribution Tool
Here is where most tracking setups fall short. You can have pixels firing perfectly, conversion actions configured correctly, and UTMs applied consistently, and still end up with a distorted view of performance. The reason is that each ad platform reports conversions from its own perspective, taking credit for every conversion it touched.
Run Google Ads, Meta Ads, and TikTok Ads simultaneously, and you will likely find that the sum of their reported conversions far exceeds your actual conversion count. This is because all three platforms may have touched the same customer journey, and each one claims the conversion as its own. This is sometimes called the attribution overlap problem, and it is endemic to siloed, platform-native reporting. A robust cross-channel tracking implementation is essential to solving this.
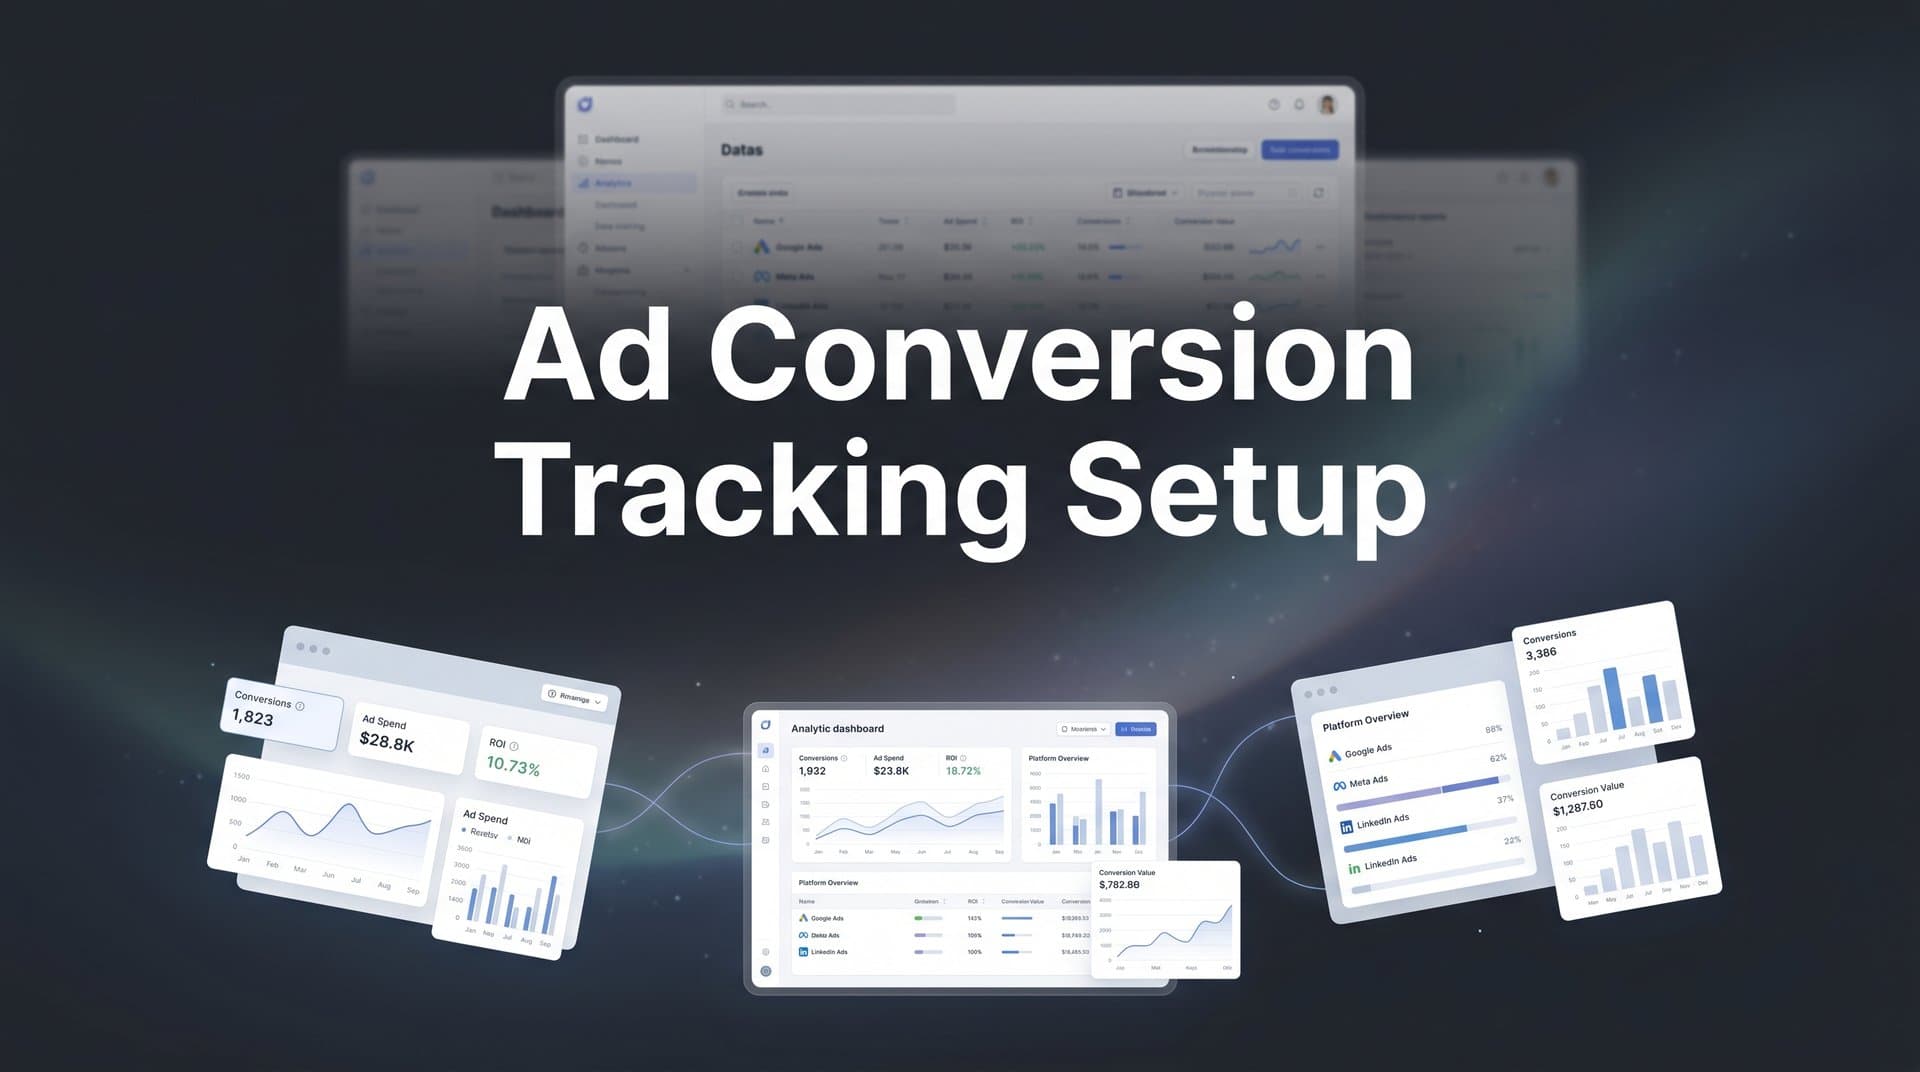
The solution is a centralized attribution platform that sits above all your ad channels and provides a deduplicated, cross-channel view of performance. This is where a tool like Cometly fits into the picture.
Cometly connects your ad accounts (Google, Meta, TikTok, and others), your CRM, and your website tracking into a single unified dashboard. Every touchpoint across the customer journey is captured and attributed according to a model you choose, rather than each platform's self-serving default. You can see which channels are actually driving revenue, not just which ones are claiming credit for it.
Connecting these data sources typically involves a few key steps: authenticating your ad platform accounts through API connections, integrating your CRM (whether that is HubSpot, Salesforce, or another platform), and installing Cometly's tracking on your website to capture on-site behavior. Once connected, the platform begins stitching together touchpoints across the customer journey in real time.
Multi-touch attribution is at the heart of this. Rather than giving all credit to the last click before a conversion (the default for most ad platforms), multi-touch models distribute credit across every touchpoint in the journey. First-touch attribution credits the channel that first introduced the customer to your brand. Linear attribution spreads credit evenly across all touchpoints. Data-driven attribution uses statistical modeling to assign credit based on each touchpoint's actual influence on conversion. The right model depends on your sales cycle length, the number of channels you run, and your business goals. You can explore attribution tracking setup strategies in detail to find the right fit.
Cometly also addresses the server-side tracking challenge from Step 2. Its server-side infrastructure captures conversion data with greater accuracy than browser pixels alone, and its conversion sync feature feeds enriched event data back to Meta, Google, and other platforms. This improves the quality of the signals those platforms use to optimize ad delivery and targeting, which means better performance from the same budget.
The success indicator for this step is straightforward: you can open a single dashboard and see the complete customer journey from the first ad click through every subsequent touchpoint to a CRM event and ultimately to revenue. No more toggling between platform dashboards and trying to reconcile conflicting numbers.
Step 6: Validate, Test, and Optimize Your Tracking Setup
A tracking setup that has never been tested is a tracking setup you cannot trust. Before you start making optimization decisions based on your data, you need to verify that everything is working as intended.
Start by running test conversions on every platform. Complete a test purchase, submit a test form, or trigger whatever conversion events you have configured. Then check that these test conversions appear correctly in your ad accounts, in your analytics platform, and in your attribution tool. If a conversion shows up in Google Ads but not in Cometly, or fires twice in Meta Events Manager, you have a configuration issue to resolve before going live.
Cross-reference your conversion counts across systems. Your ad platforms, your analytics tool, and your attribution platform will rarely show identical numbers due to differences in attribution windows and counting methods, but they should be in a reasonable range of each other. Large discrepancies, such as one platform reporting three times the conversions of another for the same campaign, often reveal misconfigured pixels, duplicate event firing, or incorrect conversion window settings. Our guide on fixing conversion tracking gaps walks through the most common causes and solutions.
Set up a regular audit schedule. Tracking breaks happen silently. A site update can overwrite your GTM container. A new landing page might not have the pixel installed. A developer change to the checkout flow might break the purchase event trigger. These issues can go undetected for weeks, causing your data to degrade without any obvious signal. A weekly or biweekly check of your key conversion events takes about fifteen minutes and can save you from making optimization decisions based on corrupted data.
Use your validated data to make actual optimization decisions. Pause ads that show no conversion activity after a statistically meaningful number of impressions. Reallocate budget toward channels and campaigns that the attribution data shows are genuinely driving revenue. Use AI-powered tools like Cometly's AI Ads Manager to surface recommendations based on your actual performance data, rather than relying on gut instinct or each platform's self-reported metrics.
The ongoing pitfall to avoid is treating your tracking setup as a one-time task. Your tracking needs to evolve as your campaigns grow. Every new channel you add, every new conversion event you define, and every new landing page you launch is an opportunity for something to slip through unchecked. Build tracking validation into your campaign launch process so it becomes a standard part of how your team operates, not an afterthought.
Your Ad Conversion Tracking Checklist
With these six steps complete, your ad conversion tracking setup is ready to deliver the accurate, actionable data your campaigns need. Before you call it done, run through this checklist to confirm everything is in place.
1. Conversion events are clearly defined with assigned values and mapped to funnel stages.
2. Tracking pixels and server-side tags are installed and verified across all relevant pages.
3. Conversion actions are configured correctly inside each ad platform with appropriate windows and counting methods.
4. UTM parameters follow a consistent naming convention across all campaigns and are capturing data in your analytics tool.
5. Ad platforms, CRM, and your attribution tool are connected for a unified, deduplicated view of performance.
6. Test conversions have been validated and a regular audit schedule is established.
Accurate tracking is the foundation of every smart scaling decision. When you can see exactly which ads and channels drive real revenue, you stop guessing and start growing with confidence. You can justify budget increases, defend channel allocations, and make the kind of data-backed decisions that compound over time.
Platforms like Cometly make this entire process faster and more reliable by connecting all your data in one place, feeding better signals back to ad platform algorithms through server-side conversion sync, and surfacing AI-driven recommendations so you can act on your data immediately rather than spending hours building reports.
Ready to elevate your marketing with precision and confidence? Discover how Cometly's AI-driven recommendations can transform your ad strategy. Get your free demo today and start capturing every touchpoint to maximize your conversions.


