
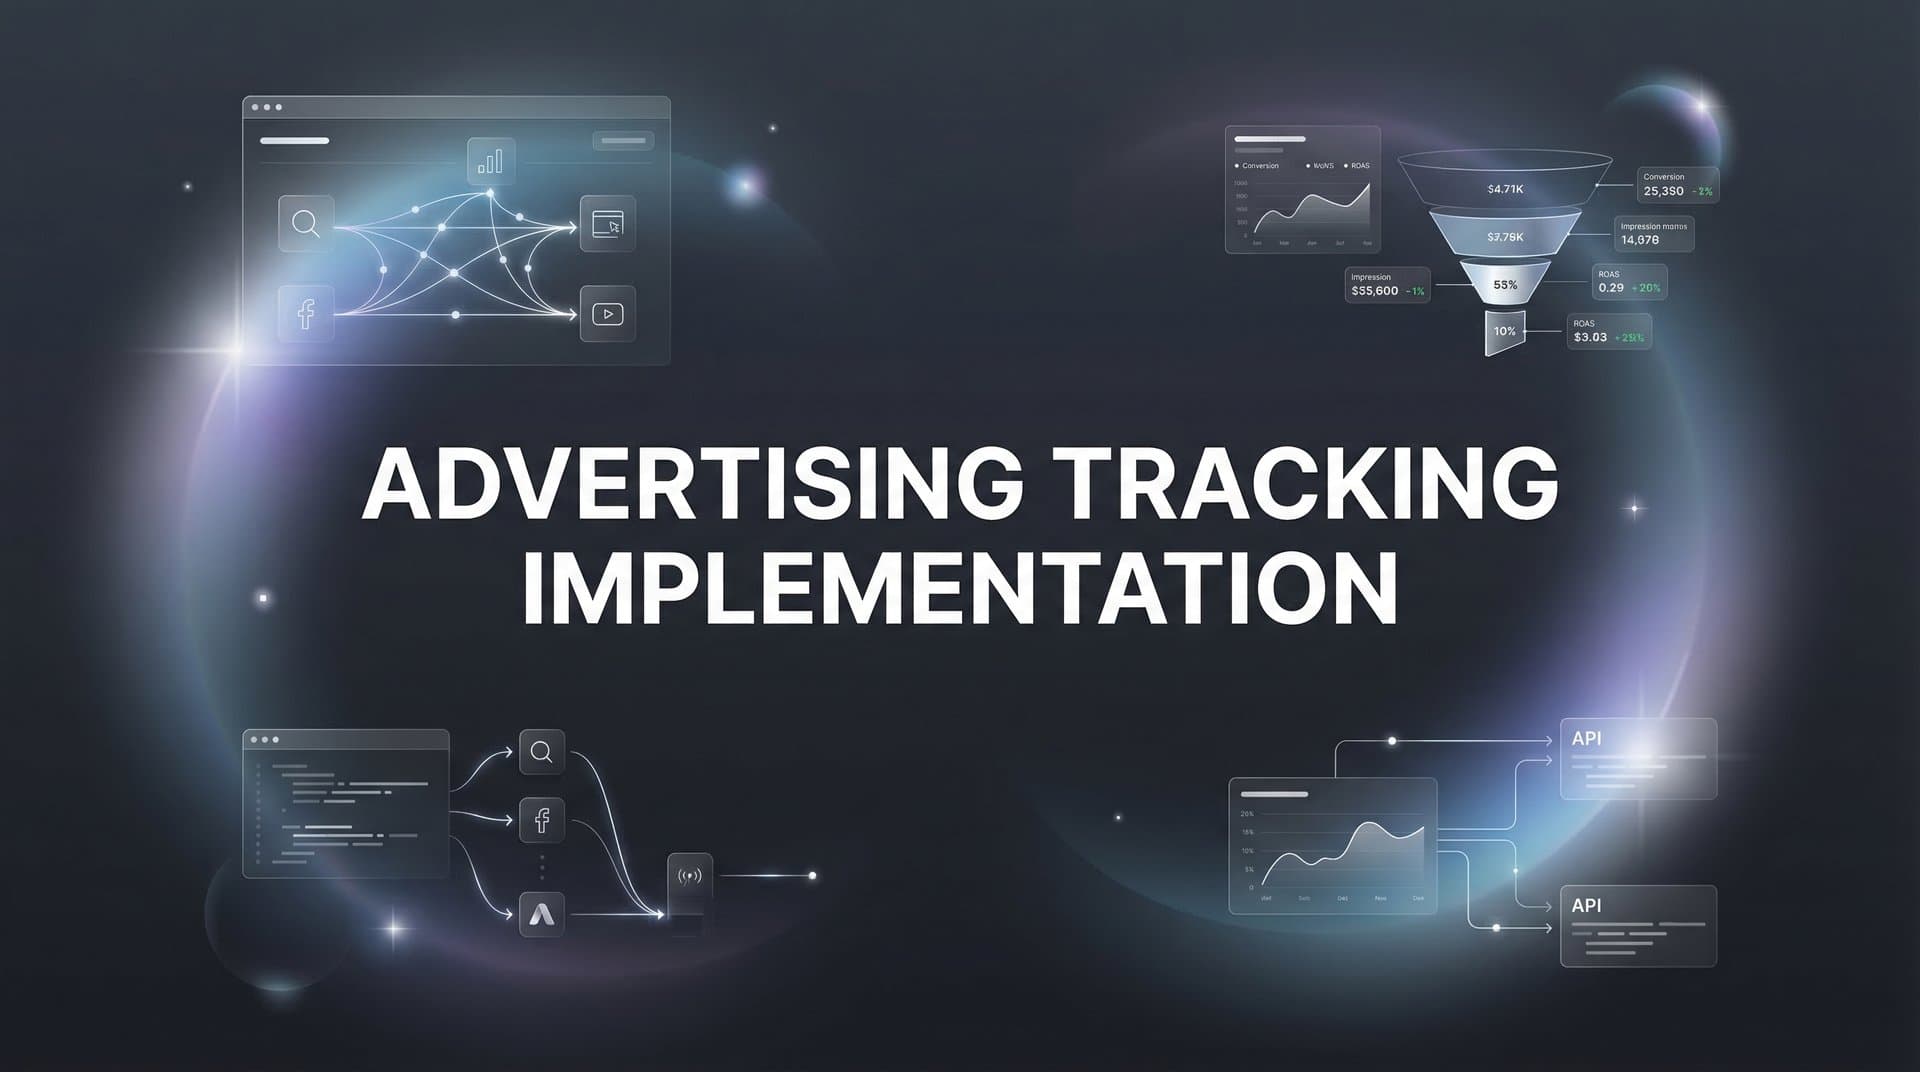
You're running ads across Meta, Google, TikTok, and LinkedIn. Your campaigns are generating clicks and conversions—or so the dashboards say. But when you compare platform reports to your actual revenue, the numbers don't add up. Conversions are missing. Attribution is inconsistent. And you're making budget decisions based on incomplete data.
This disconnect isn't rare. It's the reality for most marketing teams today.
iOS privacy updates have broken traditional tracking. Browser restrictions block pixels. Ad blockers eliminate visibility. And when your tracking setup has gaps, you're essentially flying blind—scaling campaigns that might not actually drive revenue while pausing ones that do.
The solution isn't abandoning tracking altogether. It's implementing a modern tracking infrastructure that captures the complete customer journey from first ad click to final conversion, regardless of device, browser, or privacy settings.
This guide walks you through building that system step by step. You'll learn how to audit your current setup, implement server-side tracking to recover lost data, connect your ad platforms with your CRM for full-funnel visibility, and validate that everything works correctly. By the end, you'll have a tracking implementation that gives you confidence in your campaign data and helps you make smarter budget decisions.
Let's start by identifying what's broken in your current setup.
Step 1: Audit Your Current Tracking Setup and Identify Gaps
Before you can fix your tracking, you need to understand exactly what you're working with. Most marketing teams have accumulated pixels, tags, and tracking codes over months or years—often without documentation of what tracks what.
Start by creating a tracking inventory spreadsheet. Open a new document and create columns for: Platform Name, Tracking Method (pixel, tag, API), Placement Location (which pages), Events Captured, and Implementation Date.
Now systematically review each advertising platform you use. Log into Meta Ads Manager and check Events Manager to see which pixels are installed and what events they're firing. Do the same for Google Ads (check Google Analytics and Google Tag Manager), TikTok Ads, LinkedIn Campaign Manager, and any other platforms where you run campaigns.
For each platform, document which conversion events are being tracked. Are you only tracking purchases, or are you also capturing micro-conversions like add-to-cart, form submissions, and pricing page visits? Many tracking setups focus solely on final conversions while missing the earlier touchpoints that indicate purchase intent.
Next, verify where your tracking codes are actually installed. Use your browser's developer tools (right-click > Inspect > Network tab) to check which pixels fire on key pages like your homepage, product pages, checkout flow, and thank-you page. You might discover that pixels are missing from critical pages or firing multiple times on the same page—both common issues that skew your data.
Pay special attention to mobile tracking. Load your site on both iOS and Android devices, then check whether your pixels fire correctly. iOS restrictions often prevent client-side pixels from working properly, creating significant blind spots in your mobile conversion data due to cookie tracking problems that affect advertising accuracy.
The most revealing part of your audit: Compare conversion counts across different sources. Pull your conversion numbers from each ad platform, then compare them to what Google Analytics reports, and finally to your actual sales or CRM data. Discrepancies here reveal attribution gaps—conversions happening that your ad platforms aren't seeing.
Document every gap you discover. Common issues include: pixels firing inconsistently, mobile conversions not being tracked, cross-device journeys breaking attribution, and no connection between ad clicks and final CRM conversions.
This audit creates your baseline. You now know exactly what's working, what's broken, and what's missing entirely. Keep this inventory updated as you implement the following steps—it becomes your tracking documentation and troubleshooting reference.
Step 2: Define Your Conversion Events and Tracking Requirements
Now that you know what you're currently tracking, it's time to define what you should be tracking. The goal isn't to track everything—it's to track every action that indicates progress toward a sale or meaningful business outcome.
Start by mapping your customer journey from first awareness to final purchase. For an e-commerce business, this might look like: Ad Click → Homepage Visit → Product Page View → Add to Cart → Checkout Initiated → Purchase Completed. For a SaaS company: Ad Click → Landing Page → Pricing Page → Demo Request → Sales Qualified Lead → Customer.
Each step in this journey represents a potential conversion event worth tracking. The key is distinguishing between micro-conversions and macro-conversions. Macro-conversions are your primary business goals—purchases, demo bookings, qualified leads. Micro-conversions are earlier indicators of intent—email signups, pricing page visits, video views, add-to-cart actions.
Create a conversion event document with these columns: Event Name, Trigger Condition, Business Value (High/Medium/Low), Current Tracking Status, and Required Platforms. Be specific with your event names and use consistent naming conventions across all platforms. Instead of vague names like "Conversion" or "Submit," use descriptive names like "Demo_Request_Submitted" or "Product_Added_To_Cart."
For each event, define exactly when it should fire. "Purchase" might seem obvious, but should it fire when someone reaches the thank-you page, when payment processes successfully, or when the order is confirmed in your backend system? These distinctions matter for accurate conversion tracking implementation.
Don't forget to include events that happen outside your website. If leads move through stages in your CRM (Marketing Qualified Lead, Sales Qualified Lead, Opportunity, Customer), these are conversion events too. If customers make repeat purchases or upgrade plans, track those separately from initial conversions.
Prioritize your events based on business value. Your purchase or demo request event is obviously critical. But that pricing page visit? It's a strong intent signal that helps ad platforms optimize toward high-intent users even before they convert. Add-to-cart events help you build audiences of people who showed purchase intent but didn't complete checkout.
Once you've documented every meaningful event, identify which platforms need to receive each one. Your Meta pixel needs purchase data to optimize campaigns. Google Analytics needs the full journey for attribution analysis. Your CRM needs to know which ad campaign generated each lead. Plan for this data flow now rather than retrofitting it later.
This document becomes your tracking blueprint. Every event you've defined here will be implemented in the following steps, creating a comprehensive view of your customer journey that goes far beyond basic conversion tracking.
Step 3: Set Up Server-Side Tracking Infrastructure
Client-side tracking—those pixels and tags that run in the browser—used to be enough. Not anymore. Ad blockers, browser privacy features, and iOS restrictions now prevent a significant portion of your conversion data from reaching ad platforms. That's where server-side tracking comes in.
Server-side tracking works differently. Instead of relying on browser-based pixels that users can block, your server sends conversion data directly to ad platforms through secure APIs. The data never touches the user's browser, bypassing the restrictions that break traditional tracking.
The most straightforward implementation uses Google Tag Manager's server-side container. Start by setting up a server container in GTM (separate from your web container). This requires a server endpoint—either a cloud server you control or a managed service. Google Cloud Run is a popular choice that scales automatically and keeps costs low for most traffic volumes.
Once your server container is running, configure it to receive events from your website. Your client-side tags send data to your server endpoint instead of directly to ad platforms. The server then forwards this data to Meta, Google, TikTok, and other platforms through their respective server APIs. For detailed guidance, review this server-side tracking implementation guide.
For Meta specifically, you'll implement the Conversions API (CAPI). In your server container, add a Meta Conversions API tag that sends the same events your Meta pixel tracks—but from your server. The key advantage: you can enrich this data with information your pixel can't access, like order value from your database, customer lifetime value, or CRM status.
Google's equivalent is Enhanced Conversions. Configure your server container to send conversion data to Google Ads with enhanced matching parameters—hashed email addresses, phone numbers, and addresses that improve conversion attribution even when cookies are blocked.
Here's what makes server-side tracking powerful: You can send conversion data that happens entirely outside the browser. When a lead converts in your CRM days after their initial website visit, your server can send that conversion back to the ad platform that originally drove the click. This closes the attribution loop that client-side tracking can't complete.
Testing is critical. After implementing server-side tracking, use each platform's testing tools to verify events are being received. Meta's Events Manager has a "Test Events" feature that shows real-time event data. Google Tag Manager's server container includes preview mode for debugging.
Compare your conversion counts before and after implementing server-side tracking. You'll typically see an increase in attributed conversions—this is the "recovered" data that was previously lost to tracking restrictions. This recovered visibility directly improves campaign optimization since ad platforms now have more complete data to work with.
For teams wanting to avoid the technical complexity of managing server containers, platforms like Cometly handle server-side tracking infrastructure automatically. The tracking implementation becomes a matter of connecting your ad accounts rather than configuring servers and APIs manually.
Step 4: Connect Your Ad Platforms and CRM for Full-Funnel Visibility
Your ad platforms know about clicks and website conversions. Your CRM knows about deals and revenue. But if these systems don't talk to each other, you're missing the most important part of the story: which ads actually drive qualified leads and paying customers.
Start by standardizing your UTM parameters across all campaigns. UTM parameters are the tags added to your URLs that identify traffic sources (utm_source=facebook, utm_medium=cpc, utm_campaign=spring_sale). Create a UTM naming convention document and enforce it across every campaign, ad set, and ad. Understanding what UTM tracking is and how it helps your marketing is essential for proper attribution.
Your convention should be consistent and descriptive. Use lowercase for everything. Separate words with underscores or hyphens, but pick one and stick with it. Include enough detail to identify the campaign, but not so much that your URLs become unwieldy. A good format: utm_source=facebook&utm_medium=cpc&utm_campaign=q1_product_launch&utm_content=video_ad_v2.
These UTM parameters need to flow all the way through to your CRM. When someone fills out a form or makes a purchase, capture the UTM parameters and store them with the lead or customer record. Most modern forms and marketing automation platforms can do this automatically—you just need to configure the field mapping.
In your CRM (whether it's Salesforce, HubSpot, Pipedrive, or another system), create custom fields to store attribution data: First Touch Source, First Touch Campaign, Last Touch Source, Last Touch Campaign, and any other touchpoints you want to track. When a lead enters your system, populate these fields with the UTM data from their session.
Now comes the crucial part: connecting conversions back to ad platforms. When a lead becomes a customer in your CRM, you want that conversion data sent back to the ad platform that drove the initial click. This is where conversion APIs become essential.
For Meta, use the Conversions API to send CRM conversions back to Facebook. When a deal closes in your CRM, trigger an API call that sends the conversion event to Meta, including the FBC (Facebook Click ID) that identifies which ad click led to this customer. This closes the attribution loop even for sales that happen weeks after the initial ad interaction.
Google Ads has offline conversion tracking that works similarly. Upload conversion data from your CRM using the GCLID (Google Click ID) to match CRM conversions back to the original ad clicks. This is especially valuable for businesses with long sales cycles where the purchase happens far removed from the initial website visit. Learn more about Google Ads attribution tracking to maximize your conversion visibility.
The technical implementation varies depending on your CRM and technical resources. Some CRMs have native integrations with ad platforms. Others require custom API development or middleware platforms. Marketing attribution platforms like Cometly automate these connections, syncing CRM conversion data back to all connected ad platforms without custom development.
Test the complete flow: Click an ad, convert on your website, verify the lead appears in your CRM with correct attribution data, then check that the conversion appears in your ad platform's reporting. This end-to-end test confirms your full-funnel tracking is working correctly.
Once connected, you can finally answer questions that were previously impossible: Which campaigns drive the most qualified leads? What's the true cost per customer, not just cost per lead? Which ad creative generates customers with the highest lifetime value? This visibility transforms how you allocate budget and optimize campaigns.
Step 5: Configure Conversion Sync to Feed Better Data Back to Ad Platforms
Ad platforms like Meta and Google use machine learning to optimize your campaigns. But their algorithms are only as good as the data they receive. When you send enriched, accurate conversion data back to these platforms, their optimization improves—leading to better targeting, lower costs, and higher conversion rates.
This is what conversion sync accomplishes. Instead of ad platforms only knowing that "a conversion happened," you send them detailed information: the conversion value, the customer's email (hashed for privacy), whether they're a new or returning customer, and any other relevant data points.
Start with Meta's Conversions API if you haven't already implemented it in the previous steps. Beyond basic conversion events, you can send customer information parameters that improve Meta's matching and optimization. Include hashed email addresses, phone numbers, first and last names, cities, states, and countries. Meta uses this data to match conversions to the right user profiles, increasing attribution accuracy.
The conversion value parameter is particularly important. Don't just send a generic "purchase" event—send the actual order value. When Meta knows which ads drive $50 purchases versus $500 purchases, it can optimize toward higher-value customers. For subscription businesses, send lifetime value estimates rather than just the initial purchase amount.
Google's Enhanced Conversions works on the same principle. Configure your conversion tracking to include hashed customer data with each conversion event. Google uses this to improve conversion matching even when cookies are unavailable, recovering attribution that would otherwise be lost.
For businesses with complex conversion types, send custom conversion events that reflect your specific business model. If you sell both products and services, track them as separate conversion types. If you have multiple product tiers, create conversion events for each tier. This granularity helps ad platforms optimize for the specific outcomes you care about most.
The match rate is your key metric here. In Meta Events Manager, check your Conversions API match rate—this shows what percentage of your server events Meta successfully matched to user profiles. Higher match rates (above 70%) indicate better data quality and more effective optimization. If your match rate is low, you're likely missing customer information parameters or sending poorly formatted data.
Timing matters too. Send conversion events as close to real-time as possible. When someone completes a purchase, send that conversion data to ad platforms within minutes, not hours or days. Faster data feedback helps algorithms optimize more quickly and accurately.
For offline conversions that happen in your CRM, set up automated workflows that trigger conversion sync when deals reach specific stages. When a lead becomes "Sales Qualified" or "Closed Won," automatically send that conversion back to the originating ad platform. This creates a continuous feedback loop that improves paid advertising performance tracking over time.
Cometly's Conversion Sync feature automates this entire process across all connected ad platforms. It enriches conversion data with information from your CRM and website, then syncs it back to Meta, Google, TikTok, and other platforms automatically. The result: consistently high match rates and better-optimized campaigns without manual API management.
Step 6: Test and Validate Your Tracking Implementation
You've built your tracking infrastructure. Now you need to verify it actually works before trusting it with real campaign optimization decisions. Broken tracking is worse than no tracking—it leads to confident decisions based on wrong data.
Create a testing checklist that covers every conversion event, every platform, and every common user pathway. This becomes your validation framework that you'll work through systematically.
Start with basic event firing tests. For each conversion event you've defined, manually trigger it and verify it appears correctly in all relevant systems. Fill out your lead form and check that the conversion shows up in Google Analytics, your ad platform pixels, and your CRM. Make a test purchase and verify it's tracked across all platforms with the correct order value.
Use browser developer tools to watch events fire in real-time. Open your browser's console (F12 or right-click > Inspect), go to the Network tab, and filter for your tracking domains (facebook.com, google-analytics.com, etc.). When you trigger a conversion, you should see the network requests firing. Examine the request parameters to verify correct data is being sent.
Test across different devices and browsers. Your tracking might work perfectly on desktop Chrome but break on mobile Safari due to iOS restrictions. Run test conversions on iOS devices, Android devices, desktop browsers, and in incognito/private browsing modes. Each combination can reveal different tracking issues.
Verify your server-side tracking is working independently of client-side tracking. Use an ad blocker or browser privacy extension that blocks pixels, then complete a test conversion. If your server-side implementation is correct, the conversion should still be recorded even though client-side pixels were blocked. This is especially important for cookieless tracking for marketing environments.
Test your UTM parameter flow from start to finish. Click a campaign link with UTM parameters, complete a conversion, and verify those parameters are captured and stored correctly in your CRM. This confirms your attribution data is flowing through your entire system.
For ad platform conversion APIs, use their built-in testing tools. Meta's Events Manager has a "Test Events" feature where you can send test events and see exactly what data Meta receives. Google Tag Manager's server container preview mode shows you which tags fire and what data they send. Use these tools to verify your implementation before going live.
Check your conversion match rates in each ad platform. Low match rates indicate data quality issues—missing parameters, incorrect formatting, or timing problems. If Meta shows a 30% match rate, investigate which customer information parameters you're missing or sending incorrectly.
Create a "new visitor" test and a "returning visitor" test. Some tracking setups handle first-time visitors correctly but break for returning visitors due to cookie conflicts or session handling issues. Test both scenarios to ensure consistent tracking.
Document any issues you discover in your testing spreadsheet: which events failed, on which devices or browsers, and what error messages appeared. This documentation guides your troubleshooting and helps you prioritize fixes. If you encounter persistent issues, review our guide on attribution tracking not working for common solutions.
Once you've validated everything works correctly, schedule regular testing—monthly or quarterly depending on how frequently you update your site or tracking setup. Tracking breaks over time due to website updates, platform changes, or new privacy restrictions. Regular validation catches issues before they corrupt your campaign data.
Putting It All Together: Your Tracking Implementation Checklist
You now have a complete tracking implementation that captures the full customer journey from first ad click to final conversion. Here's your quick-reference checklist to ensure everything is in place:
Implementation Checklist:
✓ Tracking inventory completed documenting all current pixels and tags
✓ Conversion events defined for all micro and macro conversions
✓ Server-side tracking infrastructure deployed and tested
✓ Ad platforms connected to CRM with proper field mapping
✓ UTM parameter naming convention established and enforced
✓ Conversion APIs configured for Meta, Google, and other platforms
✓ Customer information parameters included for better match rates
✓ Testing completed across devices, browsers, and user scenarios
✓ Match rates verified above 70% for all conversion APIs
✓ Documentation created for ongoing maintenance and troubleshooting
Ongoing Maintenance: Your tracking implementation isn't a one-time project. Schedule quarterly audits to verify everything still works correctly. When you launch new campaigns, add new products, or update your website, revisit your tracking setup to ensure new conversions are captured properly. When ad platforms release new features or APIs, evaluate whether they improve your tracking accuracy.
Monitor your match rates and conversion counts regularly. Sudden drops indicate tracking issues that need immediate attention. Compare conversion data across platforms monthly to identify any new attribution gaps that emerge.
Using Your Data: With accurate tracking in place, you can finally trust your campaign data enough to make confident optimization decisions. Identify which campaigns, ad sets, and individual ads drive not just clicks but actual customers. Scale your winners with confidence. Cut spending on campaigns that generate activity but not revenue.
Use your multi-touch attribution data to understand the customer journey. Which touchpoints consistently appear before conversions? Which campaigns work best at the top of the funnel versus bottom? This insight guides your budget allocation across the full customer journey.
Feed your enriched conversion data back to ad platform algorithms continuously. The better data they receive, the better they optimize—creating a virtuous cycle of improving performance.
Ready to simplify this entire process? Cometly handles advertising tracking implementation automatically with AI-powered attribution, server-side tracking, and automated conversion sync across all your ad platforms. Instead of managing servers, APIs, and complex integrations, you connect your accounts and start capturing complete customer journey data immediately. Get your free demo today and see how accurate tracking transforms your campaign performance and budget decisions.


