If your Facebook ad campaigns are running but your conversion data feels incomplete or delayed, the problem is likely in how your conversion events are being sent to Meta. Browser-based pixel tracking alone misses a meaningful portion of conversions due to ad blockers, iOS privacy restrictions, and browser cookie limitations. The result is a fragmented picture of your ad performance, one where campaigns that look underperforming might actually be driving significant pipeline.
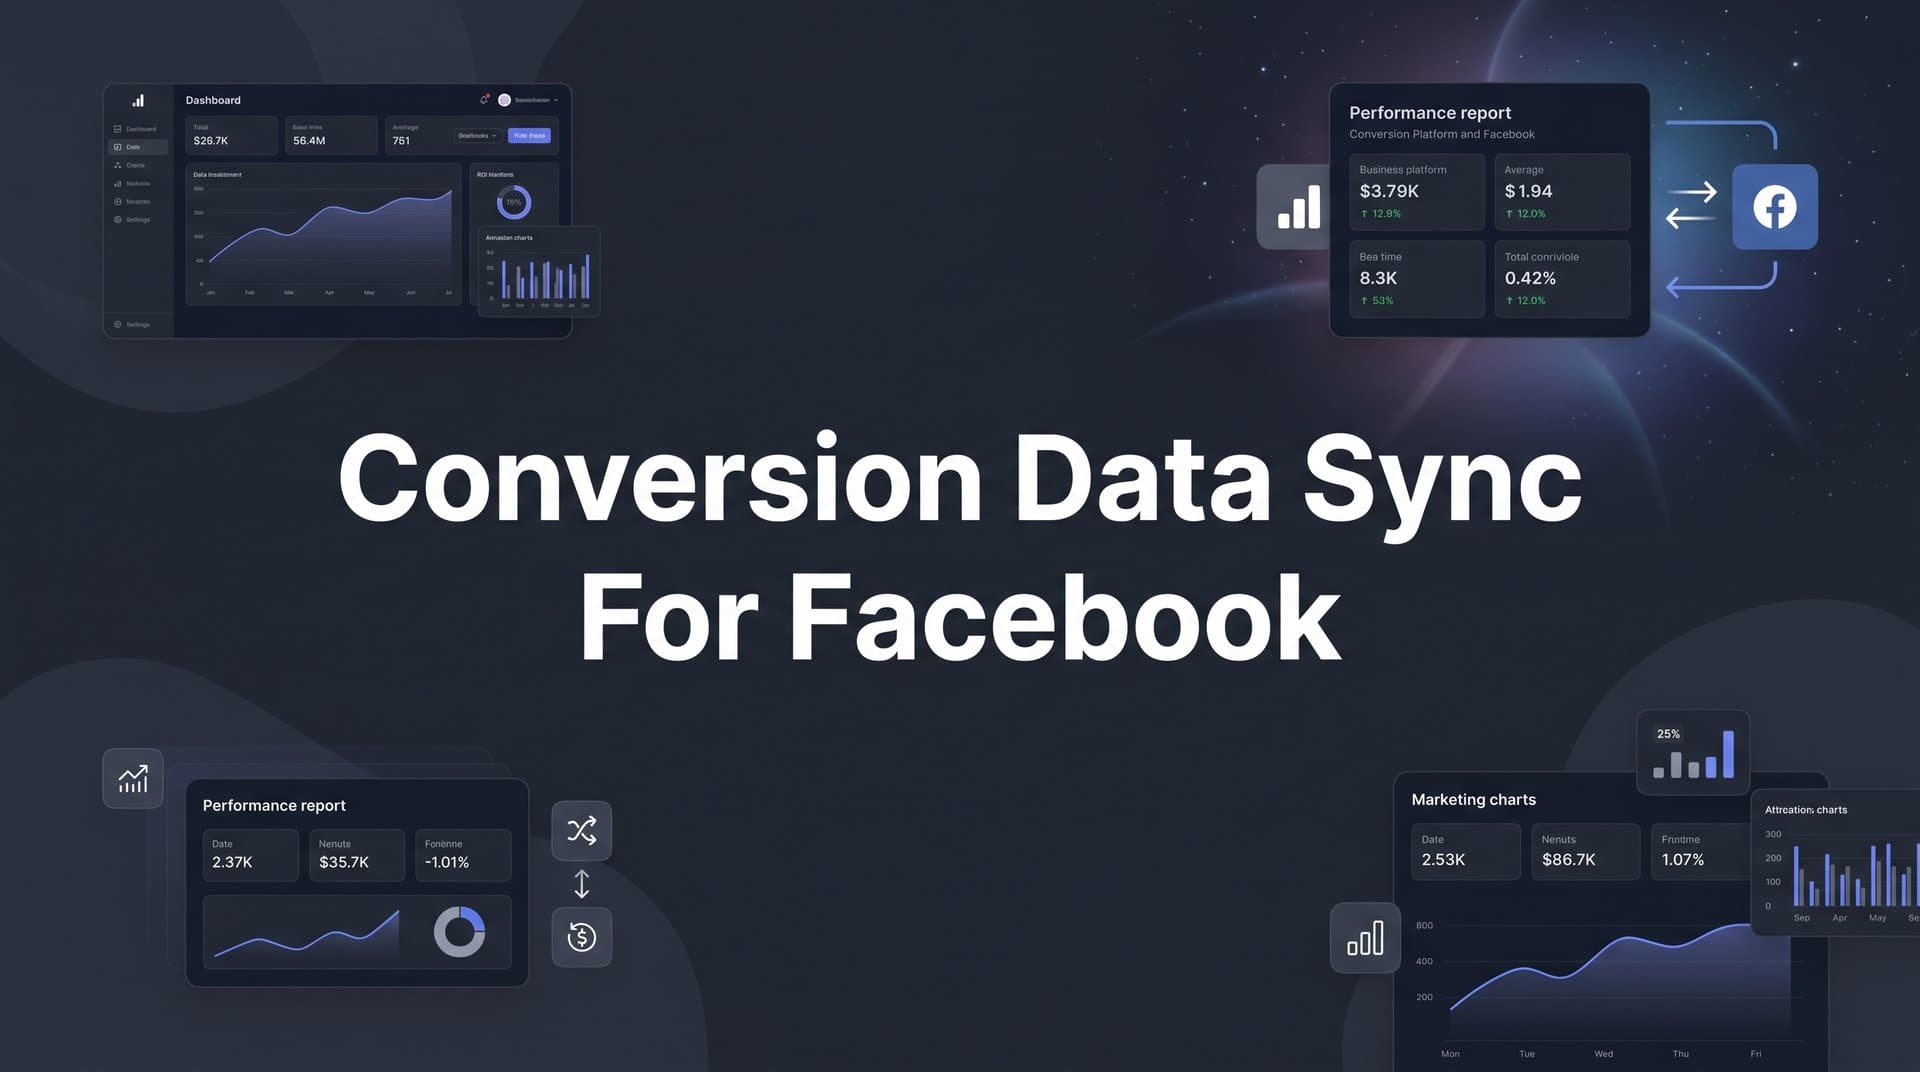
Conversion data sync for Facebook solves this by sending event data directly from your server to Meta through the Conversions API (CAPI). Instead of relying solely on a browser-side JavaScript snippet, your server communicates directly with Meta's infrastructure, giving the platform a more complete and accurate view of what your ads are actually driving.
This guide walks you through the full setup process: from understanding how server-side events work and gathering your prerequisites, to configuring deduplication, enriching events with first-party data, and verifying your setup inside Meta Events Manager. You will also learn how to connect your synced conversion data to attribution reporting so you can tie Facebook ad spend to actual pipeline and revenue.
Whether you are a B2B SaaS marketer running lead generation campaigns or a growth team trying to connect ad spend to closed-won deals, accurate conversion data sync is the foundation of reliable Facebook attribution. By the end of this guide, you will have a working server-side conversion sync that feeds Meta's algorithm better data, improves your Event Match Quality scores, and gives you a clearer view of which campaigns are generating real revenue.
Step 1: Understand What Conversion Data Sync Actually Does
Before touching any settings, it helps to understand exactly what problem you are solving. The standard Meta Pixel fires from the browser when a user takes an action on your site, such as submitting a form or completing a purchase. That browser-based event then travels from the user's device to Meta's servers. Simple enough, except a lot can go wrong in that journey.
Ad blockers prevent the pixel from loading entirely. Safari's Intelligent Tracking Prevention limits cookie lifespans. iOS App Tracking Transparency prompts users to opt out of cross-app tracking. Each of these friction points reduces the number of conversions your pixel captures and reports back to Meta. In a privacy-first environment, this gap continues to widen.
Server-side conversion data sync works differently. Instead of relying on the browser to fire an event, your server sends the conversion data directly to Meta through the Conversions API. The event originates from your infrastructure, not the user's device, which means it bypasses browser-level restrictions entirely.
This is why Meta recommends running both the browser pixel and the Conversions API simultaneously. The pixel captures real-time, browser-level signals like page views and click behavior. The CAPI fills in the gaps by sending confirmed server-side events for actions you control, such as form submissions hitting your backend or trial signups recorded in your CRM.
One concept worth understanding before you start is Event Match Quality (EMQ). Meta scores each event based on how much customer information is included. A higher EMQ score means Meta can more accurately match the event to a Facebook user, which directly improves ad targeting and bid optimization. Think of EMQ as a signal quality rating: the richer the data you send, the better Meta's algorithm performs on your behalf.
Running both pixel and CAPI also introduces a risk: double-counting. If both the browser and the server report the same purchase event, Meta could count it twice. That is why deduplication is a critical part of the setup, which we will cover in Step 4.
Before you start: Map out the specific conversion events that matter most for your funnel. For B2B SaaS, this typically includes Lead (form submission), CompleteRegistration (trial signup), Subscribe (paid conversion), and any custom events tied to CRM pipeline stages. Knowing your priority events before you start building will save you significant configuration time.
Step 2: Gather Your Prerequisites and Access Requirements
Getting your conversion data sync configured correctly depends on having the right access and credentials in place before you start. Skipping this step leads to frustrating permission errors mid-setup. Here is what you need to collect.
Facebook Business Manager Access: You need admin-level access to the Meta Business Manager account that owns your ad account and pixel. If you are an agency or contractor, confirm that the client has granted you the appropriate permissions before proceeding.
Your Facebook Pixel ID: Navigate to Meta Events Manager and select your pixel from the data sources list. Your Pixel ID is the numeric identifier displayed at the top of the pixel overview page. Copy this and keep it accessible throughout the setup.
A CAPI Access Token: This is the credential that authorizes your server to send events to Meta on behalf of your pixel. To generate one, go to Meta Business Settings, navigate to System Users, and either create a new system user or select an existing one. Assign the system user admin access to your pixel, then generate a new access token with the ads_management and business_management permissions.
A critical tip here: always use a system user token rather than a personal user token. If a team member leaves the organization and their personal account is deactivated, any access token tied to that account stops working, which breaks your CAPI connection. A system user token is tied to the Business Manager itself, not an individual person, making it far more stable for production use.
Admin Access to Your Data Source: Depending on your implementation path, you will need admin access to your website backend, CRM, or the attribution platform you are using. For most B2B SaaS teams, this means access to your marketing automation tool, your CRM (such as HubSpot or Salesforce), and your web application backend where form submissions are processed.
Your Priority Conversion Events: Confirm the specific events you plan to sync. Common choices for B2B SaaS include Lead, CompleteRegistration, StartTrial, Subscribe, and custom events like SQLCreated or OpportunityOpened that map to CRM pipeline stages. Having this list defined before you start ensures you configure the right events from the beginning rather than adding them piecemeal later. For a deeper look at tracking conversions accurately, review the core principles that apply across any CAPI implementation.
Once you have your Pixel ID, CAPI access token, and a clear list of target conversion events, you are ready to connect your data source.
Step 3: Connect Your Data Source to the Conversions API
There are two primary paths for connecting your data source to the Conversions API: a direct API integration built by your engineering team, or a platform-based integration using a third-party tool like Cometly. The right choice depends on your technical resources and how quickly you need to move.
Path A: Direct API Integration
If you have engineering resources available, you can build a direct server-side integration by making POST requests to Meta's Conversions API endpoint. Each event requires a structured payload that includes several key parameters.
event_name: The standard Meta event name, such as Lead or CompleteRegistration. Use Meta's standard event names wherever possible to maintain compatibility with campaign optimization.
event_time: A Unix timestamp representing when the event occurred. This should reflect the actual time of the conversion, not the time the API call was made.
user_data: A collection of hashed customer identifiers used to match the event to a Facebook user. This includes hashed email, phone number, first name, last name, and browser identifiers like the Facebook Browser ID (fbp) and Facebook Click ID (fbc).
custom_data: Additional context about the event, such as currency, value, content IDs, or custom properties relevant to your business. For B2B SaaS, this might include plan type, trial source, or lead score.
One of the most common mistakes in direct integrations is sending events without hashed user data. Sending raw email addresses or phone numbers violates Meta's data policies, and sending no user data at all significantly reduces your Event Match Quality score. Always hash email, phone, first name, and last name fields using SHA-256 before including them in the API payload. The hash must be lowercase and trimmed of whitespace before hashing.
Path B: Platform-Based Integration via Cometly
For marketing teams without dedicated engineering resources, a platform like Cometly handles the CAPI connection, data enrichment, and event mapping without requiring custom code. The setup process involves connecting your ad account inside Cometly, entering your Pixel ID and CAPI access token in the integrations settings, and mapping your CRM or form submission events to the correct Meta standard event names.
Cometly automatically pulls first-party data from the customer journey and appends it to server events before sending them to Meta. This means your events arrive enriched with the customer identifiers that drive higher EMQ scores, without manual engineering work on each event type. If you want a detailed walkthrough of this process, the Conversion API implementation tutorial covers each configuration step in depth.
Regardless of which path you choose, the critical step is mapping your internal event names to Meta's standard event taxonomy. A form submission in your CRM should map to Lead. A trial signup should map to CompleteRegistration or StartTrial. A paid conversion should map to Subscribe or Purchase. Consistent event naming ensures your campaign optimization settings work correctly in the next step.
Step 4: Configure Event Deduplication to Avoid Double-Counting
Running both your browser pixel and server-side CAPI simultaneously is the recommended approach, but it creates a specific problem: the same conversion can be reported twice. A user completes a trial signup, the browser pixel fires a CompleteRegistration event, and your server also sends a CompleteRegistration event through CAPI. Without deduplication, Meta counts two conversions from one action.
Meta handles this through the event_id parameter. When both the browser pixel event and the server-side CAPI event include the same event_id, Meta recognizes them as duplicates and counts only one. The deduplication logic happens on Meta's side, but you are responsible for generating and passing consistent IDs on both ends.
Here is how to implement it correctly. When a conversion event occurs on the client side, generate a unique identifier for that specific event instance. This could be a UUID, a timestamp-based string, or a combination of user ID and event type. Pass this identifier to the Meta Pixel's fbq track call using the eventID parameter. Then pass that same identifier in the event_id field of your server-side CAPI payload for the corresponding event.
The key requirement is consistency: the event_id must be identical in both the browser event and the server event for deduplication to work. If you generate the ID on the client side and fail to pass it to your server, or if the ID format differs between the two events, Meta will treat them as separate conversions. Understanding how Facebook Pixel tracking interacts with server-side events is essential for getting this right.
Meta applies deduplication within a short time window after receiving the first event. Events that arrive outside this window may not be deduplicated even if the event_id matches, so it is important that your server-side events are sent promptly rather than batched with significant delays.
For platform-based integrations through Cometly, deduplication is handled automatically. The platform generates and maintains consistent event IDs across browser and server events, removing this complexity from your implementation.
How to confirm it is working: After your setup is live, check your conversion counts in Meta Events Manager and compare them against actual conversions recorded in your CRM. If your Meta-reported conversions are significantly higher than your CRM records for the same time period, deduplication may not be functioning correctly. Investigate whether event_id values are being passed consistently on both sides.
Step 5: Enrich Your Events with First-Party Customer Data
Sending a server-side event is only half the equation. The quality of that event, measured by Event Match Quality, depends heavily on how much customer data you include. Meta uses the user_data parameters to match your conversion events to actual Facebook users. The more complete this data, the higher your EMQ score, and the better Meta's algorithm performs in targeting and optimization.
The user data parameters that have the most impact on EMQ include:
Email address (em): Hashed using SHA-256. This is the single most impactful identifier for matching events to Facebook users. Include it whenever available.
Phone number (ph): Hashed using SHA-256. Include the country code and strip all non-numeric characters before hashing.
First name (fn) and last name (ln): Both hashed. Lowercase before hashing.
City (ct), state (st), zip (zp), and country (country): Geographic data adds additional matching signals, particularly useful when email or phone is unavailable.
Client IP address (client_ip_address) and User Agent (client_user_agent): These are not hashed and should be passed as plain text. They help Meta match events to devices even when other identifiers are missing.
Facebook Browser ID (fbp) and Facebook Click ID (fbc): These are stored in browser cookies by the Meta Pixel. Passing them in your server events significantly improves match quality because they directly link the event to a Facebook session.
For B2B SaaS lead events, email address is almost always available since the user submitted a form. Prioritize capturing and passing email, phone (if collected), and the fbp and fbc cookie values. For purchase or subscription events, you likely have even more data available from your billing system or CRM, so use it.
All personally identifiable information must be SHA-256 hashed before transmission. This is a non-negotiable requirement from Meta. The hashing process normalizes the data (lowercase, trimmed) and converts it to a fixed-length string before sending. Meta hashes the same fields on their end for comparison, so the normalization step before hashing is critical for matches to succeed.
Cometly handles event enrichment automatically by pulling first-party data collected throughout the customer journey and appending it to server events before they are sent to Meta. This means your events are enriched with the most complete set of customer identifiers available, without requiring manual data mapping for each event type. For teams evaluating how to approach Facebook conversion tracking at scale, first-party data enrichment is one of the most impactful levers available.
A practical note: Do not skip enrichment because you only have partial data. Sending an event with just an email address and IP address is significantly better than sending an event with no user data at all. Send what you have.
Step 6: Verify Your Setup in Meta Events Manager
Once your server-side events are configured and firing, verification is essential before you start relying on this data for campaign decisions. Meta Events Manager provides several tools to confirm your setup is working correctly.
Test Events Tool: Navigate to Events Manager, select your pixel, and open the Test Events tab. This tool displays incoming events in real time as they arrive at Meta's servers. To test your server-side events, trigger a conversion action on your site (such as submitting a test lead form), then watch the Test Events log to confirm the server event appears with the correct event name, parameters, and timestamp. A green status indicator confirms the event arrived successfully.
When reviewing test events, check that the event_name matches what you configured, that the user_data fields are present (they will appear as hashed values), and that any custom_data parameters you included are correctly populated.
Event Match Quality Score: In the Overview tab of your pixel in Events Manager, you will see an EMQ score for each event type. Scores are rated on a scale and described as Poor, OK, Good, or Excellent. A Good or Excellent rating indicates that Meta can reliably match your events to Facebook users. If your score is rated Poor or OK, review which user data parameters are missing and add them to your event payload. Reviewing a Facebook tracking software comparison can help you identify tools that consistently achieve higher EMQ scores out of the box.
Diagnostics Tab: The Diagnostics tab surfaces specific configuration warnings and errors. Common issues flagged here include missing required parameters, events arriving without user data, or configuration problems with your pixel setup. Work through any flagged issues systematically before moving forward.
Deduplication Check: Compare the event counts shown in Events Manager against your CRM records for the same time period. If Events Manager shows significantly more conversions than your CRM recorded, deduplication may not be working correctly. Look for events appearing with both a browser source and a server source for the same event_id to confirm deduplication is active.
Success indicator: Your server events appear in the Test Events log with a green status, your EMQ score for key events is rated Good or Excellent, no critical errors appear in the Diagnostics tab, and your conversion counts in Events Manager align reasonably with your CRM data.
Step 7: Use Synced Conversion Data to Optimize Your Campaigns
Configuring your CAPI integration is not just a technical exercise. The real payoff comes when you use the improved conversion data to make better campaign decisions. Here is how to put your synced data to work.
Set Your Campaign Optimization Event: In Meta Ads Manager, navigate to your campaign's ad set settings and update the optimization event to the server-side conversion you just configured. For lead generation campaigns, this is typically the Lead event. For trial-focused campaigns, use CompleteRegistration or StartTrial. When Meta's algorithm has a clean, complete signal for the event you care about, its ability to find similar users and optimize bids improves significantly.
Allow the Learning Phase to Complete: After updating your optimization event, your campaign will re-enter the learning phase. During this period, Meta's algorithm is calibrating to the new conversion signal. Avoid making significant budget or targeting changes during this phase. The learning phase typically resolves after the ad set accumulates enough optimization events, so ensure your conversion volume is sufficient for the event you selected.
Connect Conversion Data to Attribution Reporting: Server-side events flowing into Meta tell you what Meta sees. But for B2B SaaS teams, the more important question is what those conversions are actually worth. This is where connecting your CAPI data to an attribution platform like Cometly creates significant value. Understanding Facebook Ads performance beyond platform-reported metrics is what separates teams making confident budget decisions from those guessing.
Inside Cometly, you can compare Meta-reported conversions against actual pipeline and revenue data from your CRM. This lets you answer questions that Meta's native reporting cannot: Are the leads coming from this Facebook campaign converting to paid customers? Which ad creative drives the highest-quality leads, not just the most leads? How does Facebook fit into the full B2B customer journey alongside email, organic search, and direct traffic?
Apply Multi-Touch Attribution: B2B SaaS buying cycles often involve multiple touchpoints across weeks or months. A prospect might first encounter your brand through a Facebook ad, then return via organic search, then convert after reading a case study linked from an email. A last-click model would give all the credit to email and none to Facebook. Multi-touch attribution distributes credit across all contributing touchpoints, giving you a more accurate picture of Facebook's role in driving revenue.
Cometly's AI surfaces recommendations based on this full-funnel view, identifying which Facebook campaigns and creatives are generating the highest-quality leads rather than simply the highest volume. Once your CAPI data is flowing cleanly and connected to your attribution reporting, you have the foundation to scale campaigns with confidence, knowing that your decisions are based on revenue data rather than incomplete pixel signals.
Putting It All Together
Setting up conversion data sync for Facebook is one of the highest-leverage technical improvements a B2B SaaS marketing team can make. When your server-side events are configured correctly, deduplicated, and enriched with first-party data, Meta's algorithm gets a cleaner signal to work with. That means better ad delivery, more accurate attribution, and campaign decisions based on real revenue data rather than incomplete pixel data.
Use this checklist to confirm your setup is complete before relying on the data for campaign decisions:
Pixel ID and CAPI access token configured: Both are entered correctly in your integration settings, using a system user token rather than a personal token.
Server events firing for all key conversion actions: Lead, CompleteRegistration, Subscribe, and any custom CRM events you identified in Step 1 are all sending successfully.
Event_id deduplication active: Browser pixel events and server CAPI events share consistent event IDs, and your conversion counts in Events Manager align with CRM records.
User data fields hashed and included: Email, phone, name, and other identifiers are SHA-256 hashed and included in every event payload.
Event Match Quality rated Good or Excellent: Confirmed in Meta Events Manager for your primary conversion events.
Conversion data flowing into your attribution platform: Full-funnel analysis connecting Facebook ad spend to pipeline and closed revenue is active.
Cometly makes this entire process faster by handling the CAPI connection, data enrichment, and attribution reporting in one place. Instead of stitching together multiple tools and custom API calls, you get a single source of truth that connects your Facebook ad spend directly to pipeline and closed revenue. Ready to see how it works for your campaigns? Get your free demo today and start capturing every touchpoint to maximize your conversions.